Build a realtime Instagram clone — Part 1: Setting up the project and creating the UI
- Introduction
- What is React?
- Prerequisites
- Setting up a React project
- Creating our React application
- Taking our application for a spin
- Creating UI components
- What are components
- Deciding what components we need
- Header component
- Styling our Header component
- Linking the style in our component
- Rendering the Header component
- Post component
- Styling our Post component
- Linking the style in our component
- Rendering the Post component
- Rendering components with mock data
- Using props in our Post component
- Conclusion
Introduction
This is part 1 of a 4 part tutorial. You can find part 2 here, part 3 here and part 4 here.
Ever used the web version of Instagram? Ever wondered how they make it all work? In this series, we are going to look in depth at how to build an Instagram clone using React.
Get ready because this is going to be a fun ride!
This article is meant for beginners, so feel free to follow through if you’re getting started with React
What is React?
React is an open-source frontend JavaScript framework used for building incredible, reusable user interfaces. Find out more about React, you can head over here.
Prerequisites
Before we can set up a React project, we need to have the following :
To confirm your Node/NPM installation, run the following command on your terminal :
1node --version 2 npm --version
If you get version numbers as results, then you’re good to go. If not, head over to the Node installation page and/or NPM installation page to get them set up.
Setting up a React project
Installing React React is available as a node package and to get React installed on your machine, you need to run the command :
npm install -g create-react-app
💡 You need to have Node version >= 6 to install React
This globally installs the package for you to use as you please.
Creating our React application
To create our application, we use the create-react-app we installed by running the the command :
create-react-app instagram-clone
This helps set up the development environment that gets you started with creating React applications.
Taking our application for a spin
Now to confirm and test the creation of our new application, we change directory to our instagram-clone directory and then start our development server by running :
1cd instagram-clone 2 npm start
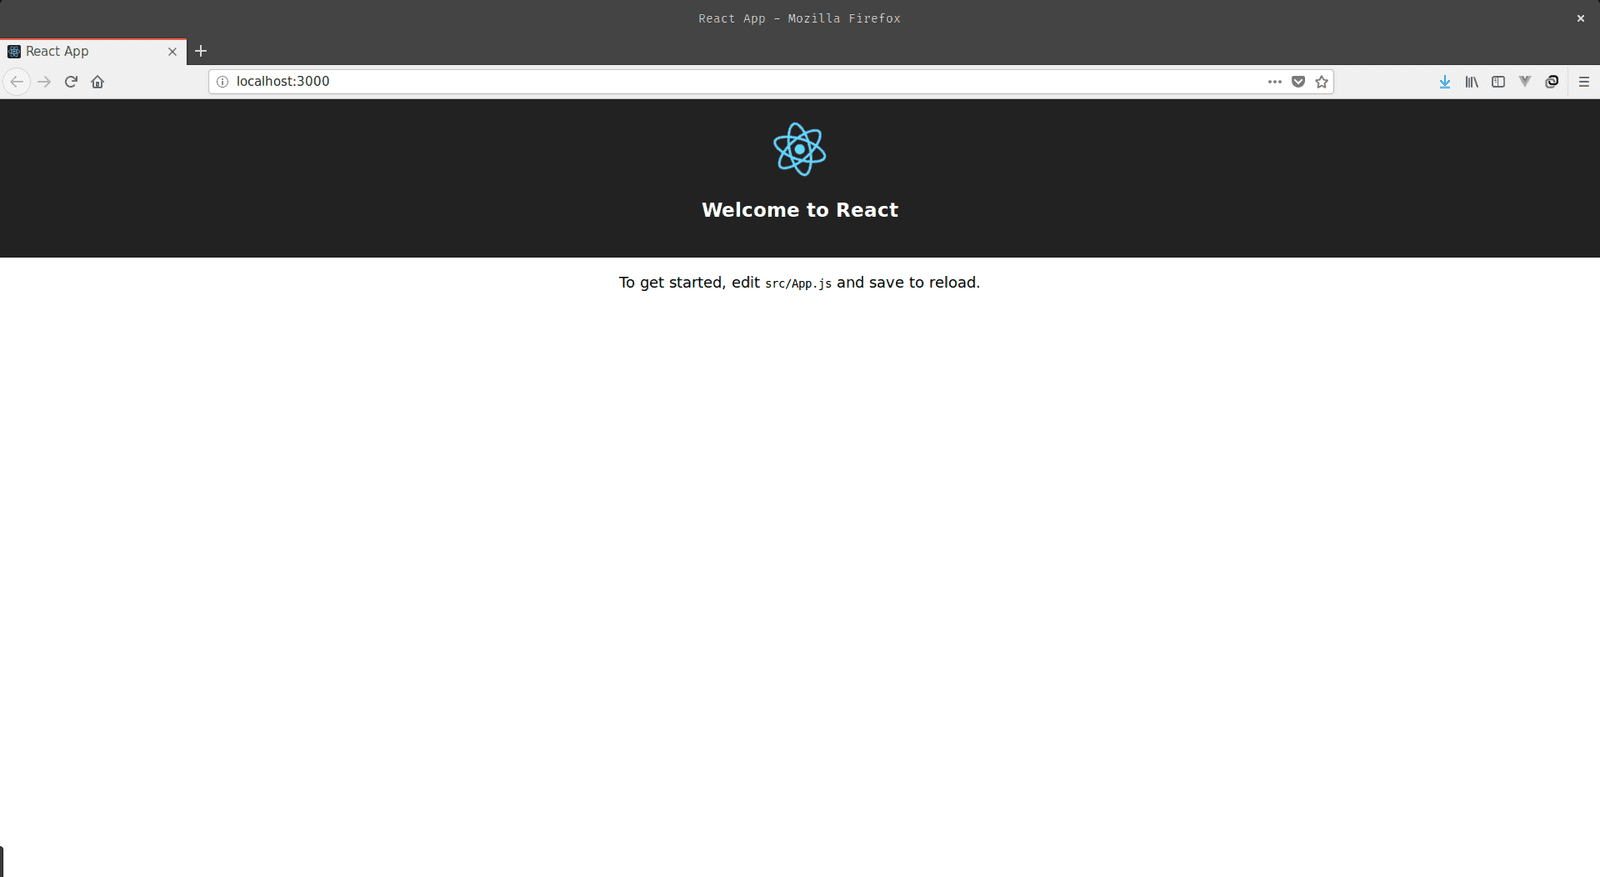
Your development server should start and you should get a page that looks like this:

Creating UI components
Now that we are ready to start developing react applications, the next thing we are going to do is design the components we are going to need in our application.
What are components
If you’re new to React, you may be wondering what components are. Wonder no more. Components in React give you the ability to build your UI in bite-sized bits. Instead of you building the whole interface in a single file, you break it down to independent and reusable pieces which you then put together to have your application as a whole.
Deciding what components we need

Now, let’s think about the components needed. For starters, we can break down the components into two:
- Header component
- Post component
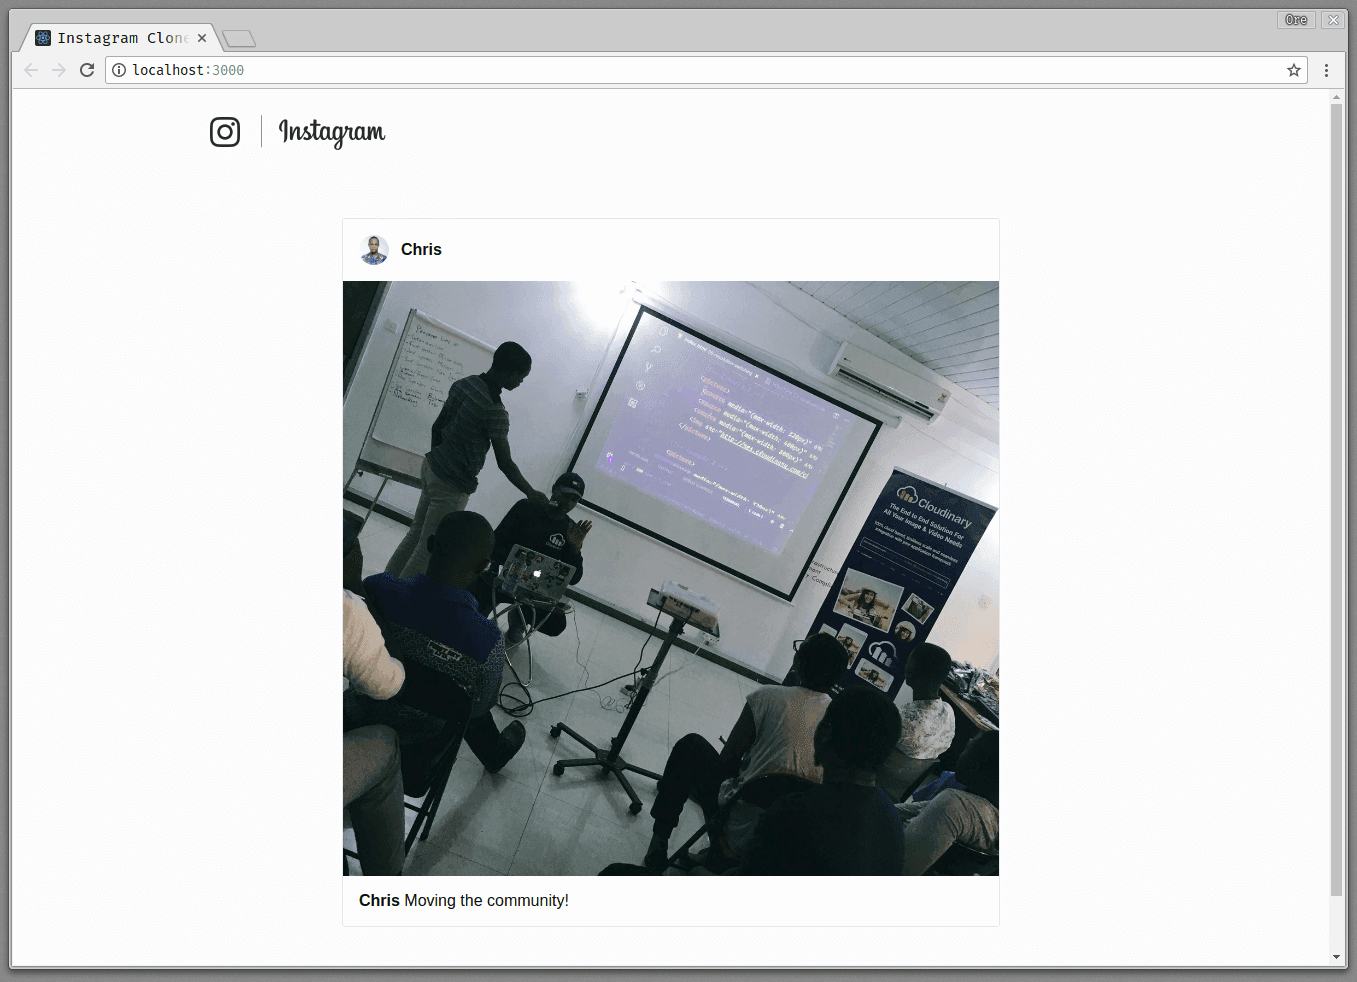
The Header component will contain the instagram logo and brand name while the Post component will contain the contain image and caption a user has posted.
Header component
Now we create a components folder in the src/ directory of our application.
1cd src 2 mkdir components && cd components
We then create a folder for our Header component:
mkdir Header && cd Header
Now that we have our Header component, the next thing we want to do is to create our index.js file in the Header directory:
touch index.js
Open index.js and past in the following:
1// src/components/Header/index.js 2 import React from "react"; 3 4 class Header extends React.Component{ 5 render(){ 6 return ( 7 <nav className="Nav"> 8 <div className="Nav-menus"> 9 <div className="Nav-brand"> 10 <a className="Nav-brand-logo" href="/"> 11 Instagram 12 </a> 13 </div> 14 </div> 15 </nav> 16 ); 17 } 18 } 19 export default Header;
In React we describe our component with JSX. JSX looks similar to pure HTML but there are some differences between them.
💡 Notice how the class names are being added in JSX and compare it to regular HTML
Styling our Header component
Now, we are going to add the necessary style that makes our Header component look pleasing to the eye. To do this, we create a Header.css file in our src/components/Header directory. Open the Header.css and paste the following:
1/* src/components/Header/Header.css */ 2 i.Nav { 3 background-color: #fff; 4 border-bottom: 1px solid rgba(0, 0, 0, 0.0975); 5 position: fixed; 6 top: 0; 7 width: 100%; 8 z-index: 2; 9 -webkit-transition: height 0.2s ease-in-out; 10 transition: height 0.2s ease-in-out; 11 height: 77px; 12 } 13 .Nav-menus { 14 display: flex; 15 flex-direction: row; 16 height: 77px; 17 width: 70%; 18 margin: 0 auto; 19 padding: 26px 40px; 20 } 21 .Nav-brand-logo { 22 display: block; 23 background-position: -176px 0px; 24 background-image: url(../../sprite.png); 25 background-size: 405px 379px; 26 background-repeat: no-repeat; 27 height: 35px; 28 width: 176px; 29 text-indent: -1000% 30 }
💡 You need to add the
[sprite.png](https://github.com/christiannwamba/instagram-clone/blob/master/src/sprite.png)in thesrcdirectory of the application. Download it here
Linking the style in our component
We head back to our Header component and add the following :
1// src/components/Header/index.js 2 3 import "./Header.css"; 4 5 class Header extends React.Component{ 6 // .... 7 } 8 export default Header;
Once we link the style sheet as we did above, we are good to go.
Rendering the Header component
Now that we have successfully built our Header component, the next thing we want to do is to render it. To that, we need to tweak our src/App.js file.
1// src.App.js 2 3 import React, { Component } from 'react'; 4 import './App.css'; 5 import Header from './components/Header'; 6 class App extends Component { 7 render() { 8 return ( 9 <Header /> 10 ); 11 } 12 } 13 export default App;
Once we do this, we have our Header component added and the app looks like this:

Post component
To create a Post component, we create a folder called Post in the src/components directory,
1cd src/components 2 mkdir Post && cd POst
We then create the index.js file. Open it and paste in the following:
1// src/components/Post/index.js 2 import React, { Component } from "react"; 3 class Post extends Component { 4 render() { 5 return <article className="Post" ref="Post"> 6 <header> 7 <div className="Post-user"> 8 <div className="Post-user-avatar"> 9 <img src="https://www.laravelnigeria.com/img/chris.jpg" alt="Chris" /> 10 </div> 11 <div className="Post-user-nickname"> 12 <span>Chris</span> 13 </div> 14 </div> 15 </header> 16 <div className="Post-image"> 17 <div className="Post-image-bg"> 18 <img alt="Icon Living" src="https://pbs.twimg.com/media/DOXI0IEXkAAkokm.jpg" /> 19 </div> 20 </div> 21 <div className="Post-caption"> 22 <strong>Chris</strong> Moving the community! 23 </div> 24 </article>; 25 } 26 } 27 export default Post;
Here we see the structure of the posts outlined. We have the:
- Post Header - shows the users avatar and name
- Post Content - displays the post content
- Post Caption - displays the username and post caption
Styling our Post component
We create a Post.css file in the src/components/Post directory. Open Post.css and paste in the following:
1/* src/components/Post/Post.css */ 2 .Post { 3 border-radius: 3px; 4 border: 1px solid #e6e6e6; 5 background-color: #fff; 6 margin-bottom: 60px; 7 margin-left : 20%; 8 margin-right: 20%; 9 } 10 .Post-user { 11 display: flex; 12 padding: 16px; 13 align-items: center; 14 } 15 .Post-user-avatar { 16 width: 30px; 17 height: 30px; 18 } 19 .Post-user-avatar img { 20 width: 100%; 21 height: 100%; 22 border-radius: 50%; 23 } 24 .Post-user-nickname { 25 margin-left: 12px; 26 font-family: 'PT Sans', sans-serif; 27 font-weight: bold; 28 } 29 .Post-image-bg { 30 background-color: #efefef; 31 } 32 .Post-image img { 33 display: block; 34 width: 100%; 35 } 36 .Post-caption { 37 padding: 16px 16px; 38 } 39 .Post-caption strong { 40 font-family: 'PT Sans', sans-serif; 41 font-weight: bold; 42 } 43 .vjs-fade-out { 44 display: none; 45 visibility: hidden; 46 opacity: 0; 47 }
Linking the style in our component
We head back to our Post component and add the following :
1// src/components/Post/index.js 2 3 import "./Post.css"; 4 5 class Post extends React.Component{ 6 // .... 7 } 8 export default Post;
Rendering the Post component
Now we go ahead to render the Post component itself. We edit our App.js file to make it look like this :
1// src/App.js 2 import Post from './components/Post'; 3 4 class App extends Component { 5 render() { 6 return ( 7 <div> 8 <Header /> 9 <div> 10 <Post /> 11 </div> 12 </div> 13 ); 14 } 15 } 16 export default App;
Now, when we go back to our page, we have this :

Rendering components with mock data
You already noticed that in our Post component had a lot of static data - every time you reload you only see the same post. In a real-life application, what we want is to have our list of dynamic posts when our application is accessed. To do this, we are going to tweak our Post component.
Using props in our Post component
In React, props as the name suggests, are the properties of a particular component. They help in making sure that our components are reusable. Update your Post component to look like this :
1// src/components/Post/index.js 2 import React, { Component } from "react"; 3 4 import "./Post.css"; 5 6 class Post extends Component { 7 constructor(props){ 8 super(props); 9 } 10 render() { 11 const nickname = this.props.nickname; 12 const avatar = this.props.avatar; 13 const image = this.props.image; 14 const caption = this.props.caption; 15 16 return ( 17 <article className="Post" ref="Post"> 18 ... 19 <img src={avatar} alt={nickname} /> 20 ... 21 <span>{nickname}</span> 22 ... 23 <img alt={caption} src={image} /> 24 ... 25 <strong>{nickname}</strong>{caption} 26 ... 27 </article> 28 ); 29 } 30 } 31 export default Post;
We accept the props from when the Post itself is being rendered and then display the results to the users in form of posts.
Now, the src/App,js is also tweaked to pass the data to the component like this:
1// src/App.js 2 3 import React, { Component } from 'react'; 4 import './App.css'; 5 import Header from './components/Header'; 6 import Post from './components/Post'; 7 8 class App extends Component { 9 render() { 10 return <div className="App"> 11 <Header /> 12 <section className="App-main"> 13 <Post nickname="Chris" avatar="https://www.laravelnigeria.com/img/chris.jpg" caption="Moving the community!" image="https://pbs.twimg.com/media/DOXI0IEXkAAkokm.jpg" /> 14 <Post nickname="OG" avatar="https://www.laravelnigeria.com/img/chris.jpg" caption="Holding a mic" image="https://pbs.twimg.com/media/DOXI0IEXkAAkokm.jpg" /> 15 16 {/* more posts */} 17 </section> 18 </div>; 19 } 20 } 21 22 export default App;
Now, when you visit the application at localhost:3000, you get a page that looks like this:

Conclusion
In this chapter of the series, we looked at how to get set up with React development and creating the UI for an Instagram clone application. In the next chapter, we will take a look at how to connect the UI to Graph QL data. Here’s a link to the full Github repository.