- Products

- Developers
- User stories
- Blog
- Pricing

Rich notifications with Vapor - Part 2: iOS Application
Introduction
Introduction
In this part of the tutorial we will be building an iOS application that handles receiving a push notification with rich content. The application will only show a notification in the notification center. We won’t be handling the notification when we have the application open.
Sometimes sending notifications with only text just isn’t quite enough. This is where rich notifications come in. We can add images and videos to our notification to give the user a richer experience directly from there notification center.
Prerequisites
- Make sure you have completed part one of this tutorial.
- A basic understanding of Vapor. Before you continue, refer to the Getting started with Vapor tutorials Part One and Part Two.
- Xcode 10+
- MacOS
- Vapor 3.0. Check out the install instructions.
- An iOS device for testing notifications.
- An understanding of iOS development and Xcode environment.
- CocoaPods. Check out the install instructions.
- A REST client such as Postman and a basic understanding of how to use it.
Handling basic notifications
Adding our dependency
Start by creating a new single view application and name it whatever you wish. Open the terminal and go to the working directory of the newly created project and run the following command.
$ pod init
Open the newly created Podfile and add the following pod:
pod 'PushNotifications'
In the terminal run:
$ pod install
Make sure you close your Xcode project and reopen the newly created Xcode Workspace (YOUR-APP.xcworkspace) before continuing.
Set up notifications
Within your project capabilities make sure you have switched on the Push Notifications capability. Also turn on the Background Modes capability and tick the box for Remote Notifications.
Open your AppDelegate.swift file and replace its contents with the following. Remembering to replace the instance ID with your own.
1// AppDelegate.swift
2 import UIKit
3 import PushNotifications
4
5 @UIApplicationMain
6 class AppDelegate: UIResponder, UIApplicationDelegate {
7 var window: UIWindow?
8 let pushNotifications = PushNotifications.shared
9
10 func application(_ application: UIApplication, didFinishLaunchingWithOptions launchOptions: [UIApplication.LaunchOptionsKey: Any]?) -> Bool {
11 self.pushNotifications.start(instanceId: "YOUR_INSTANCE_ID")
12 self.pushNotifications.registerForRemoteNotifications()
13 try? self.pushNotifications.subscribe(interest: "general")
14
15 return true
16 }
17
18 func application(_ application: UIApplication, didRegisterForRemoteNotificationsWithDeviceToken deviceToken: Data) {
19 self.pushNotifications.registerDeviceToken(deviceToken)
20 }
21
22 func application(_ application: UIApplication, didReceiveRemoteNotification userInfo: [AnyHashable: Any], fetchCompletionHandler completionHandler: @escaping (UIBackgroundFetchResult) -> Void) {
23 self.pushNotifications.handleNotification(userInfo: userInfo)
24 }
25
26 }
You can now run the application on your iOS device and accept to receive notifications. The SDK will then manage registering our interest in “general”. This is the same interest that we have defined in our server that we are pushing to.
If we were to send a notification now we would see a notification on the lock, however it would not show any rich content.
Handling rich notifications
Create a new target
Rich notifications are handled by a separate target within our application. To add our new target go to File → New → Target. Select the Notification Service Extension.
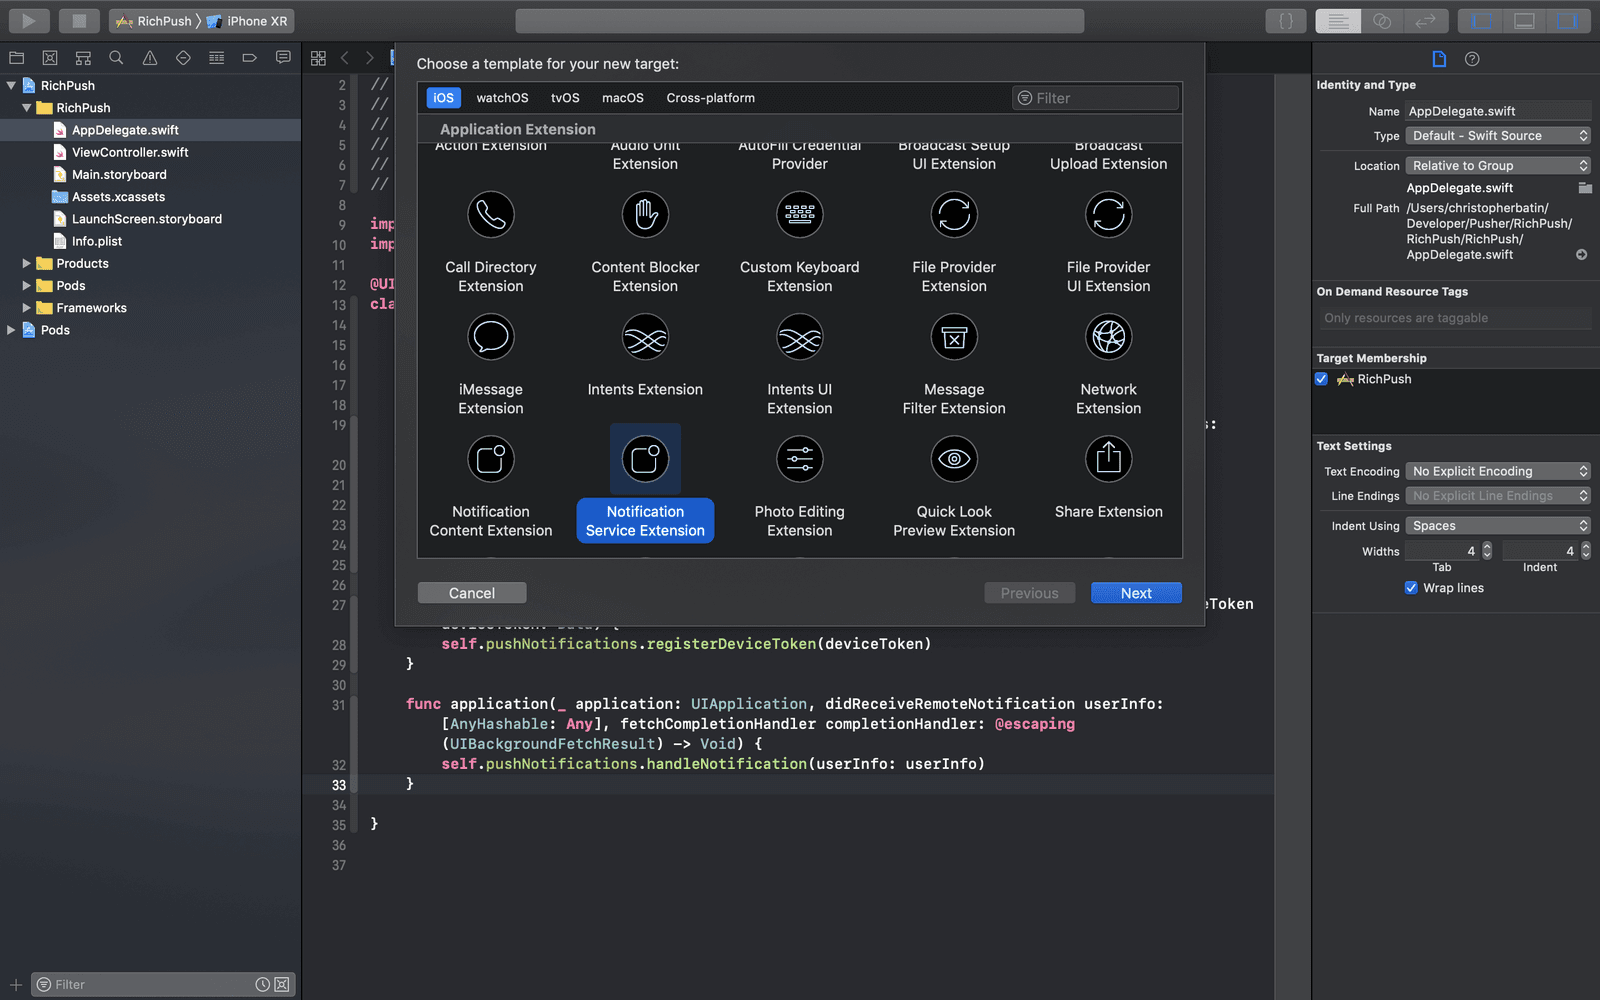
Note: If you wish to customize how a notification will look on the lock screen. You can use the Notification Content Extension to do this. To learn more, refer to Beams iOS docs.
On the next screen give your target a sensible name and make sure it is set to the correct project and embed in the correct application. Once you have confirmed this click Finish. You might be asked to activate your target, select Activate.

Handle download
Your new target will create a new NotificationService.swift file. This file will handle the notification you have received and attempt to show it.
1// NotificationService.swift
2 import UserNotifications
3
4 class NotificationService: UNNotificationServiceExtension {
5
6 var contentHandler: ((UNNotificationContent) -> Void)?
7 var bestAttemptContent: UNMutableNotificationContent?
8
9 override func didReceive(_ request: UNNotificationRequest, withContentHandler contentHandler: @escaping (UNNotificationContent) -> Void) {
10 self.contentHandler = contentHandler
11 bestAttemptContent = (request.content.mutableCopy() as? UNMutableNotificationContent)
12
13 // Get the custom data from the notification payload
14 if let notificationData = request.content.userInfo["data"] as? [String: Any] {
15 // Grab the attachment
16 if let urlString = notificationData["attachment-url"] as? String,
17 let fileUrl = URL(string: urlString) {
18 // Download the attachment
19 URLSession.shared.downloadTask(with: fileUrl) { (location, response, error) in
20 if let location = location {
21 // Move temporary file to remove .tmp extension
22 let tmpDirectory = NSTemporaryDirectory()
23 let tmpFile = "file://".appending(tmpDirectory).appending(fileUrl.lastPathComponent)
24 let tmpUrl = URL(string: tmpFile)!
25 try! FileManager.default.moveItem(at: location, to: tmpUrl)
26
27 // Add the attachment to the notification content
28 if let attachment = try? UNNotificationAttachment(identifier: "", url: tmpUrl) {
29 self.bestAttemptContent?.attachments = [attachment]
30 }
31 }
32 // Serve the notification content
33 self.contentHandler!(self.bestAttemptContent!)
34 }.resume()
35 }
36 }
37 }
38
39 override func serviceExtensionTimeWillExpire() {
40 // Called just before the extension will be terminated by the system.
41 // Use this as an opportunity to deliver your "best attempt" at modified content, otherwise the original push payload will be used.
42 if let contentHandler = contentHandler, let bestAttemptContent = bestAttemptContent {
43 contentHandler(bestAttemptContent)
44 }
45 }
46 }
It may feel like a lot is going on here but in fact it is all quite simple. We simply check to see if we have a URL within our payload. We then use this URL to download the content to a temporary file and attempt to display this.
Note: Rich notifications have a timeout called by the system, if the original content has not been downloaded then the original payload without the rich content will be displayed. It is therefore considered best practice to make sure the notification makes sense without the rich content.
Testing your integration
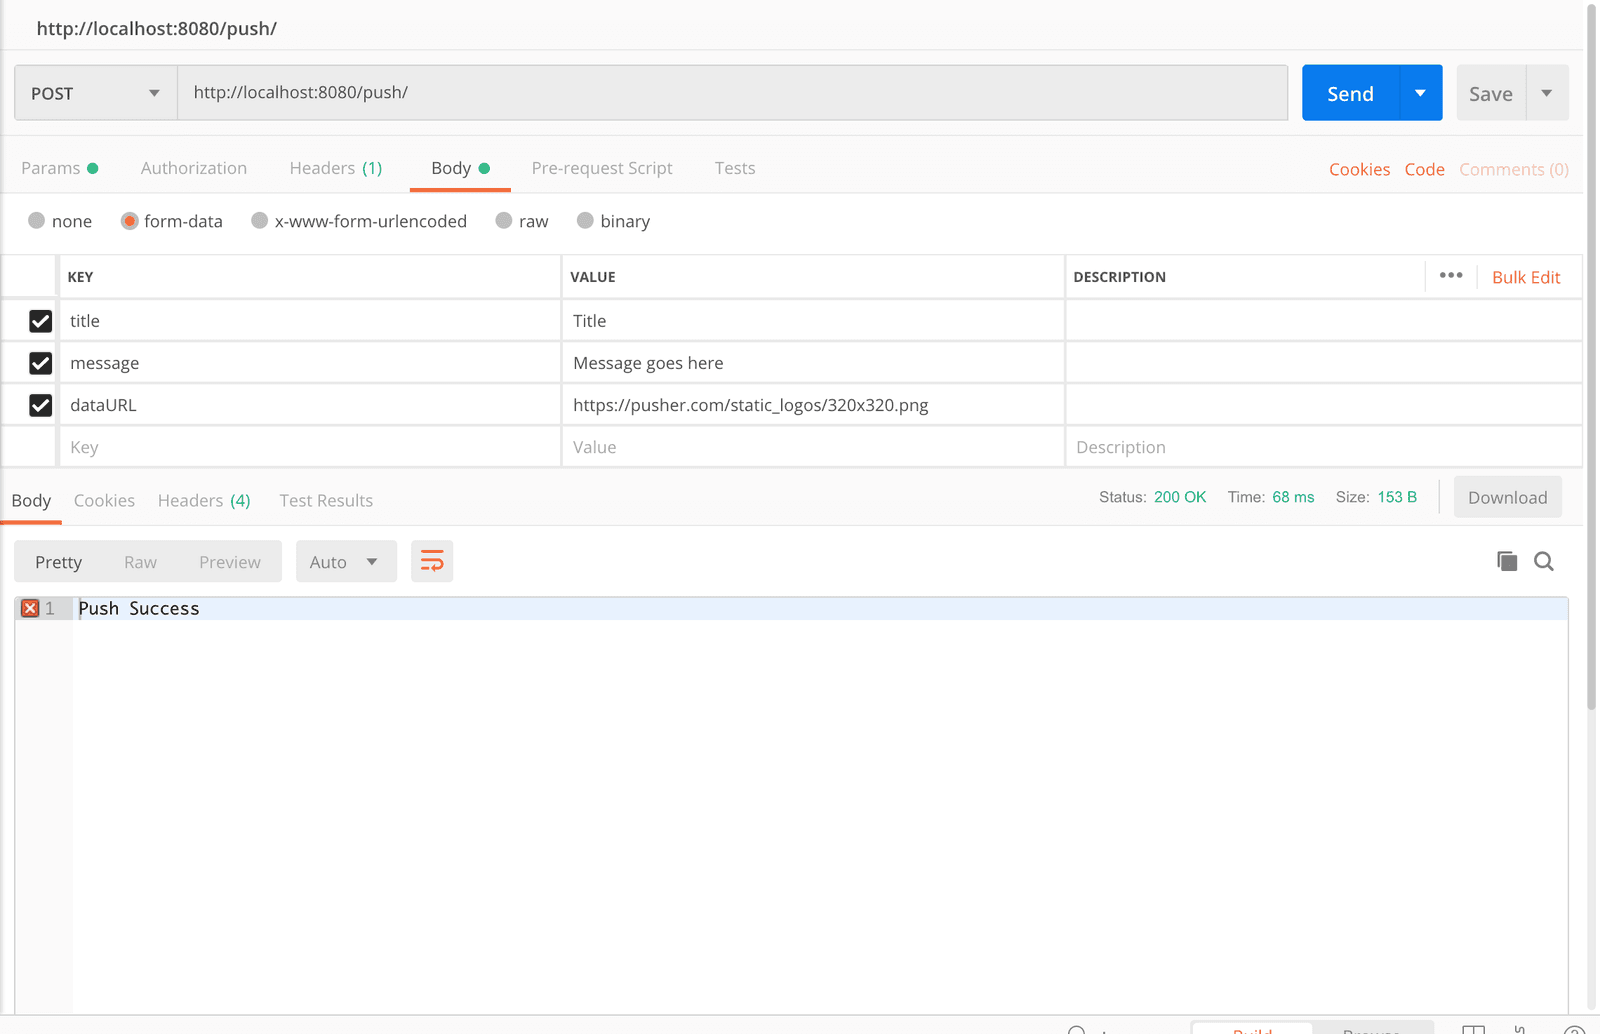
Now we can begin testing our integration. If you have closed your Vapor project reopen it in the usual way in Xcode and hit the run button. You should see a message in the console saying it has started and is listening on http://localhost:8080. To begin our first make sure the iPhone is on the lock screen. Our test requires us to use Postman (or another REST client) to pass data through. Open postman or your equivalent REST client and set it up so that it looks like this.
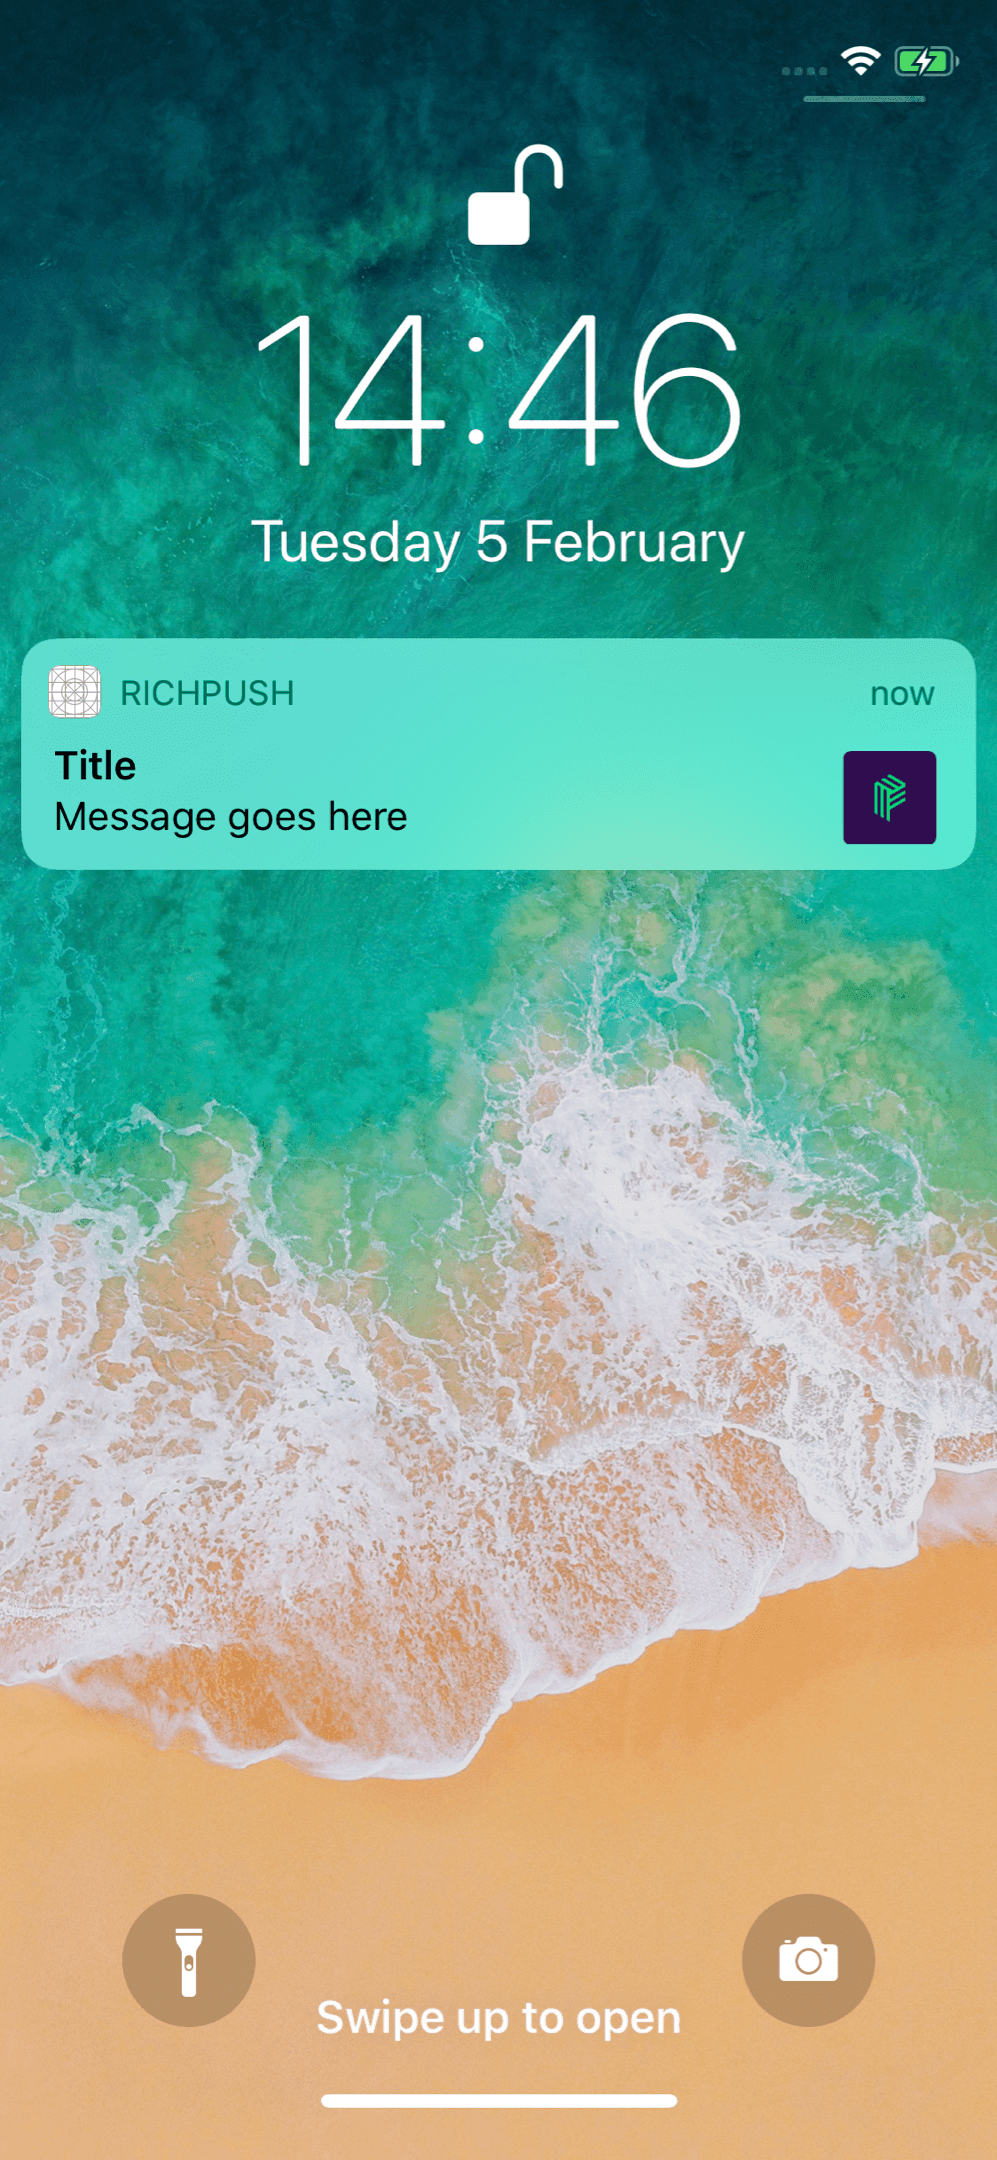
This will show a notification like below. You can force touch to see the full image like the image on the right.
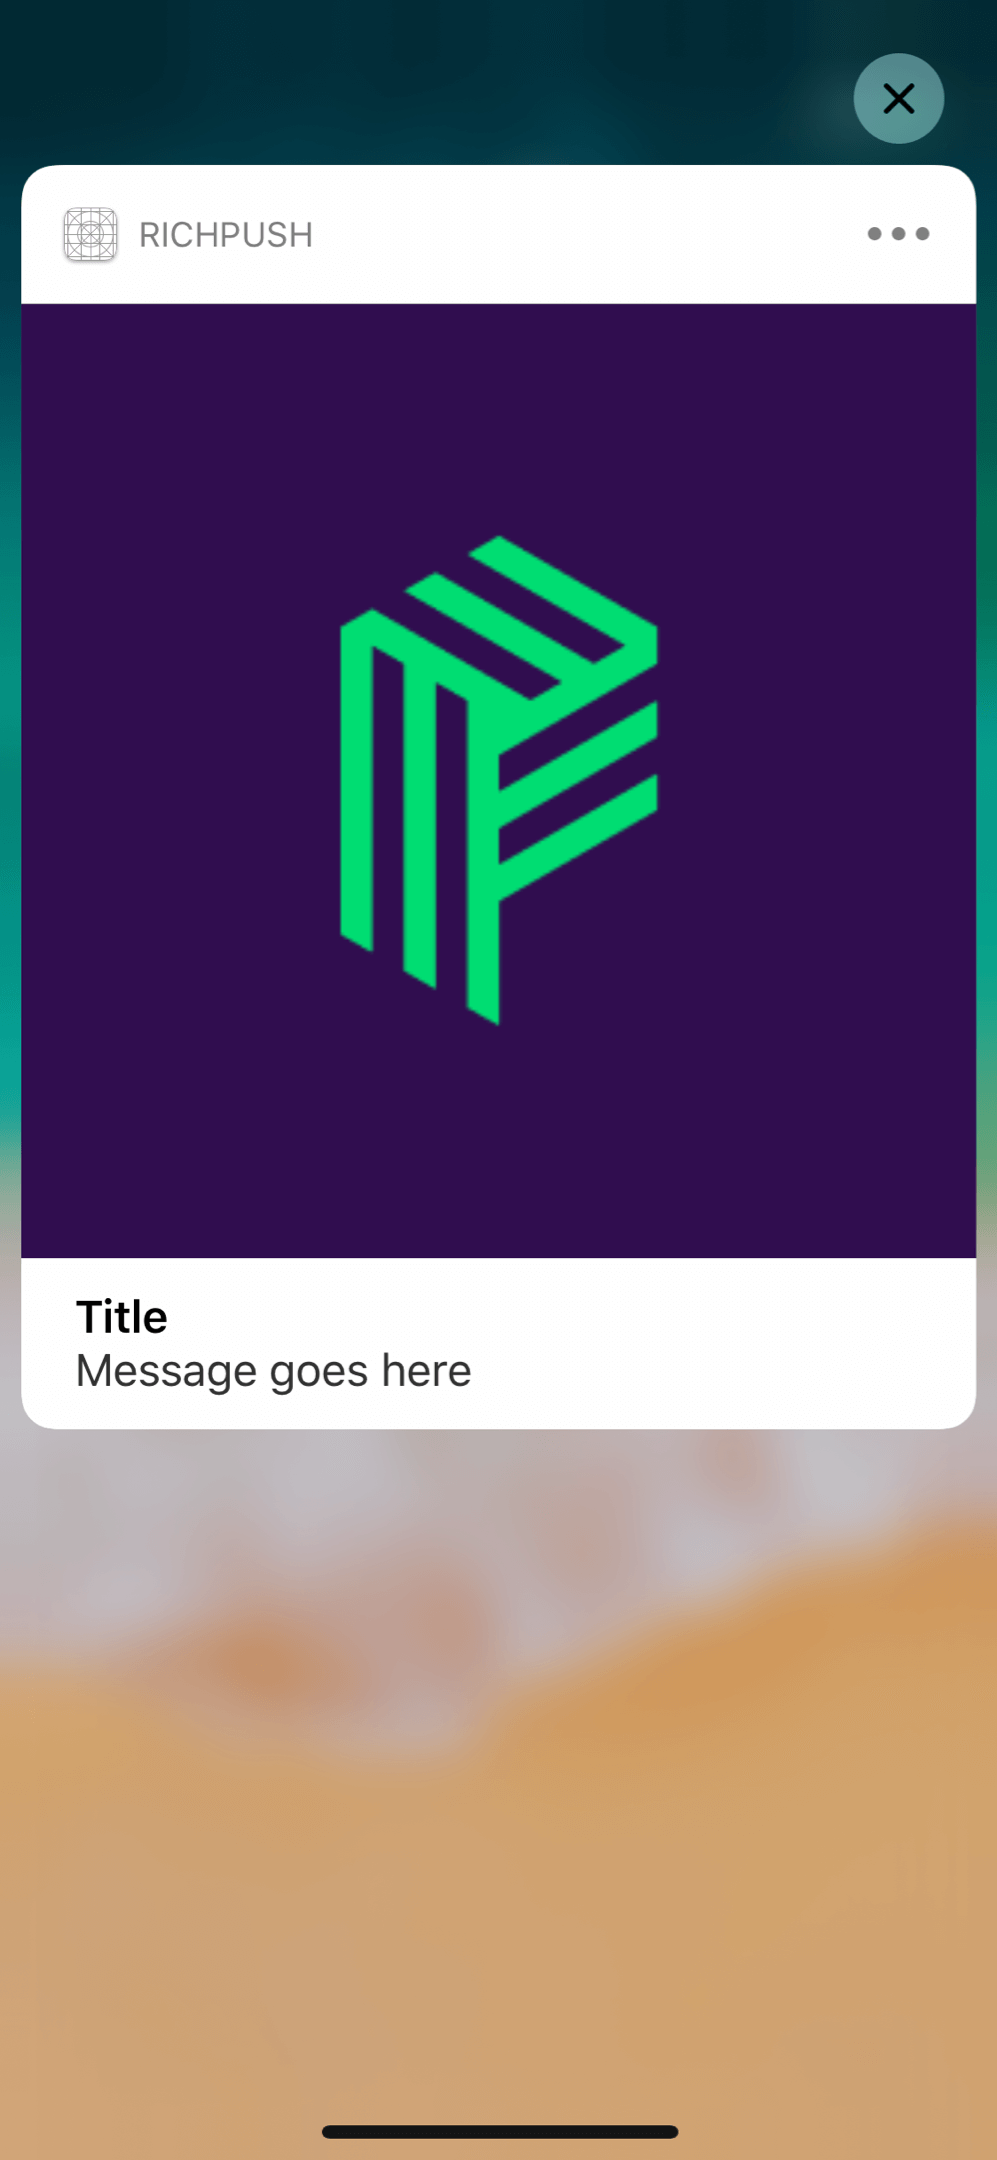
You can change the URL in the post request to contain anyone of the types discussed in the first part of this tutorial. For example you may which to show a video, gif or audio clip.
Conclusion
In this part of the tutorial we have learnt how to handle both text notifications and rich notifications in our iOS application. We also learnt how we can test the notifications using postman and change the data that we are sending.
The source code for this project can be found here.


© 2025 Pusher Ltd. All rights reserved.
Pusher Limited is a company registered in England and Wales (No. 07489873) whose registered office is at MessageBird UK Limited, 3 More London Riverside, 4th Floor, London, United Kingdom, SE1 2AQ.