- Products

- Developers
- User stories
- Blog
- Pricing

Send Push Notifications to your iOS app
- Introduction
- Step 1 - Sign up for a Pusher account
- Step 2 - Set up your free Beams instance
- Configuring APNs
- Uploading your APNs Key and Team ID
- Step 3 - Integrating the Beams SDK into your iOS project
- Step 4 - Start sending push notifications
- Bonus 🎁 - sending push notifications with rich media
- Step 1 - Start by creating a Notification Service Extension
- Step 2 - Trigger your request from the server
Introduction
Pusher Beams SDKs and API make it easy to send push notifications to all of your iOS, Android and web users with one request.
For iOS, the service manages your app credentials and the lifecycle of device tokens which are both required for every request to the Apple Push Notification service (APNs).
You can subscribe your app user’s registered device to Interests, which act like persistent Pub/Sub topics, so that you can update many devices with the same request. Create as many interests as you need, and send unlimited push notifications.
In this tutorial, we will show you how to successfully configure APNs, integrate Beams iOS SDK into your project, and send one push notification to your iPhone using one of our server side SDK’s.
Step 1 - Sign up for a Pusher account
Before we can start building, create a free sandbox Pusher account or sign in.
Step 2 - Set up your free Beams instance
Go to Pusher dashboard and create your first Beams instance. With a free plan, you can send unlimited push notifications to up to 1000 devices during a billing month.
This will take you to our quickstart wizard:
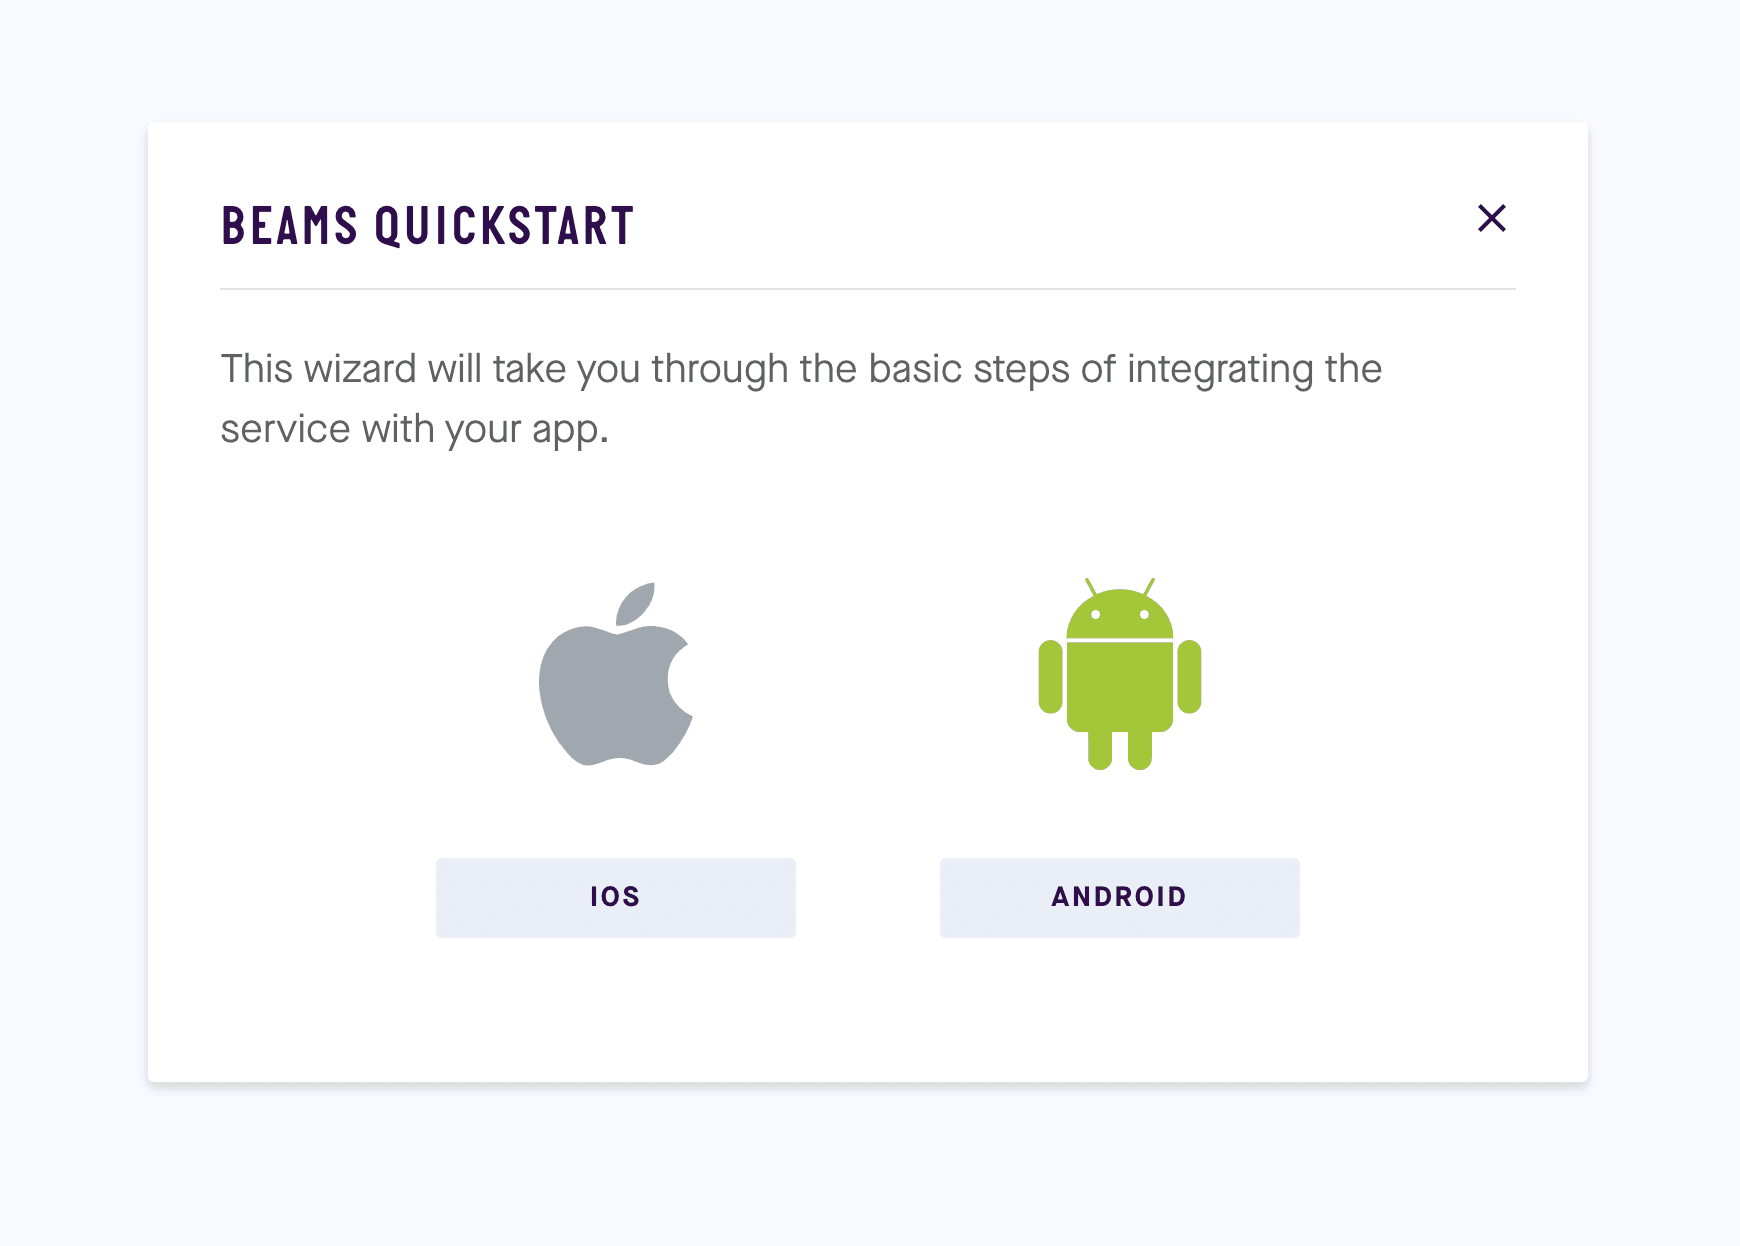
Select iOS and follow the instructions. The Quickstart will guide you through the following steps:
Configuring APNs
The first step of the Quickstart involves configuring your credentials with APNs.
All push notifications requests for iOS devices go through Apple Push Notification service (APNs), Apple’s service which delivers them to the device.
In order for Pusher to send them we need to generate APNs Key.
- Log in to your Apple Developer Portal.
- Navigate to the keys section in the Apple Developer Portal where you can create the key. Enter the key name by your choice and be sure to check APNs checkbox. Proceed if you’re happy with the configuration and download and save the key on your computer. In the next step we will upload the key into our dashboard and configure your iOS integration.
If you’re lost check the Beams docs about APNs configuration.
Uploading your APNs Key and Team ID
After you have configured your APNs Key, the next step is to upload your APNs Key through the Quickstart wizard:

We also need your team id which you can find here.
Step 3 - Integrating the Beams SDK into your iOS project
Now you will integrate the Beams SDK into your iOS project. This will send the deviceToken to Pusher’s Beams service, which manages its lifecycle if it changes or if the user uninstalls the app.
Our SDK is available both on CocoaPods and Carthage so pick the one that you’re most familiar with.
To integrate Beams into your Xcode project using CocoaPods, specify it in your Podfile:
pod 'PushNotifications'
Run the following command:
pod install
If you’re using Carthage specify the following in your Cartfile:
github "pusher/push-notifications-swift"
Run carthage update to build the framework and drag the built PushNotifications.framework into your Xcode project
Before we start using our shiny SDK we need to create an instance of Beams SDK.
First, you enable push notifications in the Xcode project. Select your project in the project navigator and click on the Capabilities tab. Enable push notifications by turning the switch ON.
Import the SDK in your AppDelegate file with:
import PushNotifications
Create an instance:
let pushNotifications = PushNotifications.shared
For your iOS app to receive push notifications, it must first register the deviceToken with APNs. You should do this when the application finishes launching, i.e. in its application:didFinishLaunchingWithOptions: handler:
1self.pushNotifications.start(instanceId: "YOUR_INSTANCE_ID") 2 self.pushNotifications.registerForRemoteNotifications()
APNs will respond with a device token identifying your app instance. This device token is passed to your application with the application:didRegisterForRemoteNotificationsWithDeviceToken: method.
Pusher requires the deviceToken in order to send push notifications to the app instance. Your app should register with Beams, passing along its device token. Add a handler for it:
self.pushNotifications.registerDeviceToken(deviceToken)
For more information check our SDK guide in the docs.
Finally, subscribe your device to an interest hello:
1self.pushNotifications.registerDeviceToken(deviceToken) { 2 try? self.pushNotifications.addDeviceInterest(interest: "hello") 3 }
When your server publishes a push notification to the interest hello, it will get passed to your app. This happens as a call to application:didReceiveRemoteNotification:fetchCompletionHandler: in your AppDelegate:
1func application(_ application: UIApplication, didReceiveRemoteNotification userInfo: [AnyHashable : Any], fetchCompletionHandler completionHandler: @escaping (UIBackgroundFetchResult) -> Void) { 2 print(userInfo) 3 }
Learn more about how Beams interests work.
Step 4 - Start sending push notifications
Push notifications are triggered by your servers to your Beams service. After a device using your iOS application subscribes to an interest on our service, your server can then send a push notification to that device by publishing to that interest.
Let's start by creating a file called publish-body.json with the request body for the publish:
1{ 2 "interests": [ 3 "hello" 4 ], 5 "apns": { 6 "aps": { 7 "alert": { 8 "title": "Hello", 9 "body": "Hello, world!🎉" 10 } 11 } 12 } 13 }
Before you run the curl command, you need to get the instance id and its secret. You can get this information in the Pusher Dashboard "Keys" tab for your Beams instance.
Now send a push notification to your phone by executing this command:
1curl -H "Content-Type: application/json" \ 2 -H "Authorization: Bearer $SECRET_KEY" \ 3 -X POST "https://$INSTANCE_ID.pushnotifications.pusher.com/publish_api/v1/instances/$INSTANCE_ID/publishes" \ 4 -d @publish-body.json
Note: Because push notifications don’t work in simulator, make sure that you’re running your application on a device (iPhone, iPad). We also recommend that you minimise your app by pressing the home button so that you see the push notification when it arrives.
You can send push notifications from your server by using one of our server SDKs. We currently support many languages from PHP, Python, Node.js to Java. Feel free to contact us on Twitter if we’re missing your language or with any other feedback about Pusher’s Beams SDKs and API.
Bonus 🎁 - sending push notifications with rich media
You can send rich media in a push notification to iOS devices, including images, GIFs, audio, and video clips. Including media in your push notification can increase the open rate and drive more engagement to your app.
Step 1 - Start by creating a Notification Service Extension
Choose File > New > Target and select Notification Service Extension.
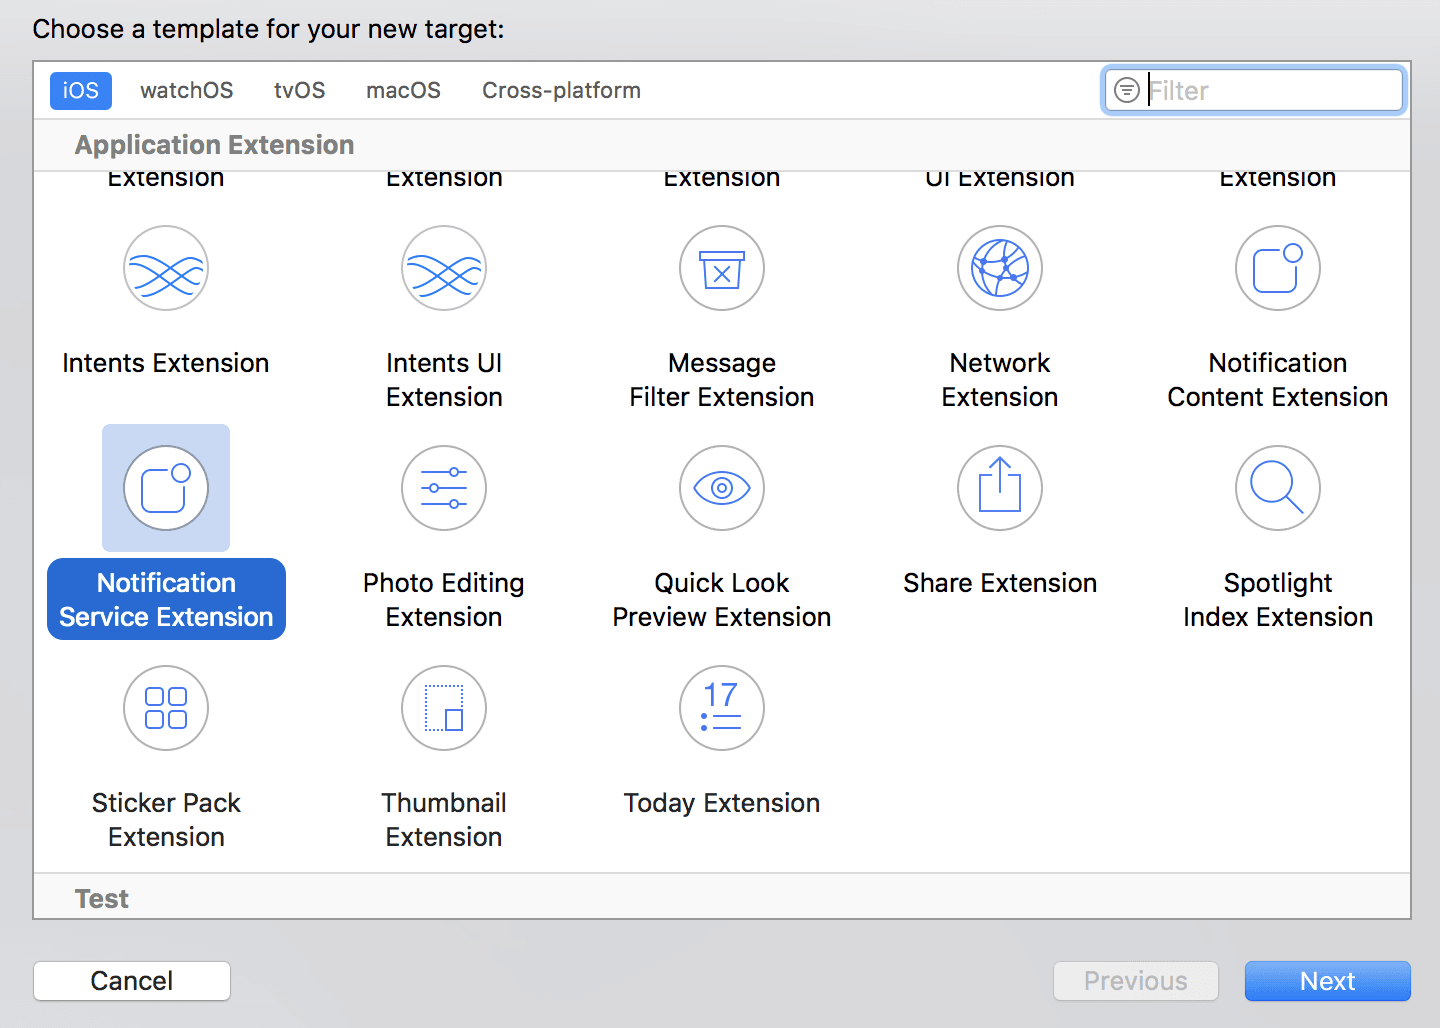
A Notification Service Extension essentially intercepts certain remote notifications and allows you to handle the contents of the payload, including downloading and displaying remote media attachments, before displaying the notification to the user.
Once you’ve added the target, open it up, and you’ll see a couple of delegate methods – one for receiving a notification request and one for handling the expiration of the service extension. We’ll be focusing on the first one, didReceive(_:withContentHandler:).
The code in this method should look like this:
1self.contentHandler = contentHandler
2 bestAttemptContent = (request.content.mutableCopy() as? UNMutableNotificationContent)
3
4 // Get the custom data from the notification payload
5 if let notificationData = request.content.userInfo["data"] as? [String: String] {
6 // Grab the attachment
7 if let urlString = notificationData["attachment-url"], let fileUrl = URL(string: urlString) {
8 // Download the attachment
9 URLSession.shared.downloadTask(with: fileUrl) { (location, response, error) in
10 if let location = location {
11 // Move temporary file to remove .tmp extension
12 let tmpDirectory = NSTemporaryDirectory()
13 let tmpFile = "file://".appending(tmpDirectory).appending(fileUrl.lastPathComponent)
14 let tmpUrl = URL(string: tmpFile)!
15 try! FileManager.default.moveItem(at: location, to: tmpUrl)
16
17 // Add the attachment to the notification content
18 if let attachment = try? UNNotificationAttachment(identifier: "", url: tmpUrl) {
19 self.bestAttemptContent?.attachments = [attachment]
20 }
21 }
22 // Serve the notification content
23 self.contentHandler!(self.bestAttemptContent!)
24 }.resume()
25 }
26 }
It may seem like a lot is happening here, but it’s straightforward really. Initially, we are exploring the notification’s payload for the dictionary named data that contains the key attachment-url. If this key exists, we download the media at the URL specified in the key’s value. See, easy!
The URLSession downloads the media to temporary storage and appends a .tmp file extension, which we need to remove so that the application can infer the file type and display it. So, to do this we need to move the file to the application’s local File Manager and that’s it – our media is ready to be attached to the notification content, and served to the user.
This is all the code needed in your Xcode project to display rich notifications in your application.
Step 2 - Trigger your request from the server
Now, you just need to make a few adjustments to the server that triggers push notifications to your application using our API.
Earlier, we mentioned that only certain notifications were intercepted by the Service Extension. So, how does iOS know which notifications to intercept? Well, you just add a mutable-content tag to your payload and set it to 1.
The final thing you need to do is to add the media attachment URL to the payload in its own dictionary that we’ve named ‘data’, but you can name it anything. Simply add a key-value pair to the dictionary, and as long as the key you’ve used in your Service Extension is the same as the key here, you’re done!
The following example is using a Node.js:
1pusher.notify(['hello'], { 2 apns: { 3 aps: { 4 alert: { 5 title: "Pusher's Native Push Notifications API", 6 subtitle: "Bringing you iOS 10 support!", 7 body: "Now add more content to your Push Notifications!" 8 }, 9 "mutable-content": 1, 10 category: "pusher" 11 }, 12 data: { 13 "attachment-url": "https://pusher.com/static_logos/320x320.png" 14 } 15 } 16 });
That’s it! You can now send images, videos, audio, and GIFs!
You can change the URL to point to another media file, and see the results for yourself.


© 2026 Pusher Ltd. All rights reserved.
Pusher Limited is a company registered in England and Wales (No. 07489873) whose registered office is at MessageBird UK Limited, 3 More London Riverside, 4th Floor, London, United Kingdom, SE1 2AQ.