- Products

- Developers
- User stories
- Blog
- Pricing

Real-Time Chat with EmberJS 2 and Pusher
How to build real-time chat with EmberJS and Pusher's real-time WebSocket service.
Introduction
EmberJS is a large, fully featured framework that aims to provide a fantastic base for creating large, complex client side web applications. As part of our Building Realtime Apps Tutorials series, today we’re going to look at how we can integrate Pusher into an Ember 2 application to build a simple real-time chat app.
If you’d like to browse the source code it’s all available on GitHub and you can also try out the application on Heroku.
The Server
To get started we will need a server that will take a POST request with a new message and trigger an event on the Pusher channel that the clients are subscribed to. In the ReactJS chat tutorial we used Python and the Flask library, in the Android chat tutorial we used Node and Express; today we’ll use Ruby and Sinatra, a small framework for building web applications. All these servers can be used interchangeably as they all respond to the same API. Since the Ember application is going to be running on a different domain to the server, we’ll need to enable CORS so the Ember server is able to make requests to our backend server.
First we’ll create a Gemfile to list our dependencies and then run bundle install to install them:
1source 'https://rubygems.org' 2gem 'sinatra' 3gem 'sinatra-cross_origin' 4gem 'pusher' 5gem 'dotenv'
We’ll need sinatra-cross_origin to allow our Ember application to talk to our server, given that we’ll be running our Ember application on a separate server. We’ll use the Dotenv gem to let us define environment variables in a .env file and have them loaded in for us. You’ll need to store three values in this file, all of which can be found on your Pusher dashboard:
1PUSHER_APP_ID="YOUR_APP_ID_HERE" 2PUSHER_APP_KEY="YOUR_KEY_HERE" 3PUSHER_APP_SECRET="YOUR_SECRET_HERE"
We can then create our server in app.rb:
1require 'sinatra' 2require 'sinatra/cross_origin' 3require 'rack/utils' 4 5require 'pusher' 6require 'dotenv' 7 8Dotenv.load 9 10Pusher.app_id = ENV["PUSHER_APP_ID"] 11Pusher.key = ENV["PUSHER_APP_KEY"] 12Pusher.secret = ENV["PUSHER_APP_SECRET"] 13 14post '/messages' do 15 cross_origin 16 Pusher.trigger('messages', 'new_message', { 17 text: Rack::Utils.escape_html(@params["text"]), 18 username: Rack::Utils.escape_html((@params["username"]), 19 time: Rack::Utils.escape_html((@params["time"]) 20 }) 21end
Note that in a real application you’d want to be more strict about which domains you enable CORS for, rather than enabling requests from all domains, as the code above does. We’ve also used Rack’s escape_html utility function to ensure any potentially dangerous user input is escaped first.
We use Dotenv.load to source the .env file, and then give the Pusher Ruby client the data stored in the environment variables. Then we accept POST requests to /messages and trigger a new_message event on the messages channel, passing through the text of the message, a username and the time that it happened.
You can run the server with bundle exec ruby app.rb, and Sinatra will start up on http://localhost:4567.
The Client
Now we have our server up and running it’s time to switch our focus to the client.
Ember CLI
The recommended way of getting an Ember app up and running is to use the Ember CLI tool. You can install it with npm:
npm install -g ember-cli
The Ember CLI provides a tonne of useful functionality that we’ll come across as we build the app.
To get started, we’ll run ember new pusher-chat to generate an Ember application. This will create all the files you need and install dependencies too, both through npm and also with Bower.
At the time of writing Ember CLI is on version 1.13.8 and by default installs Ember 1, rather than the latest version of Ember 2. To fix this, open bower.json and update the Ember dependency to the latest, which for me is 2.1.0. Once you’ve done that you’ll need to run bower install to get the latest version of Ember. If Bower asks you to resolve a conflict by picking an Ember version to install, tell it to install the latest version.
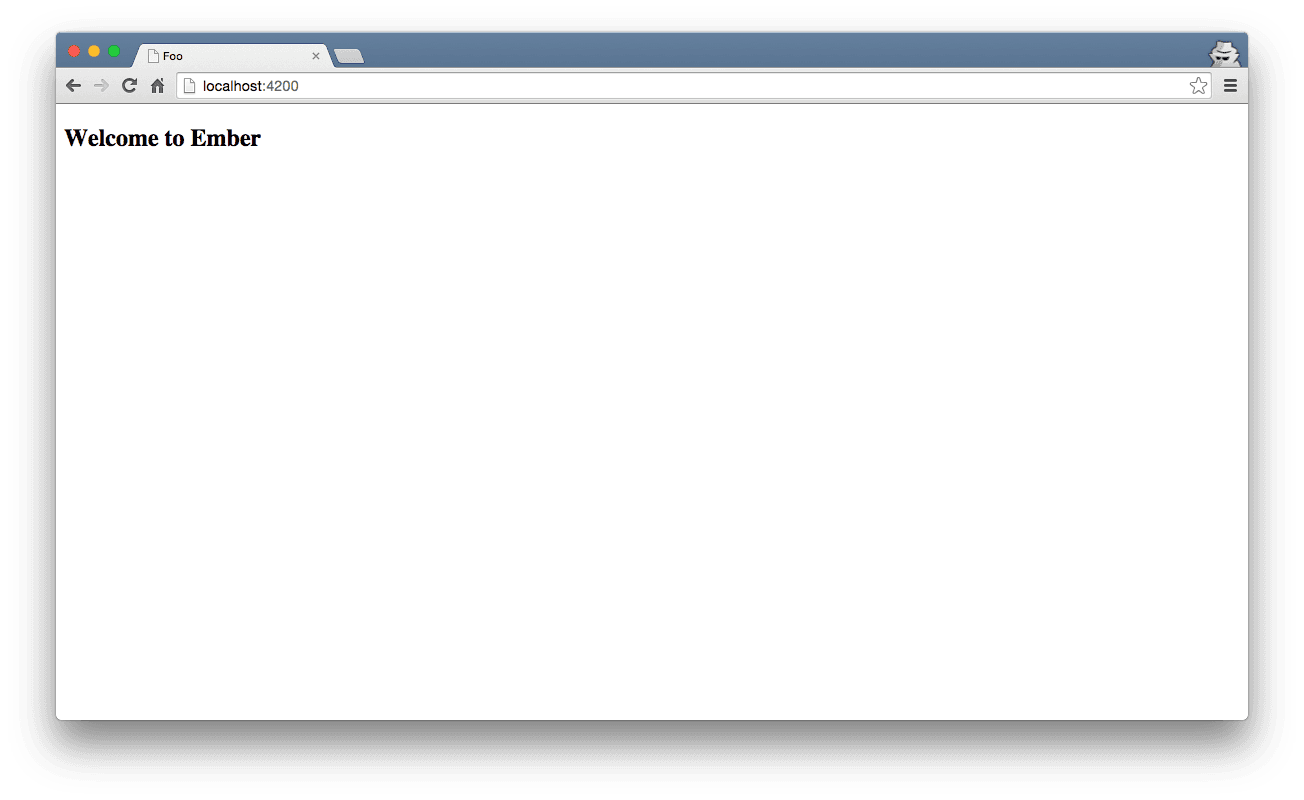
You can now run ember serve to have your application run on port 4200. As you make changes your application will reload in the browser for you – try changing the contents of pusher-chat/app/templates/application.hbs and note that the changes are reflected in the browser automatically for you.
Ember Services
Ember services are the perfect way to store data that components need to access. Examples of this include authentication details for the currently logged in user, or small wrappers around 3rd party APIs that your application might call out to.
We’re going to create two services for our application. The first will be responsible for storing the name of the active user, and for telling other components if a user is logged in or not. The second component will wrap the Pusher JavaScript client. By creating everything in Ember services we can use the Ember API for injecting these services into other parts of our application that need them, as we’ll see later.
We can generate a new service with ember g service current-user. This will create app/services/current-user.js and a corresponding test file that we’ll ignore for now. The current user service will be responsible for storing the user’s name that they enter before they can start chatting. It will have one property, user, and provide a method for setting the user and another that returns true if we have a user currently. We’ll use this method to decide if a user is logged in or not.
1import Ember from 'ember'; 2 3export default Ember.Service.extend({ 4 user: null, 5 6 setUser(username) { 7 this.set('user', username); 8 }, 9 10 hasUser() { 11 return this.get('user') != undefined; 12 } 13});
Now we have this service, we’re ready to build the first component that will use it.
Ember Components
Ember has always embraced components as the way of building web applications, and Ember 2.0 deprecated controllers in favour of using components throughout your application. The Ember 2.0 release blog post discusses this.
Our first component will be responsible for ensuring that the user is logged in before showing them the chat application. This component will encompass the entire chat application, so we’ll call it chat-app. We can generate a component using the Ember CLI tool. Because Ember tries to align its components with the web components specification, Ember component names must have at least one dash in them.
ember g component chat-app
That will generate a component JavaScript file and a Handlebars template. Firstly, head to the JavaScript file. We first need to inject the current-user service into this component.
1export default Ember.Component.extend({ 2 currentUserService: Ember.inject.service('current-user'), 3});
To give a component access to a service we use Ember’s injector to access it.
We can then create a computed property which will be set to true or false depending on if we have a username set. We need this property in the component because we’ll use it in the template. We’ll tell Ember that it should recalculate the value of this function every time currentUserService.user changes, so that if another component updates the current user, we’ll know about it.
1export default Ember.Component.extend({ 2 currentUserService: Ember.inject.service('current-user'), 3 nameIsSet: Ember.computed('currentUserService.user', function() { 4 return this.get('currentUserService').hasUser(); 5 }) 6});
The template, chat-app.hbs, renders different content based on if we have a username or not:
1{{#if nameIsSet}} 2 <h3>Welcome <b>{{ userName }}</b></h3> 3 {{#chat-messages}}{{/chat-messages}} 4{{else}} 5 {{#chat-username}}{{/chat-username}} 6{{/if}}
If we have a name, we’ll show the chat-messages component, which will list all the messages and allow the user to add new ones. If it’s not, we’ll show the chat-username component, which will ask the user for their name. Let’s build that one next.
Getting the user’s name
First, we’ll generate a new component:
ember g component chat-username
This component will show the user a form to enter their name. When they do, the component will get the new name and send it to the current user service. In the component’s JavaScript we need to inject the current user and define an action for our form to call.
1import Ember from 'ember'; 2 3export default Ember.Component.extend({ 4 currentUserService: Ember.inject.service('current-user'), 5 actions: { 6 userSubmittedName() { 7 const user = this.get('userName'); 8 this.get('currentUserService').setUser(user); 9 }, 10 } 11});
The template for this component just shows the input box and a button that calls the action we defined:
1<p>Enter your Twitter name and start chatting!</p> 2<div> 3 {{input placeholder="jack" value=userName }} 4 5 <button {{action "userSubmittedName"}}> 6 Start chat 7 </button> 8</div>
When the user hits the button, we access the userName property, which we bound to the input, and set that as the new value in the current-user service.
Adding Pusher
Before we create the chat-messages component we need to install and configure the Pusher JavaScript client. We can install the library with Bower:
bower install --save pusher
You’ll also need to get your application key from the Pusher Dashboard. If you have a piece of data that your Ember application needs the best way to do this is to add it to your app’s environment. To do this, head to config/environment.js and look for the APP object. Update it to pass the Pusher key in:
1APP: { 2 // Here you can pass flags/options to your application instance 3 PUSHER: { 4 key: 'YOUR_APP_KEY_HERE', 5 }, 6}
Let’s create a small Ember service to wrap the Pusher API. By doing this we’ll make it easy for any number of components to use the service and listen for messages.
ember g service pusher
Make sure you remember to import ENV, so we can access the Pusher key we set up earlier.
1import Ember from 'ember'; 2import ENV from 'pusher-chat/config/environment'; 3 4export default Ember.Service.extend({ 5 init() { 6 this._super(...arguments); 7 8 this.set('pusher', new Pusher(ENV.APP.PUSHER.key, { 9 encrypted: true, 10 })); 11 }, 12 13 onMessage(fn) { 14 const channel = this.get('pusher').subscribe('messages'); 15 channel.bind('new_message', fn); 16 } 17});
This service will create an Pusher instance and provide a method allowing us to register callbacks when the new_message event is triggered on the messages channel – this is the same channel and event combination that we used when creating our server.
Chat Messages
We’re finally ready to implement the component that’s going to list existing messages and let the user send new ones.
ember g component chat-messages
Let’s start with the template. First we’ll loop over each message and render a chat-message component, which is a simple component that just renders the text of each message. Then we’ll have a form to allow the user to send new messages.
1{{#each messages as |message|}} 2 {{#chat-message message=message}}{{/chat-message}} 3{{/each}} 4<div> 5 {{ textarea value=newMessage class="input-message col-xs-9" id="message-input" }} 6 <button {{action "newMessage"}}>Send</button> 7</div>
Next, let’s make sure when the component is created that we subscribe to events from Pusher and start getting new messages. To do this we’ll need to inject the pusher service we created into the component.
1export default Ember.Component.extend({ 2 pusherService: Ember.inject.service('pusher'), 3 messages: [], 4 init() { 5 this._super(...arguments); 6 7 this.get('pusherService').onMessage((data) => { 8 this.get('messages').pushObject(data); 9 }); 10 },
Every time we get a message from Pusher we’ll add the object onto the array of messages that this controller is tracking. By using the pushObject method that Ember provides, we ensure that Ember is aware that we’ve added a new message and will update the view.
Next let’s add the ability to send a message. In our template we have a button that will trigger the newMessage action when clicked. When the user clicks that button we’ll make an HTTP request to our server, passing the text of the message, the current time and the user’s name. Ember comes with jQuery by default, so we can use $.post to make the request. We’ll inject the currentUser service so we can access the user’s name.
1import Ember from 'ember'; 2import $ from 'jquery'; 3 4export default Ember.Component.extend({ 5 currentUserService: Ember.inject.service('current-user'), 6 ... 7 actions: { 8 newMessage() { 9 const text = this.get('newMessage'); 10 const username = this.get('currentUserService').get('user'); 11 const time = new Date(); 12 13 $.post('http://localhost:4567/messages', { text, username, time }); 14 } 15 } 16});
With that done users are now able to sign in with their username and send messages to our Ruby server. When the server gets the message it triggers a Pusher event and our client then updates to show those messages.
The final step is to build the small chat-message component that will display each individual message.
ember g component chat-message
Our template, chat-message.hbs will display the username from the message along with two properties that we’ll define in our component, timestamp and text.
1<div class="message-data"> 2 <span class="author">{{ message.username }}</span> 3 <span class="timestamp">{{ timestamp }}</span> 4</div> 5 6<p class="message-body">{{ text }}</p>
In the JavaScript we define two computed properties. timestamp uses the strftime library to format the time nicely, and we use the he library to decode our HTML from the server, which will have had HTML entities encoded.
1import Ember from 'ember'; 2 3export default Ember.Component.extend({ 4 timestamp: Ember.computed('message.time', function() { 5 return strftime('%H:%M:%S %P', new Date(this.get('message').time)); 6 }), 7 text: Ember.computed('message.text', function() { 8 return he.decode(this.get('message').text); 9 }), 10});
With that, we’re done! The user will now see a nicely formatted date, a properly decoded text message and the name of the user who sent the message.
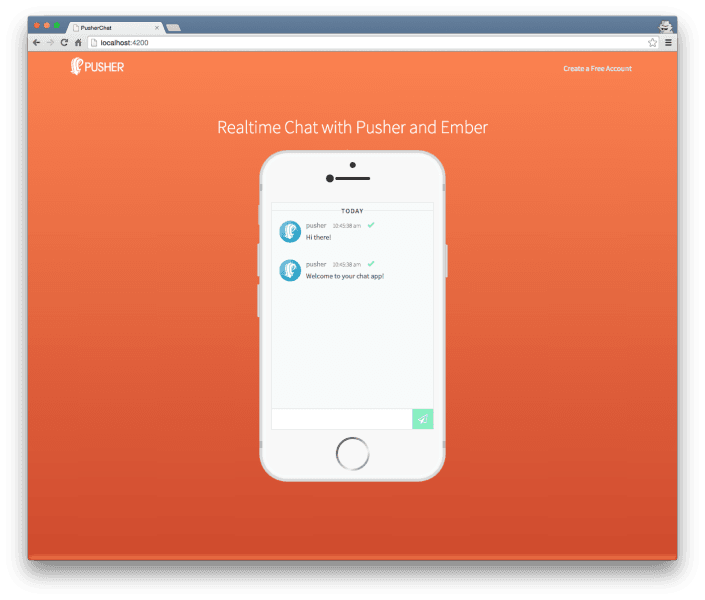
We’ve spruced up the example app with some additional HTML and styling not shown in this post. If you’d like to take a further look you can find the entire source on GitHub or try it out in your browser.
Conclusion
Hopefully this has served as a good introduction to building real-time chat with EmberJS 2 and Pusher. There’s a lot of scope for improving our application too:
- You could use Pusher client events to send messages directly between clients. If you need to persist in your database you could listen for Pusher webhooks on the server side.
- Presence channels could be used to enable you to add a list of active users to your application.
- Ember CLI generated a lot of empty test files for all our components and services. You could follow the Ember guide on testing and add some tests for the functionality we have so far.
Further Reading


© 2025 Pusher Ltd. All rights reserved.
Pusher Limited is a company registered in England and Wales (No. 07489873) whose registered office is at MessageBird UK Limited, 3 More London Riverside, 4th Floor, London, United Kingdom, SE1 2AQ.