- Products

- Developers
- User stories
- Blog
- Pricing

Getting started with webpack - Part 7: More optimizations
Introduction
In this part, we will consider how to optimize our build for a production environment. We will be looking at how we can reduce the size of our CSS, allow for file caching using hashed file names, and more.
Let’s get started.
NOTE: Source code of the application is available on GitHub.
In the previous post we learned how to use webpack to bundle images in our application. We considered how to compress the images and then serve the compressed images. We also considered how to use the url-loader to serve the Base64 representation of the image, when it is less than 8kb.
Prerequisites
To follow along in this series, you need the following requirements:
- Completed all previous parts of the series.
- Basic knowledge of JavaScript.
- Basic knowledge of the CLI.
- A text editor. VS Code is recommended.
- Node.js (>= v6.11.5) and npm installed locally.
Let’s continue with the series.
Setting up
For this part, we have moved a few file structure changes. There is a skeleton directory you can get from the repo if you would like to follow along. There is also a completed Part-7 folder you can use as reference.
Here are some of the changes to the file structure we made. You can look through to see what changed but here are the important changes made:
- The
dist/server.jsfile has been moved to the root directory. This file has no business inside thedistdirectory. We only want thedistdirectory to contain files generated by webpack. - The
dist/index.htmlfile has been moved tosrc/index.htmlfor the same reason as above. - The
srcdirectory now organizes the assets intojs,images, andscss. - The webpack configuration file was modified to build CSS files to
dist/assets/css, image files todist/assets/images, and JavaScript files todist/assets/js. - The new paths have been updated across all affected files to reflect the new directory structure.
OptimizeCssAssetsPluginonly runs when building for production.- We renamed the npm
buildscript todev.
Before we get started, run the following command in the root of the project to install the npm dependencies:
$ npm install
When the installation is complete, we can decide what additional plugins we want to use for this part and install them. Here are the plugins we will be using and what they do:
- purgecss-webpack-plugin - this will remove all the unused CSS selectors from the CSS files. This will make us have smaller CSS files.
- postcss-loader - loader for webpack to process CSS with PostCSS.
- precss - lets you use Sass-like markup and staged CSS features in CSS.
- autoprefixer - PostCSS plugin to parse CSS and add vendor prefixes to CSS rules.
- html-webpack-plugin - simplifies creation of HTML files to serve your bundles.
Optimizing our CSS files
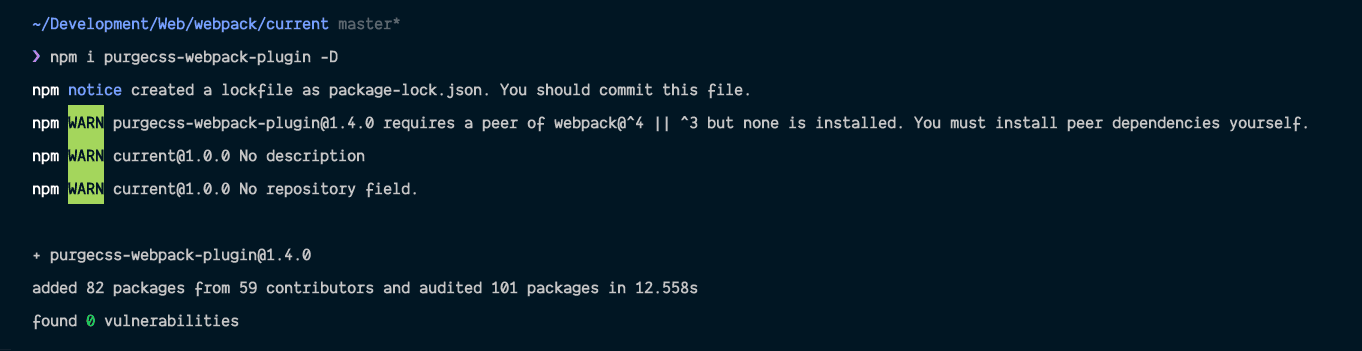
The first thing we want to do is optimize our CSS. We will do this using the purgecss-webpack-plugin. This plugin will help us remove all unused CSS from our stylesheet. After this, we will minify the CSS files so they have an even smaller size when the build is complete.
Open up your terminal application and run the following code:
$ npm i purgecss-webpack-plugin -D
When the installation is complete, let’s add some external CSS to really see the effects. Let’s pull in Bootstrap using npm:
$ npm i bootstrap --save
This will install the entire Bootstrap library as a dependency. We can then open the src/scss/app.scss and import the Bootstrap library at the top of the file:
1// File: ./src/scss/app.scss 2 @import '~bootstrap/scss/bootstrap'; 3 4 // [...]
Next, let’s add the postcss-loader which is required by Bootstrap. In your terminal run the following command:
$ npm i postcss-loader autoprefixer precss -D
Next, open the webpack configuration file and add the postcss-loader to the file between the css-loader and sass-loader:
1// File: ./webpack.config.js 2 3 // [...] 4 module.exports = { 5 // [...] 6 7 module: { 8 rules: [ 9 { 10 test: /\.scss$/, 11 use: [ 12 // [...] 13 14 'css-loader', 15 16 { 17 loader: 'postcss-loader', 18 options: { 19 plugins: function() { 20 return [require('precss'), require('autoprefixer')]; 21 } 22 } 23 }, 24 25 'sass-loader', 26 27 // [...] 28 ] 29 }, 30 31 // [...] 32 ] 33 } 34 35 // [...] 36 } 37 38 // [...]
Now if we build, we will see the entire Bootstrap library has been loaded into the generated file in dist/assets/css/app.css. However, since we will not be using all the available classes Bootstrap has to offer, let’s use the purgecss-webpack-plugin to remove all unused classes from CSS file.
Open the webpack configuration file and import the required packages at the top, and then add the plugin to webpack as seen below:
1// File: ./webpack.config.js 2 // [...] 3 const glob = require('glob'); 4 const PurgeCssPlugin = require('purgecss-webpack-plugin'); 5 6 module.exports = { 7 // [...] 8 } 9 10 if (env === 'production') { 11 // [...] 12 13 module.exports.plugins.push( 14 new PurgeCssPlugin({ 15 paths: glob.sync(path.join(__dirname, 'src') + '/**/*', { nodir: true }) 16 }) 17 ); 18 }
As seen above, we first pull in the plugin, then to make sure we only run PurgeCSS when we are in production, we add the plugin inside our if check.
If you run the command:
$ npm run dev
You will notice that all the Bootstrap CSS classes, used or unused, will be included in the generated file.

However, if you run the command:
$ npm run prod
If you are a Windows user, and you have some issues with running the production command, do the following:
First, run
npm i cross-env -Dto install thecross-envpackage, then run the command below to build for production:
npx cross-env NODE_ENV=production webpack
You will notice that almost all Bootstrap classes are absent from the class. Remember, the PurgeCSS plugin will scan the HTML file(s) to see which selectors are used and which isn’t.

As you can see from both screenshots above, the file size reduced drastically when all the unused CSS selectors are removed.
Bundling our HTML file
Earlier, we mentioned that the HTML file is no longer in the dist directory. If you check the server.js however, you will notice the server will still try to load the index page from the dist/index.html file. Let’s use webpack to bundle our HTML.
In your terminal, run the following command:
$ npm i html-webpack-plugin -D
This will install the html-webpack-plugin. Next open the webpack configuration file, import and activate the plugin as seen below:
1// File: ./webpack.config.js 2 // [...] 3 const HtmlPlugin = require('html-webpack-plugin'); 4 5 module.exports = { 6 // [...] 7 8 plugins: [ 9 // [...] 10 11 new HtmlPlugin({ 12 filename: 'index.html', 13 minify: env === 'production' 14 ? { 15 collapseWhitespace: true, 16 removeComments: true, 17 removeRedundantAttributes: true, 18 removeScriptTypeAttributes: true, 19 removeStyleLinkTypeAttributes: true, 20 useShortDoctype: true 21 } 22 : false, 23 template: 'src/index.html' 24 }) 25 ], 26 27 // [...] 28 }; 29 30 // [...]
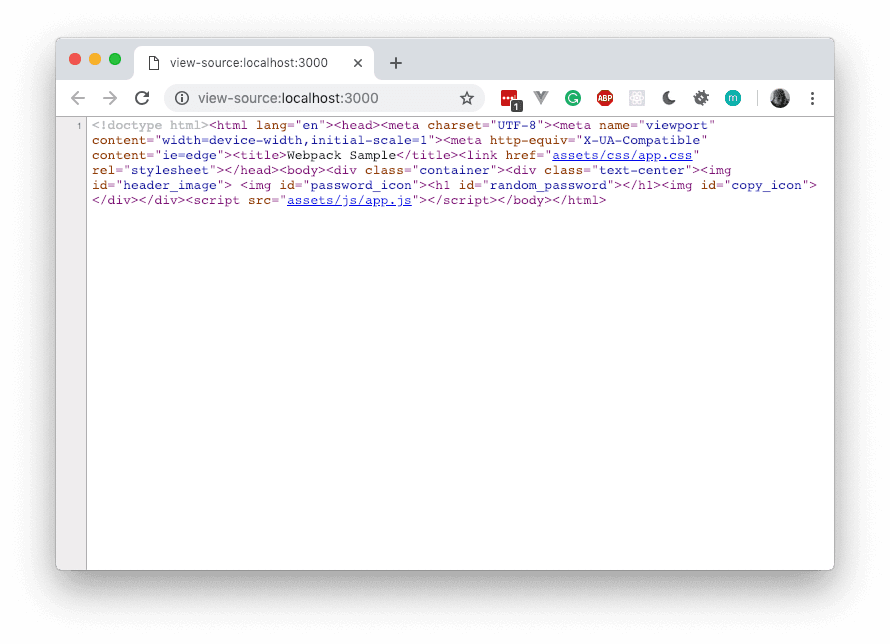
As seen above, we have added the plugin to our webpack build process. This plugin will copy our src/index.html file to dist/index.html. It will also inject our main CSS and JavaScript file to the copied HTML so we do not need to include it ourselves.
In the options, we add the minify option so it minifies the generated HTML when running in production. This will make the HTML file size smaller and thus load a little faster.
Now we can run the server to see the changes. If you view the source of the page you will notice the minified HTML:
$ npm run serve
The command above is a script we added to the package.json's script property. It will build the application and start the server.
Hashing our assets for browser caching
Now that we have optimized our assets for production, let’s see another thing we can do to make the assets cache ready.
Browsers can be instructed by a server to store copies of the assets locally so that when it is requested again it will just load the local version. This is useful because if we do it properly, we will have faster apps that load cached assets instead of making an HTTP request every time for a file that has not changed.
The problem, however, is, if we cache let’s say, index.css, and we make a change to how the file is, the browser has no way of knowing that a change has occurred on the server. This will cause the browser to keep serving the outdated version of the CSS file.
With webpack, we can bundle the assets with a hash included in the name of the file. The hash will be generated from an MD5 of the file as is. This means that if the file changes, the hash will also change. This way, when we change some assets, the browser will have to reload the file because it cannot find that file cached locally.
Let’s see how this will look. Currently, in the dist directory, our assets are stored with name.ext. Open the webpack config file and replace all occurrences of [name] with [name]-[contenthash].
[name] will be the name of the bundled file and the [contenthash] will be an MD5 generated from the contents of the file.
Note: For the
url-loaderthere is an issue that may make[contenthash]fail, so use[name]-[hash]instead.
You can read more about caching here.
Here is our new webpack config:
1// file: ./webpack.config.js 2 const webpack = require('webpack'); 3 const path = require('path'); 4 const glob = require('glob'); 5 const MiniCssExtractPlugin = require('mini-css-extract-plugin'); 6 const OptimizeCssAssetsPlugin = require('optimize-css-assets-webpack-plugin'); 7 const PurgeCssPlugin = require('purgecss-webpack-plugin'); 8 const HtmlPlugin = require('html-webpack-plugin'); 9 10 const env = process.env.NODE_ENV; 11 12 module.exports = { 13 mode: env == 'production' || env == 'none' ? env : 'development', 14 entry: { 15 app: [path.resolve(__dirname + '/src/js/app.js'), path.resolve(__dirname + '/src/scss/app.scss')] 16 }, 17 output: { 18 path: path.resolve(__dirname + '/dist'), 19 filename: 'assets/js/[name]-[contenthash].js' 20 }, 21 module: { 22 rules: [ 23 { 24 test: /\.scss$/, 25 use: [ 26 MiniCssExtractPlugin.loader, 27 'css-loader', 28 { 29 loader: 'postcss-loader', 30 options: { 31 plugins: function() { 32 return [require('precss'), require('autoprefixer')]; 33 } 34 } 35 }, 36 'sass-loader' 37 ] 38 }, 39 { 40 test: /\.js$/, 41 exclude: /node_modules/, 42 loader: 'babel-loader' 43 }, 44 { 45 test: /\.(png|jp(e*)g|svg)$/, 46 use: [ 47 { 48 loader: 'url-loader', 49 options: { 50 limit: 8000, 51 name: 'assets/images/[name]-[hash].[ext]' 52 } 53 } 54 ] 55 } 56 ] 57 }, 58 plugins: [ 59 new MiniCssExtractPlugin({ 60 filename: 'assets/css/[name]-[contenthash].css' 61 }), 62 new HtmlPlugin({ 63 filename: 'index.html', 64 minify: 65 env === 'production' 66 ? { 67 collapseWhitespace: true, 68 removeComments: true, 69 removeRedundantAttributes: true, 70 removeScriptTypeAttributes: true, 71 removeStyleLinkTypeAttributes: true, 72 useShortDoctype: true 73 } 74 : false, 75 template: 'src/index.html' 76 }) 77 ] 78 }; 79 80 if (env === 'production') { 81 module.exports.plugins.push( 82 new OptimizeCssAssetsPlugin({ 83 cssProcessorPluginOptions: { 84 preset: ['default', { discardComments: { removeAll: true } }] 85 } 86 }) 87 ); 88 89 module.exports.plugins.push( 90 new PurgeCssPlugin({ 91 paths: glob.sync(path.join(__dirname, 'src') + '/**/*', { nodir: true }) 92 }) 93 ); 94 }
Now when you build, you should notice the hash added to the file names in the dist/assets directory.
The next thing we will do now is instruct the server to cache the static assets. Open the server.js and replace:
1// File: ./server.js 2 app.use('/assets', express.static(path.join(__dirname, '/dist/assets')));
With
1// File: ./server.js 2 app.use('/assets', express.static(path.join(__dirname, '/dist/assets'), { 3 maxAge: '30d' 4 }));
Now run the following command to build and start the server:
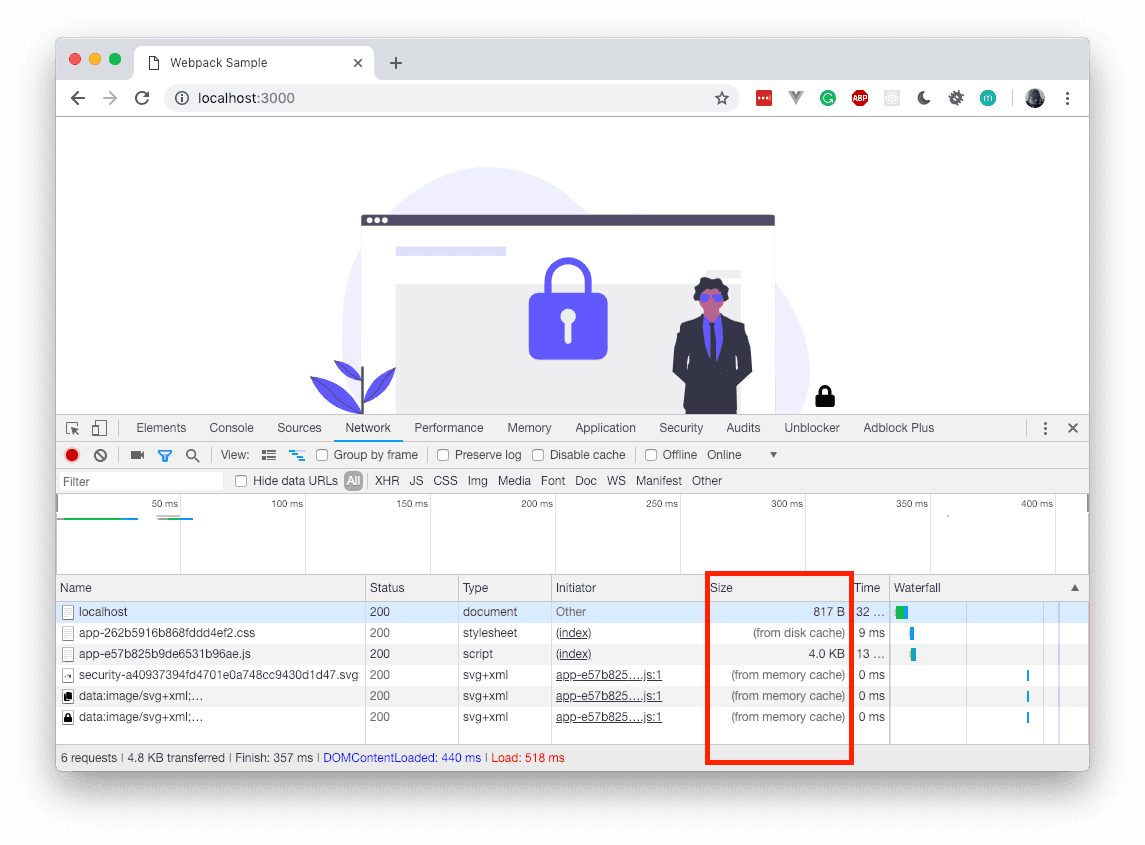
$ npm run serve
If you load the first time and reload again, you will notice that the assets will now be loaded from memory.

Great, now let’s make a change to the JavaScript file to force a new hash and see. We will just make a slight change to the ‘Copied to clipboard’ text in src/js/app.js. We will just add an exclamation mark to it and rebuild using the npm serve script.
When we look at the screenshot again, you will notice that the JavaScript file was loaded from the server unlike the rest that still loads from the cache. After the second reload, it’ll be cached again and will load from memory.
That’s all for this part.
Conclusion
In this part of the series, we learned how we can optimize our assets further and add some caching to the mix using contenthash. In the next part we will look into how we can create our own webpack plugins.
The source code to this application is available on GitHub.


© 2026 Pusher Ltd. All rights reserved.
Pusher Limited is a company registered in England and Wales (No. 07489873) whose registered office is at MessageBird UK Limited, 3 More London Riverside, 4th Floor, London, United Kingdom, SE1 2AQ.