- Products

- Developers
- User stories
- Blog
- Pricing

Getting started with webpack - Part 2: Configuration and modules
Introduction
In the previous part of the series, we learned the very basics of webpack and how we can use it to bundle JavaScript files. We also learned how to use webpack to watch for file changes and bundle when changes are detected.
In this part of the series, we will dig deeper into webpack and see what else is possible. Let’s get started.
NOTE: Source code for the application is available on GitHub.
Prerequisites
To follow along in this series, you need the following requirements:
- Completed all previous parts of the series.
- Basic knowledge of JavaScript.
- Basic knowledge of the CLI.
- A text editor. VS Code is recommended.
- Node.js (>=6.11.5) and npm installed locally.
Let’s continue with the series.
Configuring webpack
In the first part of the series, we did not have to configure webpack, we just installed it using npm and started using it. However, webpack requires a configuration file and if it does not find one in your project directory, it will use the one it comes bundled with.
The webpack configuration file contains many options and you can use these options to configure webpack to your liking. You can specify the entry points, output points, minification options, and more.
To create a webpack configuration file, create a webpack.config.js file in the root of the project. If you still have the project we created in the first part of the series, we will be using that. If you don’t have it, you can download it from the GitHub repository.
Now create a new webpack.config.js file in the project root. By default, webpack will look for this file in the root of your application. However, you can use whatever file name you want and instruct webpack on where to find the configuration file using the following command:
$ webpack --config "/path/to/webpack.config.js"
If you don’t have webpack installed globally, you’ll need to add
npxornode_modules/.binbefore the command as stated in the first part of the series.
Open the webpack.config.js file and paste the following code:
1// File: ./webpack.config.js 2 const webpack = require('webpack') 3 4 module.exports = { 5 // Insert the configuration here 6 }
This is the base for the configuration and we will typically add our configuration options to the exports object above. Let’s start by telling webpack our input file and output file:
In the exports object, add the following:
1// File: ./webpack.config.js 2 const webpack = require('webpack') 3 const path = require('path') 4 5 module.exports = { 6 mode: 'development', 7 entry: path.resolve(__dirname + '/src/index.js'), 8 output: { 9 path: path.resolve(__dirname + '/dist/assets'), 10 filename: 'bundle.js' 11 } 12 }
We use
__dirnameandpath.resolvehere to get the absolute path to the current file. Webpack requires absolute paths when specifying thepathto a file.
Above, we have specified the entry point for webpack and also we have specified the output path and filename. This will make sure webpack starts compiling at the src/index.js file and outputs to the specified path and file. We also specified the mode webpack should run in as development. Other valid values for mode are production and none.
Now that we have this minor configuration, let’s see if it’ll bundle our application as specified. Open the package.json file and replace the scripts with the following:
1// File: ./package.json 2 { 3 // [...] 4 5 "scripts": { 6 "build": "webpack", 7 "watch": "npm run build -- --watch" 8 }, 9 10 // [...] 11 }
Above, we have removed the CLI options that specified the entry, output, and mode for webpack and we left just the webpack command. We can do this because we have configured the entry, output, and mode in the webpack.config.js file.
Now let’s update the ./src/index.js file to see if our changes will take effect. Replace the contents of the file with the following:
1// File: ./src/index.js 2 document.addEventListener('DOMContentLoaded', function () { 3 window.setTimeout(function () { 4 document.getElementsByTagName('h1')[0].innerHTML = 'Hello there sport' 5 }, 1000); 6 });
Now, if you have not already, run the command below to install the dependencies:
$ npm install
After installation is complete, run the following command to compile the scripts:
$ npm run build
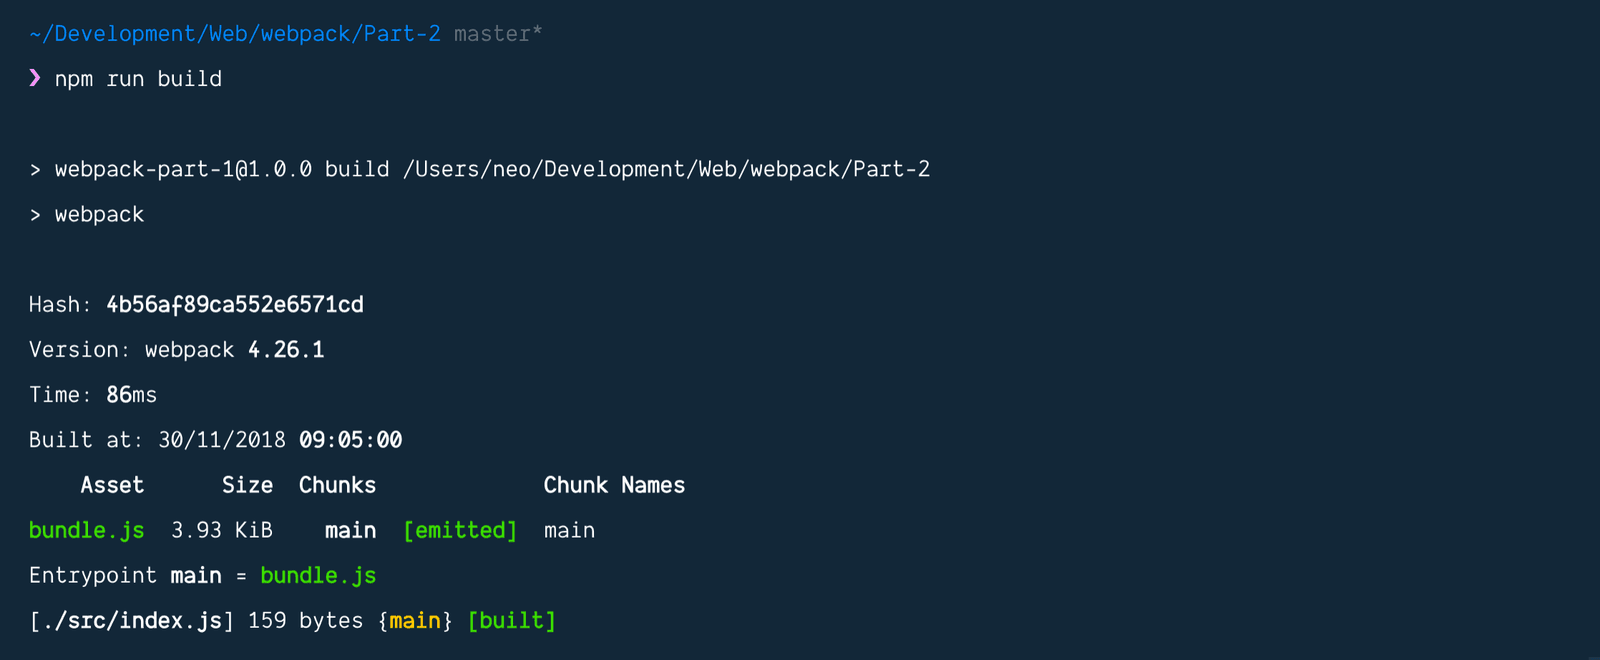
If all goes well, you should see that there is a new ./dist/assets/bundle.js file in the project as configured in the configuration file.
There is a lot more to configure when it comes to webpack, you can read more in the documentation here.
Understanding ES6 modules
While working with webpack, you will likely be doing a lot of module importing. So let’s see what modules are and how you can use them to make your JavaScript files modular.
JavaScript has had modules for a while but it was implemented via libraries. ES6 is the first time it was introduced as a built-in feature. Modules are essentially files that export some functionality that can then be reused in other places in your code.
Let’s see an example of what a module is. In this example JavaScript file, let’s define a function that generates random characters:
1// random.js 2 function randomNumbers(min, max) { 3 min = Math.ceil(min); 4 max = Math.floor(max); 5 return Math.floor(Math.random() * (max - min + 1)) + min; 6 }
The function above is simple enough, you give it a min number and max number and it’ll return a random number from the min to the max.
Named module exports
To make the module export this function so it is available to other files we have to export it by adding the export keyword before the function keyword like this:
1// random.js 2 3 export function randomNumbers(min, max) { 4 min = Math.ceil(min); 5 max = Math.floor(max); 6 return Math.floor(Math.random() * (max - min + 1)) + min; 7 }
After the function in your module has been exported, you can now import it in other JavaScript files and use the randomNumbers function. For example:
1// main.js 2 3 // Imports the function from the module 4 import { randomNumbers } from './random.js'; 5 6 // Displays a random number between 100 and 10000 7 console.log(randomNumbers(100, 10000));
Multiple named module exports
There are other ways to import and export. Above, we made named exports. Named exports have to be imported with the name that they were exported with. You can have multiple named exports in a single file, for example:
1// random.js 2 3 // First named export 4 export function randomNumbers(min, max) { 5 min = Math.ceil(min); 6 max = Math.floor(max); 7 return Math.floor(Math.random() * (max - min + 1)) + min; 8 } 9 10 // Second named export 11 export function randomString() { 12 function randStr(){ 13 return Math.random().toString(36).substring(2, 15) 14 } 15 16 return randStr() + randStr(); 17 }
Above, we can see that we added a new export randomString to our previous example and now we have two named exports in this module. We can import and use them as shown below:
1// main.js 2 3 // Imports the function from the module 4 import { randomNumbers, randomString } from './random.js'; 5 6 // Displays a random number between 100 and 10000 7 console.log(randomNumbers(100, 10000)); 8 9 // Displays a random string 10 console.log(randomString());
As seen above, we imported both the randomNumbers and randomString functions from the module and after that, we used it in the current file.
We can also import all available exports in a module in one go like this:
1// main.js 2 3 // Imports the function from the module 4 import * as generate from './random.js'; 5 6 // Displays a random number between 100 and 10000 7 console.log(generate.randomNumbers(100, 10000)); 8 9 // Displays a random string 10 console.log(generate.randomString());
Above, we have imported all the available exports by using the * wildcard. We also specified an alias object generate to store all the exports. This alias can be any word you want. Using this method, however, is not encouraged. You should import modules you need one by one when possible. This helps to keep the file size smaller and also makes it so you compile only what you use.
Default module exports
Generally, it’s always a good idea for your modules to have a single responsibility. In this case, we can have a default export in the module. It will look something like this:
1// random.js 2 3 export default function (min, max) { 4 min = Math.ceil(min); 5 max = Math.floor(max); 6 return Math.floor(Math.random() * (max - min + 1)) + min; 7 }
As seen above, we have added the default keyword after the export keyword. We also removed the function’s name.
Now we can import the module like this:
1// main.js 2 3 // Imports the function from the module 4 import generateRandomNumbers from './random.js'; 5 6 // Displays a random number between 100 and 10000 7 console.log(generateRandomNumbers(100, 10000));
As seen above, instead of importing any named export, we can define an arbitrary name for the default export when we are importing it.
Note that ES6 imports have to be top-level, therefore, you can’t conditionally import a module using an
ifstatement.
Using ES6 modules in our code
Let’s see how we can use modules in our code. Assuming you still have the code from part one, we will use that as the base.
Create a new file src/utilities/random.js and paste the following code:
1// File: ./src/utilities/random.js 2 export default function() { 3 function randStr() { 4 return Math.random() 5 .toString(36) 6 .substring(2, 15) 7 } 8 9 return randStr() + randStr(); 10 }
Next, open the src/index.js file and replace the content with the following code:
1// File: src/index.js 2 import generateRandomString from './utilities/random'; 3 4 document.addEventListener('DOMContentLoaded', function () { 5 var randomString = 'Random String: ' + generateRandomString(); 6 7 window.setTimeout(function () { 8 document.getElementsByTagName('h1')[0].innerHTML = randomString 9 }, 0); 10 });
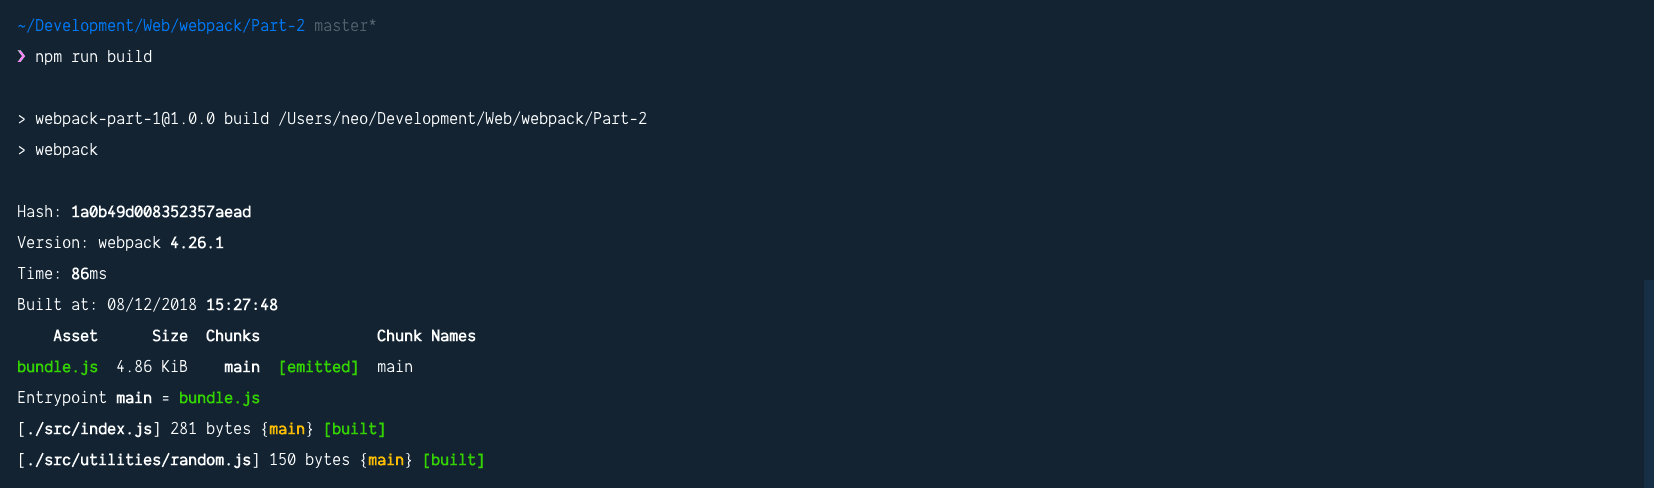
Now, let’s build the application. Run the command below to compile our code using webpack:
$ npm run build
When the build is complete, open the dist/index.html and replace the bundle.js script URL with assets/bundle.js:
1<!-- File: dist/index.html --> 2 <!DOCTYPE html> 3 <html lang="en"> 4 <head> 5 <meta charset="UTF-8" /> 6 <meta name="viewport" content="width=device-width, initial-scale=1.0" /> 7 <meta http-equiv="X-UA-Compatible" content="ie=edge" /> 8 <title>Webpack Sample</title> 9 </head> 10 <body> 11 <h1>Hello</h1> 12 <script src="./assets/bundle.js"></script> 13 </body> 14 </html>
Then open the dist/server.js and replace the contents with the following:
1// File: ./dist/server.js 2 const express = require('express'); 3 const app = express(); 4 const port = 3000; 5 const path = require('path'); 6 7 app.get('/assets/bundle.js', (req, res) => ( 8 res.sendFile(path.join(__dirname + '/assets/bundle.js')) 9 )); 10 11 app.get('/', (req, res) => ( 12 res.sendFile(path.join(__dirname + '/index.html')) 13 )); 14 15 app.listen(port, () => console.log(`Example app listening on port ${port}!`));
Now you can run the following code to launch our Node.js server:
$ node dist/server.js
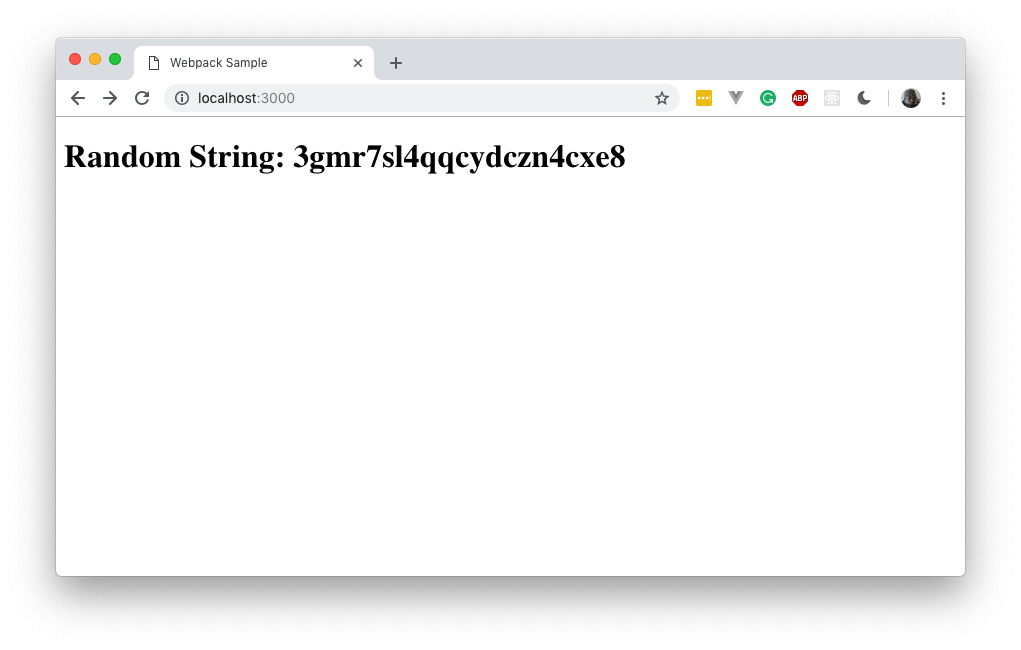
Now when you visit http://localhost:3000 on your browser, you should see the application run as seen above.
Conclusion
In this tutorial of the series, we have learned how to configure webpack and define some defaults. We also learned how modules work in ES6. However, webpack is a lot more powerful than this. We will dive a little deeper in the next part.
The source code to this application is available on GitHub.


© 2025 Pusher Ltd. All rights reserved.
Pusher Limited is a company registered in England and Wales (No. 07489873) whose registered office is at MessageBird UK Limited, 3 More London Riverside, 4th Floor, London, United Kingdom, SE1 2AQ.