- Products

- Developers
- User stories
- Blog
- Pricing

Advanced Vue.js: demystify mixins and custom directives
Introduction
Introduction
You have been using Vue.js for a while and you are wondering what are mixins and custom directives? Well, in this tutorial I’ll explain to you these advanced Vue.js concepts and how you can use them to build awesome applications. This tutorial intends to help you acquire advanced knowledge of the Vue.js framework.
Prerequisites
In order to properly follow this tutorial, a strong knowledge of Vue.js is required. And to get to that point you must have a good experience of JS(ES6).
Mixins
Mixins? You may have heard of Vue components and used in your applications, if so you should know that they are great for reusing an entire custom element, but we can’t use just a portion of the component. To share functionality among multiple components, we have to use mixins. Saying that Vue mixins basically allow us to share common functionality between our components. This can be useful for implementing a standard method that is shared, ensuring an event or action is taken during a lifecycle event, or setting default values for the data to help other components. Now let’s see how we can create and use them.
Creating mixins
To create a mixin, we must declare an options object that has implementations for the options we want to share. So, if we are going to share data with our components, our mixin will implement a data property. This goes for the rest of the options that we want to share. Take a look to this piece of code:
1var baseMixin = { 2 data() { 3 return { text: 'default text' }; 4 }, 5 mounted() { 6 this.log(`My text when Created: ${this.text}`); 7 }, 8 methods: { 9 log: function(...params) { 10 console.log(...params); 11 } 12 }, 13 template: ` 14 <div> 15 <h1>{{text}}</h1> 16 </div> 17 ` 18 }
We create a simple mixin that contains a data property of text set to default text, a lifecycle hook to call its log method when created, a log method, and a template to render our text data.
Easy right ?! 😉 This is pretty similar to how we define components, but here we just define the functionality we want to share.
Using mixins
To use our new mixin, we will need to register it for use with our component. We register our mixin with the component by providing an option property named mixins that has an array of the value with our mixins in the array.
1Vue.component('component-one', { 2 mixins: [baseMixin] 3 });
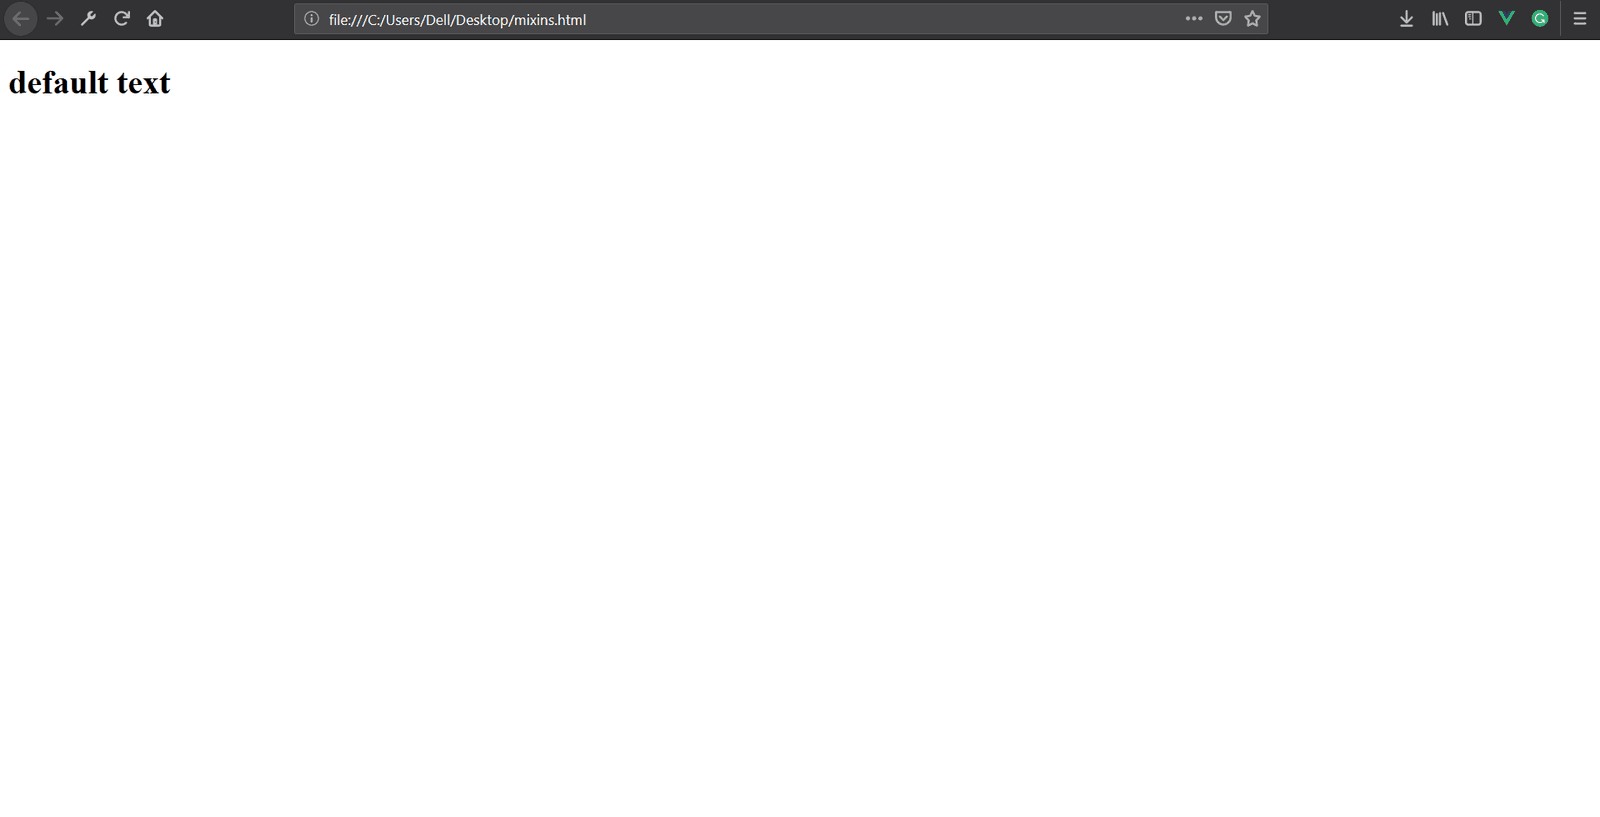
Now, If we use component-one in an app, it will show our <h1> with the word default text, as seen in the image below:
Using multiple mixins
That’s great but what if we want to share feature A with one set of components and feature B with a second set of components with little overlap? Well, the answer is to use multiple mixins. We can use multiple mixins within the same component. The trick is that they will be applied in the order they are listed in the array. So element 0 is applied first, element 1 is applied second and might change some of the options from the first mixin, and so forth.
Let’s define our second mixin named secondBaseMixin:
1var secondBaseMixin = { 2 data() { 3 return { text: 'default text from second mixin' }; 4 } 5 }
In this mixin we define our text data, nothing else changed.
Next we register our two mixins(baseMixin and secondBaseMixin) with our new component component-two.
1Vue.component('component-two', { 2 mixins: [baseMixin, secondBaseMixin] 3 });
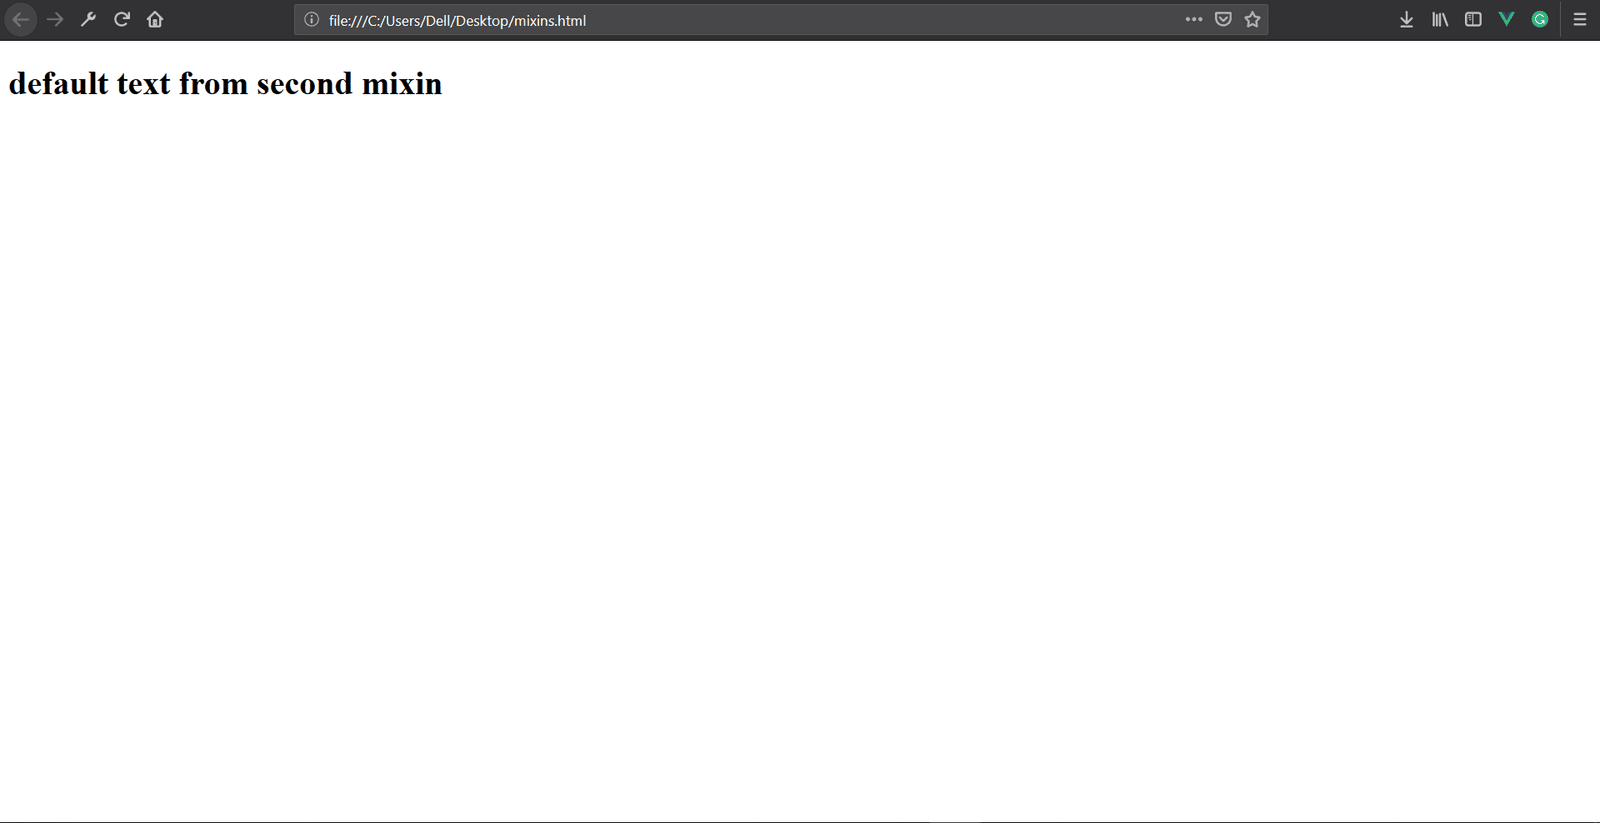
When we look at it in the browser, as shown in the image below we see that the value of text
is provided by secondBaseMixin.
Now let’s dive into the second part of this tutorial.
Custom directives
You have been using out-of-the-box directives as soon as you used v-if, v-for or v-model.
Custom directives allow us to apply DOM changes to plain HTML elements similar to the directives that came with Vue
Creating a directive
To create a custom directive, we register it with Vue. To register it, we call Vue.directive
before our Vue instance is created so that it will be available for use when our app is
running.
The first parameter we will pass Vue.directive is the name of our directive. This name, prefixed with v-, is what we will use in the HTML to apply the directive to an element. The second parameter will be an object with properties to define the action to take during one or more of the following hooks:
-
bind: this is called once when the directive is bound to the element.
-
inserted: this is called when the element is inserted into the parentnode.
-
update: this is called after the element has been updated but the child elements may not have been updated yet.
-
componentUpdated: this is called after the element and the child elements have been updated.
-
unbind: this is called when the directive is removed.
The hooks will be defined as a function with access to the following parameters:
-
el: this is the element the directive is bound to, thereby allowing us to change its properties.
-
binding: this is an object that exposes the following values through its properties:
-
name: the name of the directive minus the v-.
-
value: if a value or object is passed to the directive, this is where it can be accessed.
-
expression: this is the expression used in the binding as a string.
-
arg: this would be the arguments passed to the directive. An example of an argument is click in the name of the event used with v-on in v-on:click="".
-
modifiers: these are objects containing any modifiers. An example of a modifier is.once in the event modifiers used with v-on in v-on:click.once="".
-
Well, with that in mind let’s create a custom directive that floats the element it’s applied to using the inserted hook
1Vue.directive('floatRight', { 2 inserted: function(el) { 3 el.style.float = 'right'; 4 } 5 });
Using the directive
To use our directive, we will simply add v-float-right or v-floatRight
as an attribute to an element.
1new Vue({ 2 el: '#app', 3 data: { 4 welcome: 'Hello World' 5 }, 6 template: ` 7 <h1 v-float-right>{{welcome}}</h1> 8 ` 9 })
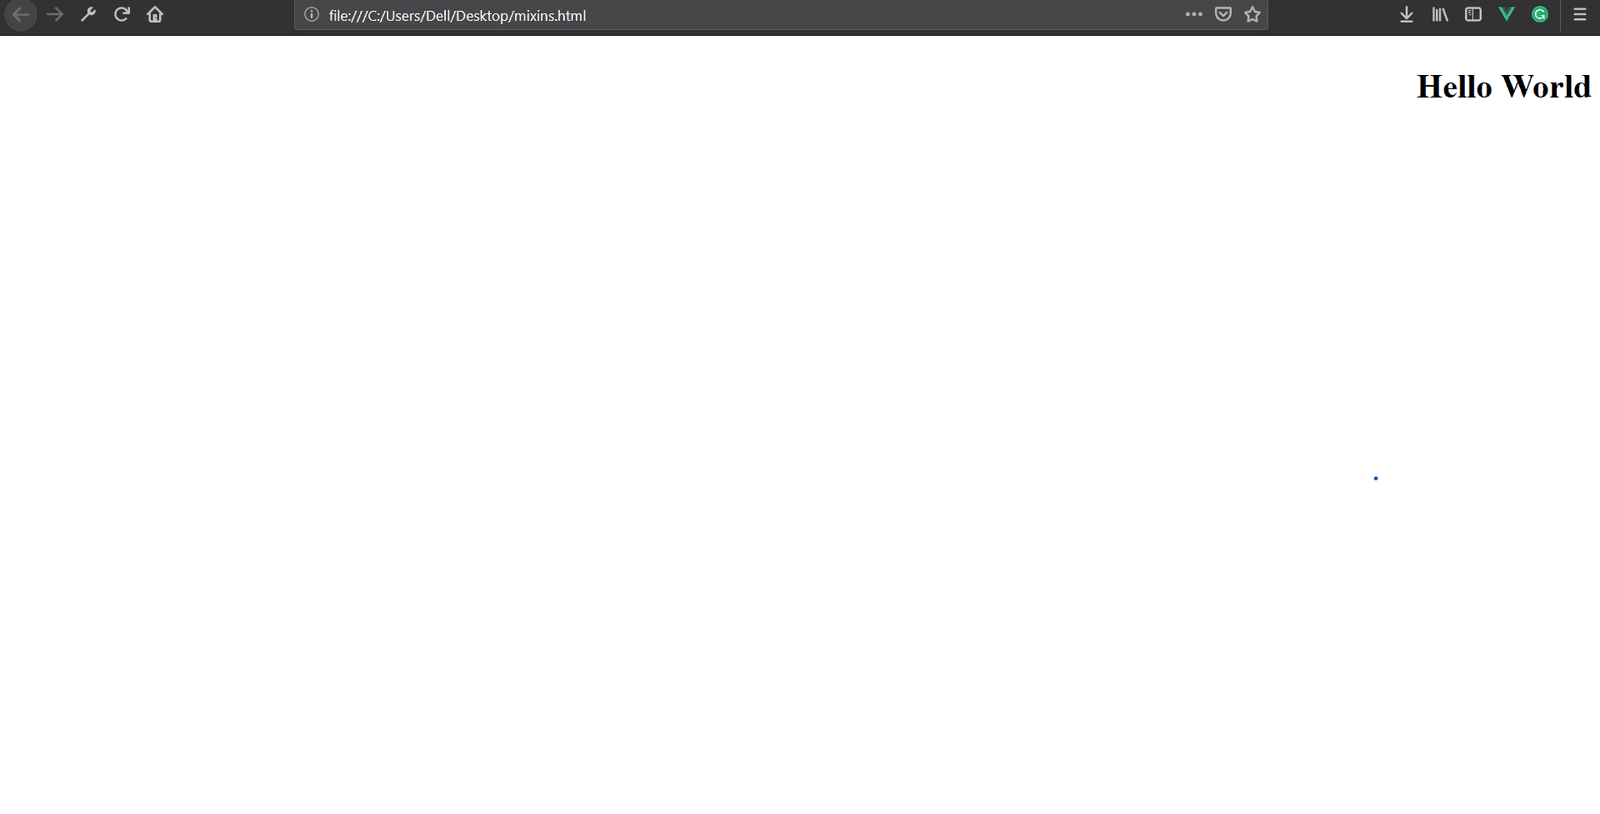
And as we expect it our <h1> element floats to right, in the image below.
Passing a value
Since we can now float an element using our new custom directive, we may decide it would be a good idea to give it some space away from the right side of the screen. Since we don’t know how much space each situation will call for, we can pass a number to our directive as a value.
1Vue.directive('floatRight',{ 2 inserted(el,binding){ 3 el.style.float = 'right'; 4 if(binding.value){ 5 el.style.marginRight = `${binding.value}px`; 6 } 7 } 8 })
To use this value, we need to make some changes to our directive. First, we need to access the binding parameter, then we check if the value is set, and if it is set, we set the value of el.style.marginRight to that many pixels.
1new Vue({ 2 el: '#app', 3 data: { 4 welcome: 'Hello World' 5 }, 6 template: ` 7 <h1 v-float-right="200">{{welcome}}</h1> 8 ` 9 })
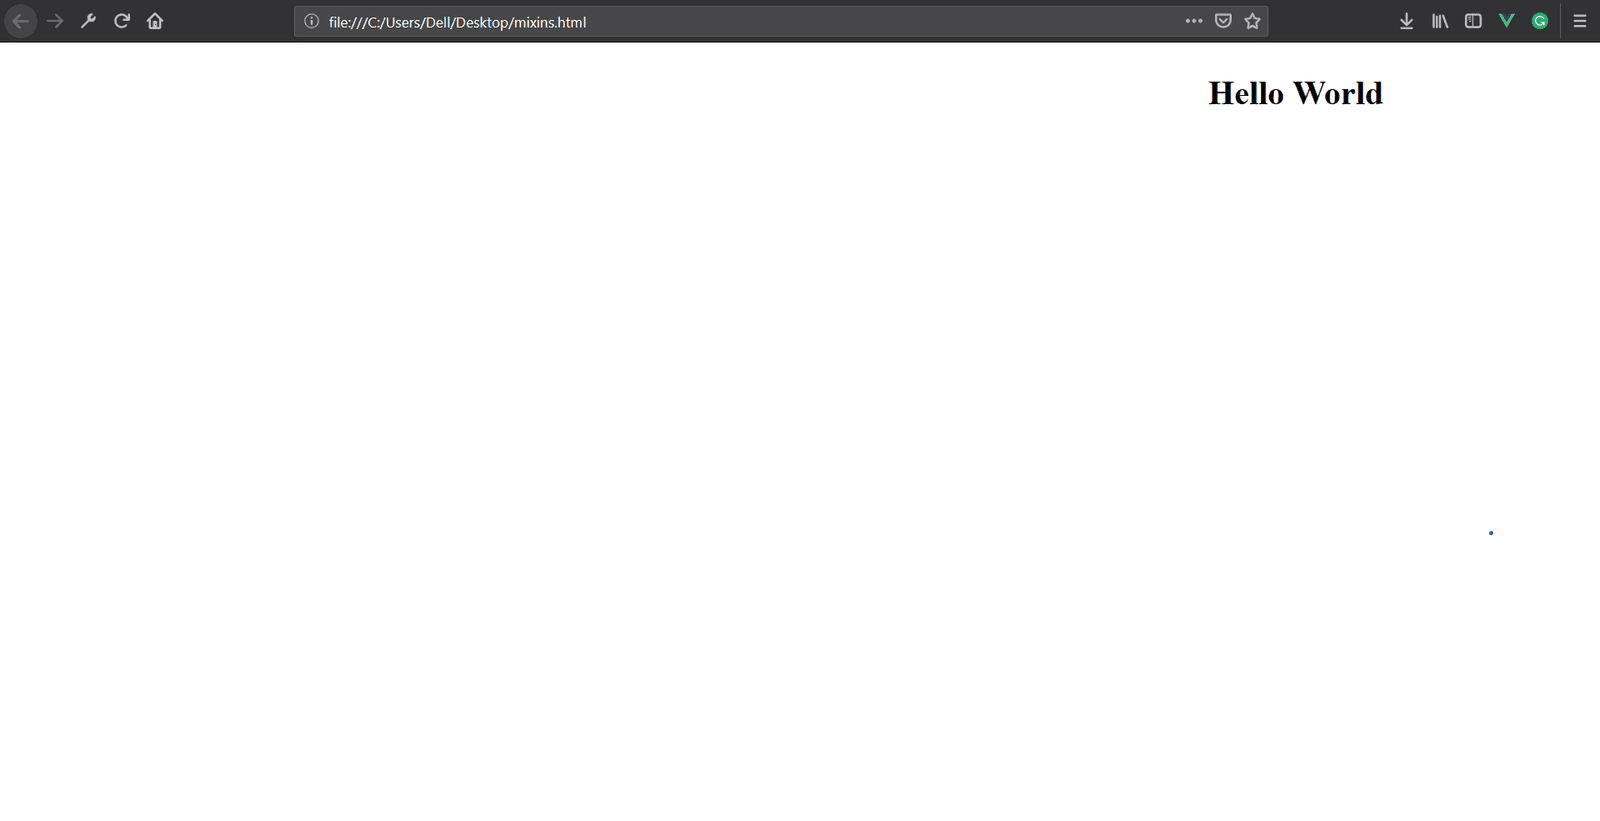
These changes will result in our floated <h1> being away a little bit from the edge of the screen.
This is shown in the image below.

Using modifiers
We can also use modifiers to change the behavior of our custom directive. Here we’ll use modifiers to specify the direction of the float.
1new Vue({ 2 el: '#app', 3 data: { 4 welcome: 'Hello World' 5 }, 6 template: ` 7 <h1 v-float.right="200">{{welcome}}</h1> 8 ` 9 })
Now, let’s have the implementation of our custom directive which checks if the modifier contains the value right and assigns float and margins accordingly.
1Vue.directive('float', { 2 inserted(el, binding) { 3 if (binding.modifiers.right) { 4 el.style.float = 'right' 5 } else 6 el.style.float = 'left' 7 if (binding.value) { 8 if (binding.modifiers.right) 9 el.style.marginRight = `${binding.value}px`; 10 else 11 el.style.marginLeft = `${binding.value}px`; 12 } 13 } 14 });
The result is pretty similar except that we used modifiers to modify our custom directive behavior.
Conclusion
In this tutorial we’ve learnt how to use Vue mixins and custom directives. These advanced concepts can help you reuse and share code with your components, and modify their behavior. I do hope this article has been useful to you. You can get the source code here.


© 2025 Pusher Ltd. All rights reserved.
Pusher Limited is a company registered in England and Wales (No. 07489873) whose registered office is at MessageBird UK Limited, 3 More London Riverside, 4th Floor, London, United Kingdom, SE1 2AQ.