- Products

- Developers
- User stories
- Blog
- Pricing

Build a voting system with Ember.js
- Introduction
- Introduction
- Prerequisites
- Getting started
- Creating the voting application
- Installing server dependencies
- Pusher account setup
- Setting the environment variables
- Setting up the server
- Defining your routes
- Creating the UI components
- Voting app component
- Voting app component file
- Voting app component template
- Update the app template
- Stylesheet
- Updating the index page
- Testing the application
- Conclusion
Introduction
Introduction
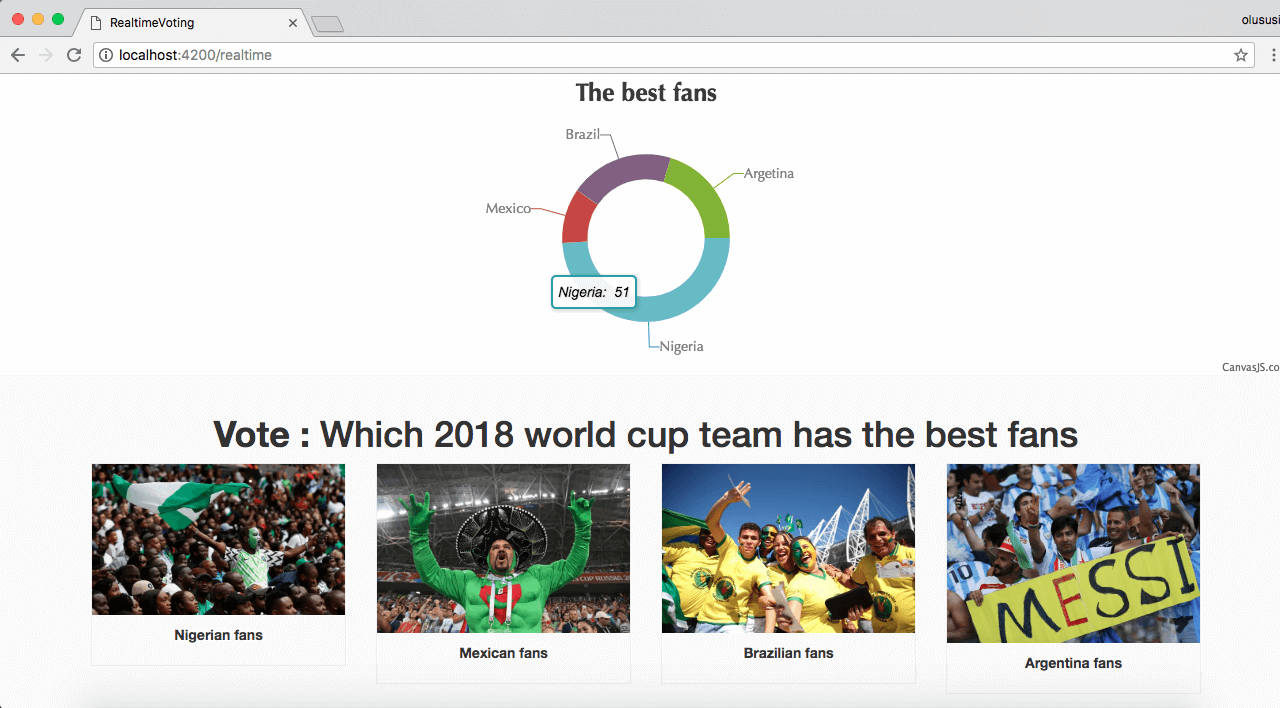
In this tutorial, we are going to build a basic voting app with Ember.js that displays the live results of votes on a doughnut chart as they come in. Pusher will be used here to respond to votes and dynamically update the chart in all browsers in realtime. The results will be instant as depicted in the image below:
A simple realtime voting application like this can improve the conventional way of casting and collecting votes, and also facilitate the live update of results for everyone involved to see. This improves transparency and makes the experience more interactive.
In this realtime demo, users will be able to vote for the fans that they consider the best by clicking on the image. This will immediately increase the points of such country as it will be displayed on the chart.
Prerequisites
It is important that you have Node.js and npm installed on your machine, learn how to install Node.js and npm here. A quick run-down of the core technologies we will be using include:
- Ember.js: a productive frontend framework built for ambitious web developers.
- Pusher: a Node.js client to interact with the Pusher REST API
- Express: Node utility for handling HTTP requests via routes
- Axios: a promise-based HTTP client that works both in the browser and in a Node.js environment.
- Body Parser: attaches the request payload on Express’s
req, hencereq.bodystores this payload for each request. - CanvasJS: a responsive HTML5 Charting library for data visualization.
Getting started
The most convenient and recommended way of getting an Ember app up and running with a single command is by using the Ember CLI tool. You can install it with npm, open your terminal and type this command:
npm install -g ember-cli
The Ember CLI will give us access to the ember command that will be used to set up our project easily.
Creating the voting application
We can now proceed to create our application by using the ember new command. Open up the terminal on your machine and run a command that will create an application named realtime-voting-ember in your project directory:
ember new realtime-voting-ember
Next, change directory into the newly created project and start the development server:
1// change directory 2 cd realtime-voting-ember 3 4 // start the development server 5 ember serve
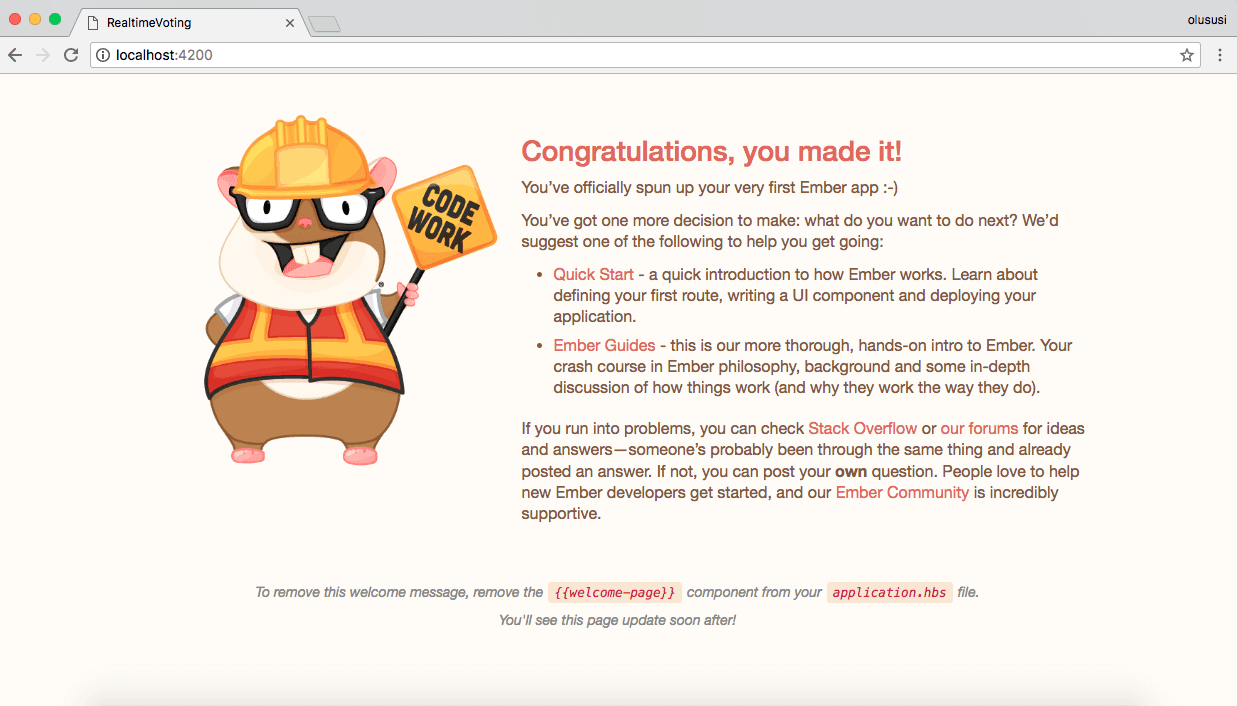
This will start the development server on http://localhost:4200. Open your favorite browser and navigate to that URL, you should see a default welcome page by Ember.js as shown below:
Installing server dependencies
Run the following command to install the dependencies required for this project using:
1npm install --save axios pusher pusher-js 2 npm install --save body-parser cors dotenv express 3 npm install --save canvasjs babelify babel-preset-es2015 babel-preset-stage-1 4 ember install ember-browserify
Pusher account setup
Head over to Pusher and sign up for a free account.
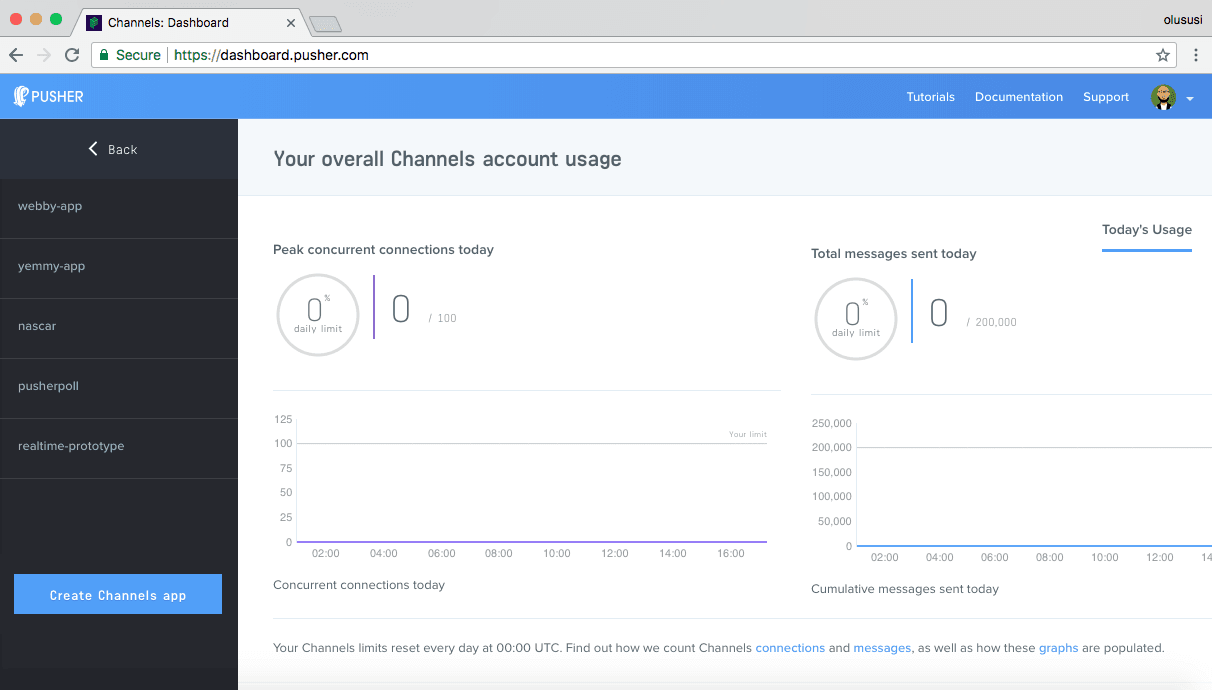
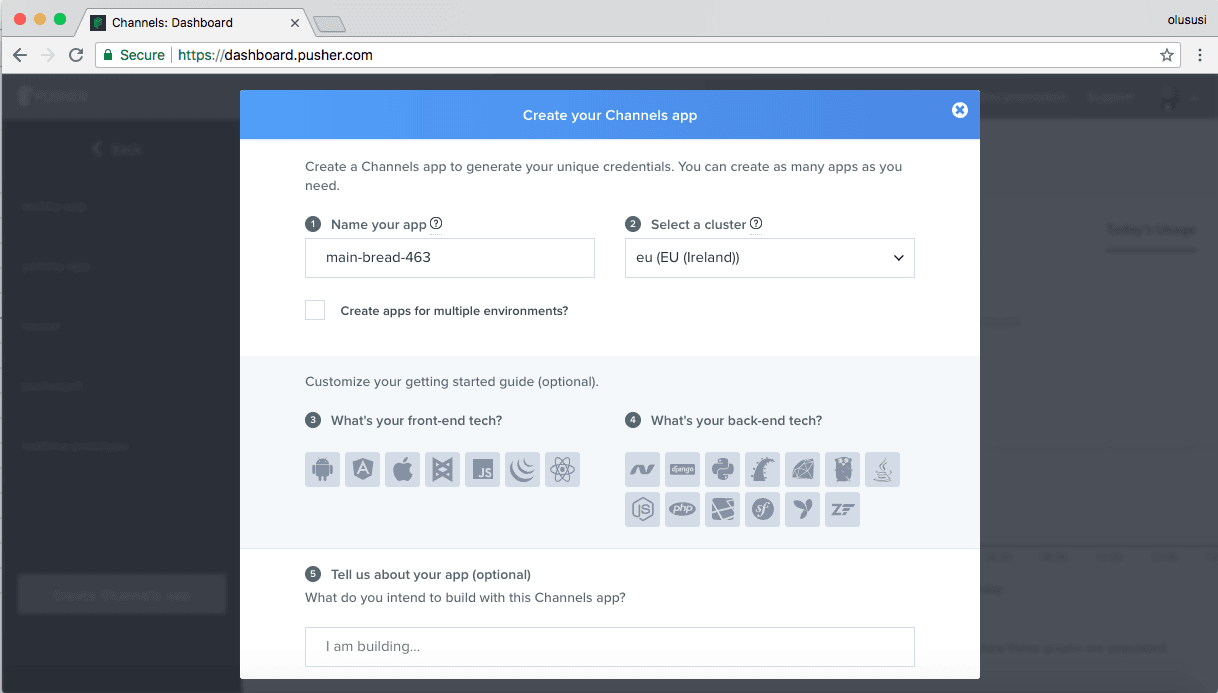
Create a new app by selecting Channels apps on the sidebar and clicking Create Channels app button on the bottom of the sidebar:
Configure an app by providing basic information requested in the form presented. You can also choose the environment you intend to integrate Pusher with to be provided with some boilerplate code:
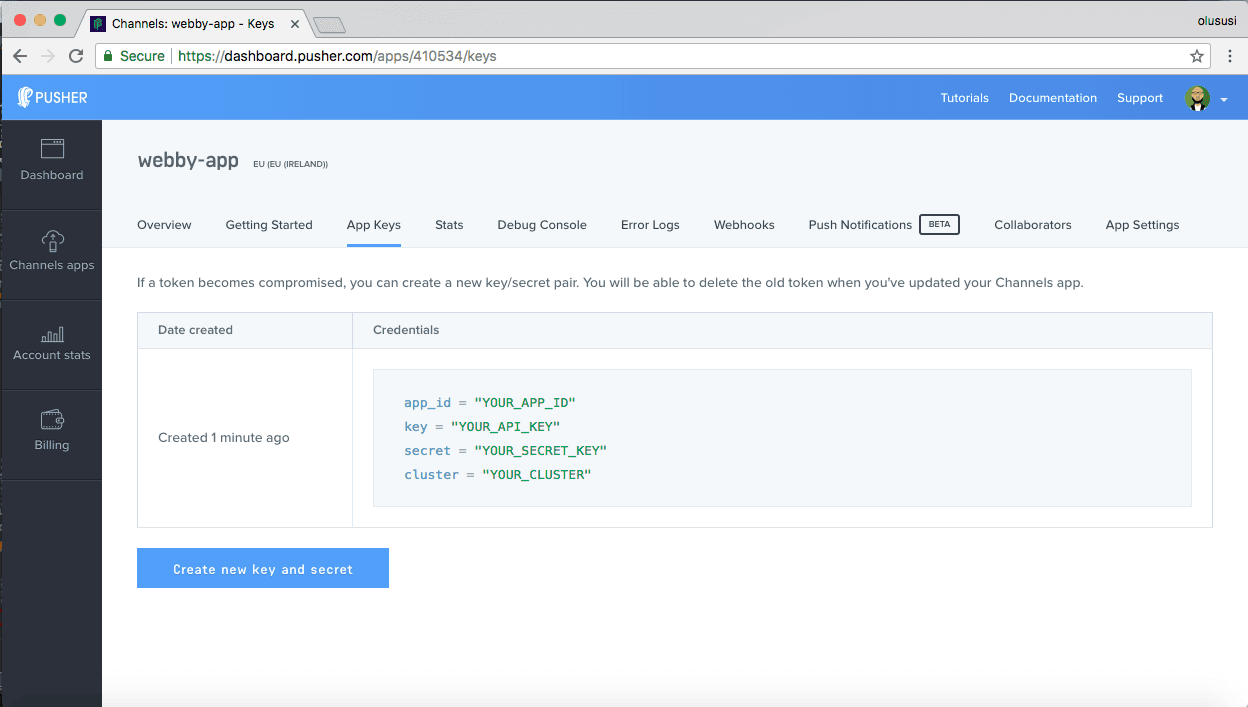
You can retrieve your keys from the App Keys tab:
Setting the environment variables
Create a .env file in the root directory of your application and add your application credentials as obtained from your Pusher dashboard as follows:
1PUSHER_APP_ID=YOUR_APP_ID 2 PUSHER_APP_KEY=YOUR_APP_KEY 3 PUSHER_APP_SECRET=YOUR_APP_SECRET_KEY 4 PUSHER_APP_CLUSTER=CLUSTER
We will make use of the variables specified in the above snippet later in our project. And do ensure that you replace YOUR_APP_ID, YOUR_APP_KEY, YOUR_APP_SECRET_KEY and CLUSTER placeholders with the appropriate credentials.
Setting up the server
As stated earlier, a user will only be able to vote by clicking on an image of the chosen option from the list of fans displayed.
This click event will result in a process that needs to be managed by a server. So we’ll use Express and Node to set up a simple server that will receive the id of the country selected and publish it to a designated channel alongside the points required to update the chart.
Since the Ember application that we configured earlier is running on a different domain, we’ll enable CORS in order to ensure communication between the Express server and Ember.
Create an app.js file in the root directory of your application and add the following code snippet to it to set up the server:
1// app.js 2 3 const express = require('express'); 4 const bodyParser = require('body-parser'); 5 const cors = require('cors'); 6 const Pusher = require('pusher'); 7 require('dotenv').config(); 8 9 const app = express(); 10 11 app.use(cors()); 12 app.use(bodyParser.urlencoded({extended: false})); 13 app.use(bodyParser.json()); 14 15 const pusher = new Pusher({ 16 appId: process.env.PUSHER_APP_ID, 17 key: process.env.PUSHER_APP_KEY, 18 secret: process.env.PUSHER_APP_SECRET, 19 cluster: process.env.PUSHER_APP_CLUSTER, 20 encrypted: true 21 }); 22 app.set('port', process.env.PORT || 3000); 23 app.post('/vote', (req, res) => { 24 const payload = { 25 fans: req.body.id, 26 points: 10 27 } 28 pusher.trigger('poll', 'vote', payload); 29 res.send(payload) 30 }) 31 app.listen(app.get('port'), () => { 32 console.log("Listening on port " + app.get('port')); 33 })
Here we loaded all the necessary middlewares for the Express server and then configured Pusher using the credentials we added to our environment variables earlier.
Furthermore, we also created the /vote endpoint that will receive and process the selected id sent in from our Ember app. Finally, we triggered an event named vote to Pusher Channels on a channel called poll. The poll channel holds a payload that contains the id of the country selected by the user and the points to update the chart.
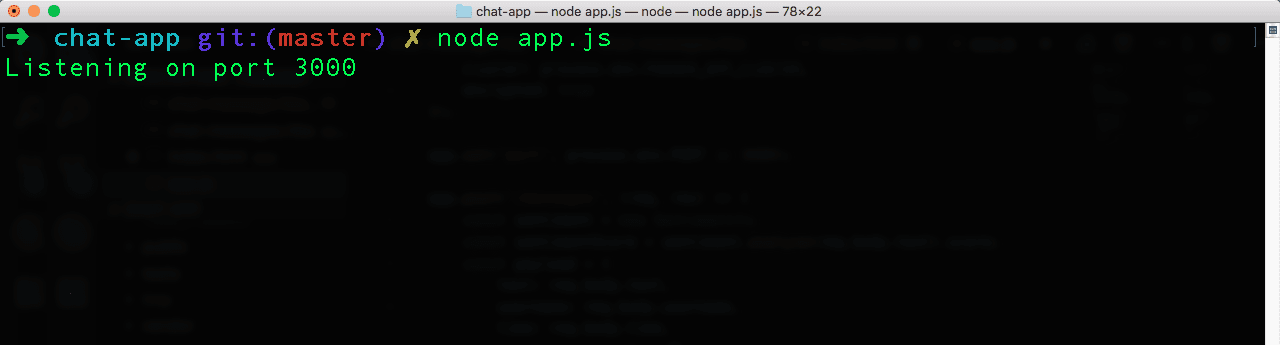
Open another terminal and run the command below to start the server on http://localhost:3000
node app.js
This will log a message to the console as shown by the image below:
Defining your routes
Routes in Ember.js plays a significant role in mapping an endpoint to a particular template file. To create a route for our application, we’ll make use of Ember generators to automate the process. Run the command below in the terminal from the root directory of your project:
ember generate route realtime
This will create a route file ./app/routes/realtime.js and a template file for the route at ./app/templates/realtime.hbs. The route file is the route handler and defines the data that should be loaded and what should happen when the template file is rendered.
In our case, we need to pass a dataset that will contain the imgSrc, fans and the id of each country to the template file. Now, open the ./app/routes/realtime.js and update it with the following content:
1// ./app/routes/realtime.js 2 3 import Route from '@ember/routing/route'; 4 const dataset = [ 5 { 6 "imgSrc":"http://res.cloudinary.com/yemiwebby-com-ng/image/upload/v1529405850/nigerians_jojjpz.jpg", 7 "id":"Nigeria", 8 "fans":"Nigerian fans" 9 }, 10 { 11 "imgSrc":"http://res.cloudinary.com/yemiwebby-com-ng/image/upload/v1529405850/mexican-fans_wzfkd9.jpg", 12 "id":"Mexico", 13 "fans":"Mexican fans" 14 }, 15 { 16 "imgSrc":"http://res.cloudinary.com/yemiwebby-com-ng/image/upload/v1529405850/brazil_ik4yu5.jpg", 17 "id":"Brazil", 18 "fans":"Brazilian fans" 19 }, 20 { 21 "imgSrc":"http://res.cloudinary.com/yemiwebby-com-ng/image/upload/v1529405850/argentina_n5e2ye.jpg", 22 "id":"Argetina", 23 "fans":"Argentina fans" 24 } 25 ] 26 export default Route.extend({ 27 model() { 28 return dataset; 29 } 30 });
Here, we declared a dataset that will be rendered on the /realtime endpoint. Next, we’ll update the template file. Locate ./app/templates/realtime.hbs and paste the code below in it:
1{{!-- ./app/templates/realtime.hbs --}} 2 3 <div class="main"> 4 <div class="container"> 5 <h1><b>Vote :</b> Which 2018 world cup team has the best fans</h1> 6 {{#voting-app poll=model}}{{/voting-app}} 7 </div> 8 </div>
We passed the model to a component named voting-app. This will allow us to easily loop over the dataset and attach a click event to the images. We’ll create this component in the next section.
Creating the UI components
Ember supports the usage and sharing of UI elements on multiple pages. We will leverage this and generate the voting-app component for our application.
The Ember component generally consists of two parts: a JavaScript component file that defines behavior and a Handlebars template that defines the markup for the component’s UI.
Voting app component
Run the command below to generate the voting-app component:
ember generate component voting-app
Voting app component file
Add the following content to ./app/components/voting-app.js:
1// ./app/components/voting-app.js 2 3 import Component from '@ember/component'; 4 import CanvasJS from 'npm:canvasjs'; 5 import axios from 'npm:axios'; 6 import Pusher from 'npm:pusher-js'; 7 8 let dataPoints = [ 9 {label: 'Nigeria', y:1}, 10 {label: 'Mexico', y:1}, 11 {label: 'Brazil', y:1}, 12 {label: 'Argetina', y:1} 13 ] 14 15 export default Component.extend({ 16 init() { 17 this._super(...arguments); 18 const chart = new CanvasJS.Chart('vote-chart-container', { 19 animationEnabled: true, 20 theme: 'theme1', 21 title: { 22 text: 'The best fans' 23 }, 24 data: [ 25 { 26 type: 'doughnut', 27 dataPoints: dataPoints 28 } 29 ] 30 }); 31 chart.render(); 32 33 // Initialize Pusher 34 var pusher = new Pusher('YOUR_APP_KEY', { // update your APP_KEY 35 cluster: 'CLUSTER', 36 encrypted: true 37 }); 38 39 var channel = pusher.subscribe('poll'); 40 channel.bind('vote', (data) => { 41 dataPoints = dataPoints.map(x => { 42 if (x.label == data.fans) { 43 x.y += data.points; 44 return x; 45 } else { 46 return x; 47 } 48 }); 49 chart.render() 50 }); 51 }, 52 53 actions: { 54 getElement(e) { 55 var id = e.target.id; 56 axios.post('http://localhost:3000/vote', {id}); 57 } 58 } 59 });
First, we imported the required modules for this component and we added a dataPoints array that will serve as the initial data source for the chart. The objects in the array have a uniform structure of label, which stores the name of the country and y which stores the points.
In addition, we used the Chart constructor function to create a chart by passing the basic configuration for the chart which includes the dataPoints. The chart is rendered by calling render() on the constructor function instance.
Next, we initialize Pusher with the APP_KEY and CLUSTER as obtained from our Pusher account dashboard and then proceeded to use the subscribe() method from Pusher to subscribe to the created poll channel, update the dataPoints variable and re-render the chart with render().
Finally, the getElement() action was used to get the id of the item clicked and POST it to the server. This action will be triggered once a user clicks on an image in the template file for this component.
Don’t forget to replace the YOUR_APP_KEY and CLUSTER placeholder with the appropriate details from your Pusher account dashboard.
Voting app component template
Earlier, we passed the dataset from the template file for the realtime route to this component
in ./app/templates/realtime.hbs. So here, we’ll loop over each item in the dataset. Open ./app/templates/components/voting-app.hbs and edit as shown below:
1{{!-- ./app/templates/components/voting-app.hbs --}} 2 3 <div class="col-md-12"> 4 <div class="row"> 5 {{#each poll as |data|}} 6 <div class="col-md-3"> 7 <div class="poll-device"> 8 <img onclick={{action 'getElement'}} src="{{data.imgSrc}}" alt="" id="{{data.id}}"> 9 <p class="text-center caption">{{data.fans}}</p> 10 </div> 11 </div> 12 {{/each}} 13 </div> 14 </div>
Update the app template
Update the application template file by adding the container where the chart will be rendered:
1{{!-- ./app/templates/application.hbs --}} 2 3 <div id="vote-chart-container"></div> 4 {{outlet}}
Stylesheet
To add some minimal styling to the page, open ./app/styles/app.css and paste this code in it:
1// ./app/styles/app.css 2 3 @import url('https://fonts.googleapis.com/css?family=Spectral'); 4 *, *:before, *:after { 5 box-sizing: border-box; 6 } 7 html, body { 8 font-family: 'Spectral', serif; 9 height: 100%; 10 } 11 .main { 12 height: 100%; 13 background-color: #FAFAFA; 14 } 15 .container { 16 padding-top: 20px; 17 padding-bottom: 20px; 18 } 19 h1 { 20 text-align: center; 21 } 22 .caption { 23 font-weight: bold; 24 } 25 .poll-device { 26 border: 1px solid #EDEDED; 27 } 28 .poll-device p { 29 padding: 10px; 30 } 31 .poll-device.selected { 32 background: #EDEDED; 33 } 34 .poll-device:hover { 35 background: #EDEDED; 36 cursor: pointer; 37 } 38 39 .poll-device img { 40 width: 100%; 41 height: auto; 42 display: block; 43 margin: 0 auto; 44 } 45 #vote-chart-container { 46 height: 300px; 47 width: 100%; 48 background: #f5f5f5; 49 }
Updating the index page
Open the ./app/index.html file and include the CDN file for Bootstrap to enhance the styling and layout of our application. Open up the file and add update as shown below:
1<!-- ./app/index.html --> 2 3 <!DOCTYPE html> 4 <html> 5 <head> 6 <meta charset="utf-8"> 7 <meta http-equiv="X-UA-Compatible" content="IE=edge"> 8 <title>RealtimeVotingEmber</title> 9 <meta name="description" content=""> 10 <meta name="viewport" content="width=device-width, initial-scale=1"> 11 {{content-for "head"}} 12 <link integrity="" rel="stylesheet" href="{{rootURL}}assets/vendor.css"> 13 <link integrity="" rel="stylesheet" href="{{rootURL}}assets/realtime-voting-ember.css"> 14 15 <!-- add the CDN file --> 16 <link rel="stylesheet" href="https://maxcdn.bootstrapcdn.com/bootstrap/3.3.7/css/bootstrap.min.css"> 17 18 {{content-for "head-footer"}} 19 </head> 20 <body> 21 {{content-for "body"}} 22 <script src="{{rootURL}}assets/vendor.js"></script> 23 <script src="{{rootURL}}assets/realtime-voting-ember.js"></script> 24 {{content-for "body-footer"}} 25 </body> 26 </html>
Testing the application
Stop the Ember development server if it is currently running by typing Ctrl + C in the terminal and restart it with ember serve. In addition, don’t forget to also run node app.js from another terminal to start the Express server in case you haven’t done that. Next, open http://localhost:4200/realtime to test the application.
If you wish to access the application without adding the /realtime path, you can edit the application’s router file ./app/router.js by updating the path as shown below:
1// ./app/router.js 2 3 import EmberRouter from '@ember/routing/router'; 4 import config from './config/environment'; 5 const Router = EmberRouter.extend({ 6 location: config.locationType, 7 rootURL: config.rootURL 8 }); 9 Router.map(function() { 10 // edit the path 11 this.route('realtime', { path: '/'}); 12 }); 13 export default Router;
Now if you visit http://localhost:4200, you should still see the application fully functioning.
Conclusion
Although a voting system definitely has more features than what we have implemented here, I anticipate that with the basic knowledge gained from this tutorial you can easily get more creative and improve your existing project or new ones.
I hope you found this tutorial useful. The complete source code can be found here on GitHub.


© 2025 Pusher Ltd. All rights reserved.
Pusher Limited is a company registered in England and Wales (No. 07489873) whose registered office is at MessageBird UK Limited, 3 More London Riverside, 4th Floor, London, United Kingdom, SE1 2AQ.