- Products

- Developers
- User stories
- Blog
- Pricing

Build realtime updates and native push notifications using Cordova
- Introduction
- Objectives
- What is Cordova?
- Getting started with Cordova
- Install Cordova CLI
- Create new app
- Platforms
- Add browser platform
- Add iOS platform
- Update HTML and see changes across platforms
- Realtime updates with Pusher
- Native Push Notifications in Cordova
- PusherSwift
- Cocoapods
- Importing the PusherSwift Framework
- Registering your Application for Push Notifications
- Triggering Push Notifications
- Unified Messages
- Related Reading
Introduction
Objectives
- To build a cross-platform application with a single HTML/CSS/JS code-base with Cordova
- To use Pusher to update the UI across platforms
- To implement native iOS Push Notifications with Pusher's API
- To implement unified messages to send arbitrary messages which abstracts realtime messages and Push Notifications for a seamless UX
What is Cordova?
PhoneGap proper was created around 2009 by a startup called Nitobi as an open source way to access the “native” environment through an embedded Web View in a native app. The goal of the project was to make it possible to build the bulk of a mobile app experience with pure web technologies like HTML5, CSS, and Javascript, but still be able to call into native code when necessary.
In 2011 Adobe purchased Nitobi and with it the rights to the PhoneGap brand, and the open source core was donated to the Apache Software Foundation under the name Cordova.
Getting started with Cordova
Install Cordova CLI
sudo npm install -g cordova
Create new app
cd to where you want to create your app, and run:
cordova create pusher-cordova com.domain.pusher-cordova PusherCordova
This will create an app in the folder ./pusher-cordova with id com.domain.pusher-cordova and the app name in the config.xml will be PusherCordova.
The id com.domain.pusher-cordova is important here, as this will determine the bundle_id in your iOS application, which must match the bundle_id in your APNs certificate for push notifications to work.
Platforms
Add browser platform
cd pusher-cordova
cordova platforms add browser
You'll likely see an error, but you can ignore this as it doesn't affect the application.
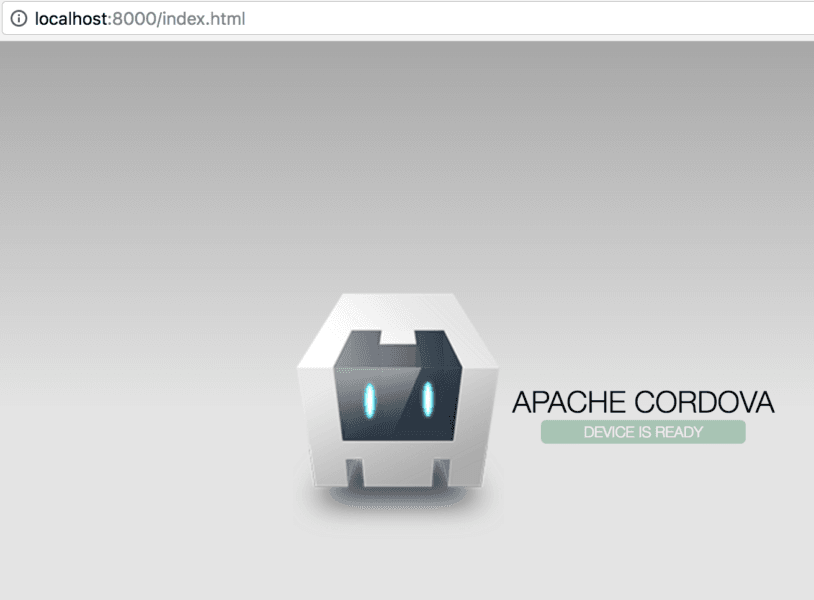
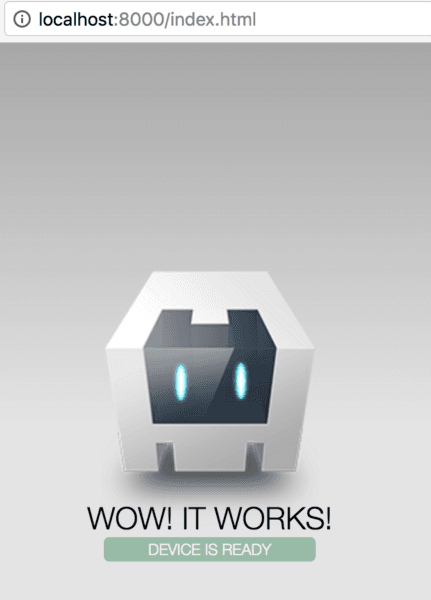
Build and run the browser to start a local server and view your app.
cordova build browser
cordova run browser
Add iOS platform
Open up another terminal window (as you need to keep the browser server running), cd to your app and run:
cordova platforms add ios
Run cordova requirements to check the dependancies for your platforms. You'll probably see a bunch of warnings and errors (you can ignore the browser error again).
Follow the instructions to install anything missing for iOS.
Run cordova build ios to compile the iOS project for the first time, which will create a .app file in ./platforms/ios/build/emulator.
At this point you'll get a codesign error. This is normal. Go to ./platforms/ios/ and open PusherCordova.xcodeproj. Codesign the application using your Apple Developer account with the correct provisioning profile and bundle_id (details above in Prerequisites).
You'll also see a couple of warnings in Xcode that recommend updating some settings. Go ahead and fix these so that your project is nice and clean.
Run cordova build ios again.
Watch this build succeed, then run:
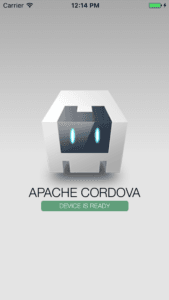
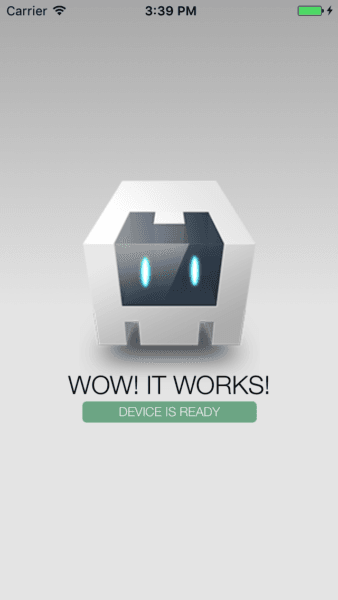
cordova emulate ios
This will deploy to iPhone SE simulator by default, and you'll see the app load and look identical to the browser's UI.
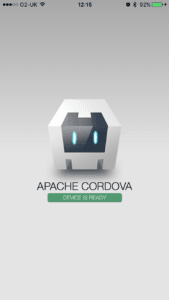
Let's now get the app running on an iOS device. Make sure you've got a device connected via USB and run:
cordova run ios --device, watch the build succeed and see the app load on your device.
Update HTML and see changes across platforms
So, we can see that a single HTML/CSS/JS code-base runs cross-platform, now let's see how easy it is to make changes to this code and update the UI.
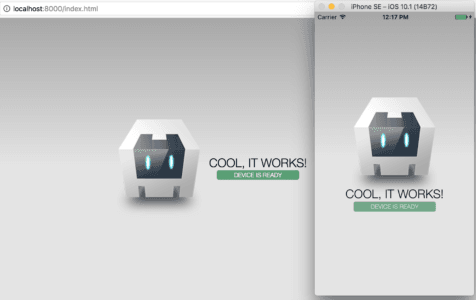
Open up ./www/index.html in an editor, and change the line of code:
<h1>Apache Cordova</h1>
to this:
<h1>Cool, it works!</h1>
Stop and restart the browser server (CTRL+C then cordova run browser), and re-run cordova emulate ios and you'll see the text across both platforms is now updated. Pretty cool!
Realtime updates with Pusher
Right, so the real reason we're here; Pusher!
Even though we're building a cross-platform application for both web and iOS, we'll only need to use Pusher-JS, our JavaScript client library to get realtime updates.
So, let's start by adding some code to ./www/index.html in <head>:
1<!-- PUSHER --> 2 3<title>Pusher Cordova</title> 4<script src="https://js.pusher.com/3.2/pusher.min.js"></script> 5<script> 6 7// Initialise a new Pusher object 8var pusher = new Pusher('APP_KEY', { 9 encrypted: true 10}); 11 12// Bind to the connection's state-change event 13// So we can update the UI based on the changes 14pusher.connection.bind('state_change', function(states) { 15 document.getElementById("pusher-event").innerHTML = states.current; 16 var state = pusher.connection.state; 17 console.log("connection state: " + state); 18}); 19 20// Also subscribe to a channel and bind to an event 21// Update the UI when a new message is received 22var channel = pusher.subscribe('cordova'); 23channel.bind('cordova-event', function(data) { 24 document.getElementById("pusher-event").innerHTML = data.message; 25}); 26 27</script>
You'll need to remove the Content Security Header in the <head>, as this will block the connection to Pusher.
<meta http-equiv="Content-Security-Policy" content="default-src 'self' data: gap: https://ssl.gstatic.com 'unsafe-eval'; style-src 'self' 'unsafe-inline'; media-src *; img-src 'self' data: content:;">
Change the following line of code:
<h1>Cool, it works!</h1>
to:
<h1 id="pusher-event">Cool, it works!</h1>
This HTML element is where all our realtime UI updates will happen.
Now, we're all set. Run cordova run browser, cordova emulate ios and cordova run ios --device again to compile these changes.
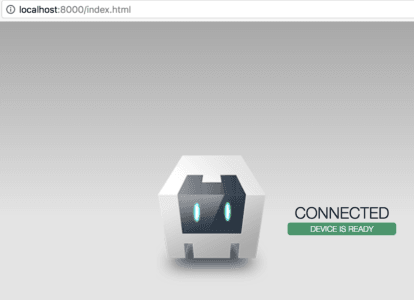
The first thing you'll notice is that the UI is updating based on Pusher's connection-state.
Now head on over the the Pusher Dashboard, go to your app's debug console, and use the event creator to trigger a message to channel cordova and event cordova-event.
You should now see the UI update with the message value of the event data you just triggered.
If you do, then it works! Otherwise, have another read over the stuff above and try again - you may have missed a small detail.
Your Pusher application now works on the web and on iOS, and you only had to update your HTML and rebuild!
Native Push Notifications in Cordova
Receiving push notifications on an iOS app built with Cordova very easy. In fact, it's no different to implementing this feature in a native iOS application, as everything is still handled through Xcode.
There are Cordova plugins available that allow you to handle APNs in HTML and Javascript and therefore keep all your code in one place, but Pusher's Beams API doesn't have a Javascript client SDK, so we won't be doing this. Instead, we'll be adding a small amount of code to the Xcode project you opened earlier.
PusherSwift
PusherSwift is our official iOS library. Magically, it also works with Objective-C! This is very good news, as Cordova doesn't support Swift yet in the sense that the Xcode project it creates for your iOS platform is written in Objective-C. Again, there are plugins and Cocoapods available and you could always build your own project from scratch rather than use Cordova's template, but thanks to PusherSwift being so clever we don't need to do that!
Cocoapods
If you've ever used PusherSwift before, the chances are you installed it with Cocoapods.
Annoyingly, Cordova doesn't work so well with Cocoapods. Why? I'm not really sure, but after running into error after error, hitting brick wall after brick wall, some searches on Stack Overflow confirmed my suspicions that Cocoapods just don't work so well in Cordova - especially ones that use bridging headers, like PusherSwift.
Fear not. This actually makes everything that little bit simpler, as Cocoapods can be quite a difficult beast when it doesn't get it's own way, and we can just import PusherSwift as a framework instead.
This isn't ideal in all cases, as Cocoapods does make it easy to keep dependancies up to date, but we just need the one framework for this project so that's what we'll do.
Importing the PusherSwift Framework
Head over to the releases page for PusherSwift and download the file PusherSwift.framework.zip from the latest release (4.0.1 at the time of writing this).
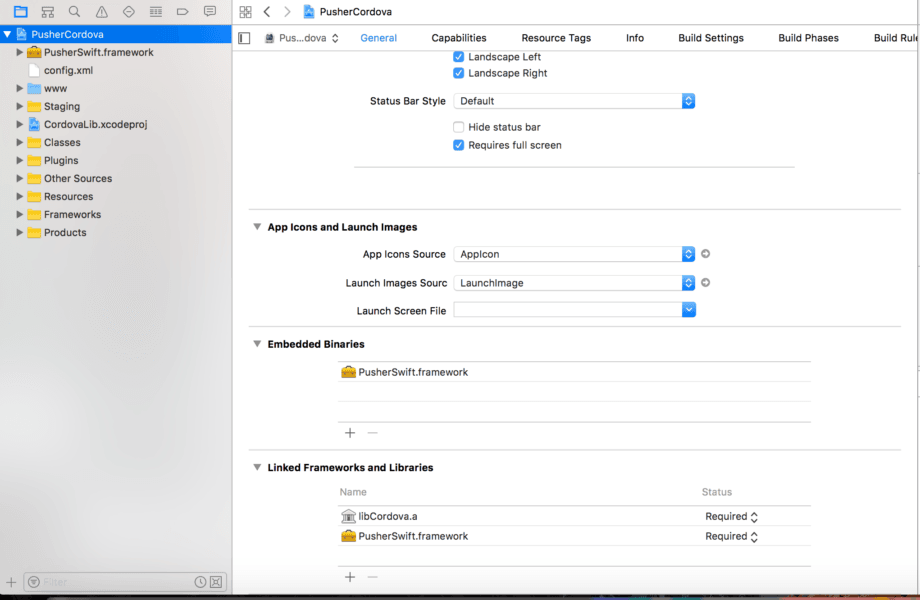
Locate and unzip the downloaded PusherSwift.framework.zip, and you'll find PusherSwift.framework at the path ./Carthage/Build/iOS. Drag and drop the file into the Xcode project that you opened earlier.
You should add the framework file to Embedded Binaries in the target's General settings. This also adds a duplicate to Linked Frameworks and Libraries, so you need to remove one of them.
Lastly, go to the target's Build Settings and find the Always Embed Swift Standard Libraries setting, and change the value to Yes.
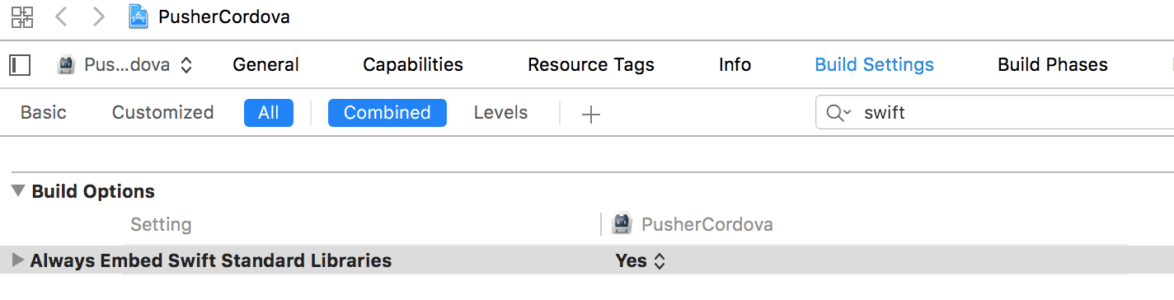
Build the project in Xcode, and you should see it succeed with no errors or warnings. Bosh!
Registering your Application for Push Notifications
If you've set up an iOS application for Push Notifications before, you'll be familiar with this next part. If you've set up Push Notifications with Pusher's API before, then you'll be very familiar with it.
Open up AppDelegate.m, and add the following:
1@import UserNotifications; 2#import <PusherSwift/PusherSwift-Swift.h> 3 4@interface AppDelegate () 5 6@property (nonatomic, retain, readwrite) Pusher *pusher; 7 8@end
You can see that we are importing the bridging header for PusherSwift which will allow us to use the library in Objective-C. We are also creating a new Pusher object.
In applicationDidFinishLaunchingWithOptions, the code will look slightly different to how it usually would, due to some changes made by Cordova.
You'll see:
1self.viewController = [[MainViewController alloc] init]; 2 3return [super application:application didFinishLaunchingWithOptions:launchOptions];
Now we need to initialise the Pusher object we created, so change the method to look like this:
1self.viewController = [[MainViewController alloc] init]; 2 3self.pusher = [[Pusher alloc] initWithKey:@"APP_KEY"]; 4 5return [super application:application didFinishLaunchingWithOptions:launchOptions];
Unfortunately, this does mean we are initialising 2 Pusher objects; one here and another in our Javascript code. This is unavoidable, however if you were building separate native application this would also be the case.
Add this code to the same method to register the app for Push Notifications:
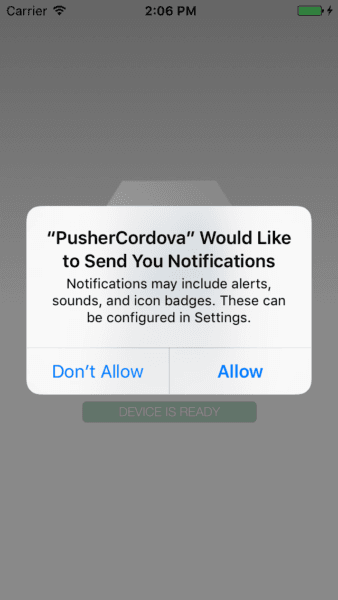
1UNUserNotificationCenter *center = [UNUserNotificationCenter currentNotificationCenter]; 2 3[center requestAuthorizationWithOptions:(UNAuthorizationOptionBadge | UNAuthorizationOptionAlert | UNAuthorizationOptionSound) completionHandler:^(BOOL granted, NSError * _Nullable error) { 4 // Enable or disable features based on authorisation. 5}]; 6 7[application registerForRemoteNotifications];
This will prompt the app to ask the user to let you send them Push Notifications when they first launch it, so run:
cordova run ios --device
Now we want to register the individual device to APNs using it's deviceToken, and also subscribe it to a Pusher interest.
1- (void)application:(UIApplication *)application didRegisterForRemoteNotificationsWithDeviceToken:(NSData *)deviceToken { 2 NSLog(@"Registered for remote notifications; received device token"); 3 [[[self pusher] nativePusher] registerWithDeviceToken:deviceToken]; 4 [[[self pusher] nativePusher] subscribeWithInterestName:@"cordova"]; 5}
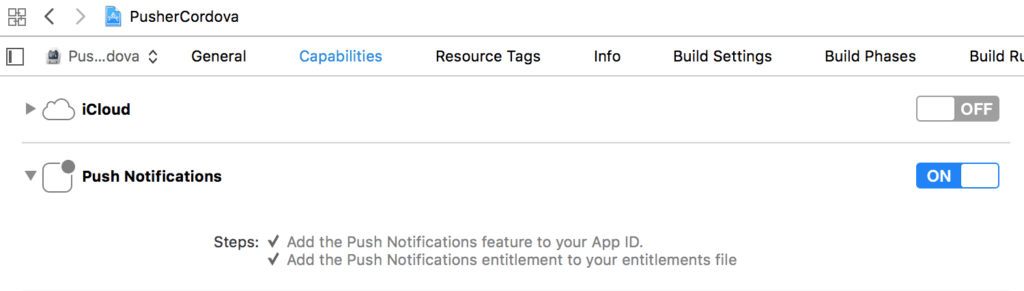
Head over to app target's capabilities and switch the Push Notifications capability on, otherwise didFailToRegisterForRemotePushNotifications will be called, and that's not what we want!
Next, add the handler for when the device receives a Push Notification:
1- (void)application:(UIApplication *)application didReceiveRemoteNotification:(NSDictionary *)userInfo { 2 NSLog(@"Received remote notification: %@", userInfo); 3}
This method simply prints the notification payload.
That's it! That's all the Objective-C code we need to write in order for our application to receive Push Notifications.
Triggering Push Notifications
Now we want to see the fruits of our labour, so we want to trigger a Push Notification. We can't do that from the debug console like realtime messages so we need to write a server application.
For this example, our server will be written in Node JS.
Start by installing Pusher globally with npm if you haven't already.
npm install pusher
Change directory to the project root, and do:
touch server.js
open server.js
Create and initialise a Pusher object:
1var Pusher = require("pusher"); 2 3var pusher = new Pusher({ 4 appId: "APP_ID", 5 key: "APP_KEY", 6 secret: "APP_SECRET" 7});
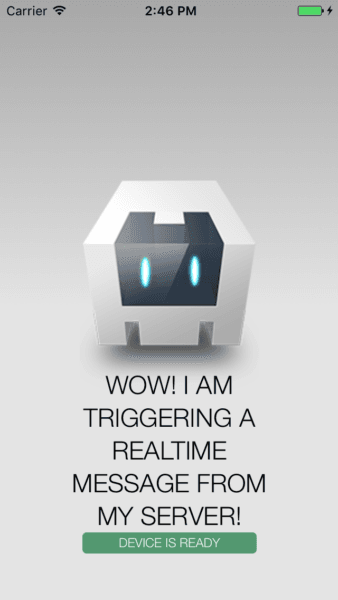
Trigger a realtime message for good measure to be sure that you've used right keys. Add this code:
pusher.trigger('cordova', 'cordova-event', { message: 'Wow! I am triggering a real-time message from my server!' });
and from your Terminal, run:
node server
You should see the message in your app's updated UI.
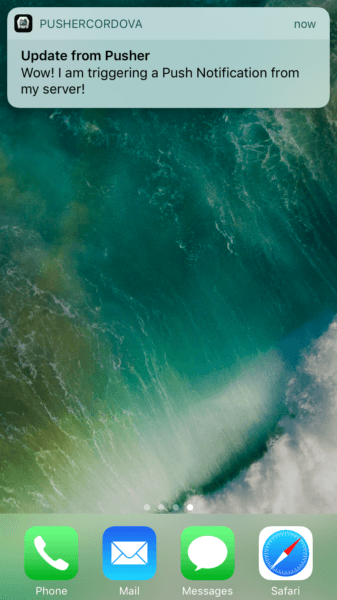
Now comment out the realtime trigger code and add the following code to trigger a Push Notification:
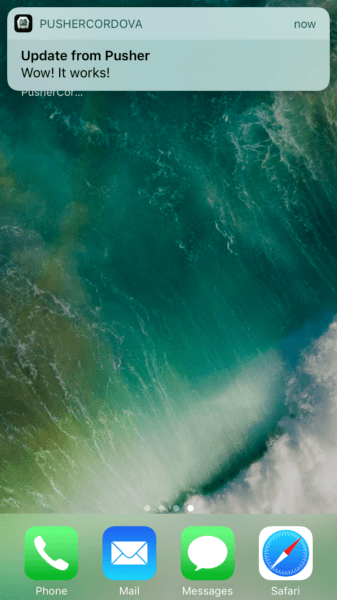
1pusher.notify(['cordova'], { 2 apns: { 3 aps: { 4 alert: { 5 title: 'Update from Pusher', 6 body: 'Wow! I am triggering a Push Notification from my server!' 7 } 8 } 9 }, 10 webhook_url: "https://example.com/endpoint", 11 webhook_level: "INFO" 12});
Close the app on your iOS device, and run node server. You should see the Push Notification on your device.
So we can use the server to send realtime messages, which shows on our web apps and mobile apps with just a little bit of JavaScript and html, that's pretty cool! We can also use Pusher's API to send a Push Notification from our server to our iOS application. That's cool too!
What would be really cool, though, is to send an arbitrary "message" and abstract whether or not it is a realtime message or a Push Notification. So, the web app will get the realtime message as normal, and the iOS will get it if the app is open. But if the app isn't open, it will receive a Push Notification instead and the user experience then becomes fairly seamless.
Unified Messages
The approach we will take for this is a bit hacky, and isn't something you'd really want to do in a production app, but it's a nice example of how you can set up realtime events in javascript, Push Notifications natively in iOS and bring the two together. For the purposes of this example, I'm calling these unified messages.
So, to get this done we need to define a few functions and variables.
First, let's define an enum-esque variable (I'm not entirely sure how enums really work, or if they even technically exist, in Javascript; but this works a treat anyway) to identify whether the messages we're sending is intended to be a unified message, or simply just a realtime message or a Push Notification independently.
Add this code under where you initialised your Pusher object:
1var messageType = { 2 unified: 0, 3 realtime: 1, 4 push: 2 5};
Our main function, the function that will be called to send these arbitrary messages, will simply be sendMessage(), and will be defined like so:
sendMessage(type, topic, message)
So sendMessage() takes 3 parameters; type which is of type messageType (too many types there...), topic which equates to either a realtime message channel, or a Push Notification interest and is of type string, and lastly message which is another string and is simply the message you want to send.
So, add this:
1function sendMessage(type, topic, message) { 2 switch (type) 3 { 4 case messageType.unified: 5 sendRealtimeMessage(topic, message); 6 sendPushNotification(topic, message); 7 break; 8 case messageType.realtime: 9 sendRealtimeMessage(topic, message); 10 break; 11 case messageType.push: 12 sendPushNotification(topic, message); 13 break; 14 default: 15 console.log('Message type not defined correctly. Please use: messageType.unified, .realtime or .push'); 16 break; 17 } 18};
From this, you'll be able to see that we need to define a couple more functions, sendRealtimeMessage() and sendPushNotification(). The code for these is already written as we used it earlier. Result!
So, add this function below sendMessage():
1function sendRealtimeMessage(channel, message) { 2 console.log('Sending Realtime Message'); 3 pusher.trigger(channel, 'cordova-event', { message: message }); 4}
The function takes a channel parameter, which is the topic string from our sendMessage() function, and a message parameter, which (yes, you guessed it!) is the message parameter from our sendMessage() function.
So, onto the sendPushNotification function. Add this:
1function sendPushNotification(interest, message) { 2 console.log('Sending Push Notification'); 3 4 // APNs 5 pusher.notify([interest], { 6 apns: { 7 aps: { 8 alert: { 9 title: 'Update from Pusher', 10 body: message 11 } 12 } 13 }, 14 15 // GCM 16 17 webhook_url: "https://example.com/endpoint", 18 webhook_level: "INFO" 19 }); 20};
Just like sendRealtimeMessage, this function takes an interest parameter from sendPushNotification()'s topic, and a message parameter, which...well, you know what that is!
You'll notice the // GCM comment, which indicates that you can add the payload for a GCM Push Notification in this function later on, and calling the arbitrary sendMessage() function will just work across all platforms like magic without changing anything else on the server-side.
So we're done. The last thing to do before testing that everything works is to call our sendMessage() function!
So add this above where we defined the function itself:
1var message = "Wow! It works!"; 2var topic = "cordova"; 3 4sendMessage(messageType.unified, topic, message);
Run cordova run ios --device, cordova emulate ios and cordova run browser, then run node server.
The first thing you'll notice is that the pusher-event HTML element changes on the browser and on iOS as it did before. Great, that's a good sign!
Now, press the home button on your iOS device to send the app to the background.
Run node server again.
And there it is. The magic. You should see that the browser updates the HTML element as normal, but your iOS device received a Push Notification!
Conveniently, iOS by default doesn't handle Push Notifications when the app is in the foreground. The notification is still being received, but the app isn't doing anything with it. It's easy to add this handling, but for this example we don't want or need it.
What's also really cool is that tapping on the notification to bring the app into the foreground again shows that the HTML element has updated there too (though this doesn't work if the app wasn't in the background in the first place ?).
So there you have it - a cross-platform application that receives realtime updates and native Push Notifications seamlessly.
Related Reading


© 2026 Pusher Ltd. All rights reserved.
Pusher Limited is a company registered in England and Wales (No. 07489873) whose registered office is at MessageBird UK Limited, 3 More London Riverside, 4th Floor, London, United Kingdom, SE1 2AQ.