- Products

- Developers
- User stories
- Blog
- Pricing

Build a social feed with Ruby on Rails and PostgreSQL
Introduction
Introduction
The common feature at the heart of every social media platform is posts. In one way or another, every social media platform out there provides a summary of these posts in feeds. The best social media platforms offer realtime updates of posts in user feeds. This way, no social content is delayed and everyone gets access to the latest information as soon as it drops.
In this post, we’ll build a simple app with realtime feed and likes. Posts will appear in our feed as soon as they are posted as well as their like counts increase in realtime once they’re liked.
A sneak-peek into what we will build in this post:
Prerequisites
A basic understanding of Ruby, CoffeeScript and PostgreSQL will help you get the best out of this tutorial. You can check the PostgreSQL, Ruby and Rails documentation for installation steps.
Setting up the application
Before starting off, ensure that you have Ruby and Rails installed. Run the following command to confirm your version:
1$ ruby -v // 2.1 or above 2 $ rails -v // 4.2 or above
Open your terminal and run the following Rails commands to create our demo application:
1# create a new Rails application 2 $ rails new pusher-live-feeds -T --database=postgresql
Go ahead and change directory into the newly created pusher-live-feeds folder:
1# change directory 2 $ cd pusher-live-feeds
In the root of your pusher-live-feeds directory, open your Gemfile and add the following gems:
1# Gemfile 2 3 gem 'bootstrap', '~> 4.1.0' 4 gem 'jquery-rails' 5 gem 'pusher' 6 gem 'figaro'
In your terminal, ensure you are in the pusher-live-feeds project directory and install the gems by running:
$ bundle install
Database setup
To get our app up and running, we’ll go ahead and create a database for it to work with. You can check out this article on how to create a Postgres database and an associated user and password.
Once you have your database details, in your database.yml file, under the development key, add the following code:
1# config/database.yml 2 3 ... 4 development: 5 <<: *default 6 database: pusher-live-feeds_development // add this line if it isn't already there 7 username: database_user // add this line 8 password: user_password // add this line 9 ...
Ensure that the username and password entered in the code above has access to the pusher-live-feeds_development database. After that, run the following code to setup the database:
1# setup database 2 $ rails db:setup
Bootstrap the application
With our database all set up, we’ll go ahead and create our models and controllers. In your terminal, while in the project’s directory, run the following code:
1# generate a post model 2 $ rails g model post username:string post:text 3 4 # generate a like model 5 $ rails g model like like_count:integer post:references 6 7 # generate a posts controller with the index, new and create view 8 $ rails g controller posts index new create
Next, we’ll modify our like model migration file to contain an initial default value for likes. In the db/migrate folder, look for the create likes migration file. It should be a file with the current date stamp and ends with _create_likes.rb. In that file, update the code there with the following:
1# db/migrate/20180520125755_create_likes.rb 2 3 class CreateLikes < ActiveRecord::Migration[5.1] 4 def change 5 create_table :likes do |t| 6 t.integer :like_count, default: 0 # add the default: 0 part. 7 t.references :post, foreign_key: true 8 t.timestamps 9 end 10 end 11 end
In our post model, we’ll also add an association to the likes model. In your post model, add the following code:
1# app/models/post.rb 2 3 class Post < ApplicationRecord 4 has_many :likes 5 end
Now, we’re ready to run our database migrations and see our new app. In your terminal, run the following code:
1# run database migrations 2 $ rails db:migrate
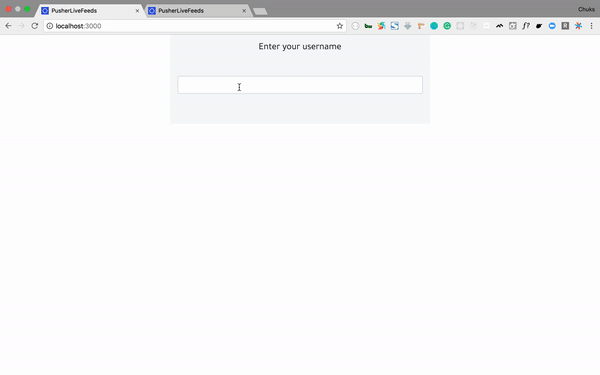
After running migrations, start the development server on your terminal by running rails s. Visit http://localhost:3000 in your browser to see your brand new application:
Pusher account setup
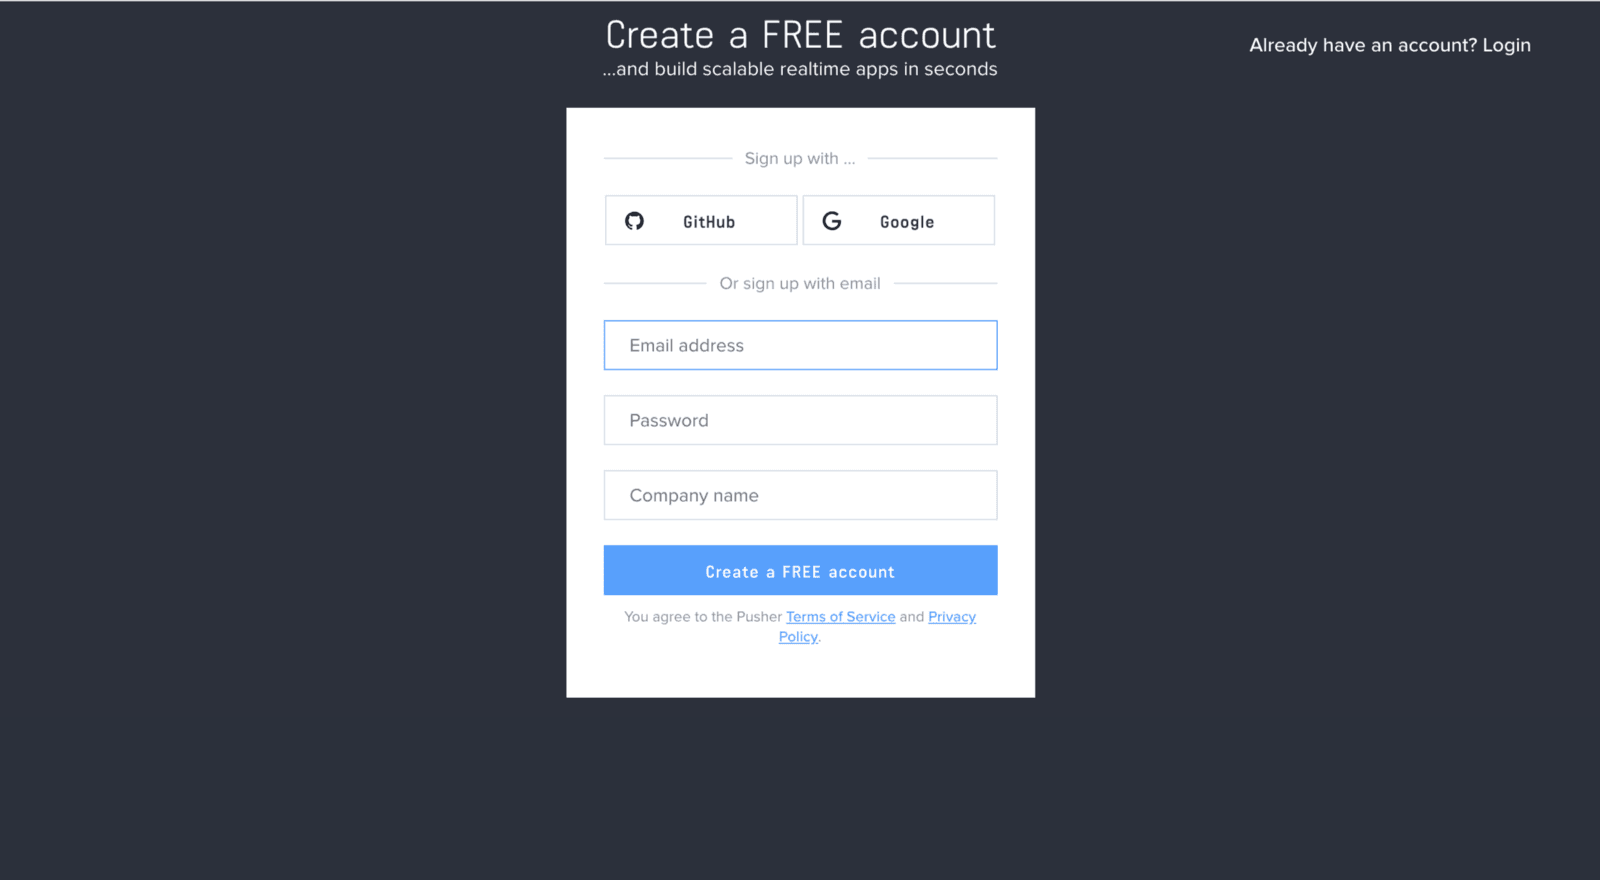
It’s time for us to create our app on Pusher. Head over to Pusher and sign up for a free account.
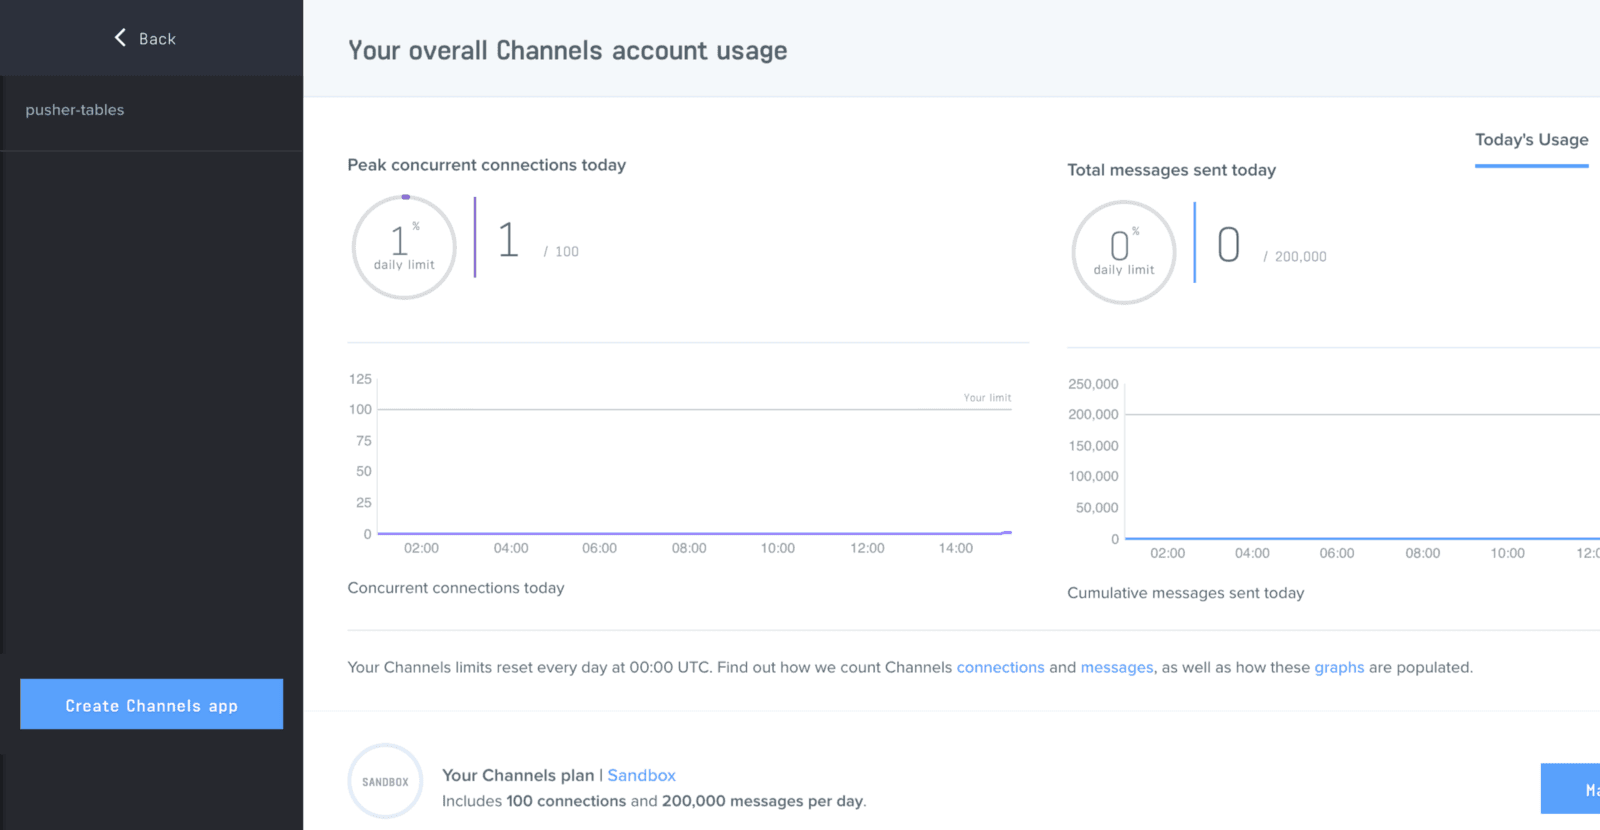
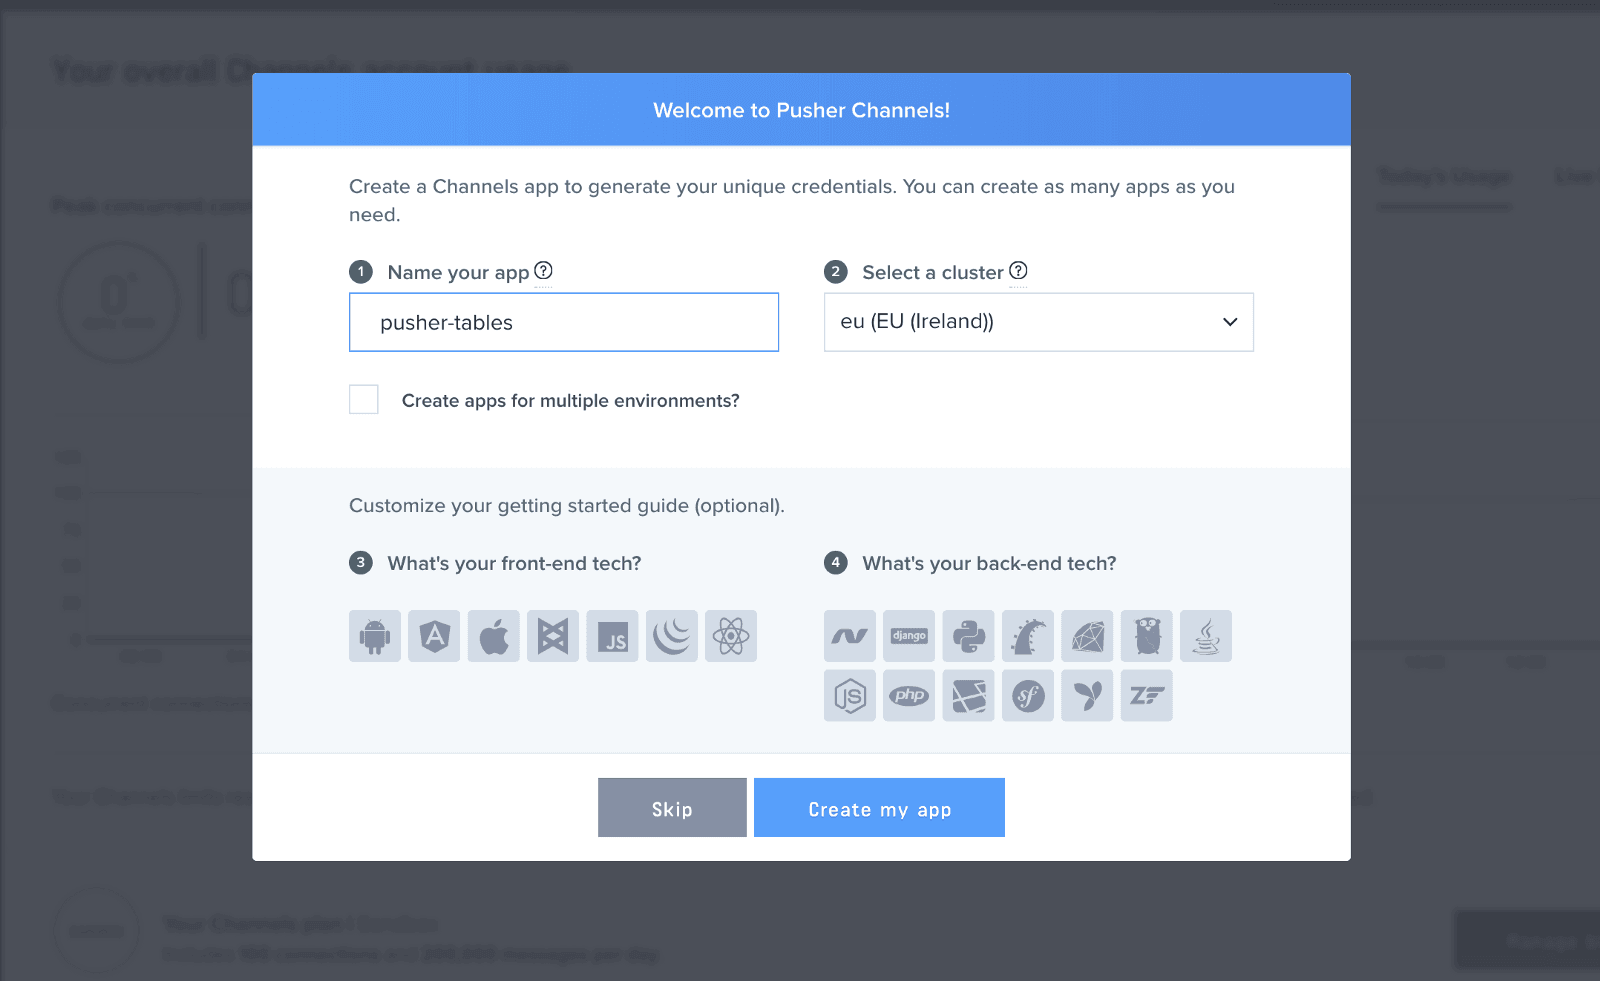
Create a new app by selecting Channels apps on the sidebar and clicking Create Channels app button on the bottom of the sidebar:
Configure an app by providing basic information requested in the form presented. You can also choose the environment you intend to integrate Pusher with for a better setup experience:
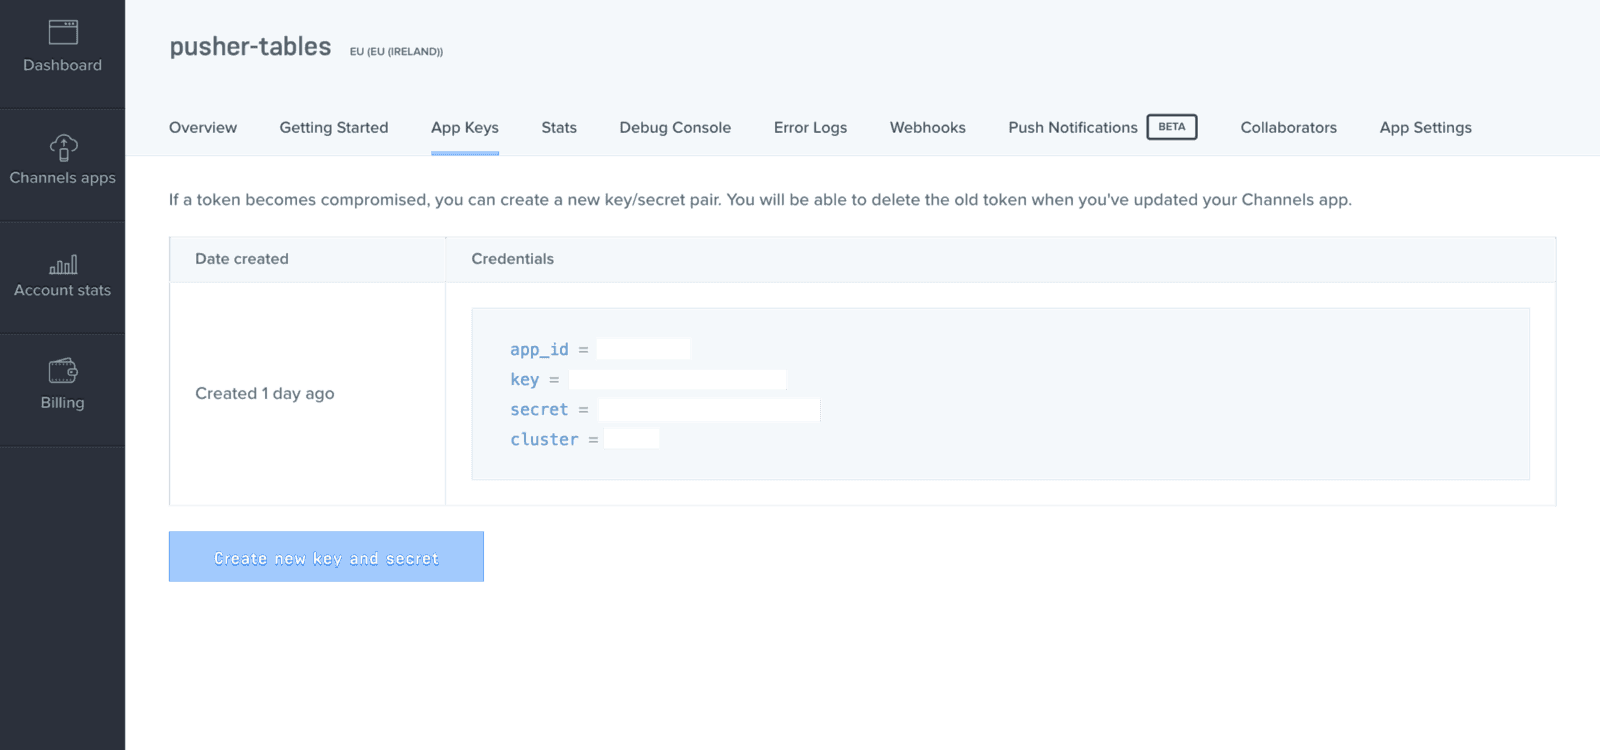
Click the App Keys tab to retrieve your keys
Building the homepage
With our Pusher account set up, let’s change our app’s landing page to something eye-worthy. Let’s set our homepage to our post’s index page and add the necessary routes for our app. In your routes file, add the following code:
1# config/routes.rb 2 3 Rails.application.routes.draw do 4 resources :posts 5 post '/likes/:post_id', to: 'posts#add_like', as: "add_likes" 6 root 'posts#index' 7 end
Next, we’ll require Bootstrap and add some styling. Add the following code to your application.js file, all before the last line:
1# app/assets/javascripts/application.js 2 3 ..... 4 //= require jquery3 # add this line 5 //= require popper # add this line 6 //= require bootstrap # add this line 7 //= require_tree .
Rename your application.css file to application.scss and add the following code:
1# app/assets/stylesheets/application.scss 2 3 @import "bootstrap"; 4 @import url('https://fonts.googleapis.com/css?family=Tajawal'); 5 6 body { 7 font-family: 'Tajawal', sans-serif; 8 } 9 #post { 10 min-height: 5rem; 11 max-height: 8rem; 12 } 13 .card-header { 14 padding: 0.25rem 0.85rem; 15 font-weight: 700; 16 } 17 .card-body { 18 padding: 0.55rem 0.85rem; 19 } 20 .far { 21 cursor: pointer; 22 }
Now, we’ll add the HTML markup for our homepage in our index.html.erb file:
1# app/views/posts/index.html.erb 2 3 <div class="container-fluid"> 4 <div class="container"> 5 <div class="container bg-light p-3 col-8 col-lg-6 welcome-page"> 6 <h5 class="text-center">Enter your username</h5> 7 <input type="text" id="new-user-form" class="form-control my-5" required /> 8 </div> 9 <div class="container bg-light p-3 col-8 col-lg-6 post-page collapse"> 10 <div class="post-form-wrapper"> 11 <p class="current-user"></p> 12 <%= form_with(model: @post, scope: :post, format: :json, id: 'post-form') do |form| %> 13 <div class="field"> 14 <%= form.text_area :post, id: :post, class: "form-control post-textarea", required: true %> 15 <%= form.hidden_field :username, id: :username %> 16 </div> 17 <div class="actions text-right"> 18 <%= form.submit 'Submit post', class: "btn btn-success btn-sm mt-1" %> 19 </div> 20 <% end %> 21 </div> 22 <div class="posts mt-5"> 23 <% @posts.each do |post| %> 24 <div class="post-wrapper col-12 mb-2 p-0"> 25 <div class="card"> 26 <div class="card-header"> 27 @<%= post.username %> 28 <small class="float-right mt-1"><%= post.created_at.strftime("at %I:%M%p") %></small> 29 </div> 30 <div class="card-body"> 31 <p class="card-text"><%= post.post %></p> 32 <%= link_to '', add_likes_path(post_id: post.id), remote: true, method: :post, class: "far fa-thumbs-up add-like" %><span class="ml-2" data-post="<%= post.id %>"><%= post.likes[0].like_count %></span> 33 </div> 34 </div> 35 </div> 36 <% end %> 37 </div> 38 </div> 39 </div> 40 </div>
Next, we’ll add the JavaScript code to display the feeds page after collecting the user’s username. Add the following code to your post.coffee file:
1# app/assets/javascripts/post.coffee 2 3 $(document).ready => 4 currentUser = '' 5 welcomePage = $('.welcome-page') 6 postPage = $('.post-page') 7 newUserForm = $('#new-user-form') 8 9 # when user enters a username, store it and show the post page 10 newUserForm.on 'keyup', (event) -> 11 if event.keyCode == 13 and !event.shiftKey 12 currentUser = event.target.value 13 newUserForm.val('') 14 welcomePage.addClass('collapse') 15 postPage.removeClass('collapse') 16 greeting = """welcome @#{currentUser}""" 17 $('.current-user').html(greeting) 18 $('#username').val(currentUser) 19 return
In our posts controller, we’ll instantiate a posts object. In your posts_controller.rb file, add the following code:
1# app/controllers/posts_controller.rb 2 3 class PostsController < ApplicationController 4 def index 5 @posts = Post.all.order(created_at: :desc) # add this line 6 end 7 ... 8 end
Lastly, we’ll be making use of Font Awesome icons, so we need to add the Font Awesome CDN to our app head tag. While we’re at it, we’ll also add the Pusher library.
1# app/views/layouts/application.html.erb 2 3 <head> 4 .... 5 <link rel="stylesheet" href="https://use.fontawesome.com/releases/v5.0.13/css/all.css" integrity="sha384-DNOHZ68U8hZfKXOrtjWvjxusGo9WQnrNx2sqG0tfsghAvtVlRW3tvkXWZh58N9jp" crossorigin="anonymous"> # add this line 6 <script src="https://js.pusher.com/4.1/pusher.min.js"></script> # add this line 7 <%= javascript_include_tag 'application', 'data-turbolinks-track': 'reload' %> 8 </head>
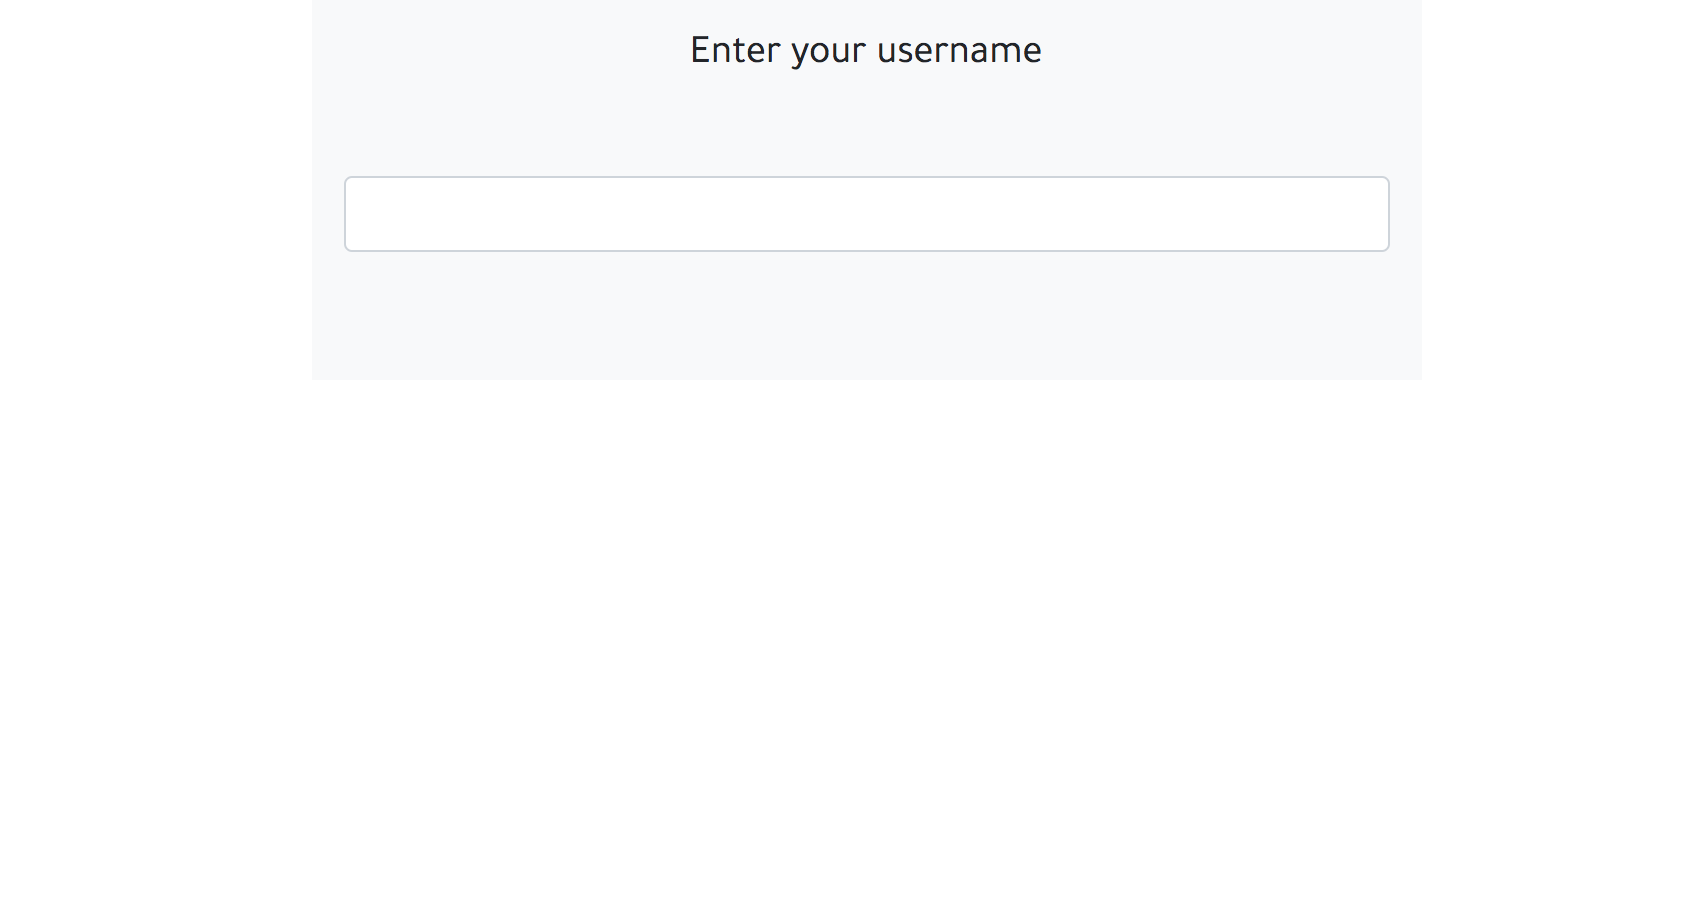
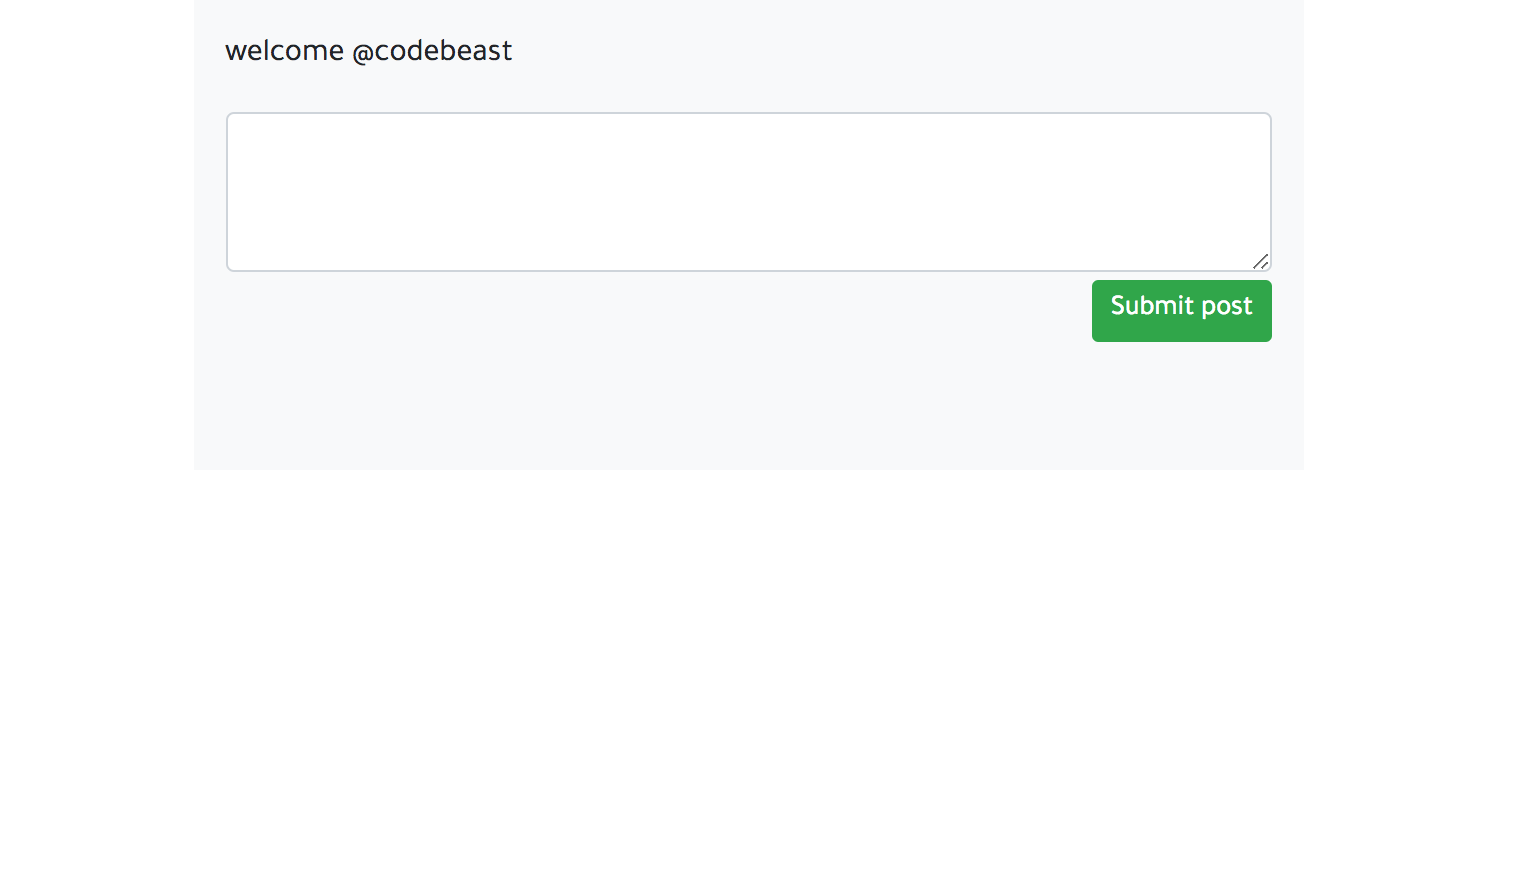
If you’ve followed the tutorial so far, when you reload the homepage, you should see the first image below. On entering a username, you should see the second image below.
If you encounter a RegExp error while trying to set up Bootstrap, In config/boot.rb, change the ExecJS runtime from Duktape to Node.
1# config/boot.rb 2 ENV['EXECJS_RUNTIME'] ='Node'
Adding posts
Now that our app’s UI is set up, we’ll go ahead and start adding posts. In the posts controller, we’ll add code for creating posts and liking them. Update your posts controller with following:
1# app/controllers/posts_controller.rb 2 3 class PostsController < ApplicationController 4 def index 5 @posts = Post.all.order(created_at: :desc) 6 end 7 8 def new 9 @post = Post.new 10 end 11 12 def create 13 @post = Post.new(post_params) 14 @post.likes.build() 15 respond_to do |format| 16 if @post.save 17 format.json { render :show, status: :created } 18 else 19 format.json { render json: @chat.errors, status: :unprocessable_entity } 20 end 21 end 22 end 23 24 def add_like 25 @post = Post.find(params[:post_id]) 26 if @post 27 @post.likes[0].like_count +=1 28 29 if @post.likes[0].save 30 respond_to do |format| 31 format.json { render :show, status: :ok } 32 end 33 end 34 end 35 end 36 37 private 38 def post_params 39 params.require(:post).permit(:post, :username) 40 end 41 end
We’ll build our server response to JSON using Jbuilder. In your posts views folder, create a show.json.jbuilder file and add the following code:
1# app/views/posts/show.json.jbuilder 2 3 json.extract! @post, :id, :username, :post, :created_at 4 json.url post_url(@post, format: :json) 5 json.likes @post.likes[0].like_count
Whenever a new post is created, we’ll handle it via AJAX and prepend it to our current feed so the new feeds are at the top. Update your posts.coffee file with the following:
1# app/assets/javascripts/posts.coffee 2 3 # function for adding new posts to the feed 4 updateFeed = (post) -> 5 postTime = new Date(post.created_at.replace(' ', 'T')).toLocaleString('en-US', { hour: 'numeric', minute: 'numeric', hour12: true }) 6 $('.posts').prepend """ 7 <div class="post-wrapper col-12 mb-2 p-0"> 8 <div class="card"> 9 <div class="card-header">@#{post.username}<small class="float-right mt-1">at #{postTime}</small></div> 10 <div class="card-body"> 11 <p class="card-text">#{post.post}</p> 12 <a class="far fa-thumbs-up add-like" data-remote="true" rel="nofollow" data-method="post" href="/likes/#{post.id}"></a> 13 <span class="ml-2" data-post="#{post.id}">#{post.likes[0].like_count}</span> 14 </div> 15 </div> 16 </div> 17 """ 18 return 19 20 # if the post was successfully saved, get the post and pass it to the updateFeed function 21 $('#post-form').on 'ajax:success', (data) -> 22 post = data.detail[0] 23 updateFeed post 24 $('#post-form')[0].reset() 25 return
With that, we should be able to create new posts and see them appear in our feed. Next, we’ll add our killer realtime feature.
Realtime feed with Pusher
To make our feed realtime, whenever a new post is created, we publish it on the server via Pusher and subscribe to it on the frontend of our app. Before we can do this though, we need to initialize our Pusher client.
In the config/initializers folder, create a pusher.rb file and add the following code:
1# config/initializers/pusher.rb 2 3 require 'pusher' 4 Pusher.app_id = ENV["PUSHER_APP_ID"] 5 Pusher.key = ENV["PUSHER_KEY"] 6 Pusher.secret = ENV["PUSHER_SECRET"] 7 Pusher.cluster = ENV["PUSHER_CLUSTER"] 8 Pusher.logger = Rails.logger 9 Pusher.encrypted = true
Next, install Figaro by running figaro install in your terminal. It will generate an application.yml file. In the application.yml file add your Pusher keys:
1# config/application.yml 2 3 PUSHER_APP_ID: 'xxxxxx' 4 PUSHER_KEY: 'xxxxxxxxxxxxxxxxx' 5 PUSHER_SECRET: 'xxxxxxxxxxxxxx' 6 PUSHER_CLUSTER: 'xx'
Now we can go ahead and publish new posts and likes whenever they’re created. Add the following code to your post and like models:
1# app/models/post.rb 2 3 class Post < ApplicationRecord 4 after_create :notify_pusher, on: :create 5 has_many :likes 6 7 def notify_pusher 8 Pusher.trigger('feed', 'new-post', self.as_json(include: :likes)) 9 end 10 end
1# app/models/like.rb 2 3 class Like < ApplicationRecord 4 after_save :notify_pusher, on: :create 5 belongs_to :post 6 7 def notify_pusher 8 Pusher.trigger('feed', 'new-like', self.post.as_json(include: :likes)) 9 end 10 end
In the code above, we add an after_create and after_save callback to the post and like models respectively. These callbacks call the function to publish new posts and likes.
Updating the UI
Now that our server is publishing data each time it’s created, it’s up to the client to listen for those changes and do something with that data.
Lets rename our posts.coffee file to posts.coffee.erb and update it with the following code:
1$(document).ready => 2 currentUser = '' 3 welcomePage = $('.welcome-page') 4 postPage = $('.post-page') 5 newUserForm = $('#new-user-form') 6 7 <%# when user enters a username, store it and show the post page %> 8 newUserForm.on 'keyup', (event) -> 9 if event.keyCode == 13 and !event.shiftKey 10 currentUser = event.target.value 11 newUserForm.val('') 12 welcomePage.addClass('collapse') 13 postPage.removeClass('collapse') 14 greeting = """welcome @#{currentUser}""" 15 $('.current-user').html(greeting) 16 $('#username').val(currentUser) 17 return 18 19 <%# function for adding new posts to the feed %> 20 updateFeed = (post) -> 21 postTime = new Date(post.created_at.replace(' ', 'T')).toLocaleString('en-US', { hour: 'numeric', minute: 'numeric', hour12: true }) 22 $('.posts').prepend """ 23 <div class="post-wrapper col-12 mb-2 p-0"> 24 <div class="card"> 25 <div class="card-header">@#{post.username}<small class="float-right mt-1">at #{postTime}</small></div> 26 <div class="card-body"> 27 <p class="card-text">#{post.post}</p> 28 <a class="far fa-thumbs-up add-like" data-remote="true" rel="nofollow" data-method="post" href="/likes/#{post.id}"></a> 29 <span class="ml-2" data-post="#{post.id}">#{post.likes[0].like_count}</span> 30 </div> 31 </div> 32 </div> 33 """ 34 return 35 36 <%# if the post was successfully saved, get the post and pass it to the updateFeed function %> 37 $('#post-form').on 'ajax:success', (data) -> 38 post = data.detail[0] 39 $('#post-form')[0].reset() 40 return 41 42 <%# suscribe our Pusher client to the feed channel. Whenever there is a new post or new like, update the view with it %> 43 pusher = new Pusher('<%= ENV["PUSHER_KEY"] %>', 44 cluster: '<%= ENV["PUSHER_CLUSTER"] %>' 45 encrypted: true) 46 channel = pusher.subscribe('feed') 47 channel.bind 'new-post', (data) -> 48 updateFeed data 49 channel.bind 'new-like', (data) -> 50 <%# whenever there is a new like, find the liked post via it's "data-post" attribute then update its likes count %> 51 currentPost = $ 'span[data-post=\'' + data.id + '\']' 52 currentPost.text(data.likes[0].like_count) 53 return 54 return
In the code above, we subscribed our Pusher client to the feed channel and listened for the new-post and new-like events. Once those events are emitted, we get the data and update the feed and likes count with it.
Bringing it all together
Restart the development server if it is currently running. Visit http://localhost:3000 in two separate browser tabs and test out the realtime feed and likes.
Conclusion
In this post, we have been able to create a realtime feed app using Pusher. I hope you found this tutorial helpful and would love to apply the knowledge gained here to easily set up your own application using Pusher. You can find the source code for the demo app on GitHub.


© 2025 Pusher Ltd. All rights reserved.
Pusher Limited is a company registered in England and Wales (No. 07489873) whose registered office is at MessageBird UK Limited, 3 More London Riverside, 4th Floor, London, United Kingdom, SE1 2AQ.