- Products

- Developers
- User stories
- Blog
- Pricing

Build a realtime table with Ruby on Rails and PostgreSQL
Introduction
The ability to update data in realtime is one of the top requirements for web applications in today’s world. Users prefer realtime update as opposed to constantly refreshing a page to see new information.
With that being said, implementing realtime update of information in any web application can be challenging and has to be done right. This post aims to show you how to achieve that with the help of Pusher in a Ruby application.
A quick look at what we’ll be building:
Prerequisites
A basic understanding of PostgreSQL, Ruby and CoffeeScript will help you with this tutorial. You should also have PostgreSQL installed. Kindly check the PostgreSQL, Ruby and Rails documentation for further installation steps.
Setting up the application
Before starting off, ensure you have both Ruby and Rails installed. Run the following code in your terminal:
1$ ruby -v // 2.1 or above 2 $ rails -v // 4.2 or above
Now lets run the command to setup the app:
$ rails new pusher-tables -T --database=postgresql
The command above creates a new Rails application. The -T flag excludes generation of test files as we won’t be writing any tests.
Go ahead and change directory into the newly created folder:
$ cd pusher-tables
In the root of your pusher-tables directory, open your Gemfile and add the following gems:
1# Gemfile 2 3 gem 'bootstrap', '~> 4.1.0' 4 gem 'jquery-rails' 5 gem 'pusher' 6 gem 'figaro'
In your terminal, ensure you’re in the project directory and install the gems by running:
$ bundle install
Database setup
Next, we have to create a database called pusher-tables_development for our app. Check out this article on how to create a Postgres database and an associated user and password.
In your database.yml file, under the development key, add the following code:
1# config/database.yml 2 3 ... 4 development: 5 <<: *default 6 database: pusher-tables_development // add this line if it isn't already there 7 username: database_user // add this line 8 password: user_password // add this line 9 ...
The username and password in the code above should have access to the pusher-tables_development database. After that, run the following code to setup the database:
1# setup database 2 $ rails db:setup
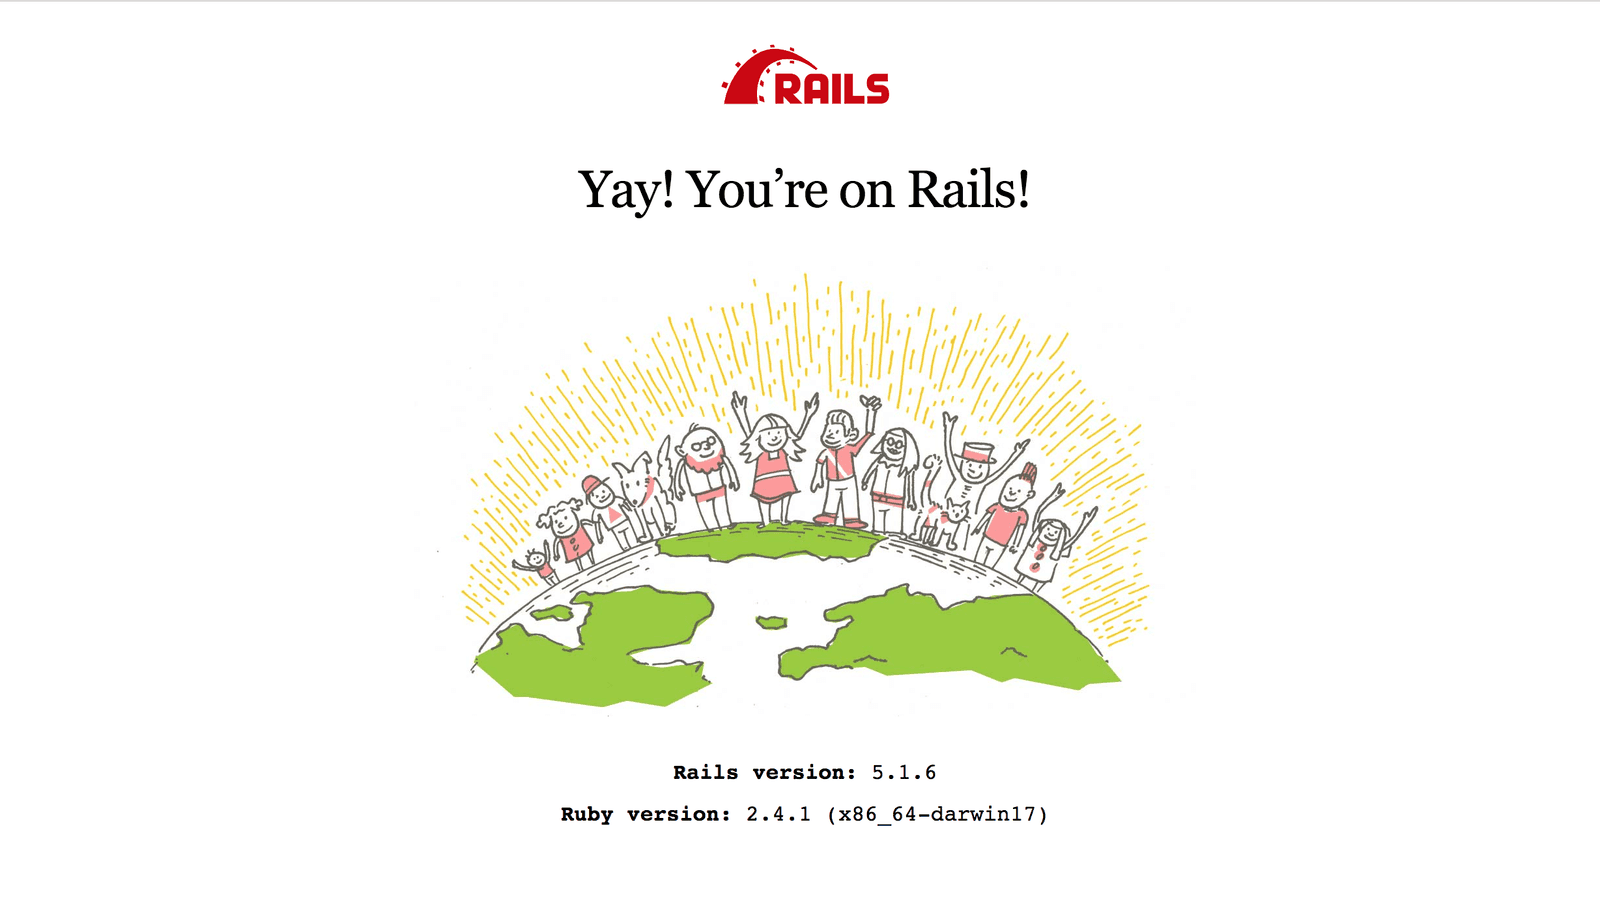
See it working
After installing the gems, start the development server by running rails s and visit http://localhost:3000 in your browser. You should see the following:
Pusher account setup
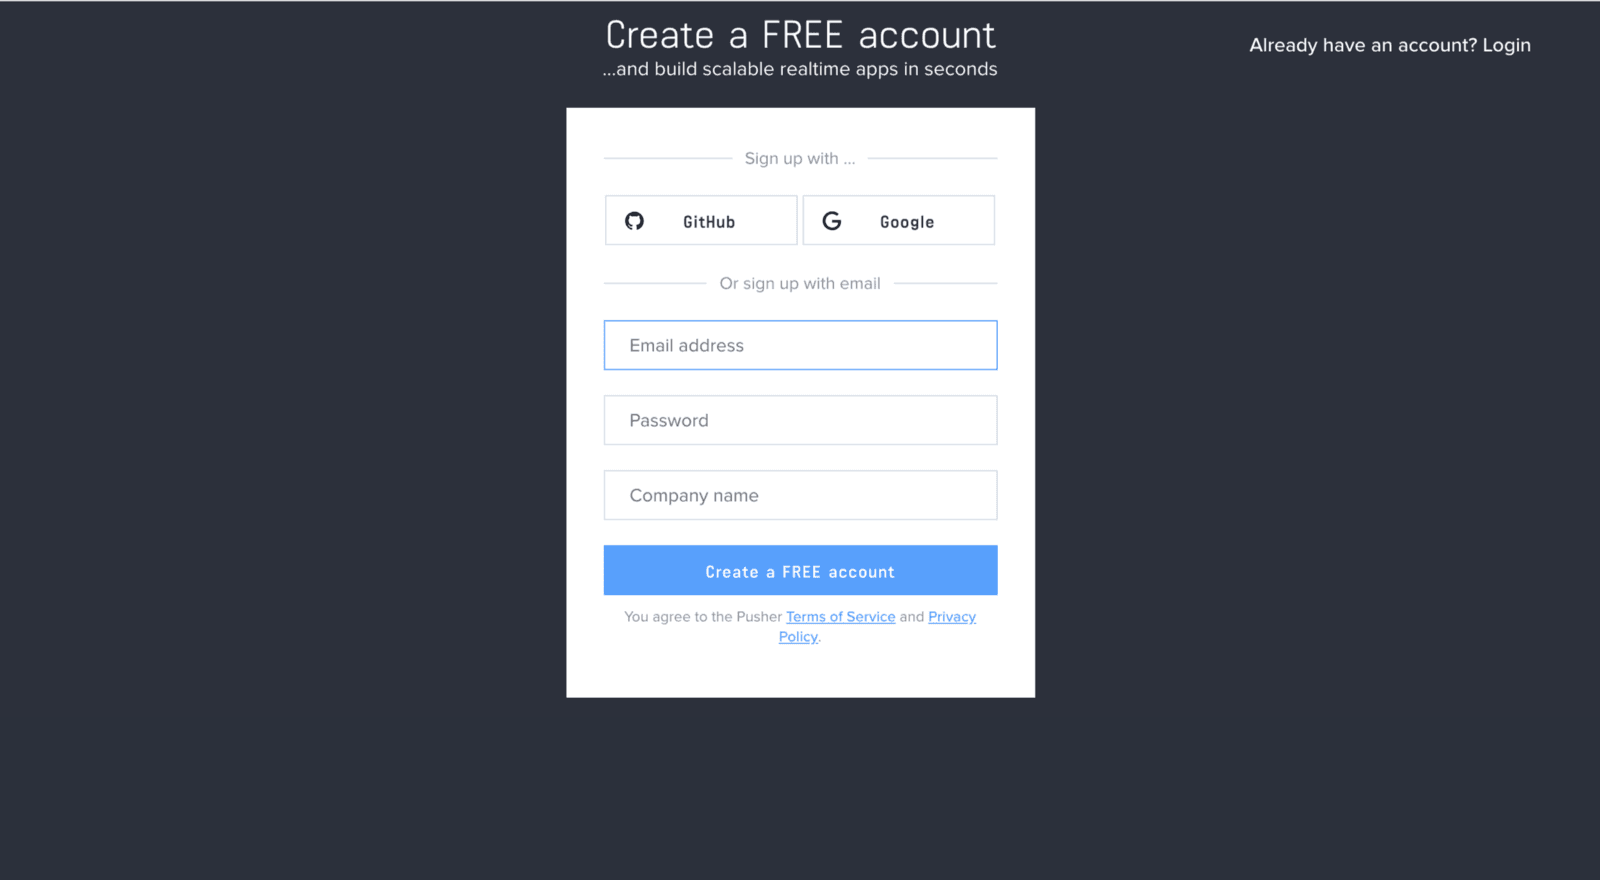
Head over to Pusher and sign up for a free account. A Pusher account is required for the realtime functionality in our app.
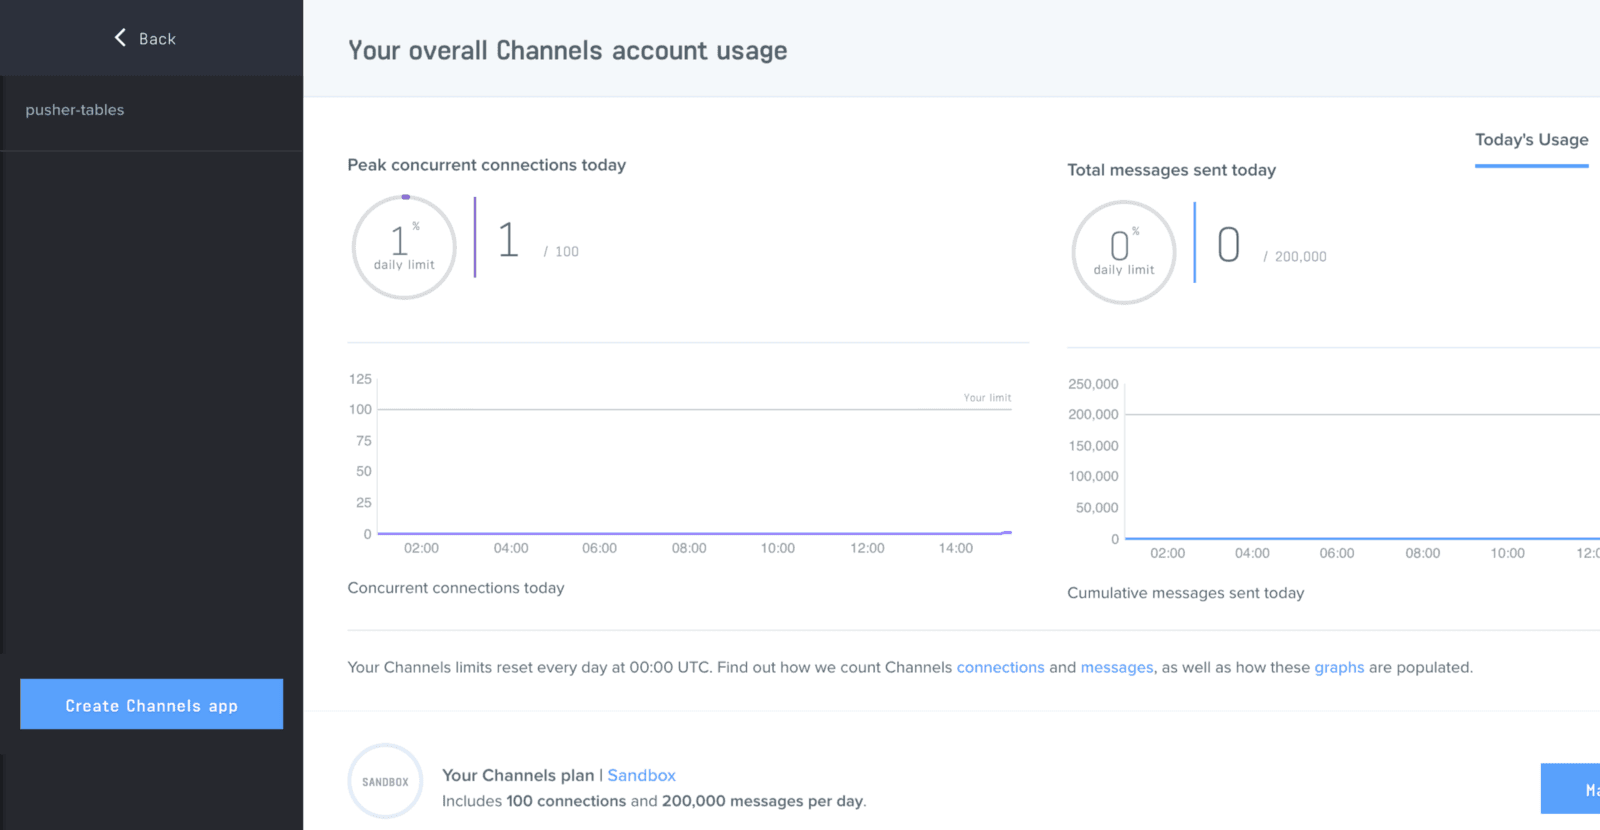
Create a new app by selecting Channels apps on the sidebar, then clicking the Create Channels app button on the bottom of the sidebar:
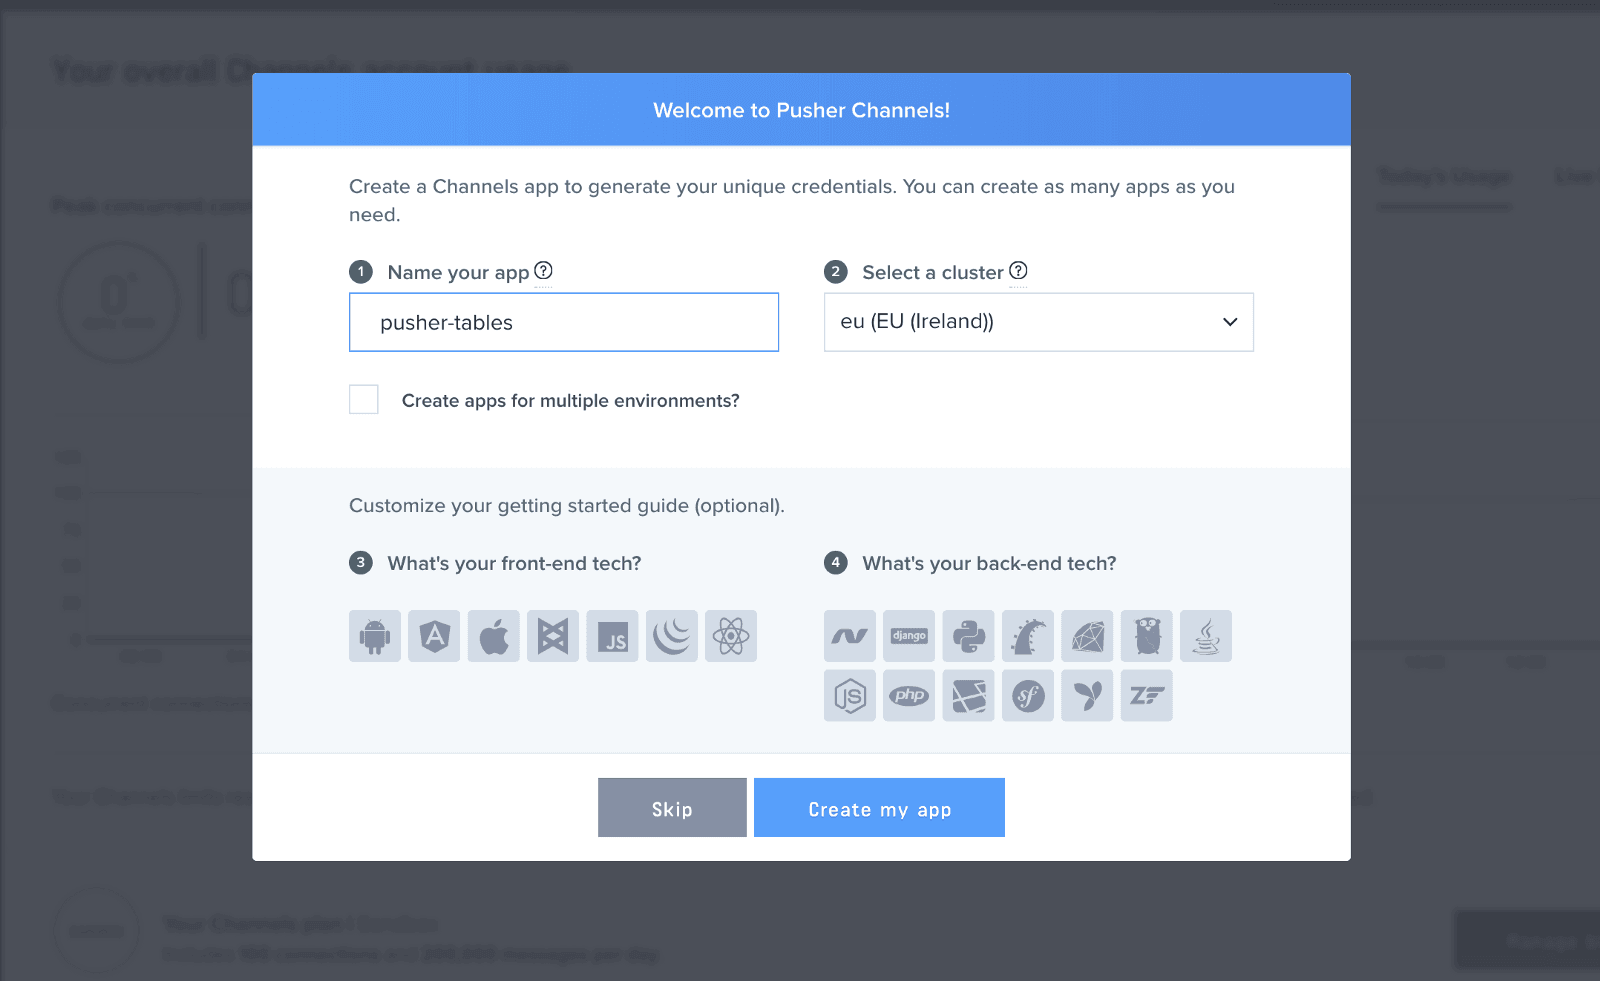
Configure an app by providing basic information requested in the form presented. You can choose the environment you intend to integrate Pusher with to be provided with boilerplate code for that framework:
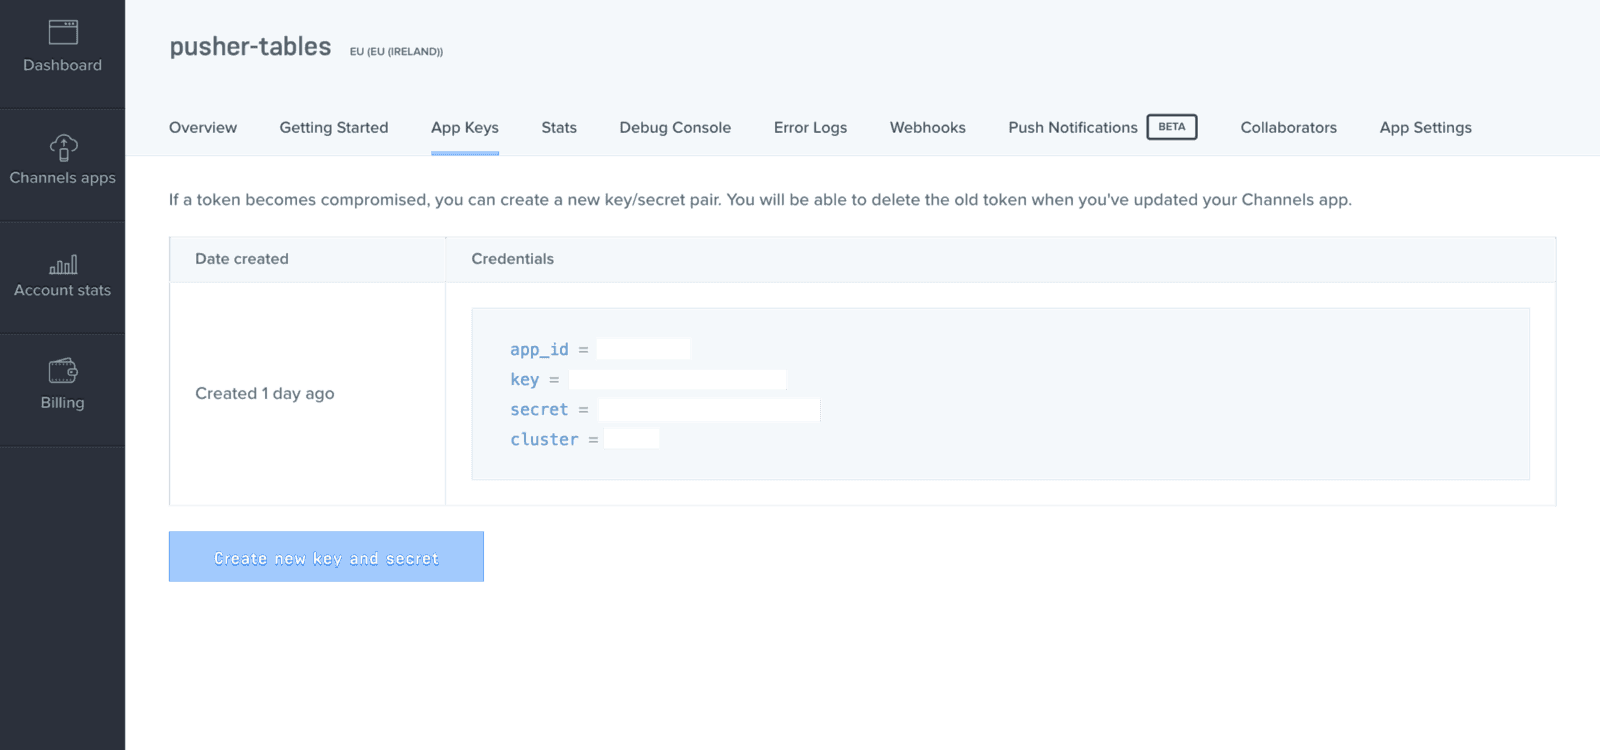
You can retrieve your keys from the App Keys tab:
Now that you have your Pusher API keys, head over to config/initializers directory. Create a pusher.rb file and add the following code:
1# config/initializers/pusher.rb 2 3 require 'pusher' 4 5 Pusher.app_id = ENV["PUSHER_APP_ID"] 6 Pusher.key = ENV["PUSHER_KEY"] 7 Pusher.secret = ENV["PUSHER_SECRET"] 8 Pusher.cluster = ENV["PUSHER_CLUSTER"] 9 Pusher.logger = Rails.logger 10 Pusher.encrypted = true
In your terminal, run figaro install. It’ll generate an application.yml file. In the application.yml file add your Pusher keys:
1# config/application.yml 2 3 PUSHER_APP_ID: 'xxxxxx' 4 PUSHER_KEY: 'xxxxxxxxxxxxxxxxx' 5 PUSHER_SECRET: 'xxxxxxxxxxxxxx' 6 PUSHER_CLUSTER: 'xx'
Setting up the model and controller
With our app up and running, we’ll use Rails’ scaffolding feature to quickly setup our employees model and controller:
1// generate employee model and controllers 2 $ rails g scaffold employee name:string position:string office:string extension:string start_date:date 3 4 // run database migration 5 $ rails db:migrate
Setting up the landing page
After running those commands, restart your server and reload your browser page. You should still see the welcome page. We’re about to change all that.
Add the following code to your route file:
1# config/routes.rb 2 3 ... 4 root 'employees#index' 5 ...
With that, your landing page should now contain a table with headings. Let’s style it up with Bootstrap.
In your application.js file, add the following code just before the last line:
1// app/assets/javascripts/application.js 2 3 ..... 4 //= require jquery3 # add this line 5 //= require popper # add this line 6 //= require bootstrap # add this line 7 //= require_tree . 8 ....
Rename your application.css file to application.scss, import Bootstrap and add some custom syles:
1// app/assets/stylesheets/application.scss 2 3 @import "bootstrap"; 4 @import url('https://fonts.googleapis.com/css?family=Josefin+Sans'); 5 6 body { 7 font-family: 'Josefin Sans', sans-serif; 8 } 9 10 .navbar-brand { 11 color: #FFF !important; 12 13 &:hover { 14 background-color: unset; 15 } 16 } 17 18 .form-control { 19 outline: none !important; 20 21 &:focus { 22 border-color: transparent !important; 23 border: 1px !important; 24 } 25 }
If we restart our server and reload the app, we should see that the fonts have changed courtesy of Bootstrap.
If you encounter a RegExp error while trying to set up Bootstrap, In config/boot.rb, change the ExecJS runtime from Duktape to Node.
1# config/boot.rb 2 ENV['EXECJS_RUNTIME'] ='Node'
Setting up the table
To setup our table, we’ll be using Bootstrap’s table . Replace the code in your index.html.erb file with the following:
1<%# app/views/employees/index.html.erb %> 2 3 <div class='container-fluid'> 4 <p id="notice"><%= notice %></p> 5 <div class='row py-3 px-3'> 6 <div class='col-12 col-sm-8'> 7 <h3 class=''>Employees</h3> 8 <table id='employee-table' class="table table-hover"> 9 <thead class="thead-light"> 10 <tr> 11 <th>Name</th> 12 <th>Position</th> 13 <th>Office</th> 14 <th>Extension</th> 15 <th>Start date</th> 16 <th colspan="3"></th> 17 </tr> 18 </thead> 19 20 <tbody> 21 <% @employees.each do |employee| %> 22 <tr> 23 <td><%= employee.name %></td> 24 <td><%= employee.position %></td> 25 <td><%= employee.office %></td> 26 <td><%= employee.extension %></td> 27 <td><%= employee.start_date %></td> 28 <td><%= link_to 'Show', employee %></td> 29 <td><%= link_to 'Edit', edit_employee_path(employee) %></td> 30 <td><%= link_to 'Delete', employee, method: :delete, data: { confirm: 'Are you sure?' } %></td> 31 </tr> 32 <% end %> 33 </tbody> 34 </table> 35 <br> 36 </div> 37 38 <div class='col-12 col-sm-4'> 39 <h3>New Employee</h3> 40 <%= render 'form', employee: @employee %> 41 </div> 42 </div> 43 </div>
Update the index method of the employees controller, to include the following:
1# app/controllers/employees_controller.rb 2 3 class EmployeesController < ApplicationController 4 ... 5 def index 6 @employees = Employee.all 7 @employee = Employee.new # add this line 8 end 9 ... 10 end
The code above adds Bootstrap styling to the table on our landing page. It also instantiates a new employee record in the index method of the employees controller. If you reload the landing page, you should see the table and form in all its glory.
Adding new records to the table
Currently adding a new employee record redirects us a different page. We’d like to handle that with AJAX. To do that, we add remote: true and format: :json to our form. Replace the code in_form.html.erb with the following:
1// app/views/employees/_form.html.erb 2 3 <%= form_with(model: employee, remote: true, format: :json, id: 'add_employee') do |form| %> 4 <% if employee.errors.any? %> 5 <div id="error_explanation"> 6 <h2><%= pluralize(employee.errors.count, "error") %> prohibited this employee from being saved:</h2> 7 8 <ul> 9 <% employee.errors.full_messages.each do |message| %> 10 <li><%= message %></li> 11 <% end %> 12 </ul> 13 </div> 14 <% end %> 15 16 <div class="field"> 17 <%= form.label :name %> 18 <%= form.text_field :name, id: :employee_name, class: "form-control" %> 19 </div> 20 21 <div class="field"> 22 <%= form.label :position %> 23 <%= form.text_field :position, id: :employee_position, class: "form-control" %> 24 </div> 25 26 <div class="field"> 27 <%= form.label :office %> 28 <%= form.select :office, [['Lagos', 'Lagos'], ['New York', 'New York',], ['Lisbon', 'Lisbon']], {}, { class: "form-control", id: "employee_office" } %> 29 </div> 30 31 <div class="field"> 32 <%= form.label :extension %> 33 <%= form.text_field :extension, id: :employee_extension, class: "form-control" %> 34 </div> 35 36 <div class="field"> 37 <%= form.label :start_date %> 38 <%= form.date_field :start_date, id: :employee_start_date, class: "form-control" %> 39 </div> 40 41 <div class="actions"> 42 <%= form.submit 'Create Employee', class: "btn btn-success" %> 43 </div> 44 <% end %>
Now that our form uses AJAX, we’ll handle updating the table with CoffeeScript.
1# app/assets/javascripts/employees.coffee 2 3 updateTable = (data) -> 4 $('#employee-table tbody').append """ 5 <tr> 6 <td>#{data.name}</td> 7 <td>#{data.position}</td> 8 <td>#{data.office}</td> 9 <td>#{data.extension}</td> 10 <td>#{data.start_date}</td> 11 <td><a href="/employees/#{data.id}">Show</a></td> 12 <td><a href="/employees/#{data.id}/edit">Edit</a></td> 13 <td><a data-confirm="Are you sure?" rel="nofollow" data-method="delete" href="/employees/#{data.id}">Delete</a></td> 14 </tr> 15 """ 16 return 17 18 $ -> 19 $('#add_employee').on 'ajax:success', (data) -> 20 $('#add_employee')[0].reset() 21 updateTable data.detail[0] 22 return 23 return
In the above code, we add an ajax:success event listener to our form courtesy of jQuery-ujs. Whenever we add new employee records, we get our newly added employee as a response and update our table with it.
Lets reload our page and add a few employees, they should pop up on the page as soon as we hit submit.
Realtime service with Pusher
To update our table realtime, we publish the new employee record to a channel and subscribe to it on the frontend of our app. In the employee model, we add an after_commit callback which calls a method that publishes the new record. We use after_commit so data is published whenever we add or update a record.
Add the following code to the employee model:
1# app/models/employee.rb 2 3 class Employee < ApplicationRecord 4 after_commit :notify_pusher, on: [:create, :update] 5 6 def notify_pusher 7 Pusher.trigger('employee', 'new', self.as_json) 8 end 9 end
Here, our initialized Pusher client triggers an event called new through a channel named employee.
Updating the UI
So the server is pushing data out on each change, now it’s up to the client to listen for those changes and do something with that data. To do this, we rename our employees.coffee file to employees.coffee.erb so we can sprinkle some Ruby code in it.
Update the file with the following code:
1# app/assets/javascripts/employees.coffee.erb 2 3 updateTable = (data) -> 4 $('#employee-table tbody').append """ 5 <tr> 6 <td>#{data.name}</td> 7 <td>#{data.position}</td> 8 <td>#{data.office}</td> 9 <td>#{data.extension}</td> 10 <td>#{data.start_date}</td> 11 <td><a href="/employees/#{data.id}">Show</a></td> 12 <td><a href="/employees/#{data.id}/edit">Edit</a></td> 13 <td><a data-confirm="Are you sure?" rel="nofollow" data-method="delete" href="/employees/#{data.id}">Delete</a></td> 14 </tr> 15 """ 16 return 17 18 $ -> 19 $('#add_employee').on 'ajax:success', (data) -> 20 $('#add_employee')[0].reset() 21 return 22 pusher = new Pusher('<%= ENV["PUSHER_KEY"] %>', 23 cluster: '<%= ENV["PUSHER_CLUSTER"] %>' 24 encrypted: true) 25 channel = pusher.subscribe('employee') 26 channel.bind 'new', (data) -> 27 updateTable data 28 return 29 return
Lastly, add the Pusher library inside the head tag in the application.html.erb file just before the javascript_include_tag:
1<%# app/views/layouts/application.html.erb %> 2 3 <head> 4 <title>RealtimeTable</title> 5 <%= csrf_meta_tags %> 6 7 <meta name="viewport" content="width=device-width, initial-scale=1, maximum-scale=1"> 8 <%= stylesheet_link_tag 'application', media: 'all', 'data-turbolinks-track': 'reload' %> 9 <script src="https://js.pusher.com/4.1/pusher.min.js"></script> # add this line 10 <%= javascript_include_tag 'application', 'data-turbolinks-track': 'reload' %> 11 </head>
Bringing it all together
Restart the development server if it is currently running. Check your page on http://localhost:3000
Conclusion
So far, we have learnt how to leverage the realtime functionality provided by Pusher to display updates in realtime. Feel free to explore more by visiting Pusher’s documentation. Lastly, the complete source code of this demo application is on Github.


© 2026 Pusher Ltd. All rights reserved.
Pusher Limited is a company registered in England and Wales (No. 07489873) whose registered office is at MessageBird UK Limited, 3 More London Riverside, 4th Floor, London, United Kingdom, SE1 2AQ.