- Products

- Developers
- User stories
- Blog
- Pricing

Build a realtime table with DataTables
Introduction
If you are building an app that handles extensive data, you might want to implement realtime tables at some point. Let’s take a content management system for instance. Large amounts of data are added and removed often, and we would like the changes to be available to consumers immediately.
In this tutorial, we are going to walk through implementing similar features on our realtime table. We will be using a few developer tools, which are:
-
jQuery: A small JavaScript library rich in features that enable easier DOM manipulation, event handling, animation and AJAX implementations.
-
Pusher Channels: A free realtime, easy to use pub/sub service. Channels makes realtime as easy as using basic events.
-
DataTables: A jQuery plug-in that employs progressive enhancement concepts to add advanced interaction controls to any HTML table.
-
Bootstrap: A front end framework for developing responsive, mobile first projects on the web
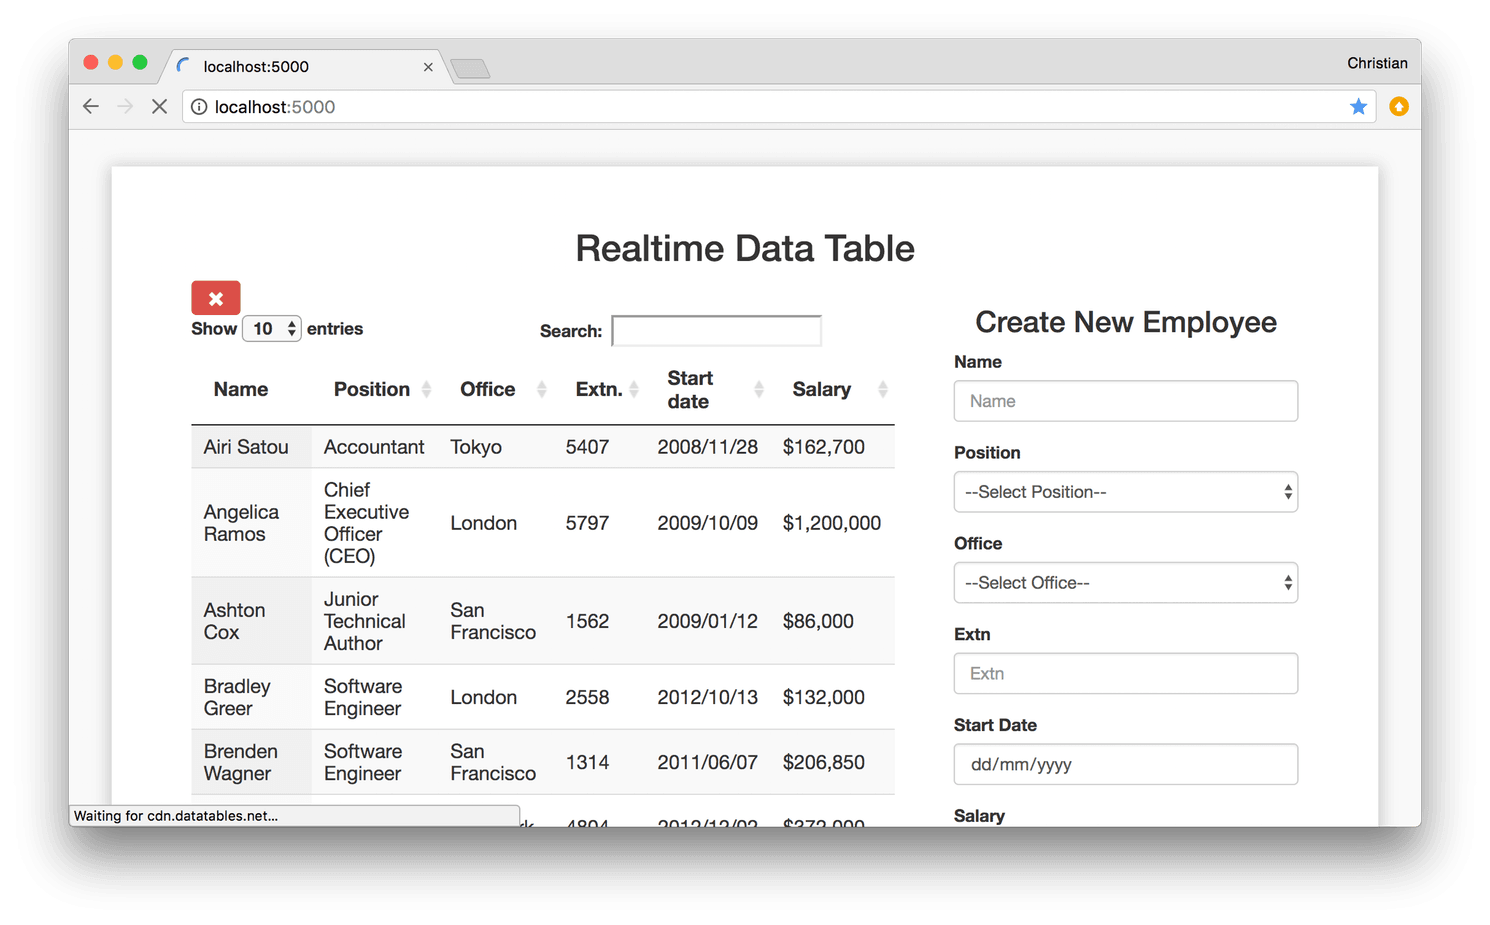
Here is a glimpse of what we are going to build:
Setting up DataTables
Running DataTables on our app is quite simple and straightforward. All we need to do is include the DataTables JavaScript file and the DataTables CSS file in our HTML page. There are a host of other plug-ins we can add to enhance editing abilities and extend the feature set of DataTables but basically we shall stick to these two files. It must be noted that being a jQuery plug-in, DataTables will rely on jQuery in order to work. To include DataTables on our page, we simply include the following links on our HTML page:
1<head> 2 <link rel="stylesheet" type="text/css" href="//cdn.datatables.net/1.10.15/css/jquery.dataTables.css"> 3 </head>
These links will be at the end of our <body> element, just before its closing tag:
1<body> 2 <script src="https://code.jquery.com/jquery-1.12.4.js"></script> 3 <script type="text/javascript" charset="utf8" src="//cdn.datatables.net/1.10.15/js/jquery.dataTables.js"></script> 4 <script src="https://cdn.datatables.net/plug-ins/1.10.15/api/row().show().js"></script> 5 </body>
Creating our table blueprint
To create our table blueprint, we insert a table element in our page and, with jQuery, append the DataTable method to it. This will initialize all the built-in features of DataTables. The DataTable method takes an object as argument. The object has a data property which takes [dataSet](https://github.com/christiannwamba/pusher-realtime-jquery-datatable/blob/master/data.js) , an array of data that we intend to display on the table. We also include another property called columns and set its value to an array of objects with each object’s value serving as a column header for our table.
1const dataTable = $('#realtime').DataTable({ 2 data: dataSet, 3 columns: [ 4 { title: 'Name' }, 5 { title: 'Position' }, 6 { title: 'Office' }, 7 { title: 'Extn.' }, 8 { title: 'Start date' }, 9 { title: 'Salary' } 10 ] 11 });
The data set is stored in a different JavaScript file and should be imported before the above custom JS file:
1<script src="data.js"></script> 2 <script src="script.js"></script>
Adding new records to the table
To add new records to our table, we first create a form with valid options in our HTML page. We then proceed to create a method called buildForm() in our JavaScript file. Using jQuery, we make buildForm() return the value of every option in our form below.
1<div class="col-md-4 col-md-offset-1"> 2 <h3 class="text-center">Create New Employee</h3> 3 <div class="form-group"> 4 <label for="name">Name</label> 5 <input type="text" name="name" id="name" placeholder="Name" class="form-control"> 6 </div> 7 <div class="form-group"> 8 <label for="position">Position</label> 9 <select name="position" id="position" class="form-control"> 10 <option value="">--Select Position--</option> 11 <option value="Frontend Developer">Frontend Developer</option> 12 <option value="UI/UX Engineer">UI/UX Engineer</option> 13 <option value="iOS Engineer">iOS Engineer</option> 14 <option value="Android Developer">Android Developer</option> 15 </select> 16 </div> 17 <div class="form-group"> 18 <label for="office">Office</label> 19 <select name="office" id="office" class="form-control"> 20 <option value="">--Select Office--</option> 21 <option value="Lagos">Lagos</option> 22 <option value="London">London</option> 23 <option value="New York">New York</option> 24 <option value="Berlin">Berlin</option> 25 </select> 26 </div> 27 <div class="form-group"> 28 <label for="extn">Extn</label> 29 <input type="number" name="extn" id="extn" placeholder="Extn" class="form-control"> 30 </div> 31 <div class="form-group"> 32 <label for="startDate">Start Date</label> 33 <input type="date" name="startDate" id="startDate" placeholder="Start Date" class="form-control"> 34 </div> 35 <div class="form-group"> 36 <label for="salary">Salary</label> 37 <input type="number" name="salary" id="salary" placeholder="Salary" class="form-control"> 38 </div> 39 <div class="form-group"> 40 <button class="btn btn-info" id="add">Add</button> 41 </div> 42 </div>
We then proceed to create our buildForm() method:
1buildForm() { 2 return [ 3 $('#name').val(), 4 $('#position').val(), 5 $('#office').val(), 6 $('#extn').val(), 7 $('#startDate') 8 .val() 9 .replace(new RegExp('-', 'g'), '/'), 10 `$${$('#salary').val()}` 11 ]; 12 },
We create a method called addRow() to append whatever data buildForm() returns.
1addRow(dataTable) { 2 const formData = this.buildForm(); 3 const addedRow = dataTable.row.add(formData).draw(); 4 addedRow.show().draw(false); 5 const addedRowNode = addedRow.node(); 6 console.log(addedRowNode); 7 $(addedRowNode).addClass('highlight'); 8 }
The methods row.add() and .draw() are inbuilt DataTables API methods, other DataTables methods implemented in addRow() are .show(), .draw(false) and .node():
row.add()adds a new row to the table using the given data..draw()redraws and updates the table in the current context..show()displays a field in our table. This is useful for cases when you want to have extra form fields available, but only show them under certain conditions..draw(false)adds a new row without resetting or distorting the current page..node()serves as an event listener, it returns the DOM element for the requested field thus enabling DOM manipulation of the field.
We then take our addRow() method which we built and bind it to a button using jQuery’s .click() method. When the button is clicked, addRow() automatically executes its functions on our table.
$('#add').on('click', this.addRow.bind(this, dataTable));
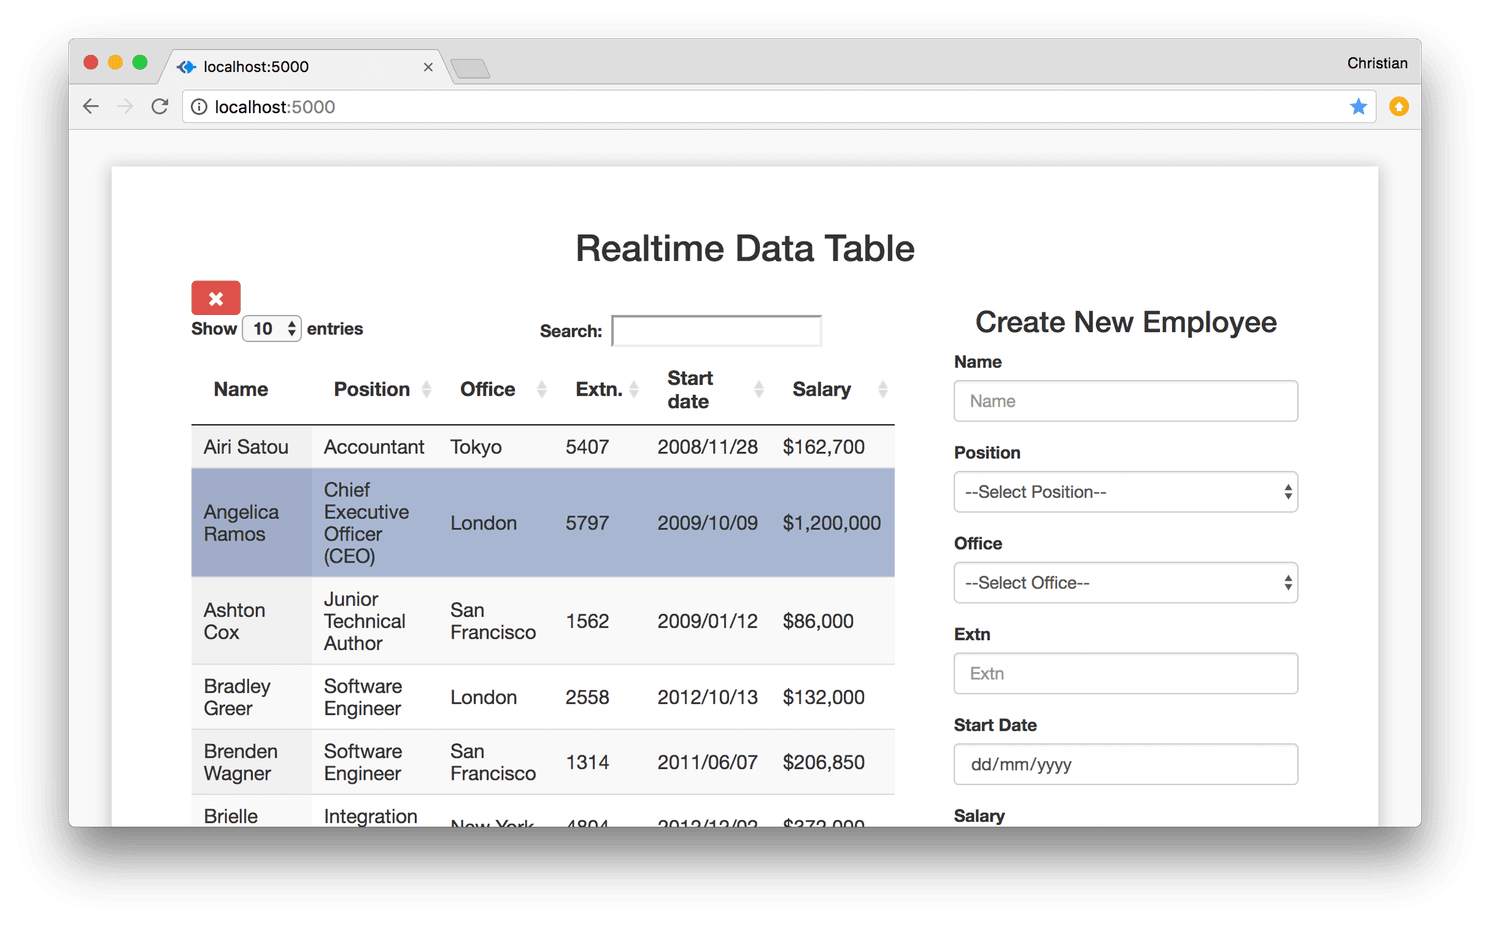
Selecting and removing existing records from table
Let’s now create a method called selectRow() , its function is to select a row in our table. Selecting a row puts the row to the spot so we can be able to remove it. The method just adds a selected class to the selected row and removes any other row that selected class was previously added to:
1selectRow(dataTable) { 2 if ($(this).hasClass('selected')) { 3 $(this).removeClass('selected'); 4 } else { 5 dataTable.$('tr.selected').removeClass('selected'); 6 $(this).addClass('selected'); 7 } 8 }
We also create a method called removeRow() , its function is to remove a row from our table. The row removed is the row with the selected class:
1removeRow(dataTable) { 2 dataTable.row('.selected').remove().draw( false ); 3 }
We then proceed to bind selectRow() and removeRow() to their respective event triggers using jQuery’s .click() method as we did previously with addRow().
1const self = this; 2 $('#realtime tbody').on('click', 'tr', function(){ 3 self.selectRow.bind(this, dataTable)(); 4 }); 5 $('#remove').on('click', this.removeRow.bind(this, dataTable));
Realtime updates with Pusher
To enable realtime updates on our table, we will integrate Pusher Channels. Channels is a simple hosted API for quickly, easily and securely implementing realtime two-way functionality on web and mobile apps. To achieve this, Pusher is to be installed both on the client side and on the server side. The client side is with the <script> tag while we npm install on the server side. A couple of frameworks and packages will be integrated alongside Pusher, these are:
- Express: A fast, lightweight, flexible framework for Node.js.
- bodyParser: A module that provides middle ware for extracting the entire body portion of an incoming request stream and exposes it on
req.bodyas something easier to interface with. - cors: A Node.js package that provides middleware that can be used to enable cross-origin resource sharing with different options.
- Axios: A promise based HTTP client for JavaScript mainly used to send asynchronous HTTP requests to REST endpoints and perform CRUD operations.
Installing Pusher on the Client
We begin by including the Pusher Client library and Axios on our HTML page:
1<body> 2 <script src="https://js.pusher.com/4.1/pusher.min.js"></script> 3 <script src="https://cdnjs.cloudflare.com/ajax/libs/axios/0.16.2/axios.js"></script> 4 </body>
In our script.js file, we create a method called sendToServer() where we perform a POST request with Axios. We pass in two parameters in our POST request; the first is the URI of our service endpoint and the second is our table data which we set as a value to a newly created constant which we call formData
1sendToServer() { 2 const formData = this.buildForm(); 3 axios.post('http://localhost:2000/record', formData) 4 .then(response => console.log(response)); 5 }
We then establish our connection with Pusher by creating a new Pusher instance.
In our instance, we insert the free API key we get when signing up with Pusher. To ensure connection traffic is encrypted, we set encrypted to the Boolean true in our app.
1var pusher = new Pusher('APP-KEY', { 2 cluster: 'CLUSTER', 3 encrypted: true 4 });
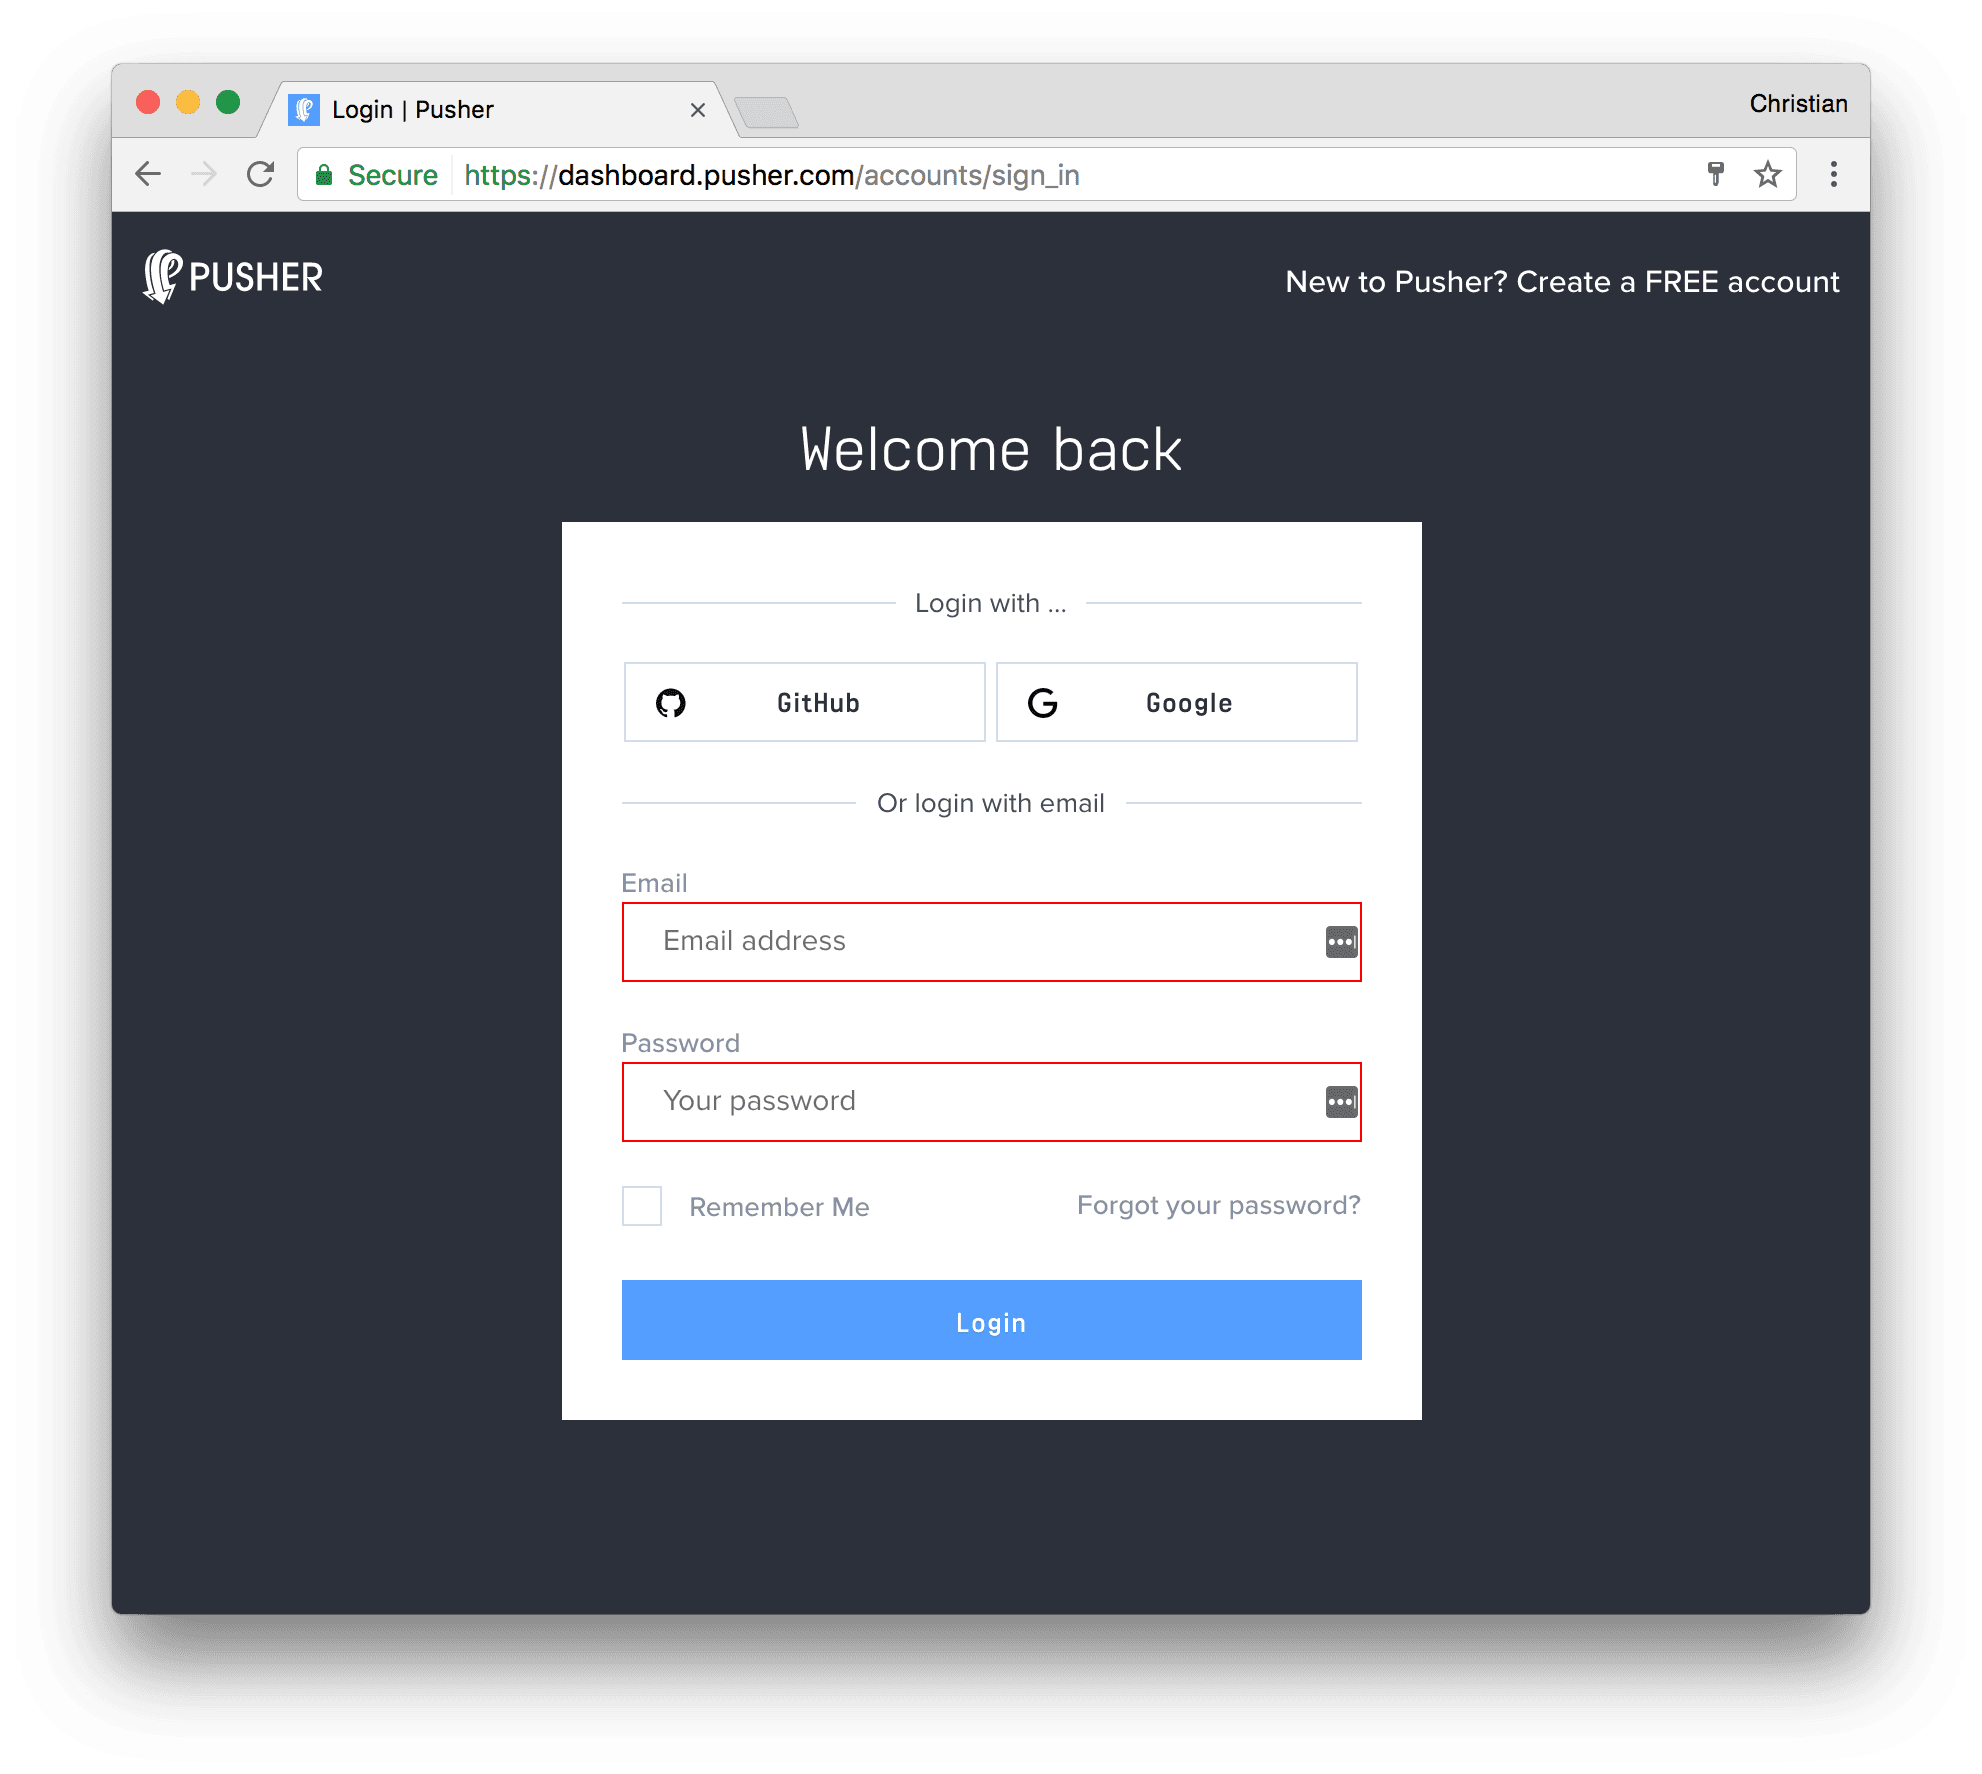
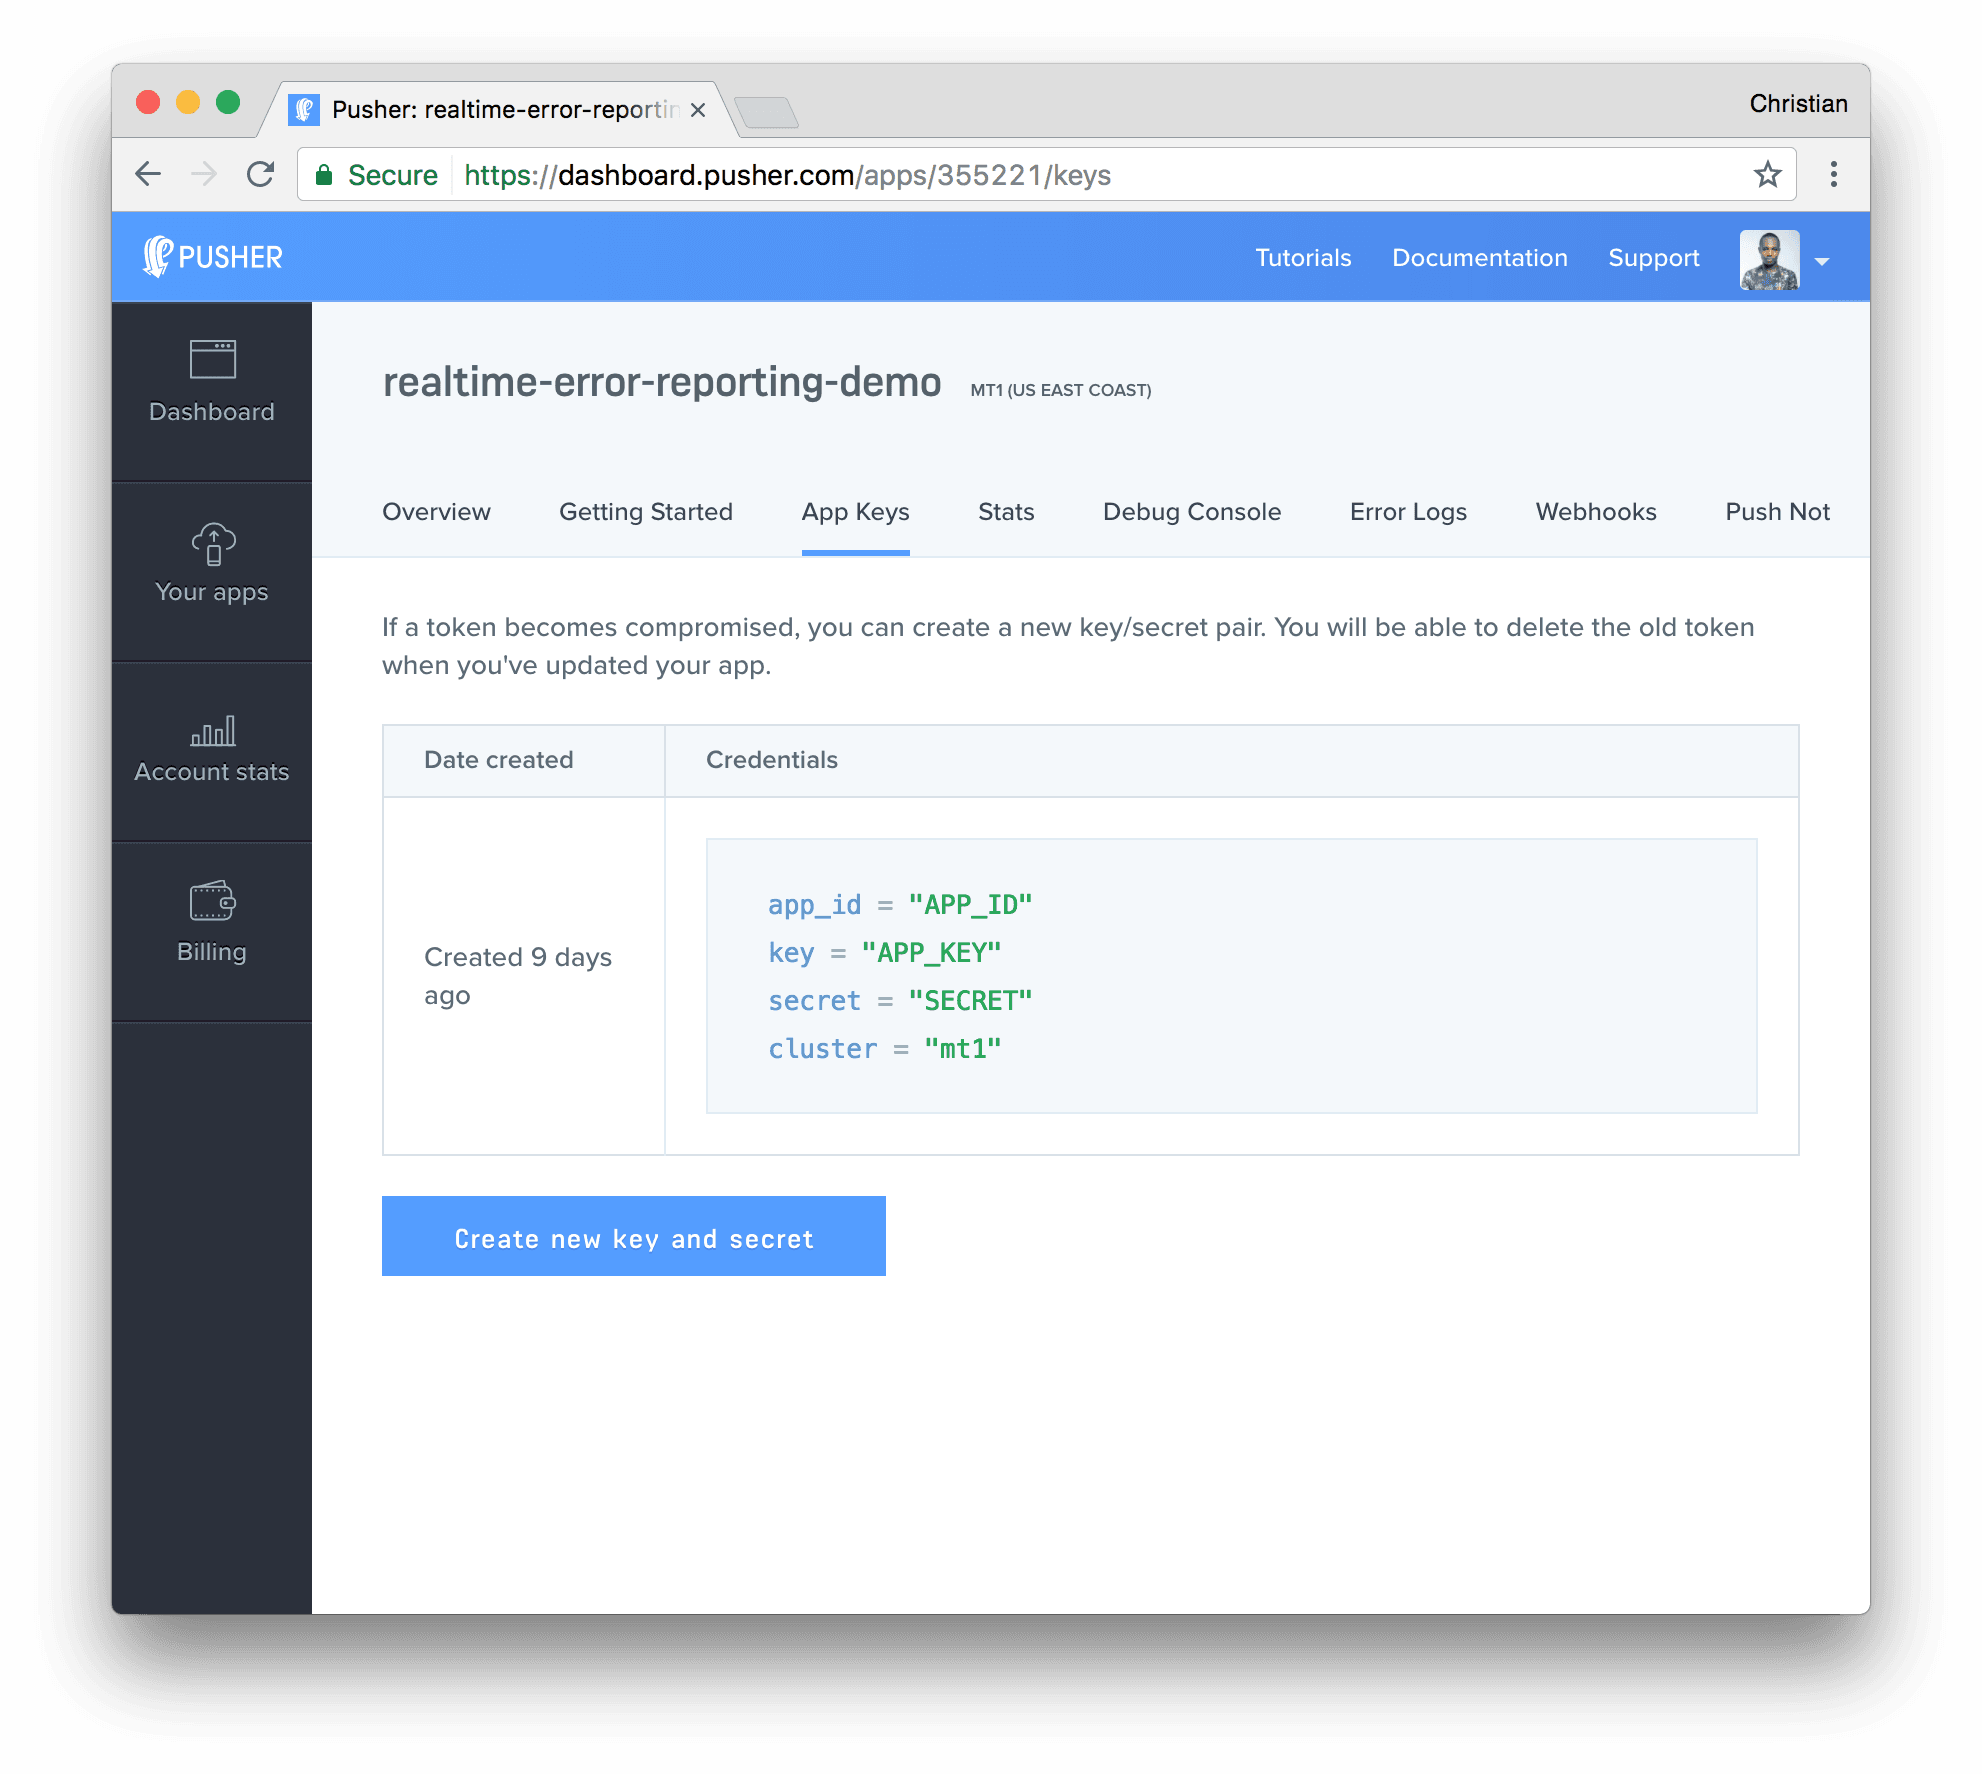
The key is part of the credentials that are generated when a new Channels app is created from your Pusher dashboard. You can create an account by signing up. See Appendix at the end of the article to learn how to setup a Pusher account.
Installing Pusher Channels on the Server
First, run the following command to install the server dependencies:
npm install express body-parser cors
A server.js file is created; we then initialize Express after which we configure Express to support cross-origin resource sharing, encoded body and JSON. We then create a new Pusher instance which has an object containing our app ID, key, secret, cluster, and encryption preference.
Next, we create a POST route and in it we use Pusher to trigger an event named new-record through a record channel.
1const express = require('express'); 2 const bodyParser = require('body-parser') 3 const Pusher = require('pusher') 4 const cors = require('cors') 5 const app = express(); 6 app.use(cors()) 7 app.use(bodyParser.urlencoded({ extended: false })) 8 app.use(bodyParser.json()) 9 const pusher = new Pusher({ 10 appId: 'APP-ID', 11 key: 'KEY', 12 secret: 'SECRET', 13 cluster: 'CLUSTER', 14 encrypted: true 15 }); 16 app.post('/record', (req, res) => { 17 console.log(req.body); 18 pusher.trigger('records', 'new-record', req.body); 19 res.send('Pushed'); 20 }) 21 app.listen(2000, () => console.log('Listening at 2000'));
To get realtime updates on our table, in our script.js file (client side) we use Pusher’s subscribe() method to subscribe to our channel records. We then define a callback function that binds our event new-record and with it, our data.
1var pusher = new Pusher('APP-KEY', { 2 cluster: 'CLUSTER', 3 encrypted: true 4 }); 5 6 var channel = pusher.subscribe('records'); 7 channel.bind('new-record', (data) => { 8 this.addRow(dataTable, data); 9 });
Conclusion
With this walk through, you should be able to build cross platform realtime apps with ease. Other DataTables and Pusher features are available but their use depends on the requirements of your app. You can have a look at the DataTables documentation and while you’re at it, take a glance at Pusher’s as well. For a deeper comprehension of the project, feel free to explore further on GitHub.
Appendix: Pusher Channels Setup
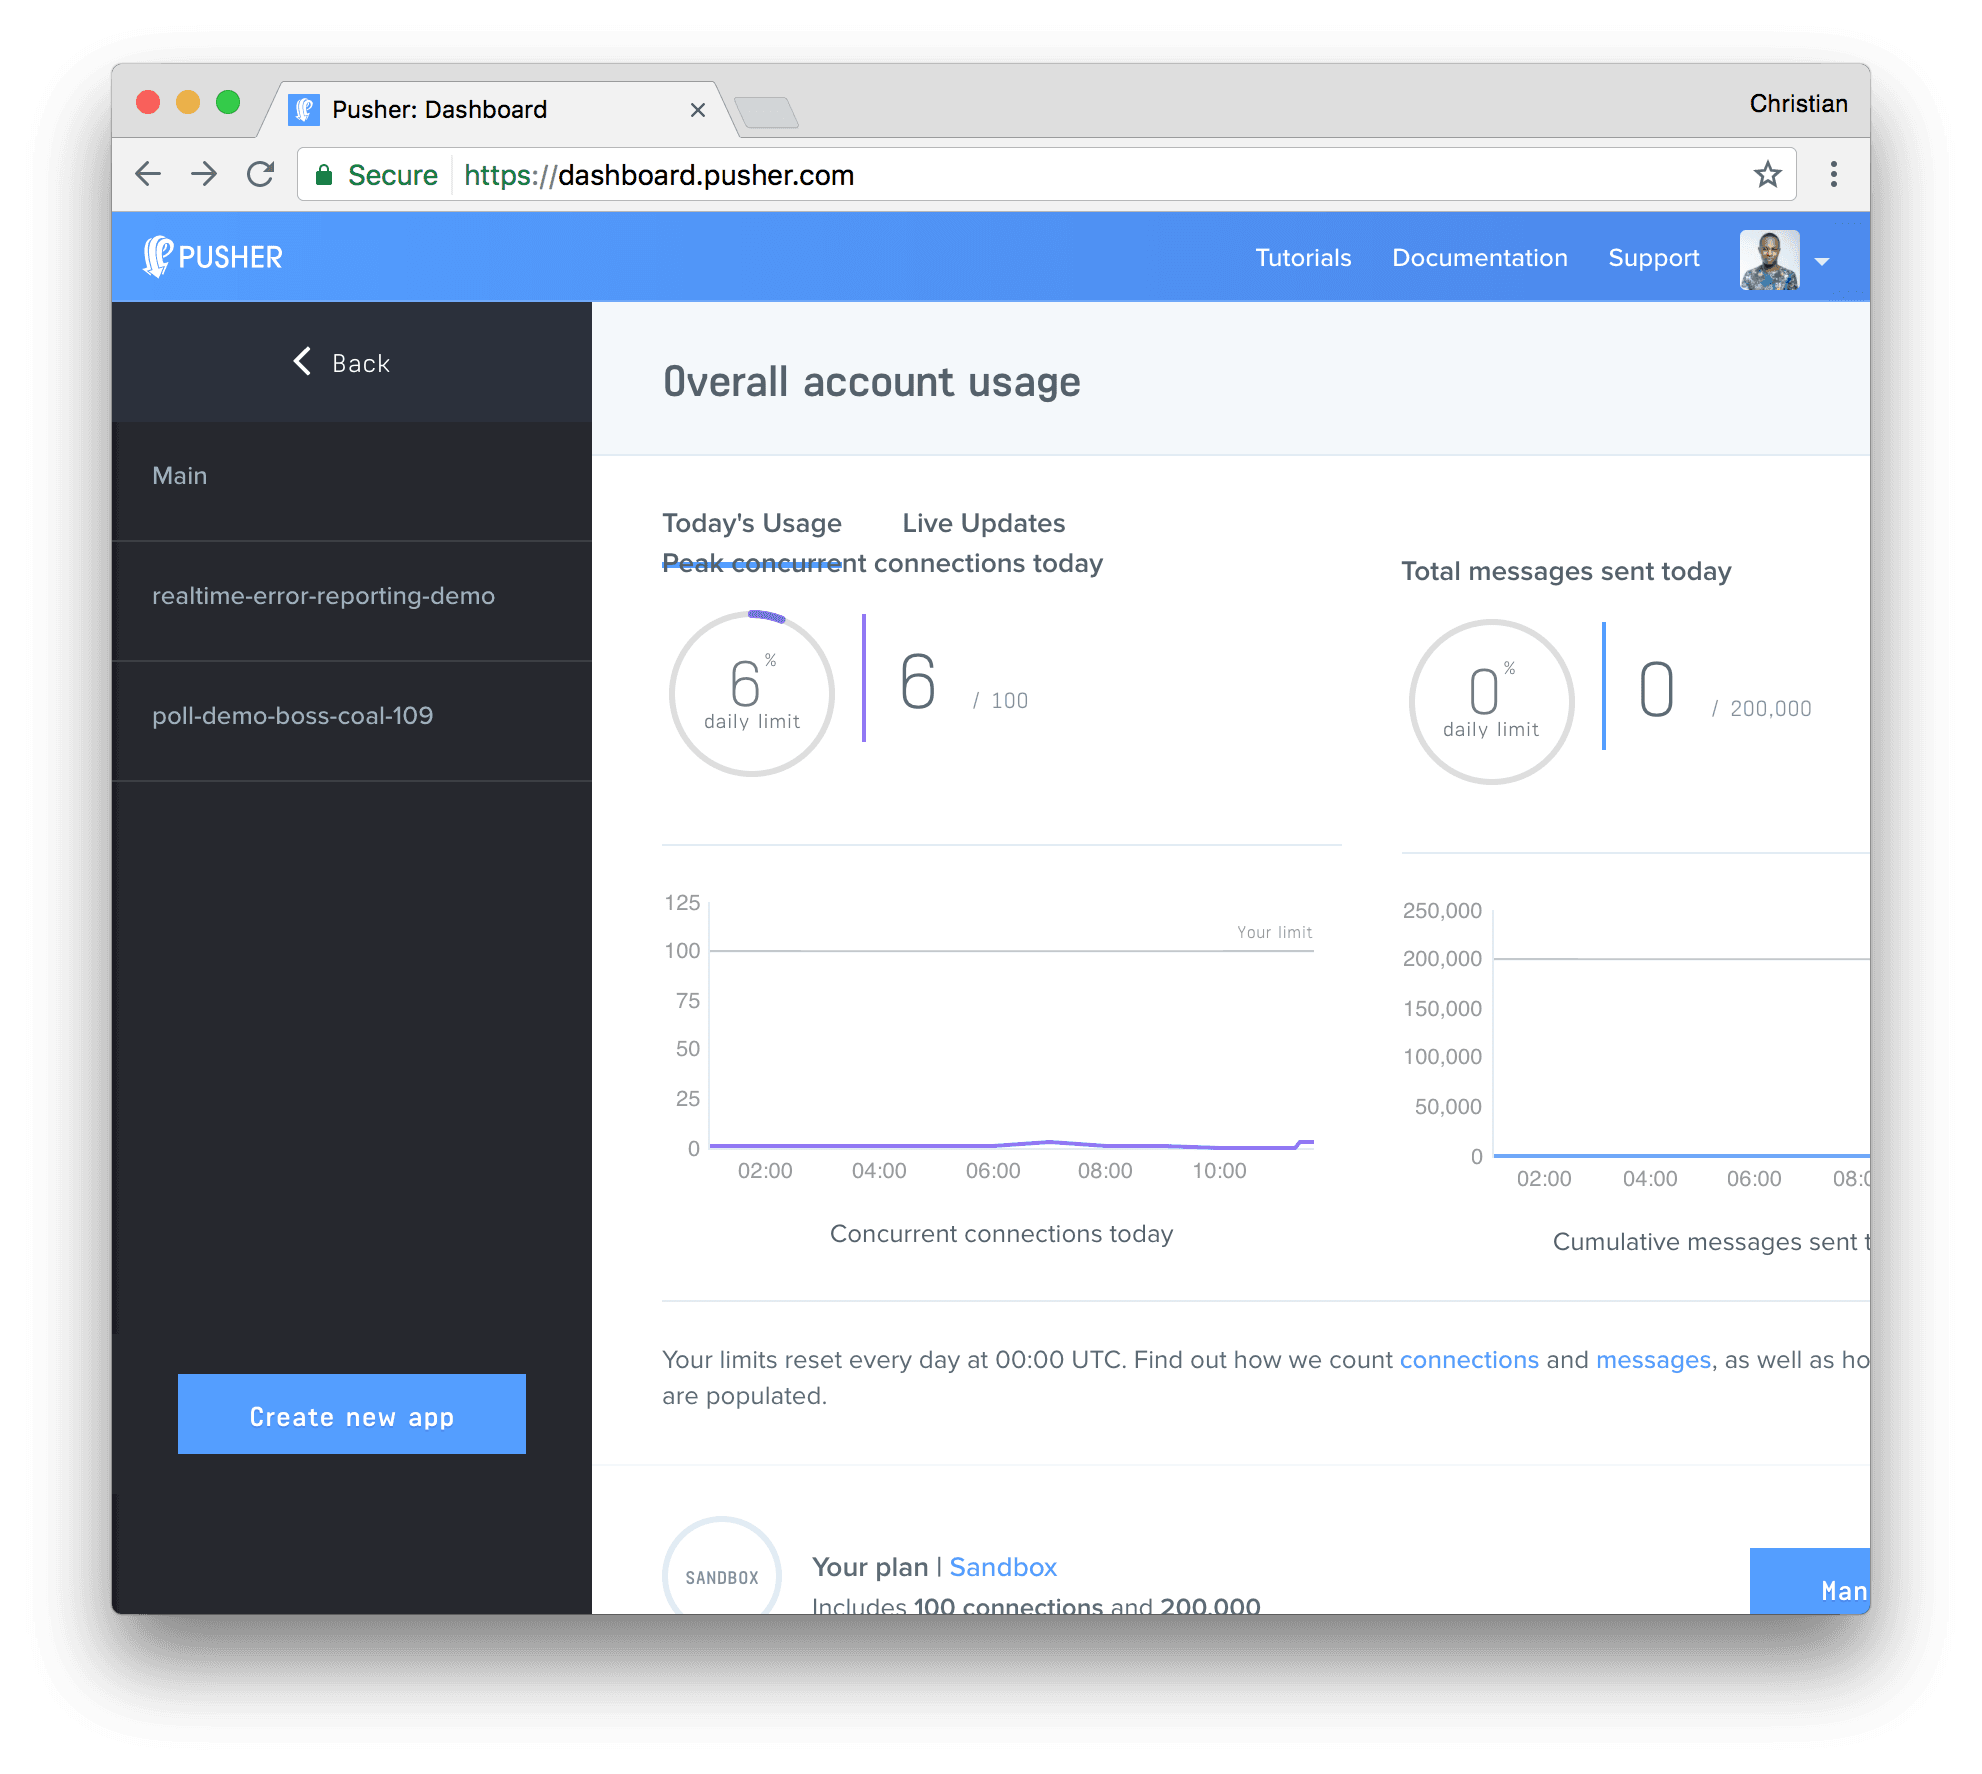
- Sign up for a free Pusher account:
- Create a new Channels app by selecting Apps on the sidebar and clicking Create New button on the bottom of the sidebar:
- Configure an app by providing basic information requested in the form presented. You can also choose the environment you intend to integrate Pusher with for a better setup experience:

- You can retrieve your keys from the App Keys tab:


© 2026 Pusher Ltd. All rights reserved.
Pusher Limited is a company registered in England and Wales (No. 07489873) whose registered office is at MessageBird UK Limited, 3 More London Riverside, 4th Floor, London, United Kingdom, SE1 2AQ.