- Products

- Developers
- User stories
- Blog
- Pricing

How to unit test React applications with Jest and Enzyme
Introduction
Writing automated tests is very important in any real world project, but it can been notoriously difficult to figure out especially in the frontend world.
Jest is a testing tool from Facebook that makes it easy to perform unit testing in JavaScript. Enzyme on the other hand, is React specific. It provides a bunch of helpful methods that enhance how we test React components.
Let’s take a look at how Jest and Enzyme can be leveraged to create more robust React applications
Prerequisites
To follow through with this tutorial, you need Node.js (v6 and above) and npm installed on your machine. You also need to install yarn since that’s what create-react-app uses.
npm install -g yarn
Set up a React application
Before we can write any tests, we need to create an application we can test. We’ll create a simple counter app that increments a count once a button is clicked. Let’s bootstrap the project with create-react-app so we can get up and running with minimal fuss.
Install create-react-app by running the following command in your terminal:
npm install -g create-react-app
Then create your React app with the following command:
create-react-app counter-app
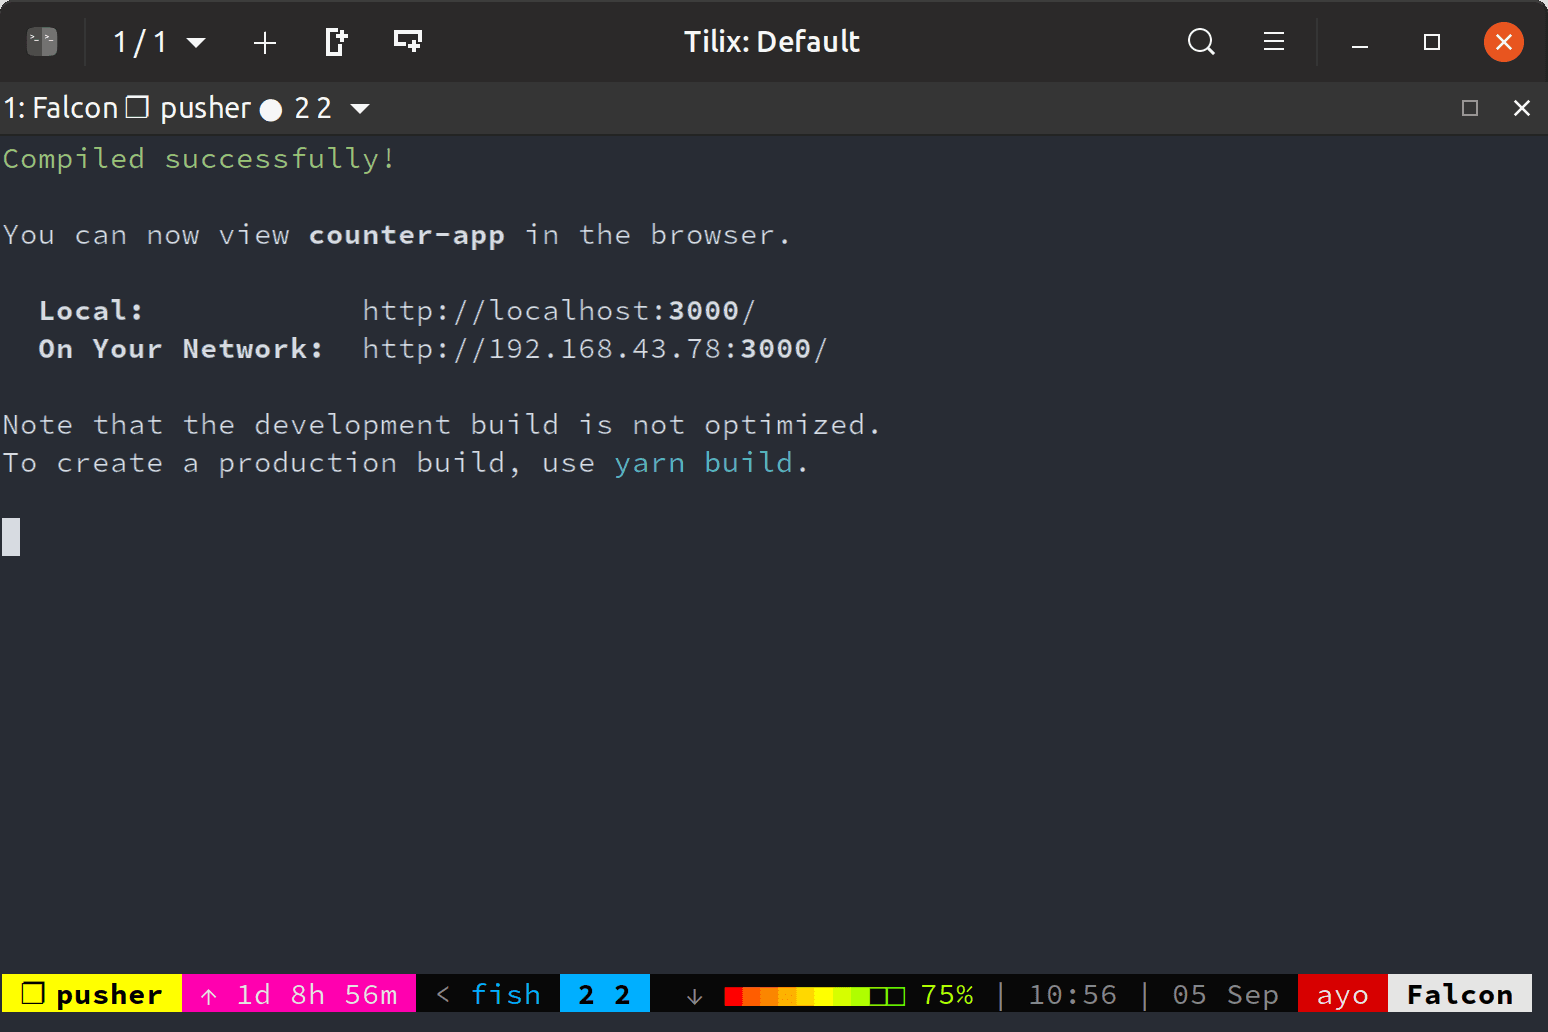
Once the application has been created, cd into the counter-app directory and run yarn start to launch the development server. You should see a message confirming successful compilation and the ports where you can access the app.
Now, open the counter-app folder in your favorite text editor and locate src/App.js. Change its contents to look like this:
1// src/App.js 2 3 import React, { Component } from 'react'; 4 5 class App extends Component { 6 constructor() { 7 super(); 8 this.state = { 9 count: 0, 10 } 11 } 12 13 makeIncrementer = amount => () => 14 this.setState(prevState => ({ 15 count: prevState.count + amount, 16 })); 17 18 increment = this.makeIncrementer(1); 19 20 render() { 21 return ( 22 <div> 23 <p>Count: {this.state.count}</p> 24 <button className="increment" onClick={this.increment}>Increment count</button> 25 </div> 26 ) 27 } 28 } 29 30 export default App;
Our React app has some initial state count which is set to zero, and a button that, once clicked, increments this count state through the increment function which simply adds 1 to the value of count and updates the application state.
Jest basics
Normally, we’d need to install and configure Jest before writing any tests, but since create-react-app ships with Jest already installed, we don’t have to do any of that. We can jump straight into writing our first test.
If you look at the src/App.test.js, you will see that a test has already been written for us. It tests that the App component can render without crashing.
1// src/App.test.js 2 3 import React from 'react'; 4 import ReactDOM from 'react-dom'; 5 import App from './App'; 6 7 it('renders without crashing', () => { 8 const div = document.createElement('div'); 9 ReactDOM.render(<App />, div); 10 ReactDOM.unmountComponentAtNode(div); 11 });
Let’s add a dummy test below this one in App.test.js:
1// src/App.test.js 2 3 ... 4 5 describe('Addition', () => { 6 it('knows that 2 and 2 make 4', () => { 7 expect(2 + 2).toBe(4); 8 }); 9 });
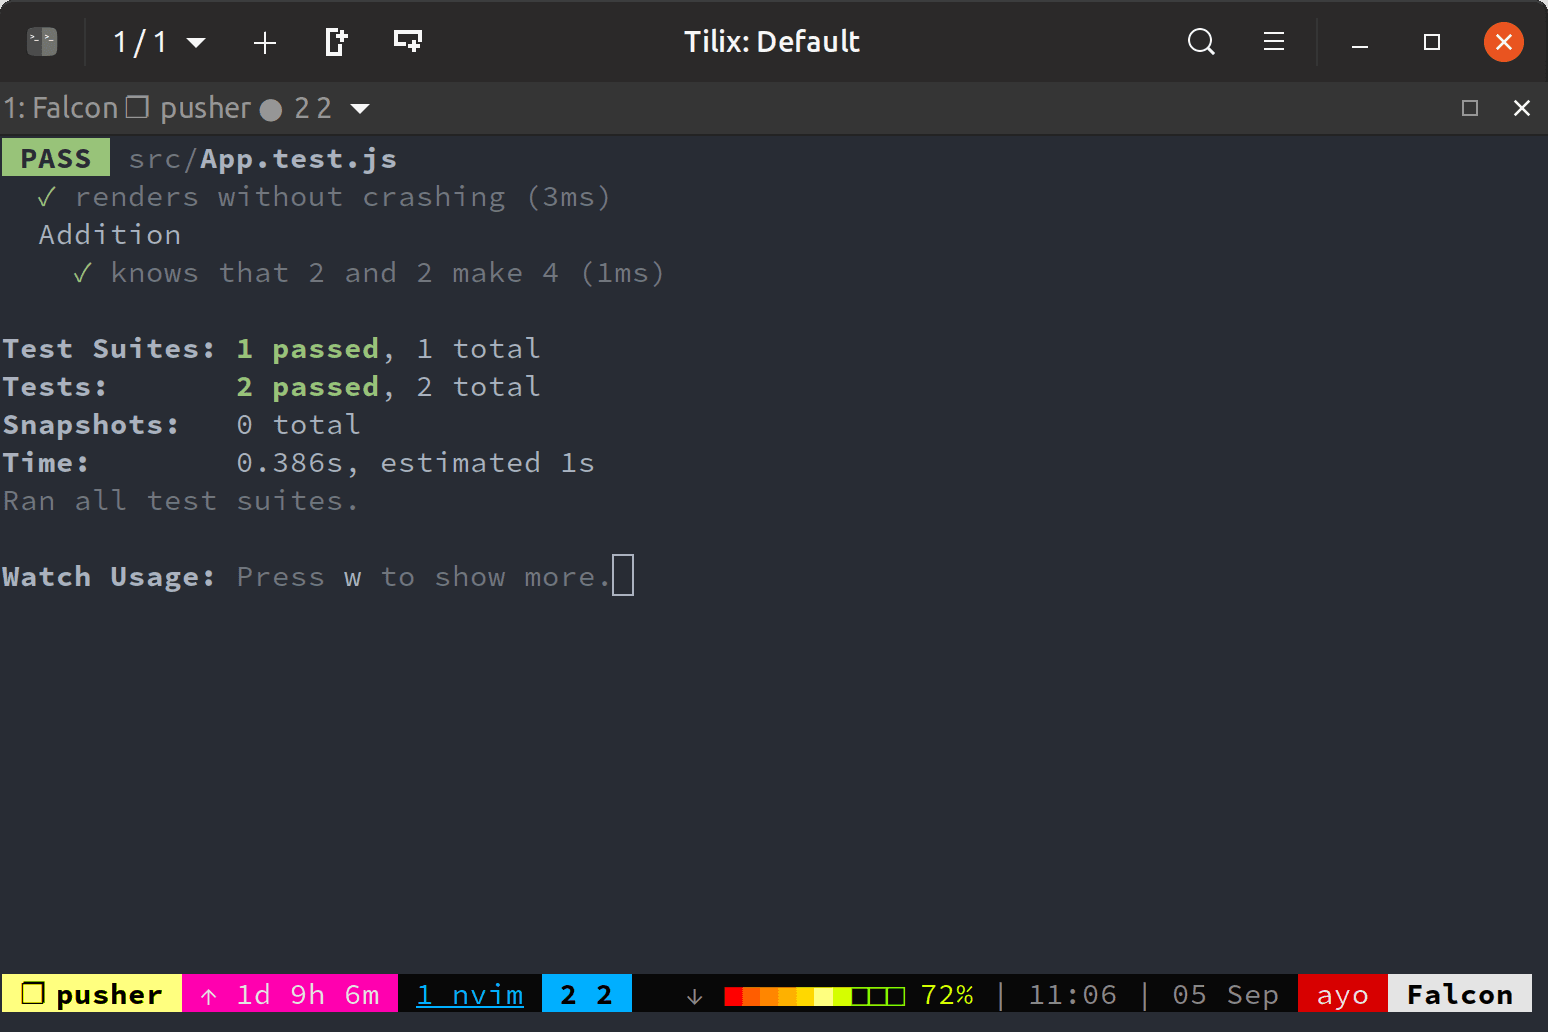
We can go ahead and run both tests using the yarn test command which runs jest under the hood. A success message should be printed out on the screen:
Now, let’s change one of the tests so that it fails. Within src/App.test.js, change the Addition test to look like this:
1// src/App.test.js 2 3 describe('Addition', () => { 4 it('knows that 2 and 2 make 4', () => { 5 expect(2 + 2).toBe(5); 6 }); 7 });
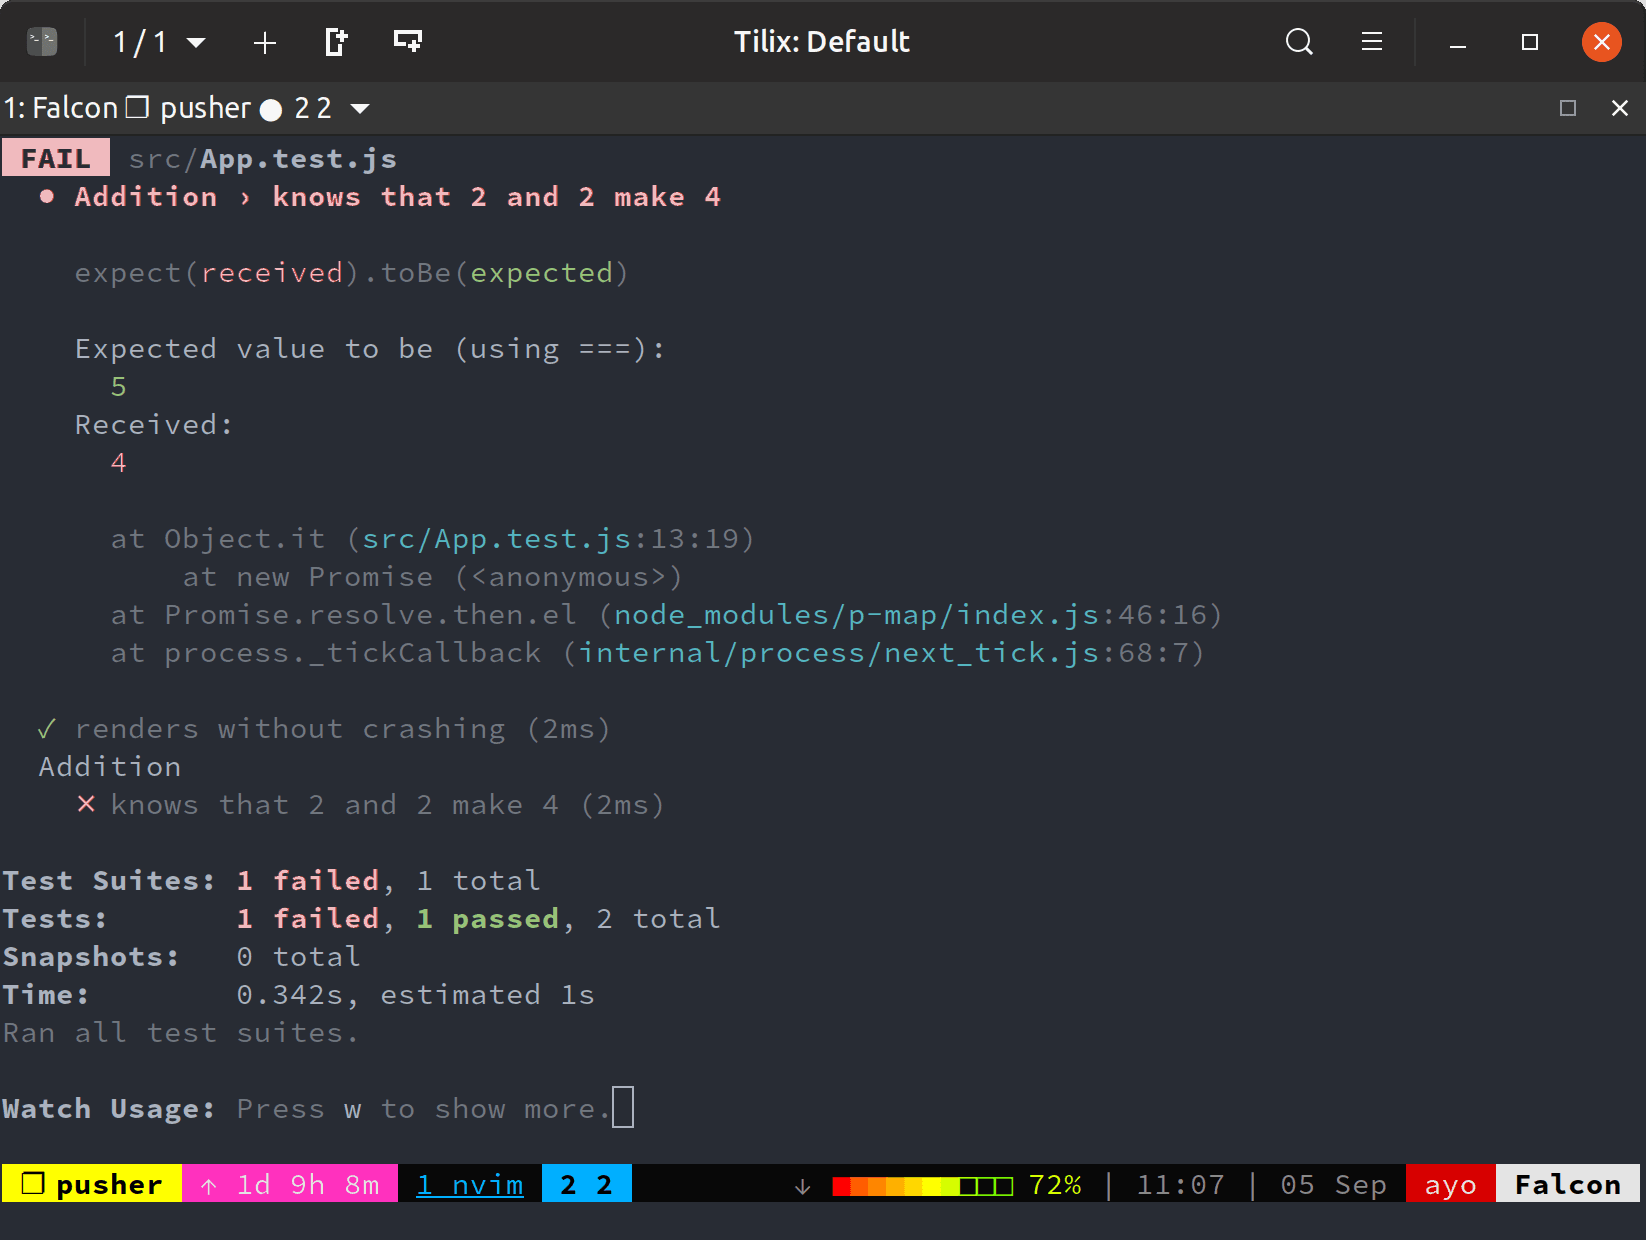
Check your terminal output. You can see that the first test passes as before while the second one fails, and the reason for the failure is also printed.
A describe() function groups related tests together inside one test suite. It takes a name parameter, which should describe the component you’re testing, and a callback function where individual tests are defined with it.
You might see individual tests with test in some projects. To be sure, it and test are one and the same thing. it is only an alias for test.
1// src/App.test.js 2 3 describe('Addition', () => { 4 it('knows that 2 and 2 make 4', () => { 5 expect(2 + 2).toBe(4); 6 }); 7 8 // is equaivalent to 9 10 test('knows that 2 and 2 make 4', () => { 11 expect(2 + 2).toBe(4); 12 }); 13 });
What you want to test is wrapped in a call to the expect() function, before calling what is termed a “matcher” function on it. In the above example, toBe() is the matcher function used. It checks that the value provided equals the value that the code within the expect() function produces.
Writing your first test
Before we begin writing our own tests, we need to add a few packages to our application for it to be able to test via Enzyme’s shallow renderer:
yarn add enzyme enzyme-adapter-react-16 --dev
Enzyme is built to support different versions of React. In this tutorial, I’m using the latest stable version of React which is 16.4.2, but you might be working with an older version of React, say React 15.x. So you also have to install an Adapter that corresponds to the version of React that you are using.
You also need to create a setupTests.js file within your src folder that tells Jest and Enzyme what Adapters you will be making use of. create-react-app has been configured to run this file automatically before any of our tests, so that Enzyme is set up correctly.
1// src/setupTests.js 2 3 import { configure } from 'enzyme'; 4 import Adapter from 'enzyme-adapter-react-16'; 5 6 configure({ adapter: new Adapter() });
Now, can can begin writing tests for our application. Jump to src/App.test.js and change its contents to look like this:
1// src/App.test.js 2 3 import React from 'react'; 4 import { shallow } from 'enzyme'; 5 import App from './App'; 6 7 describe('App component', () => { 8 it('starts with a count of 0', () => { 9 const wrapper = shallow(<App />); 10 const text = wrapper.find('p').text(); 11 expect(text).toEqual('Count: 0'); 12 }); 13 });
We’re taking advantage of Enzyme’s shallow rendering to test our app’s initial state. A shallow render is a simulated render of a component tree that does not require a DOM. It renders only one level of components deep, and enables the inspection of the component’s contents as well as the simulation of user interaction.
In the above snippet, the shallow render of our App component is stored in the wrapper variable. We then grab the text inside the p tag within the component’s output and check if the text is the same was what we passed into the toEqual matcher function.
Testing user interaction
Let’s go ahead and write a new test that simulates a click on the button and confirms that the count output is incremented by 1.
Add this below the first test:
1// src/App.test.js 2 3 describe('App component', () => { 4 ... 5 6 it('increments count by 1 when the increment button is clicked', () => { 7 const wrapper = shallow(<App />); 8 const incrementBtn = wrapper.find('button.increment'); 9 incrementBtn.simulate('click'); 10 const text = wrapper.find('p').text(); 11 expect(text).toEqual('Count: 1'); 12 }); 13 });
The simulate() function on the button variable can simulate a number of DOM events on an element. Here we are simulating the click event on the button. We’ve also set up an expectation that the count should be equal to now.
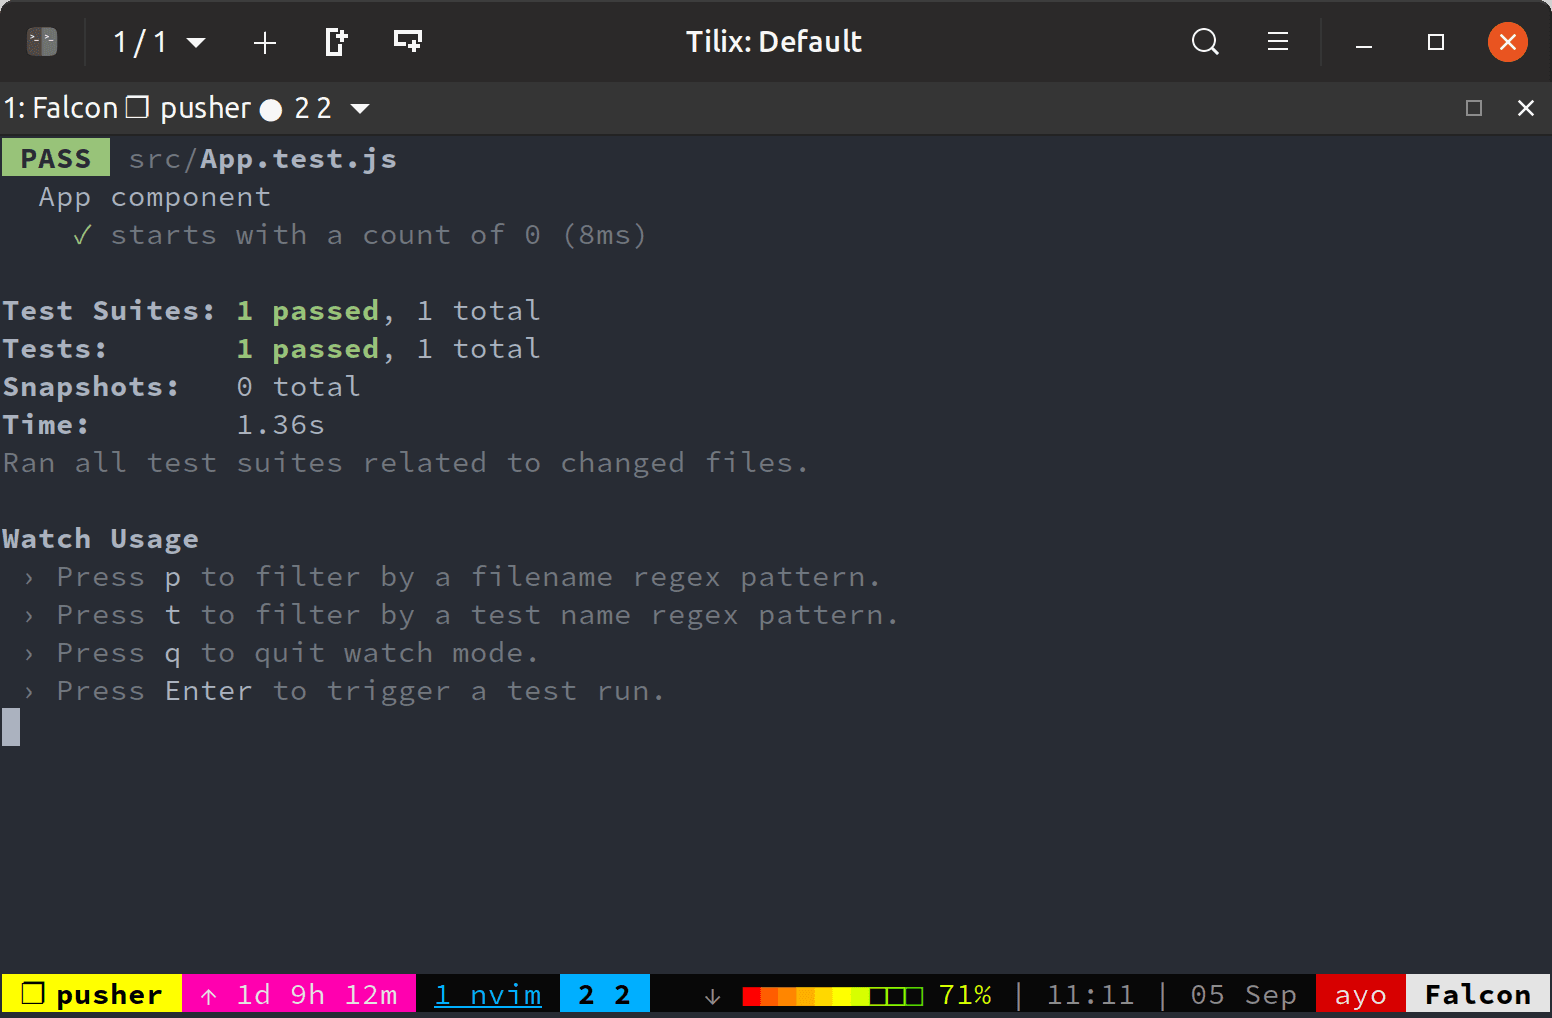
If you check the terminal output, you should observe that the test passes as expected.
Let’s go ahead and do something a bit different. We’ll add a test for some functionality that doesn’t exist yet, then go ahead and write the code to make the test pass. This methodology of writing tests before the code is known as Test Driven Development (TDD).
Create another test within the describe() function that looks like this:
1// src/App.test.js 2 3 describe('App component', () => { 4 ... 5 6 it('decrements count by 1 when the decrement button is clicked', () => { 7 const wrapper = shallow(<App />); 8 const decrementBtn = wrapper.find('button.decrement'); 9 decrementBtn.simulate('click'); 10 const text = wrapper.find('p').text(); 11 expect(text).toEqual('Count: -1'); 12 }); 13 });
Now you should have a failing test in the terminal: Method "``simulate``" is only meant to be run on a single node. 0 found instead. If you’re not used to Enzyme, you might find the error message rather cryptic. What it means is that the simulate() method was called on an element that doesn’t exist yet.

Let’s now go into the React component and write the code that will fix this test:
1// src/App.js 2 3 import React, { Component } from 'react'; 4 5 class App extends Component { 6 constructor() { 7 super(); 8 this.state = { 9 count: 0, 10 } 11 } 12 13 makeIncrementer = amount => () => 14 this.setState(prevState => ({ 15 count: prevState.count + amount, 16 })); 17 18 increment = this.makeIncrementer(1); 19 20 decrement = this.makeIncrementer(-1); 21 22 render() { 23 return ( 24 <div> 25 <p>Count: {this.state.count}</p> 26 <button className="increment" onClick={this.increment}>Increment count</button> 27 <button className="decrement" onClick={this.decrement}>Decrement count</button> 28 </div> 29 ) 30 } 31 } 32 33 export default App;
We added a decrement button after the increment button in the render() function and a decrement() function that decreases the value of count by 1 and updates the application state. At this point, all three tests should pass successfully.
Testing React components with snapshots
Snapshot testing helps you check that the rendered output of a component is correct at all times. When you run a snapshot test, Jest renders the React component being tested and stores the output in a JSON file.
On further test runs, Jest will check that the output of the component has not deviated from what it saved previously. If you change the a component’s output, Jest will notify you and you can either update the snapshot to the latest version or fix the component so that it matches the snapshot again. This method of testing components helps you avoid accidental changes to your components because Jest will always notify you when a difference is detected.
To use Jest’s snapshot feature, we need an additional package, react-test-renderer, which can be installed through yarn:
yarn add react-test-renderer --dev
Then import it at the top of App.test.js:
1// src/App.test.js 2 3 import renderer from 'react-test-renderer'; 4 5 ...
Next, create a test below all the previously created ones:
1// src/App.test.js 2 3 it('matches the snapshot', () => { 4 const tree = renderer.create(<App />).toJSON(); 5 expect(tree).toMatchSnapshot(); 6 });
The first time this test is run, there is no snapshot for this component so Jest creates it. You can inspect the contents of the snapshots inside the src/__snapshots__ directory.
Open up App.test.js.snap:
1// src/__snapshots__/App.test.js.snap 2 3 // Jest Snapshot v1, https://goo.gl/fbAQLP 4 5 exports[`App component matches the snapshot 1`] = ` 6 <div> 7 <p> 8 Count: 9 0 10 </p> 11 <button 12 className="increment" 13 onClick={[Function]} 14 > 15 Increment count 16 </button> 17 <button 18 className="decrement" 19 onClick={[Function]} 20 > 21 Decrement count 22 </button> 23 </div> 24 `;
You can see that the rendered output of the App component is saved in this file. The next time this test is run, Jest will confirm that the outputs are the same. We can demonstrate this concept by changing the rendered output of App slightly.
Let’s assume that we accidentally changed the text of the increment button in App.js to Increment count2. The test should fail.
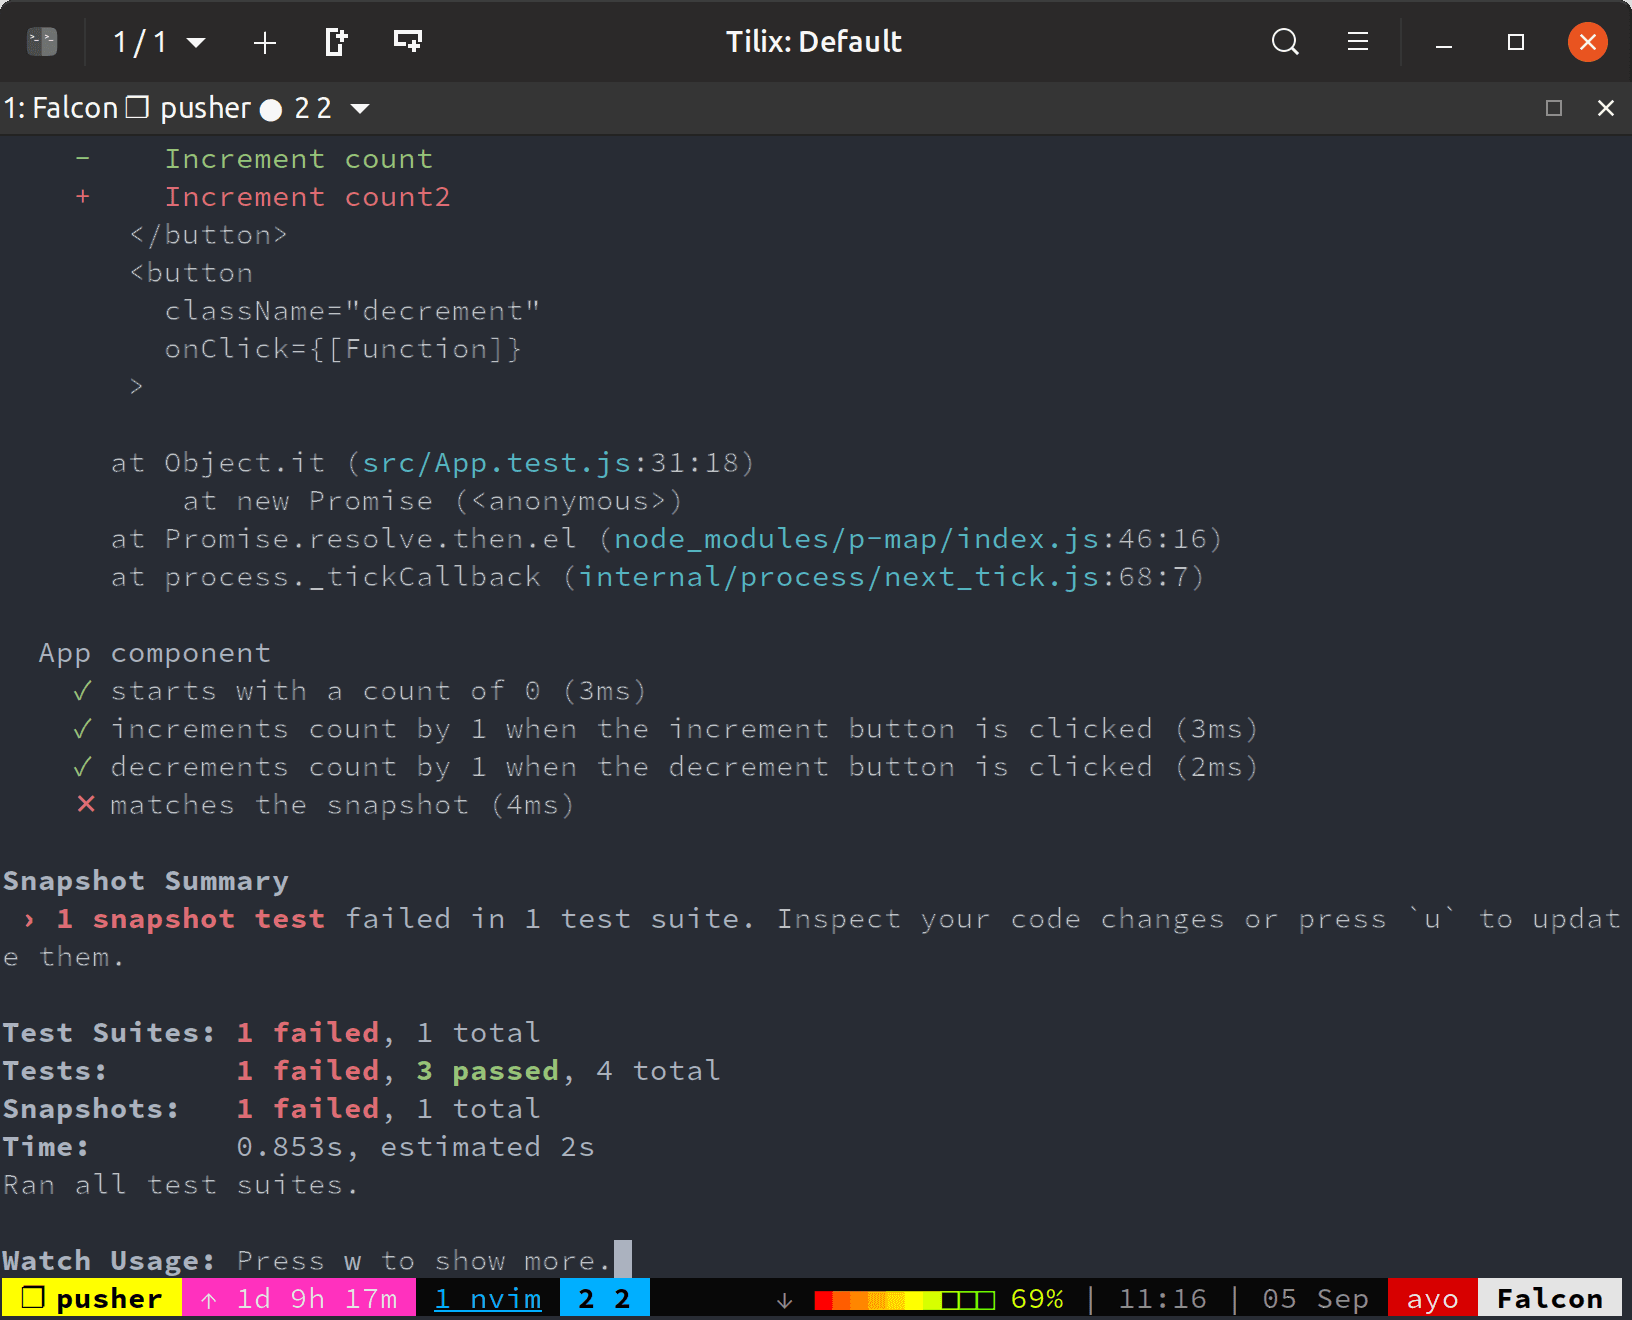
Since we didn’t intend to make this change, we can simply undo the change and the test will pass again.
Let’s make an actual change to the App component. Change the text of the increment button to Increment and the decrement button to Decrement. Your render function should look like this:
1// src/App.js 2 3 render() { 4 return ( 5 <div> 6 <p>Count: {this.state.count}</p> 7 <button className="increment" onClick={this.increment}>Increment</button> 8 <button className="decrement" onClick={this.decrement}>Decrement</button> 9 </div> 10 ) 11 }
The tests should fail again. But since we actually intended to make this change, we need to update the snapshot to this latest version. We can do so by pressing u in the terminal window where the tests are being run. Everything should be green again!
Conclusion
We’ve looked at how Jest makes testing React components much easier and how you can use it in conjunction with Enzyme for unit testing and snapshot testing. You can grab all the code written in this tutorial on GitHub for you to check out and run locally.


© 2026 Pusher Ltd. All rights reserved.
Pusher Limited is a company registered in England and Wales (No. 07489873) whose registered office is at MessageBird UK Limited, 3 More London Riverside, 4th Floor, London, United Kingdom, SE1 2AQ.