- Products

- Developers
- User stories
- Blog
- Pricing

Build a polling app with Ruby on Rails and PostgreSQL
- Introduction
- Introduction
- Prerequisites
- Preparing the application
- Database setup
- Starting the development server
- Sign up for a free Pusher account
- Setting up the model and controller
- Setting up the homepage
- Styling
- Setting up the polls table
- Submitting a new poll
- Realtime service with Pusher
- Updating the frontend of the application
- Testing the application
- Conclusion
Introduction
Introduction
One of the effective means of interpreting and representing data for users of web applications, is by using data visualization tools such as charts, plots and graphs. This among other things aids simplification of data and presents it in a comprehensible and interactive form.
With the increase in popularity of the web and its technologies, representing numerical data with graphs in realtime has become inevitable.
Together in this post, we’ll build a basic poll application where users will be able to provide an answer to a question by selecting one of the options given, then we will proceed to represent these numbers on a pie chart. For a more user-friendly experience, Pusher will be use to update this chart in realtime without the need to refresh the page. This is what the finished application will look like:
The application depicted by the image above will be build with Ruby on Rails and the database powered by PostgreSQL. In addition we will make use of a library called Chartkick; a tool used for creating beautiful JavaScript charts.
Prerequisites
A basic understanding of Ruby, CoffeeScript and PostgresSQL will help you with this tutorial. Ensure that you have PostgreSQL installed on your machine. Kindly check the documentation of PostgreSQL, Ruby and Rails for further installations procedures.
Preparing the application
It is important that you have both Ruby and Rails installed. Run the following code in your terminal to confirm the successful installation of both Ruby and Rails:
1$ ruby -v // 2.1 or above 2 3 $ rails -v // 4.2 or above
Next, we will run a command that will create a new Rails application in a folder called pusher-rails-chart. Run the command below in your terminal:
$ rails new pusher-rails-chart -T --database=postgresql
The -T flag was added to prevent generation of the default testing suite as we won’t be writing any tests.
Go ahead and change directory into the newly created folder:
$ cd pusher-rails-chart
In the root directory of this application, open the Gemfile and add the following gems:
1# Gemfile 2 3 gem 'bootstrap', '~> 4.1.0' 4 gem 'jquery-rails' 5 gem 'pusher' 6 gem 'figaro' 7 gem 'chartkick'
and install them:
$ bundle install
Database setup
To set up the database for our application, create a database called pusher-rails-chart_development. Check out this article on how to create a Postgres database and an associated user and password.
In your database.yml file, under the development key, add the following code:
1# config/database.yml 2 3 ... 4 development: 5 <<: *default 6 database: pusher-rails-chart_development // add this line if it isn't already there 7 username: database_user // add this line 8 password: user_password // add this line 9 ...
The username and password in the code above should have access to the pusher-rails-chart_development database. Next, run the following code to setup the database:
1# setup database 2 $ rails db:setup
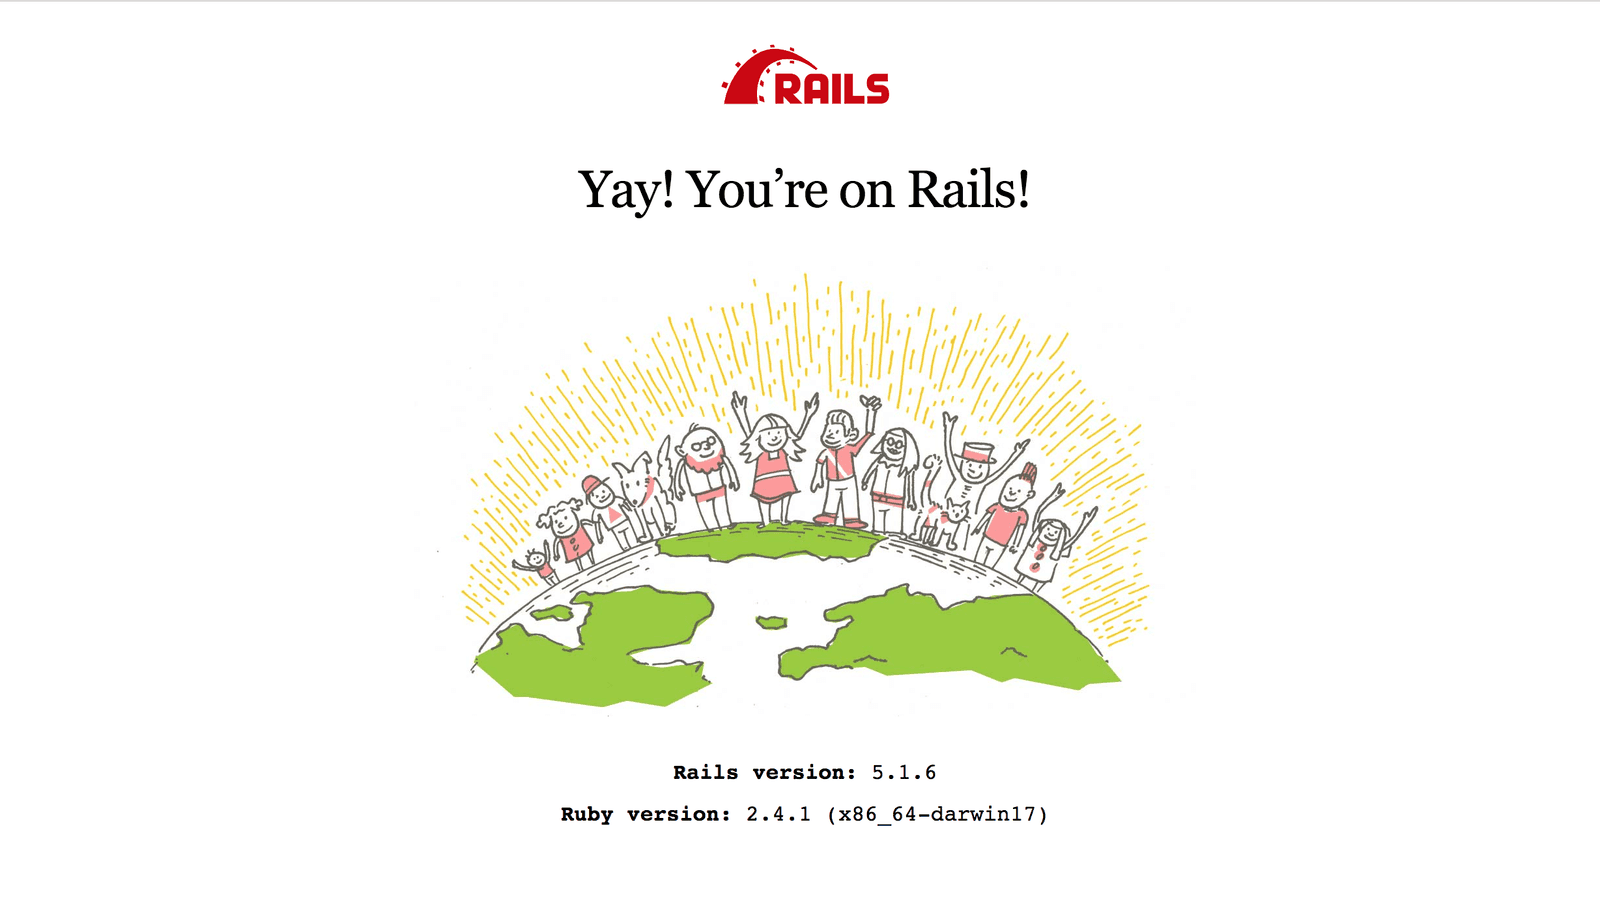
Starting the development server
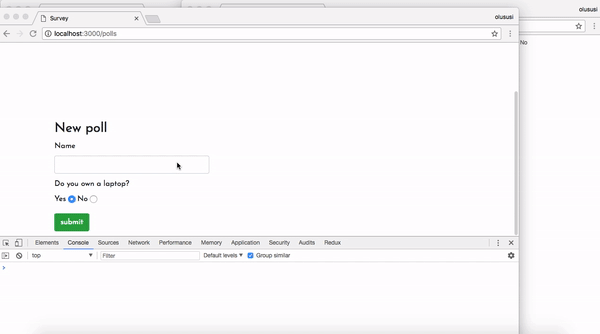
Start the development server by running rails s from the terminal and visit http://localhost:3000 in your browser. Your page should look like this:
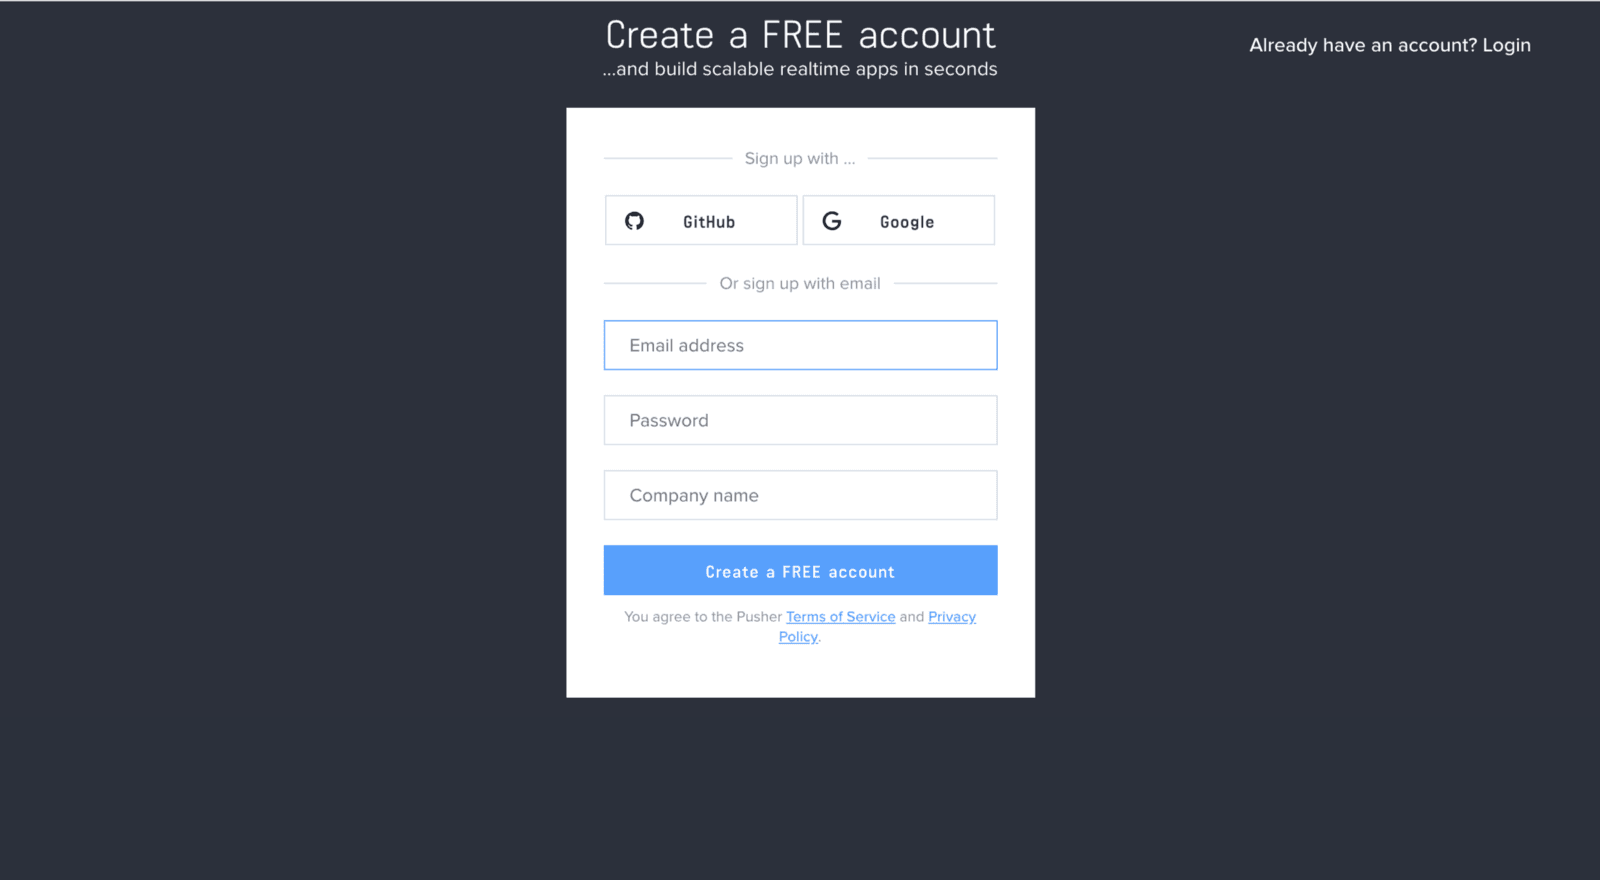
Sign up for a free Pusher account
Head over to Pusher and sign up for a free account.
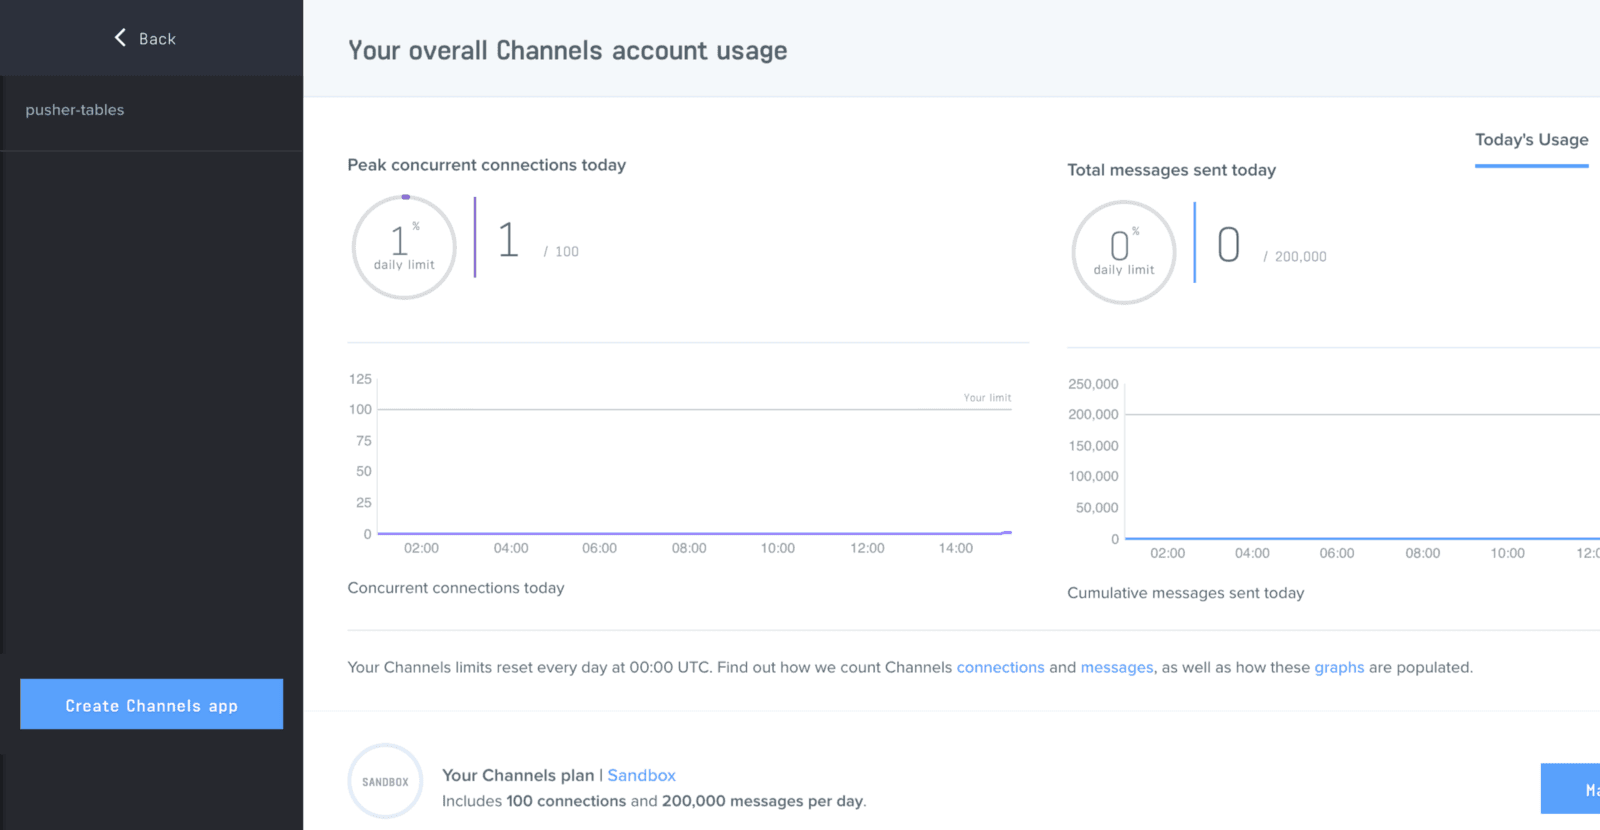
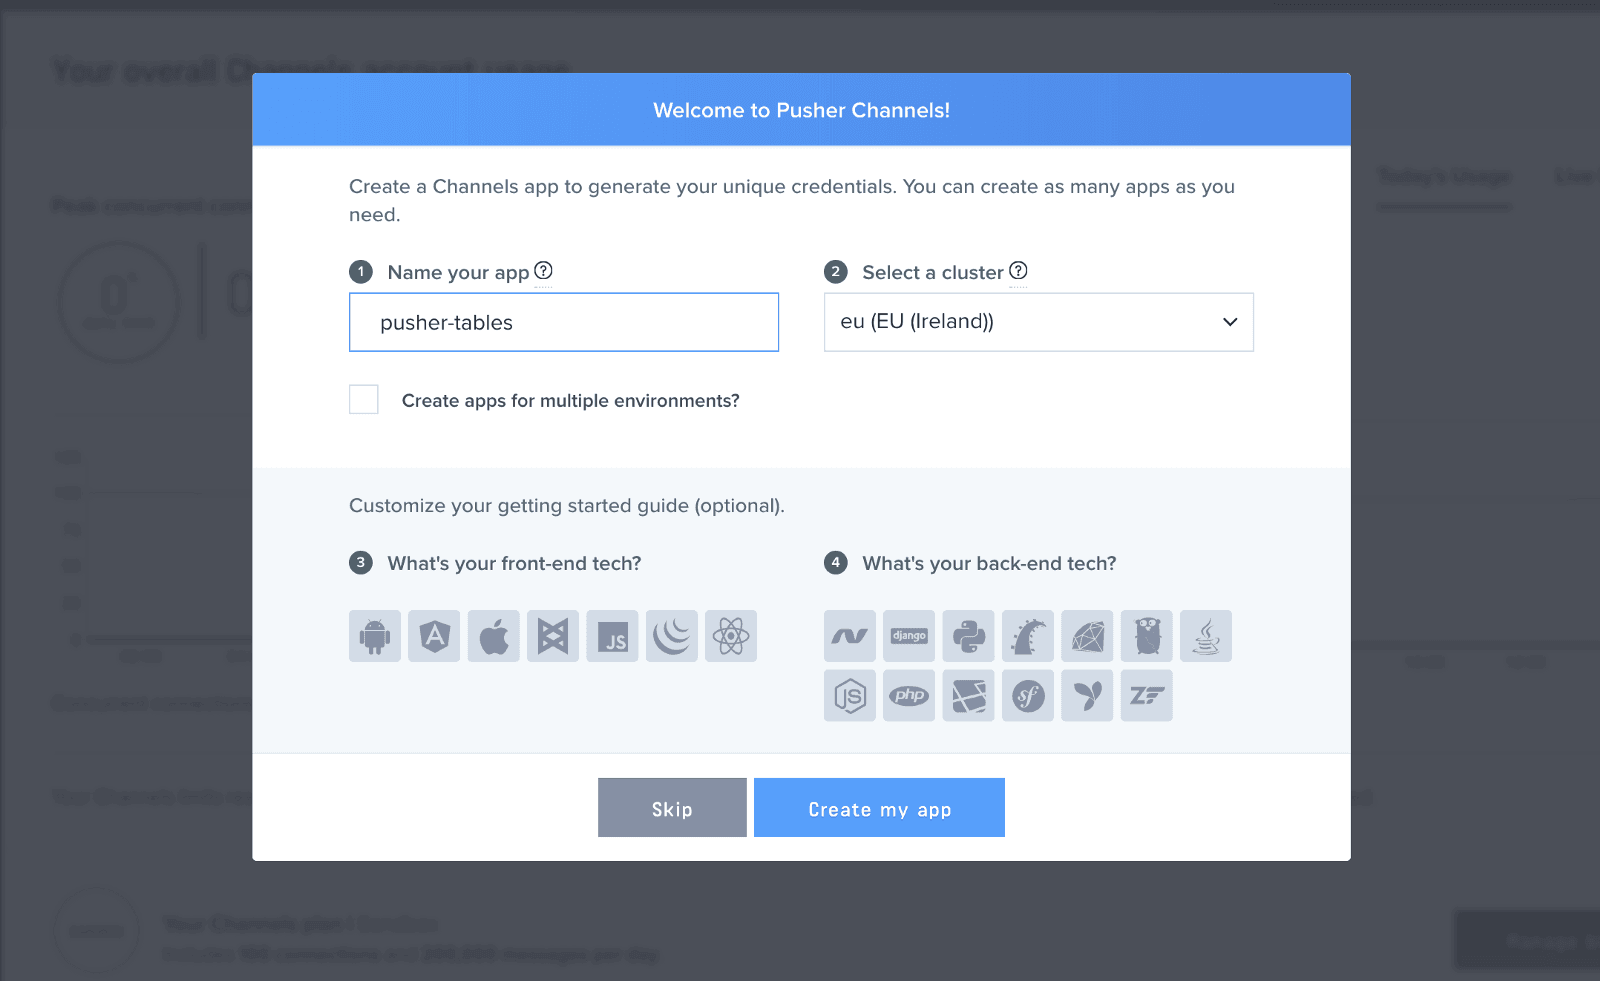
Create a new app by selecting Channels apps on the sidebar and clicking Create Channels app button on the bottom of the sidebar:
Configure an app by providing basic information requested in the form presented. You can also choose the environment you intend to integrate Pusher with, to be provided with boilerplate code:
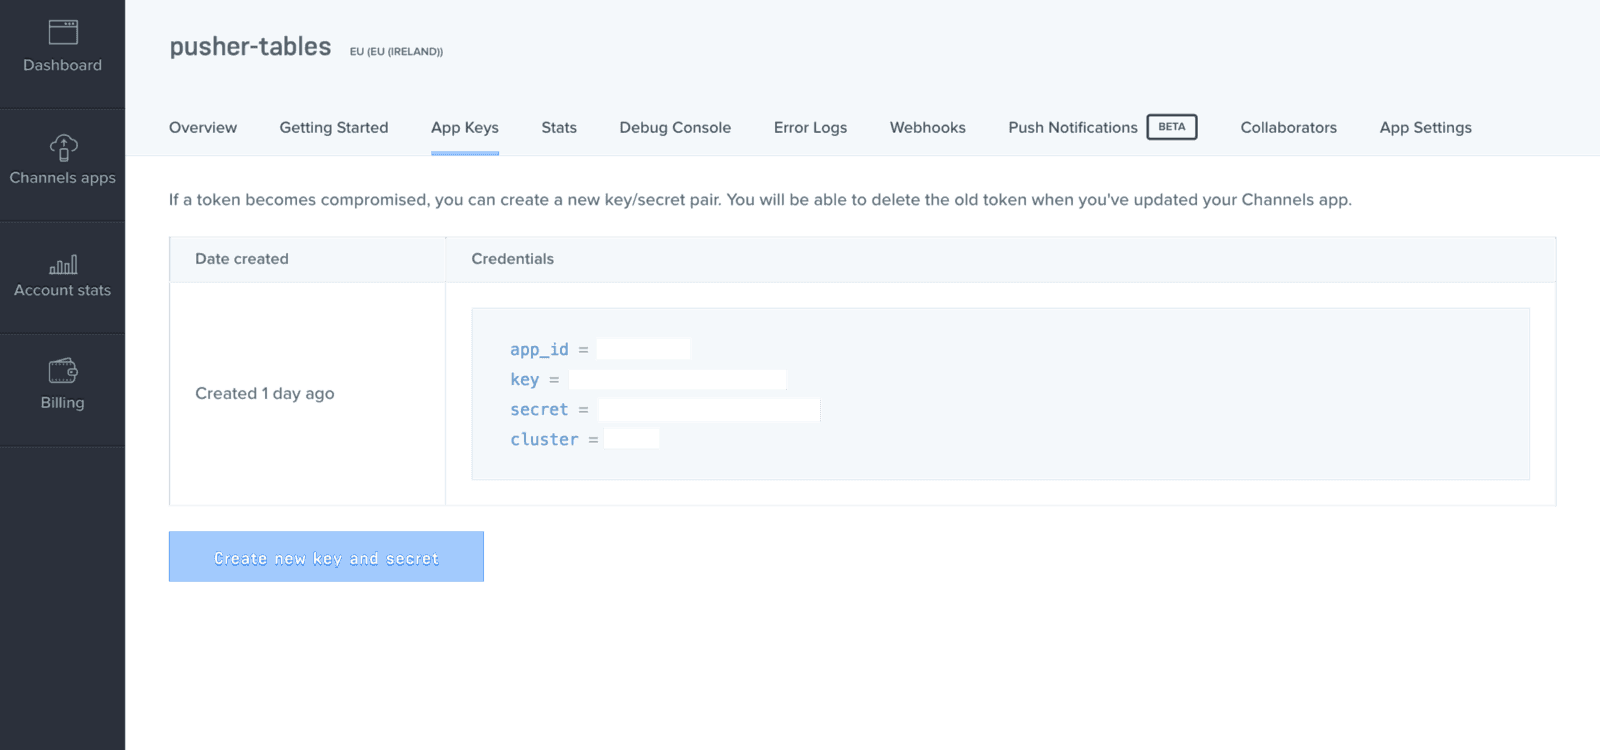
You can retrieve your keys from the App Keys tab:
Now that you have your Pusher API keys, head over to config/initializers directory. Create a pusher.rb file and add the following code:
1# config/initializers/pusher.rb 2 3 require 'pusher' 4 5 Pusher.app_id = ENV["PUSHER_APP_ID"] 6 Pusher.key = ENV["PUSHER_KEY"] 7 Pusher.secret = ENV["PUSHER_SECRET"] 8 Pusher.cluster = ENV["PUSHER_CLUSTER"] 9 Pusher.logger = Rails.logger 10 Pusher.encrypted = true
In your terminal, run:
$ figaro install
The command above will generate an application.yml file. Locate the newly generate file in config/application.yml and add the Pusher credentials obtained from your dashboard:
1# config/application.yml 2 3 PUSHER_APP_ID: 'YOUR_APP_ID' 4 PUSHER_KEY: 'YOUR_APP_KEY' 5 PUSHER_SECRET: 'YOUR_APP_SECRET' 6 PUSHER_CLUSTER: 'CLUSTER'
Setting up the model and controller
Next, we will go ahead and generate a model and controller for our application. In your terminal, while in the project’s directory, run the following code:
1// generate poll model and controller 2 $ rails g scaffold poll name:string laptop:binary 3 4 // run database migrations 5 $ rails db:migrate
Setting up the homepage
At the moment, if you restart the development server and reload the browser page, the welcome page will still be displayed. This is because we have not instructed Rails to show the homepage whenever we navigate to the root URL of our site.
To tell Rails where the actual homepage is, update the route file with the following code:
1# config/routes.rb 2 3 ... 4 root 'polls#index' 5 ...
In your application.js file, add the following code just before the last line:
1// app/assets/javascripts/application.js 2 3 ... 4 //= require jquery3 # add this line 5 //= require popper # add this line 6 //= require bootstrap # add this line 7 //= require Chart.bundle # add this line 8 //= require chartkick # add this line 9 //= require_tree . 10 ...
Styling
To set up a basic styling for our application, go ahead and rename your application.css file to application.scss, import Bootstrap and add some custom styles:
1// app/assets/stylesheets/application.scss 2 3 @import "bootstrap"; 4 @import url('https://fonts.googleapis.com/css?family=Josefin+Sans'); 5 body { 6 font-family: 'Josefin Sans', sans-serif; 7 } 8 .navbar-brand { 9 color: #FFF !important; 10 &:hover { 11 background-color: unset; 12 } 13 } 14 .form-control { 15 outline: none !important; 16 17 &:focus { 18 border-color: transparent !important; 19 border: 1px !important; 20 } 21 }
At the moment, if we restart the development server and reload the application, we would notice changes in the fonts of our page, this is because we have successfully included Bootstrap.
If you encounter any errors relating to application.html.erb , in config/boot.rb, change the ExecJS runtime from Duktape to Node.
1# config/boot.rb 2 3 ENV['EXECJS_RUNTIME'] = 'Node'
Setting up the polls table
To set up the view, replace the code in your index.html.erb file with the following:
1<%# app/views/polls/index.html.erb %> 2 3 <div class="container-fluid"> 4 <div class="row"> 5 <div class="col-5 offset-1"> 6 <p id="notice"><%= notice %></p> 7 <h1>Polls</h1> 8 <table id='poll-table' class="table table-hover"> 9 <thead class="thead-light"> 10 <tr> 11 <th>Name</th> 12 <th>Laptop</th> 13 <th colspan="3"></th> 14 </tr> 15 </thead> 16 <tbody> 17 <% @polls.each do |poll| %> 18 <tr> 19 <td><%= poll.name %></td> 20 <td><%= poll.laptop %></td> 21 <td><%= link_to 'Show', poll %></td> 22 <td><%= link_to 'Edit', edit_poll_path(poll) %></td> 23 <td><%= link_to 'Destroy', poll, method: :delete, data: { confirm: 'Are you sure?' } %></td> 24 </tr> 25 <% end %> 26 </tbody> 27 </table> 28 </div> 29 30 <div class="col-6"> 31 <%= pie_chart [["Yes", Poll.where(laptop: "yes").count], ["No", Poll.where(laptop: "no").count]], id:'polls'%> 32 </div> 33 </div> 34 35 <div class="row"> 36 <div class='col-11 offset-1 col-sm-4'> 37 <h3>New poll</h3> 38 <%= render 'form', poll: @poll %> 39 </div> 40 </div> 41 </div>
Here, we have used Bootstrap to style our table and within the second column of the first row we included a line to render the pie chart for this application on the homepage. Chartkick helps simplify the use of chart. You can check here for more information.
Next, update the index method of the polls controller, to include the following:
1# app/controllers/polls_controller.rb 2 3 class PollsController < ApplicationController 4 ... 5 def index 6 @polls = Poll.all 7 @poll = Poll.new # add this line 8 end 9 ... 10 end
The code above adds Bootstrap styling to the table on our landing page. It also instantiates a new poll record in the index method of the polls controller. If you reload the landing page, you should see the form.
Submitting a new poll
Currently adding a new poll record redirects us to a different page. We would like to handle that with AJAX instead. To achieve this, add remote: true and format: :json to your form. Replace the code in _form.html.erb with the following:
1// app/views/polls/_form.html.erb 2 3 <%= form_with(model: poll, remote: true, format: :json, id: 'add_poll') do |form| %> 4 <% if poll.errors.any? %> 5 <div id="error_explanation"> 6 <h2><%= pluralize(poll.errors.count, "error") %> prohibited this poll from being saved:</h2> 7 <ul> 8 <% poll.errors.full_messages.each do |message| %> 9 <li><%= message %></li> 10 <% end %> 11 </ul> 12 </div> 13 <% end %> 14 <div class="field"> 15 <%= form.label :name %> 16 <%= form.text_field :name, id: :poll_name, class: "form-control" %> 17 </div> 18 <div class="field"> 19 <%= form.label :laptop, "Do you own a laptop? " %><br /> 20 <%= form.label :laptop, "Yes", :value => "true" %> 21 <%= form.radio_button :laptop, 'yes', :checked => true %> 22 <%= form.label :laptop, "No", :value => "false" %> 23 <%= form.radio_button :laptop, 'no'%> 24 </div> 25 <div class="actions"> 26 <%= form.submit 'submit', class: "btn btn-success"%> 27 </div> 28 <% end %>
Now that our form uses AJAX, we’ll handle updating the page with CoffeeScript. Open app/assets/javascripts/polls.coffee and paste in the code below:
1# app/assets/javascripts/polls.coffee 2 3 submitPoll = (data) -> 4 $('#poll-table tbody').append """ 5 <tr> 6 <td>#{data.name}</td> 7 <td>#{data.laptop}</td> 8 <td><a href="/polls/#{data.id}">Show</a></td> 9 <td><a href="/polls/#{data.id}/edit">Edit</a></td> 10 <td><a data-confirm="Are you sure?" rel="nofollow" data-method="delete" href="/polls/#{data.id}">Destroy</a></td> 11 </tr> 12 """ 13 return 14 15 $ -> 16 $('#add_poll').on 'ajax:success', (data) -> 17 $('#add_poll')[0].reset() 18 submitPoll data.detail[0] 19 return 20 return
In the above code, we added an ajax:success event listener to our form courtesy of jQuery-ujs. Whenever we add a new response, we get our newly added answer and update our page with it.
Let’s reload our page and add a few responses, they should pop up on the page as soon as we hit submit.
If the laptop column shows ‘undefined’ or returns a null value, this has to do with mass assignment protection from the controller, you can read more about this here. To fix this, navigate to app/controllers/polls_controller.rb and within the poll_param method, add :laptop to the list of params.
Realtime service with Pusher
To update our table realtime, we will publish the new poll record to a channel and subscribe to it on the frontend of our app. In the poll model, we’ll add an after_commit callback which will call a method that will publish the new poll. We'll use after_commit so data is published whenever we add or update a poll.
Add the following code to the poll model:
1# app/models/poll.rb 2 3 class Poll < ApplicationRecord 4 after_commit :notify_pusher, on: [:create, :update] 5 def notify_pusher 6 Pusher.trigger('poll', 'new', self.as_json) 7 end 8 end
Here, our initialized Pusher client triggers an event called new through a channel named poll.
Updating the frontend of the application
The client side of our application needs to listen for those changes that are being pushed by the server and update the view with it. To do this, we’ll rename our polls.coffee file to polls.coffee.erb so we can add some Ruby code in it.
Update the file with the following code:
1# app/assets/javascripts/polls.coffee.erb 2 3 submitPoll = (data) -> 4 $('#poll-table tbody').append """ 5 <tr> 6 <td>#{data.name}</td> 7 <td>#{data.laptop}</td> 8 <td><a href="/polls/#{data.id}">Show</a></td> 9 <td><a href="/polls/#{data.id}/edit">Edit</a></td> 10 <td><a data-confirm="Are you sure?" rel="nofollow" data-method="delete" href="/polls/#{data.id}">Delete</a></td> 11 </tr> 12 """ 13 return 14 $ -> 15 updateChart = (data) -> 16 chart = Chartkick.charts['polls'].getChartObject() 17 if data.laptop == 'yes' 18 chart.data.datasets[0].data[0]++ 19 chart.update() 20 else 21 chart.data.datasets[0].data[1]++ 22 chart.update() 23 24 $ -> 25 $('#add_poll').on 'ajax:success', (data) -> 26 $('#add_poll')[0].reset() 27 return 28 pusher = new Pusher('<%= ENV["PUSHER_KEY"] %>', 29 cluster: '<%= ENV["PUSHER_CLUSTER"] %>' 30 encrypted: true) 31 channel = pusher.subscribe('poll') 32 channel.bind 'new', (data) -> 33 submitPoll data 34 updateChart data 35 return 36 return
In the code above, we created two methods:
-
submitPoll(): updates the poll table with new records upon submission of the poll’s form. -
updateChart(): updates the datasets of our pie chart without the need to refresh the page.
Lastly, add the Pusher library inside the head tag in the application.html.erb file just before the javascript_include_tag:
1<%# . app/views/layouts/application.html.erb %> 2 3 <head> 4 <title>Poll</title> 5 <%= csrf_meta_tags %> 6 <%= csp_meta_tag %> 7 <%= stylesheet_link_tag 'application', media: 'all', 'data-turbolinks-track': 'reload' %> 8 <script src="https://js.pusher.com/4.1/pusher.min.js"></script> 9 <%= javascript_include_tag 'application', 'data-turbolinks-track': 'reload' %> 10 </head>
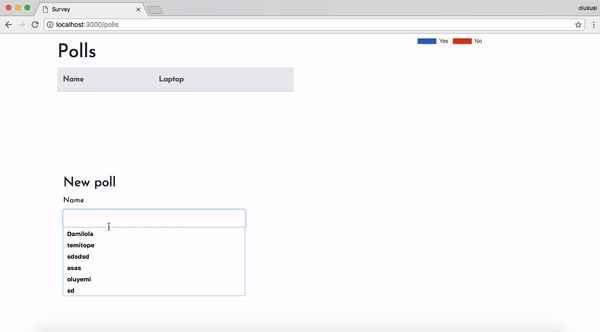
Testing the application
Restart the development server if it is currently running. Check your page on http://localhost:3000:
Conclusion
Realtime and visual analysis in web applications has come to stay and can only get better. As shown by this post, you can now go ahead and give your users the best of visual realtime update in Ruby on Rails applications.
I hope you found this tutorial helpful. Feel free to download the complete source can be found on GitHub.


© 2025 Pusher Ltd. All rights reserved.
Pusher Limited is a company registered in England and Wales (No. 07489873) whose registered office is at MessageBird UK Limited, 3 More London Riverside, 4th Floor, London, United Kingdom, SE1 2AQ.