- Products

- Developers
- User stories
- Blog
- Pricing

Build a photo feed using Vue.js
Introduction
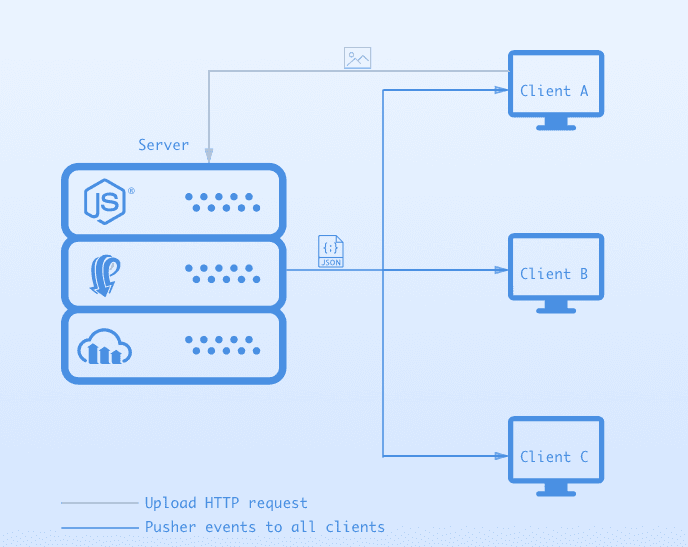
When your app offers social sharing features, realtime notifications could be vital.
One example is Instagram, a popular app for editing and sharing photos and videos with friends & family. Users get realtime updates as feeds on posts made by their friends and other people they follow on the the platform.
In this tutorial, we will implement a similar social sharing app using some common developer tools, such as:
- Vue: Frontend framework to simplify our DOM interactions.
- Node: JavaScript server for handling requests from clients, as well as sending responses
- Pusher: Free realtime pub/sub service. Pusher makes realtime as easy as using basic events.
- Cloudinary: End-to-end image management solution that enables storage, manipulation, optimization and delivery.
Of course, there are other utility tools, like Bootstrap, Express and NeDB, that simplify some time-consuming tasks. We will learn about those while we walk through the demo.
Let's first build a server for the app.
Setting Up a Node Server
A simple Node server is enough for the task at hand. To create one, run the following init command in an empty directory:
npm init -y
You should see a package.json file right in the folder. You can start installing the dependencies needed in the project:
npm install --save express nedb cors body-parser connect-multiparty pusher cloudinary
The dependencies help with the following outlined tasks:
- express: Routing framework for Node
- nedb: Disk database. This is not recommended for a large project, but is good enough to persist data in our demo.
- cors: Express middleware to enable CORS.
- body-parser: Express middleware that parses the request body and attaches to the express request object.
- connect-multiparty: Just like body-parser, but parses uploaded files
- pusher: Pusher SDK
- cloudinary: Cloudinary SDK
Next step is to import these installed dependencies into the entry JavaScript file. Create a file named index.js at the root of the directory and start importing the dependencies:
1// Import dependecies 2 const express = require('express'); 3 const multipart = require('connect-multiparty'); 4 const bodyParser = require('body-parser') 5 const cloudinary = require('cloudinary'); 6 const cors = require('cors'); 7 const Datastore = require('nedb'); 8 const Pusher = require('pusher'); 9 10 // Create an express app 11 const app = express(); 12 // Create a database 13 const db = new Datastore() 14 15 // Configure middlewares 16 app.use(cors()); 17 app.use(bodyParser.urlencoded({ extended: false })) 18 app.use(bodyParser.json()) 19 20 // Setup multiparty 21 const multipartMiddleware = multipart();
Not only have we imported the dependencies, we also configured the Express middleware that was installed.
Configurations
We need to configure Pusher and Cloudinary before actually making use of them. Configuration involves telling the SDKs who or what server should it talk to. This is done by passing it a config object that contains the credentials you retrieve after creating an account. (To learn how to set up both accounts, refer to Appendix 1 and 2 at the end of the article.)
1// Pusher configuration
2 const pusher = new Pusher({
3 appId: process.env.PUSHER_APPID,
4 key: process.env.PUSHER_KEY,
5 secret: process.env.PUSHER_SECRET,
6 encrypted: true,
7 cluster: process.env.PUSHER_CLUSTER
8 });
9
10 // Cloudinary configuration
11 cloudinary.config({
12 cloud_name: process.env.CL_CLOUD_NAME,
13 api_key: process.env.CL_KEY,
14 api_secret: process.env.CL_SECRET
15 });
It’s bad practice to hard code credentials in your code, hence we have added them using environmental variables.
Routes
Two routes are needed for the application — one to serve all the gallery images and another to create new gallery images from a request. Here is one for listing images:
1app.get('/', (req, res) => { 2 db.find({}, function (err, docs) { 3 if(err) { 4 return res.status(500).send(err); 5 } 6 res.json(docs) 7 }); 8 })
This looks for all the items in our database, and if no error was encountered, sends them as a JSON response to the requesting client. If an error was encountered, the error will be sent as a server error (500).
Let’s now see how the images are uploaded, how data is persisted, and how Pusher emits a real time event that a new image was added to the collection:
1app.post('/upload', multipartMiddleware, function(req, res) { 2 // Upload image 3 cloudinary.v2.uploader.upload( 4 req.files.image.path, 5 { /* Transformation if needed */ }, 6 function(error, result) { 7 if(error) { 8 return res.status(500).send(error) 9 } 10 // Save record 11 db.insert(Object.assign({}, result, req.body), (err, newDoc) => { 12 if(err) { 13 return res.status(500).send(err); 14 } 15 // Emit realtime event 16 pusher.trigger('gallery', 'upload', newDoc); 17 res.status(200).json(newDoc) 18 }) 19 }) 20 });
What’s going on will be better explained as points, so let’s do that:
- The middleware,
multipartMiddleware, was not included in all the routes withuse. Rather, it was added to the only route that needs it, which is the abovePOST /uploadroute. - We use Cloudinary’s
upload()method to send the image received to your server. It takes the path to the image being uploaded, a transformation object and the callback function. - If the upload was successful, we store the image upload response alongside the request body in our database.
- After storing the new data, we emit a Pusher
uploadevent on the gallery channel. This event has a payload of the newly created item. All subscriptions to this channel’s event will be notified when an image is successfully uploaded.
Listen and Run
Finally, in the server, we can bind to a port:
app.listen(process.env.PORT || 5000, () => console.log('Running...'))
This uses the port provided in the environmental variable. If none, it sticks to port 5000.
You can start running the server with:
node index.js
Setting up Vue.js
Vue is the framework that powers our client app. With a server running, we can now implement a client that communicates with this server via HTTP requests and Pusher events.
Start with initializing a Vue project using the Vue CLI:
1## Install Vue CLI 2 npm install -g vue-cli 3 4 ## Scafold a project. Syntax: vue init <template> <name> 5 vue init webpack-simple gallery-client
Next, install dependencies:
npm install --save axios vodal pusher-js cloudinary-core
- axios: This is a HTTP library that simplifies how we make Ajax requests by enabling us to use promises to handle async.
- vodal: Vue widget for dialog boxes
- pusher-js: Pusher client SDK
- cloudinary-core: Cloudinary client SDK
Gallery items list
We need to display a list of existing images in the gallery at start up. Therefore, when the app is launched, the user should be presented with a list of all the images available. To achieve this, in the App.vue (the entry component) created lifecycle method, make a request for all the images using axios:
1<script> 2 // ./App.vue 3 import axios from 'axios'; 4 import cloudinary from 'cloudinary-core' 5 6 export default { 7 name: 'app', 8 data () { 9 return { 10 images: [], 11 cl: null, 12 spin: false 13 } 14 }, 15 created() { 16 this.spin = true 17 this.cl = new cloudinary.Cloudinary({cloud_name: '<CLOUD_NAME>', secure: true}) 18 axios.get('http://localhost:5000') 19 .then(({data}) => { 20 this.spin = false 21 this.images = data.map(image => { 22 image.url = this.cl.url(image.public_id, {width: 500, height: 400, crop: "fill"}) 23 return image; 24 }); 25 }) 26 }, 27 methods: { 28 // Coming soon 29 } 30 } 31 </script>
When the images are fetched, we transform them by manipulating the dimensions (width and height) to fit our design idea. The transformed data is then bound to the view by setting it as the value of the images property :
1<template> 2 <!-- ./App.vue --> 3 <div id="app"> 4 <div class="container"> 5 <h3 class="text-center">Realtime Gallery <button class="btn btn-info" @click="showModal"><span class="glyphicon glyphicon-upload"></span></button></h3> 6 <gallery-list :images="images"></gallery-list> 7 </div> 8 <span v-show="spin" class="glyphicon glyphicon-repeat fast-right-spinner"></span> 9 </div> 10 </template>
There is also a spin boolean property that determines if a loading spinner should be shown or not. Soon, we will implement the showModal method that is called when the upload button is clicked.
Rather than having native elements all over in the App's template, we have a created an abstraction. The gallery-list element is used and is passed the list of images. For it to work, you need to create, import and declare the GalleryList component in App.
First, import and declare it:
1<script> 2 // ./App.vue 3 import GalleryList from './GalleryList.vue' 4 //... 5 export default { 6 components: { 7 'gallery-list': GalleryList 8 } 9 } 10 </script>
Then create the component:
1<!-- ./GalleryList.vue --> 2 <template> 3 <div> 4 <div class="row" v-for="i in Math.ceil(images.length / 3)" :key="i"> 5 <div class="col-md-4" v-for="image in images.slice((i - 1) * 3, i * 3)" :key="image._id"> 6 <gallery-item :image="image"> 7 </gallery-item> 8 </div> 9 </div> 10 </div> 11 </template> 12 <script> 13 import GalleryItem from './GalleryItem.vue' 14 export default { 15 props: ['images'], 16 components: { 17 'gallery-item': GalleryItem 18 } 19 } 20 </script>
The component receives images sent from the parent App component via props. We then iterate over the images and display each of them with another component called gallery-item:
1<template> 2 <div class="card"> 3 <h4 class="card-title">{{image.title}}</h4> 4 <div class="card-image"> 5 <img :src="image.url" class="img-responsive"/> 6 </div> 7 <p class="card-description">{{image.description}}</p> 8 </div> 9 </template> 10 <script> 11 export default { 12 props: ['image'] 13 } 14 </script>
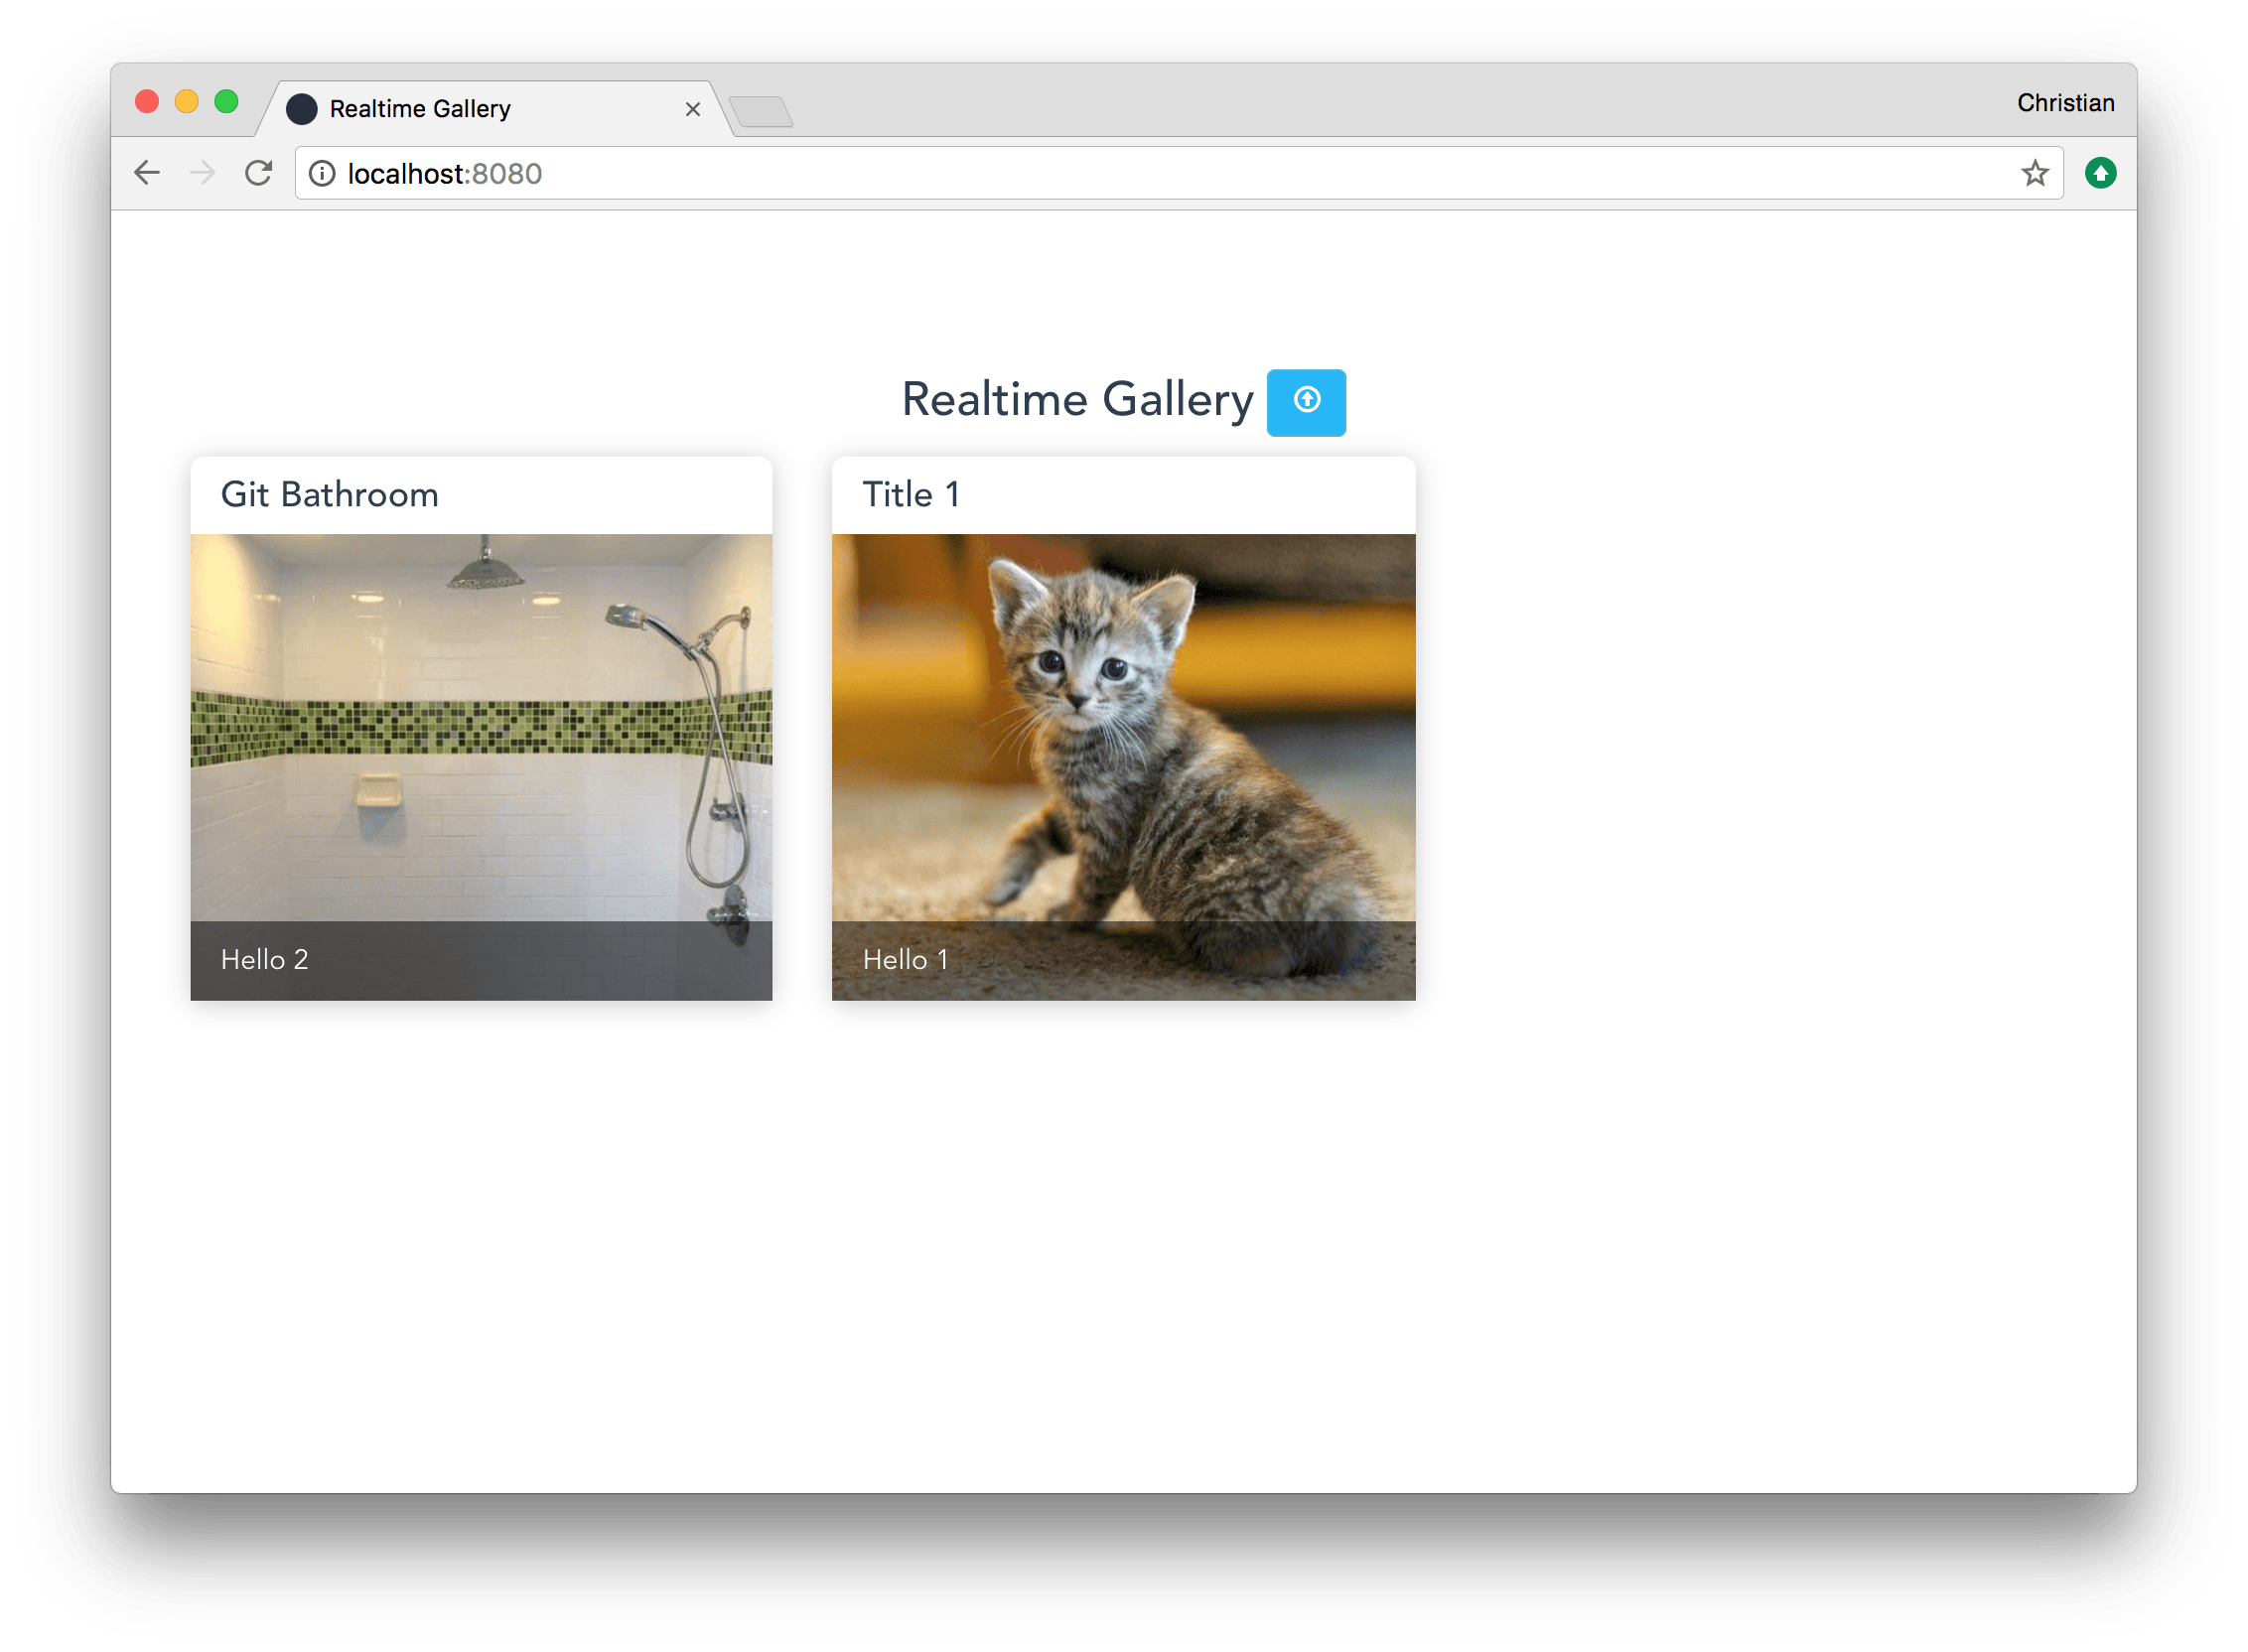
With existing images (which I assume you don’t have yet), you should see the following at localhost:8080 when you run the app with npm run dev:
Gallery image upload
Now that we have a list of images to show, the next question is how they came to exist. We have to upload them to the server. Fortunately, the server already made provision for that so all we have left to do is implement the upload logic.
Let’s start by creating an Upload component which contains a form for the upload:
1<template> 2 <div class="upload"> 3 <form @submit.prevent="handleSubmit" enctype="multipart/form-data"> 4 <div class="form-group"> 5 <label>Title</label> 6 <input type="text" class="form-control" v-model="model.title" /> 7 </div> 8 <div class="form-group"> 9 <label>Image</label> 10 <input type="file" class="form-control" @change="handleUpload($event.target.files)" /> 11 </div> 12 <div class="form-group"> 13 <label>Description</label> 14 <textarea row="5" class="form-control" v-model="model.description"></textarea> 15 </div> 16 <div class="form-group"> 17 <button class="btn btn-info">Submit</button> 18 </div> 19 </form> 20 </div> 21 </template> 22 <script> 23 export default { 24 data() { 25 return { 26 model: { 27 title: '', 28 description: '', 29 imageFile: null 30 } 31 } 32 }, 33 methods: { 34 handleSubmit() { 35 this.$emit('submit', this.model) 36 }, 37 handleUpload(files) { 38 this.model.imageFile = files[0]; 39 } 40 } 41 } 42 </script>
The form contains a title (text), description (text area) and file inputs. These controls are tracked by the model property, which is updated when the values change. title and description are automatic but imageFile is not because it’s read only. Therefore, we have to manually update the model by calling handleUpload every time the file control value changes.
When the form is submitted, we need to call handleSubmit, which triggers an event that will be handled in the parent component (App). Let’s have a look how App handles this:
1<template> 2 <div id="app"> 3 <div class="container"> 4 <h3 class="text-center">Realtime Gallery <button class="btn btn-info" @click="showModal"><span class="glyphicon glyphicon-upload"></span></button></h3> 5 <vodal :show="show" animation="zoom" @hide="show = false"> 6 <upload @submit="handleSubmit"></upload> 7 </vodal> 8 <gallery-list :images="images"></gallery-list> 9 </div> 10 <span v-show="spin" class="glyphicon glyphicon-repeat fast-right-spinner"></span> 11 </div> 12 </template> 13 <script> 14 import Upload from './Upload.vue' 15 import GalleryList from './GalleryList.vue' 16 import axios from 'axios'; 17 import cloudinary from 'cloudinary-core' 18 var Pusher = require('pusher-js'); 19 export default { 20 name: 'app', 21 data () { 22 return { 23 images: [], 24 show: false, 25 cl: null, 26 spin: false 27 } 28 }, 29 created() { 30 // truncated 31 }, 32 methods: { 33 showModal() { 34 this.show = true 35 }, 36 handleSubmit(model) { 37 this.show = false; 38 this.spin = true 39 const formData = new FormData() 40 formData.append('image', model.imageFile); 41 formData.append('title', model.title); 42 formData.append('description', model.description); 43 44 axios.post('http://localhost:5000/upload', formData) 45 .then(({data}) => { 46 this.spin = false 47 }) 48 } 49 }, 50 components: { 51 'gallery-list': GalleryList, 52 'upload': Upload 53 } 54 } 55 </script>
Because of the way we added GalleryList, the Upload container is imported and included in the list of components. The dialog plugin, vodal is used to only show the form as a dialog when the upload button beside the header is clicked. This is possible by toggling show.
Notice how the upload component handles the emitted submit event:
<upload @submit="handleSubmit"></upload>
It calls handleSubmit on the containing (parent) component, which uploads the image with axios, hides the model and uses a loading spinner to tell us the status of the upload.
The vodal plugin needs to be imported and configured for it to work. You can do this in the ./main.js file:
1import Vodal from 'vodal'; 2 Vue.component(Vodal.name, Vodal);
Now you can run the app again (if you stopped it), and try to upload an image:
When you upload an image, you won’t see any UI updates unless you refresh the browser. Let’s implement realtime updates to make UI updates happen.
Realtime updates
We already have the upload feature fleshed out but we need to let the users know their upload was successful. The server is already triggering an event, all we need do is listen to this event and prepend incoming payload to the existing list of images:
1<script> 2 import Upload from './Upload.vue' 3 import GalleryList from './GalleryList.vue' 4 import axios from 'axios'; 5 import cloudinary from 'cloudinary-core' 6 var Pusher = require('pusher-js'); 7 export default { 8 name: 'app', 9 data () { 10 return { 11 images: [], 12 show: false, 13 cl: null, 14 spin: false 15 } 16 }, 17 created() { 18 this.spin = true; 19 var pusher = new Pusher('<APP_ID>', { 20 encrypted: true, 21 cluster: 'CLUSTER' 22 }); 23 var channel = pusher.subscribe('gallery'); 24 channel.bind('upload', (data) => { 25 data.url = this.cl.url(data.public_id, {width: 500, height: 400, crop: "fill"}) 26 this.images.unshift(data) 27 }); 28 // Truncated... 29 }, 30 methods: { 31 // Truncated... 32 }, 33 } 34 </script>
We bind to the upload event, which we created on the gallery channel, then add the new image that comes into the existing array of images. You can now see image upload and UI updates happen in real time:
Conclusion
At this point, if you have followed the article, you can stop wondering how realtime image sharing apps work and start building one for yourself.
Appendix 1: Pusher Setup
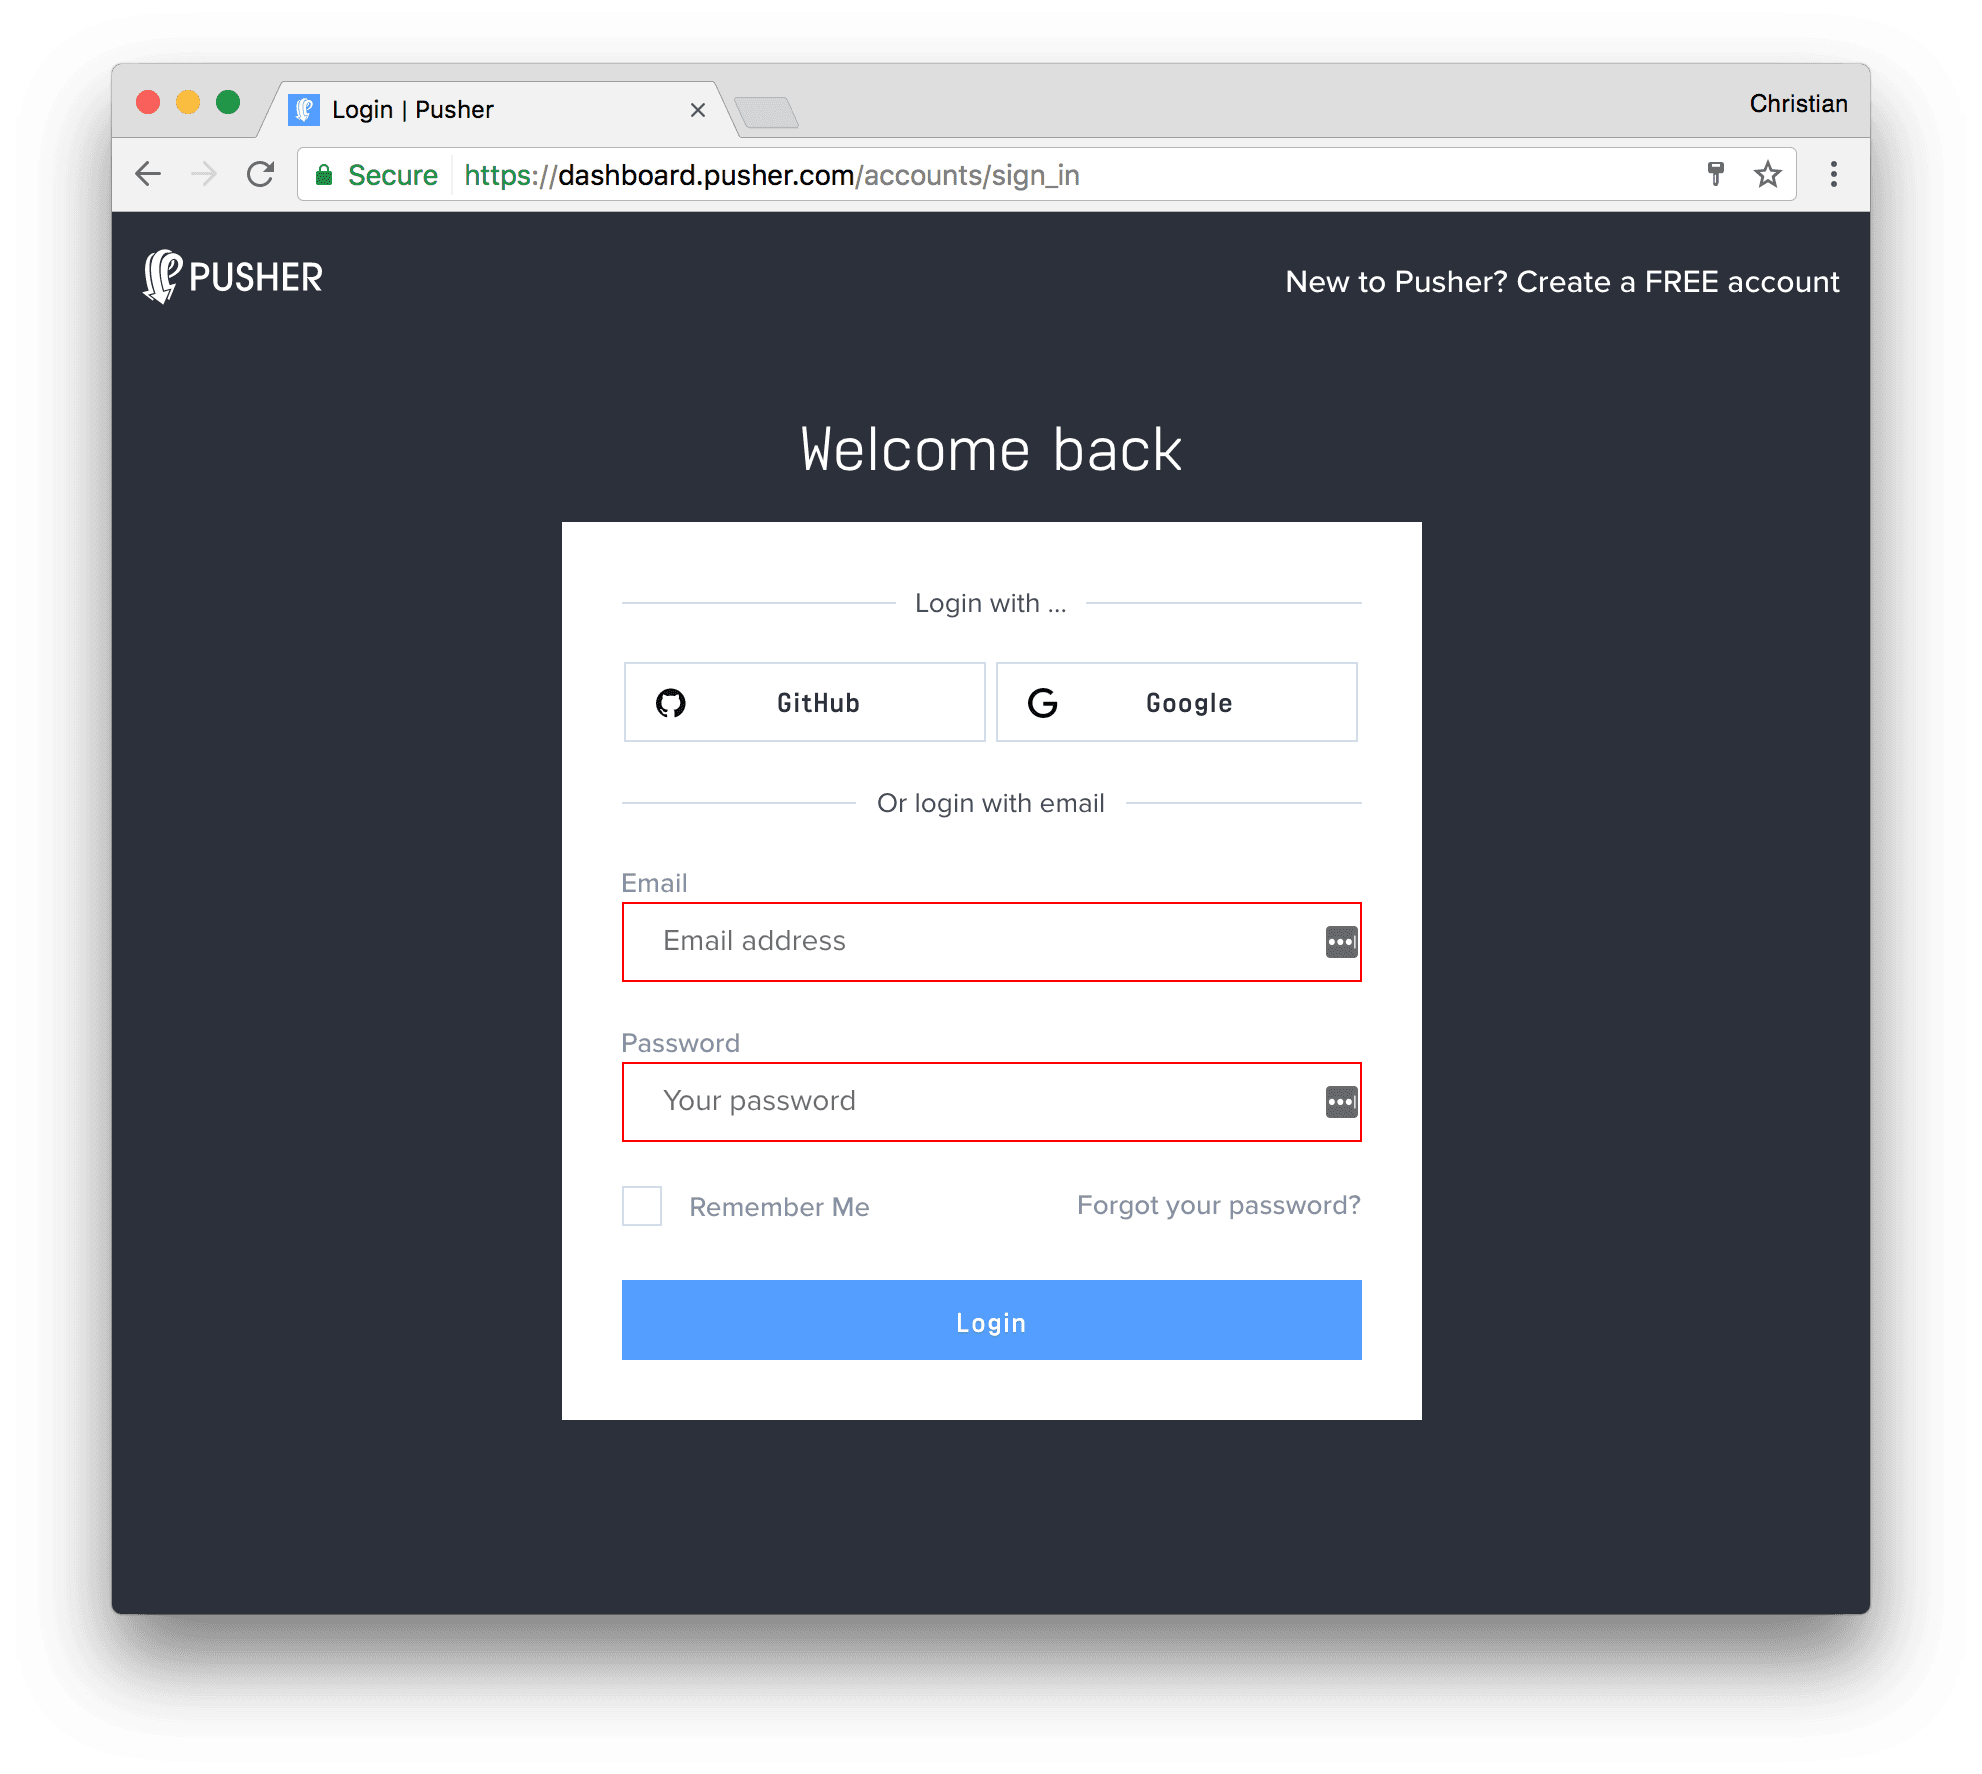
- Sign up for a free Pusher account
- Create a new app by selecting Apps on the sidebar and clicking Create New button on the bottom of the sidebar:

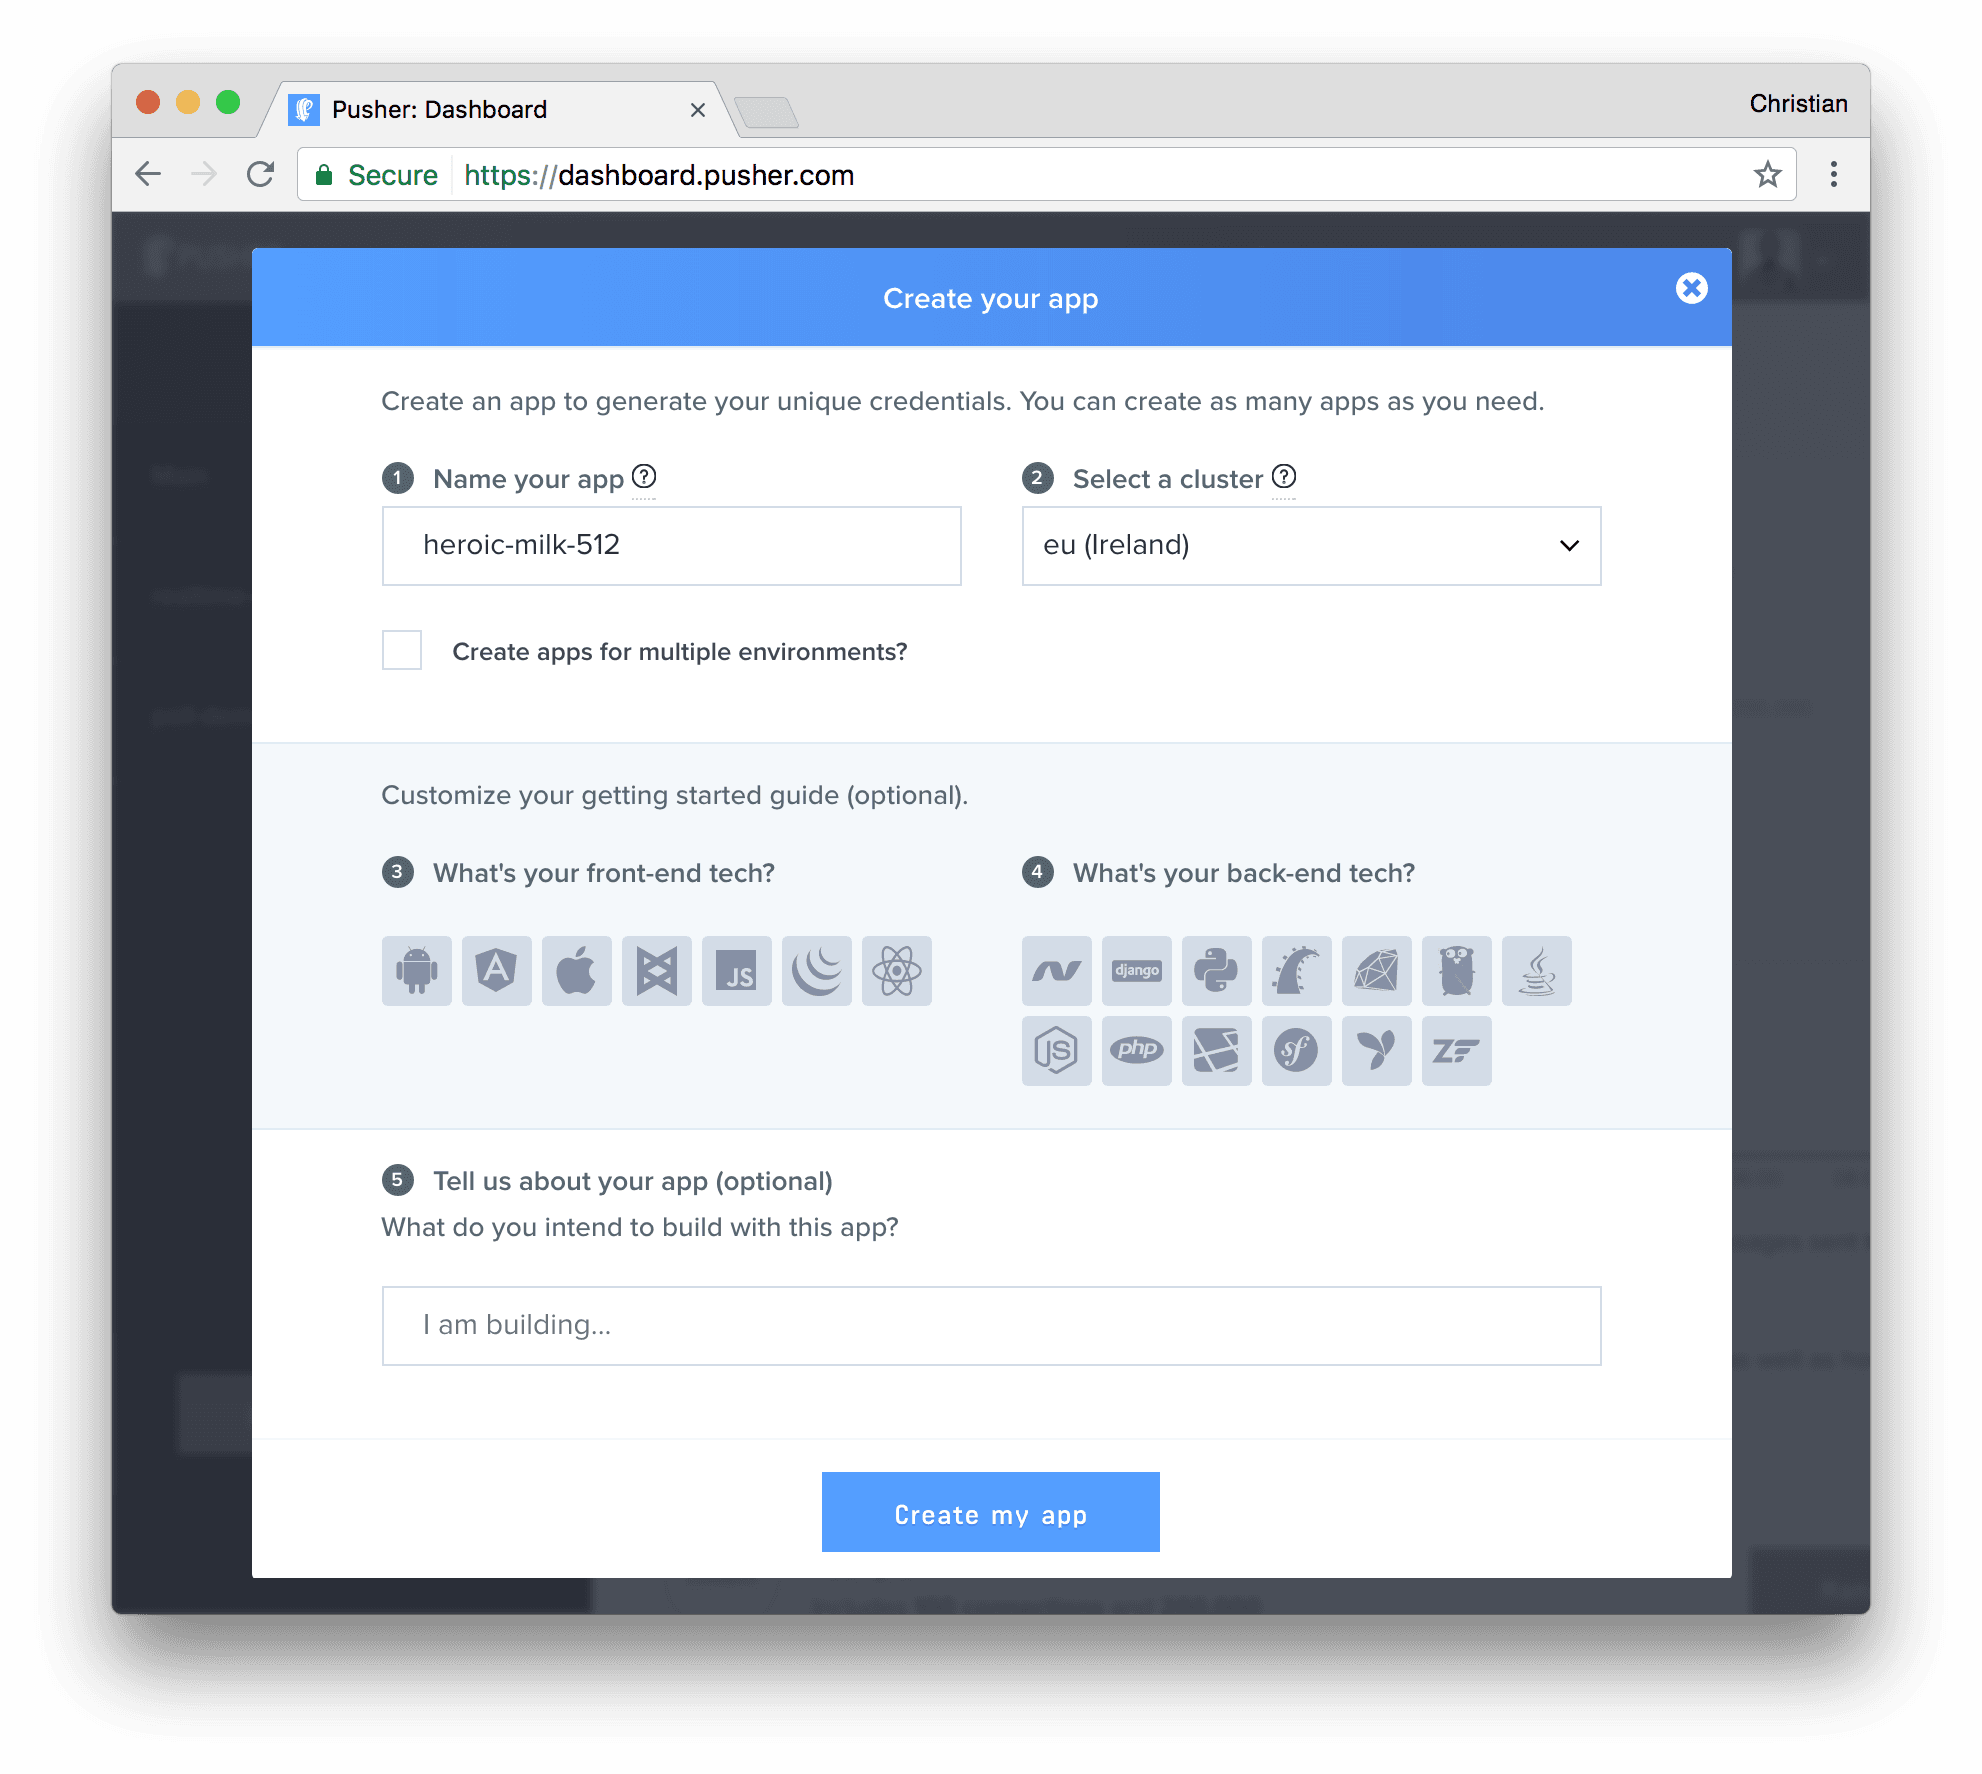
- Configure an app by providing basic information requested in the form presented. You can also choose the environment you intend to integrate Pusher with for a better setup experience:
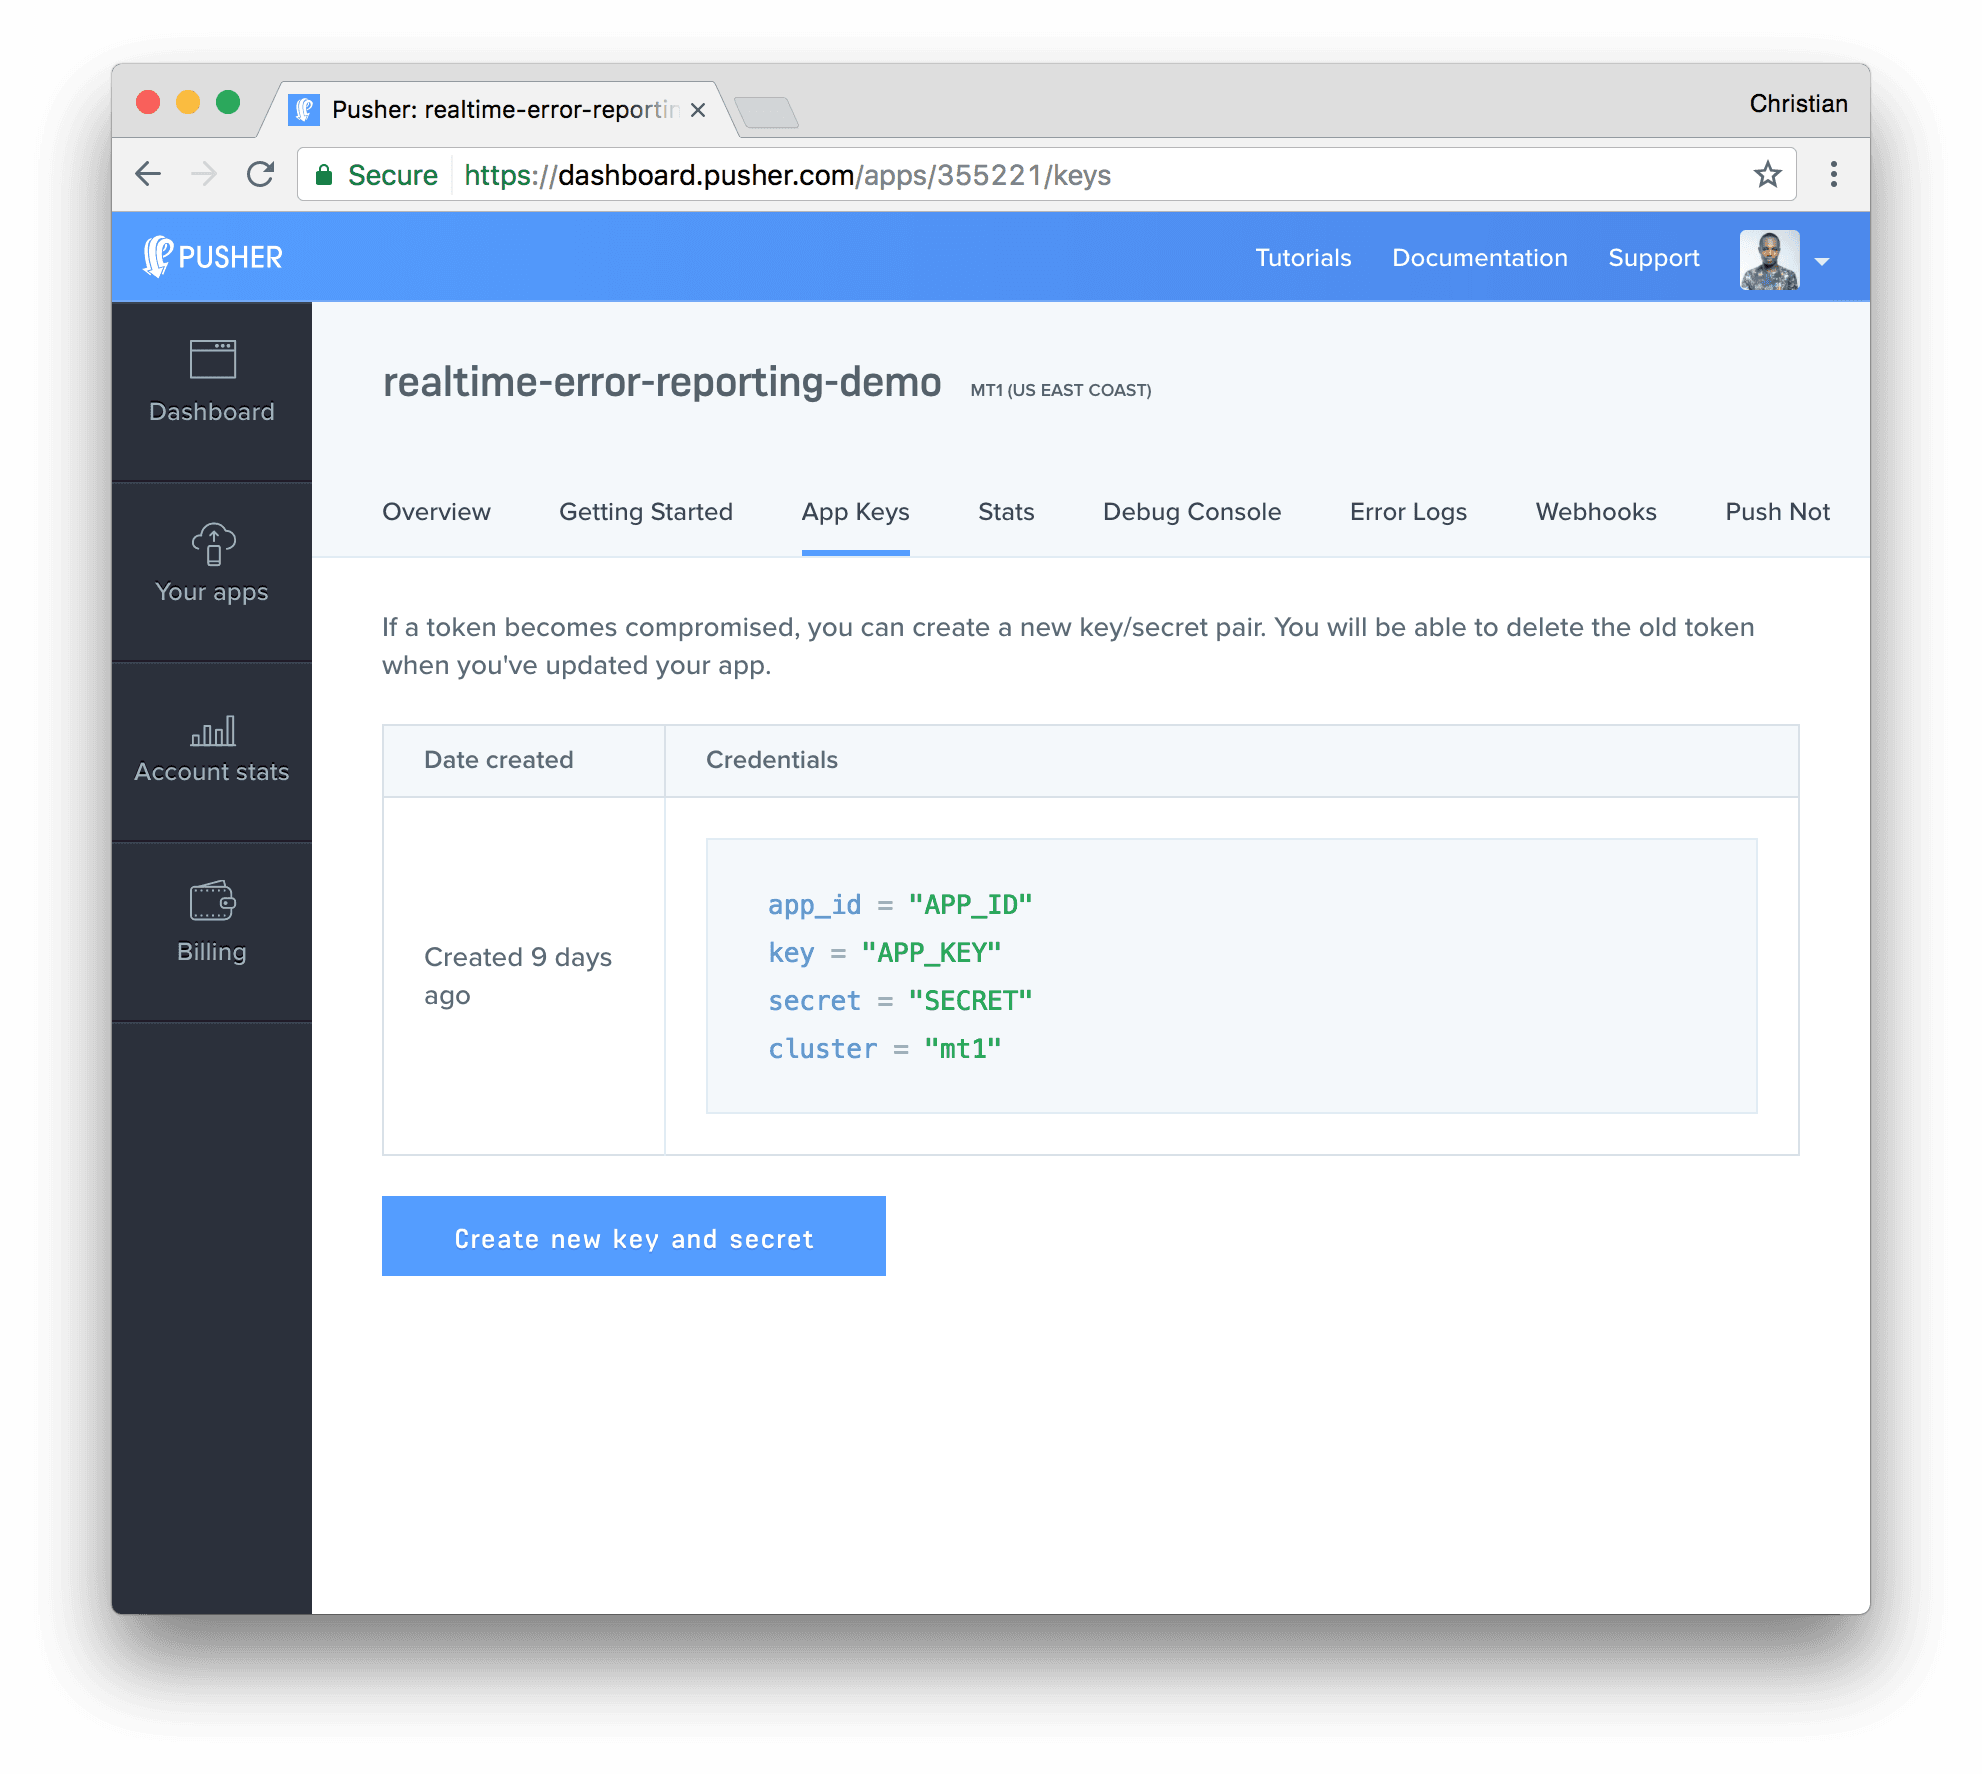
- You can retrieve your keys from the App Keys tab
Appendix 2: Cloudinary Setup
- Sign up on Cloudinary for a free account:

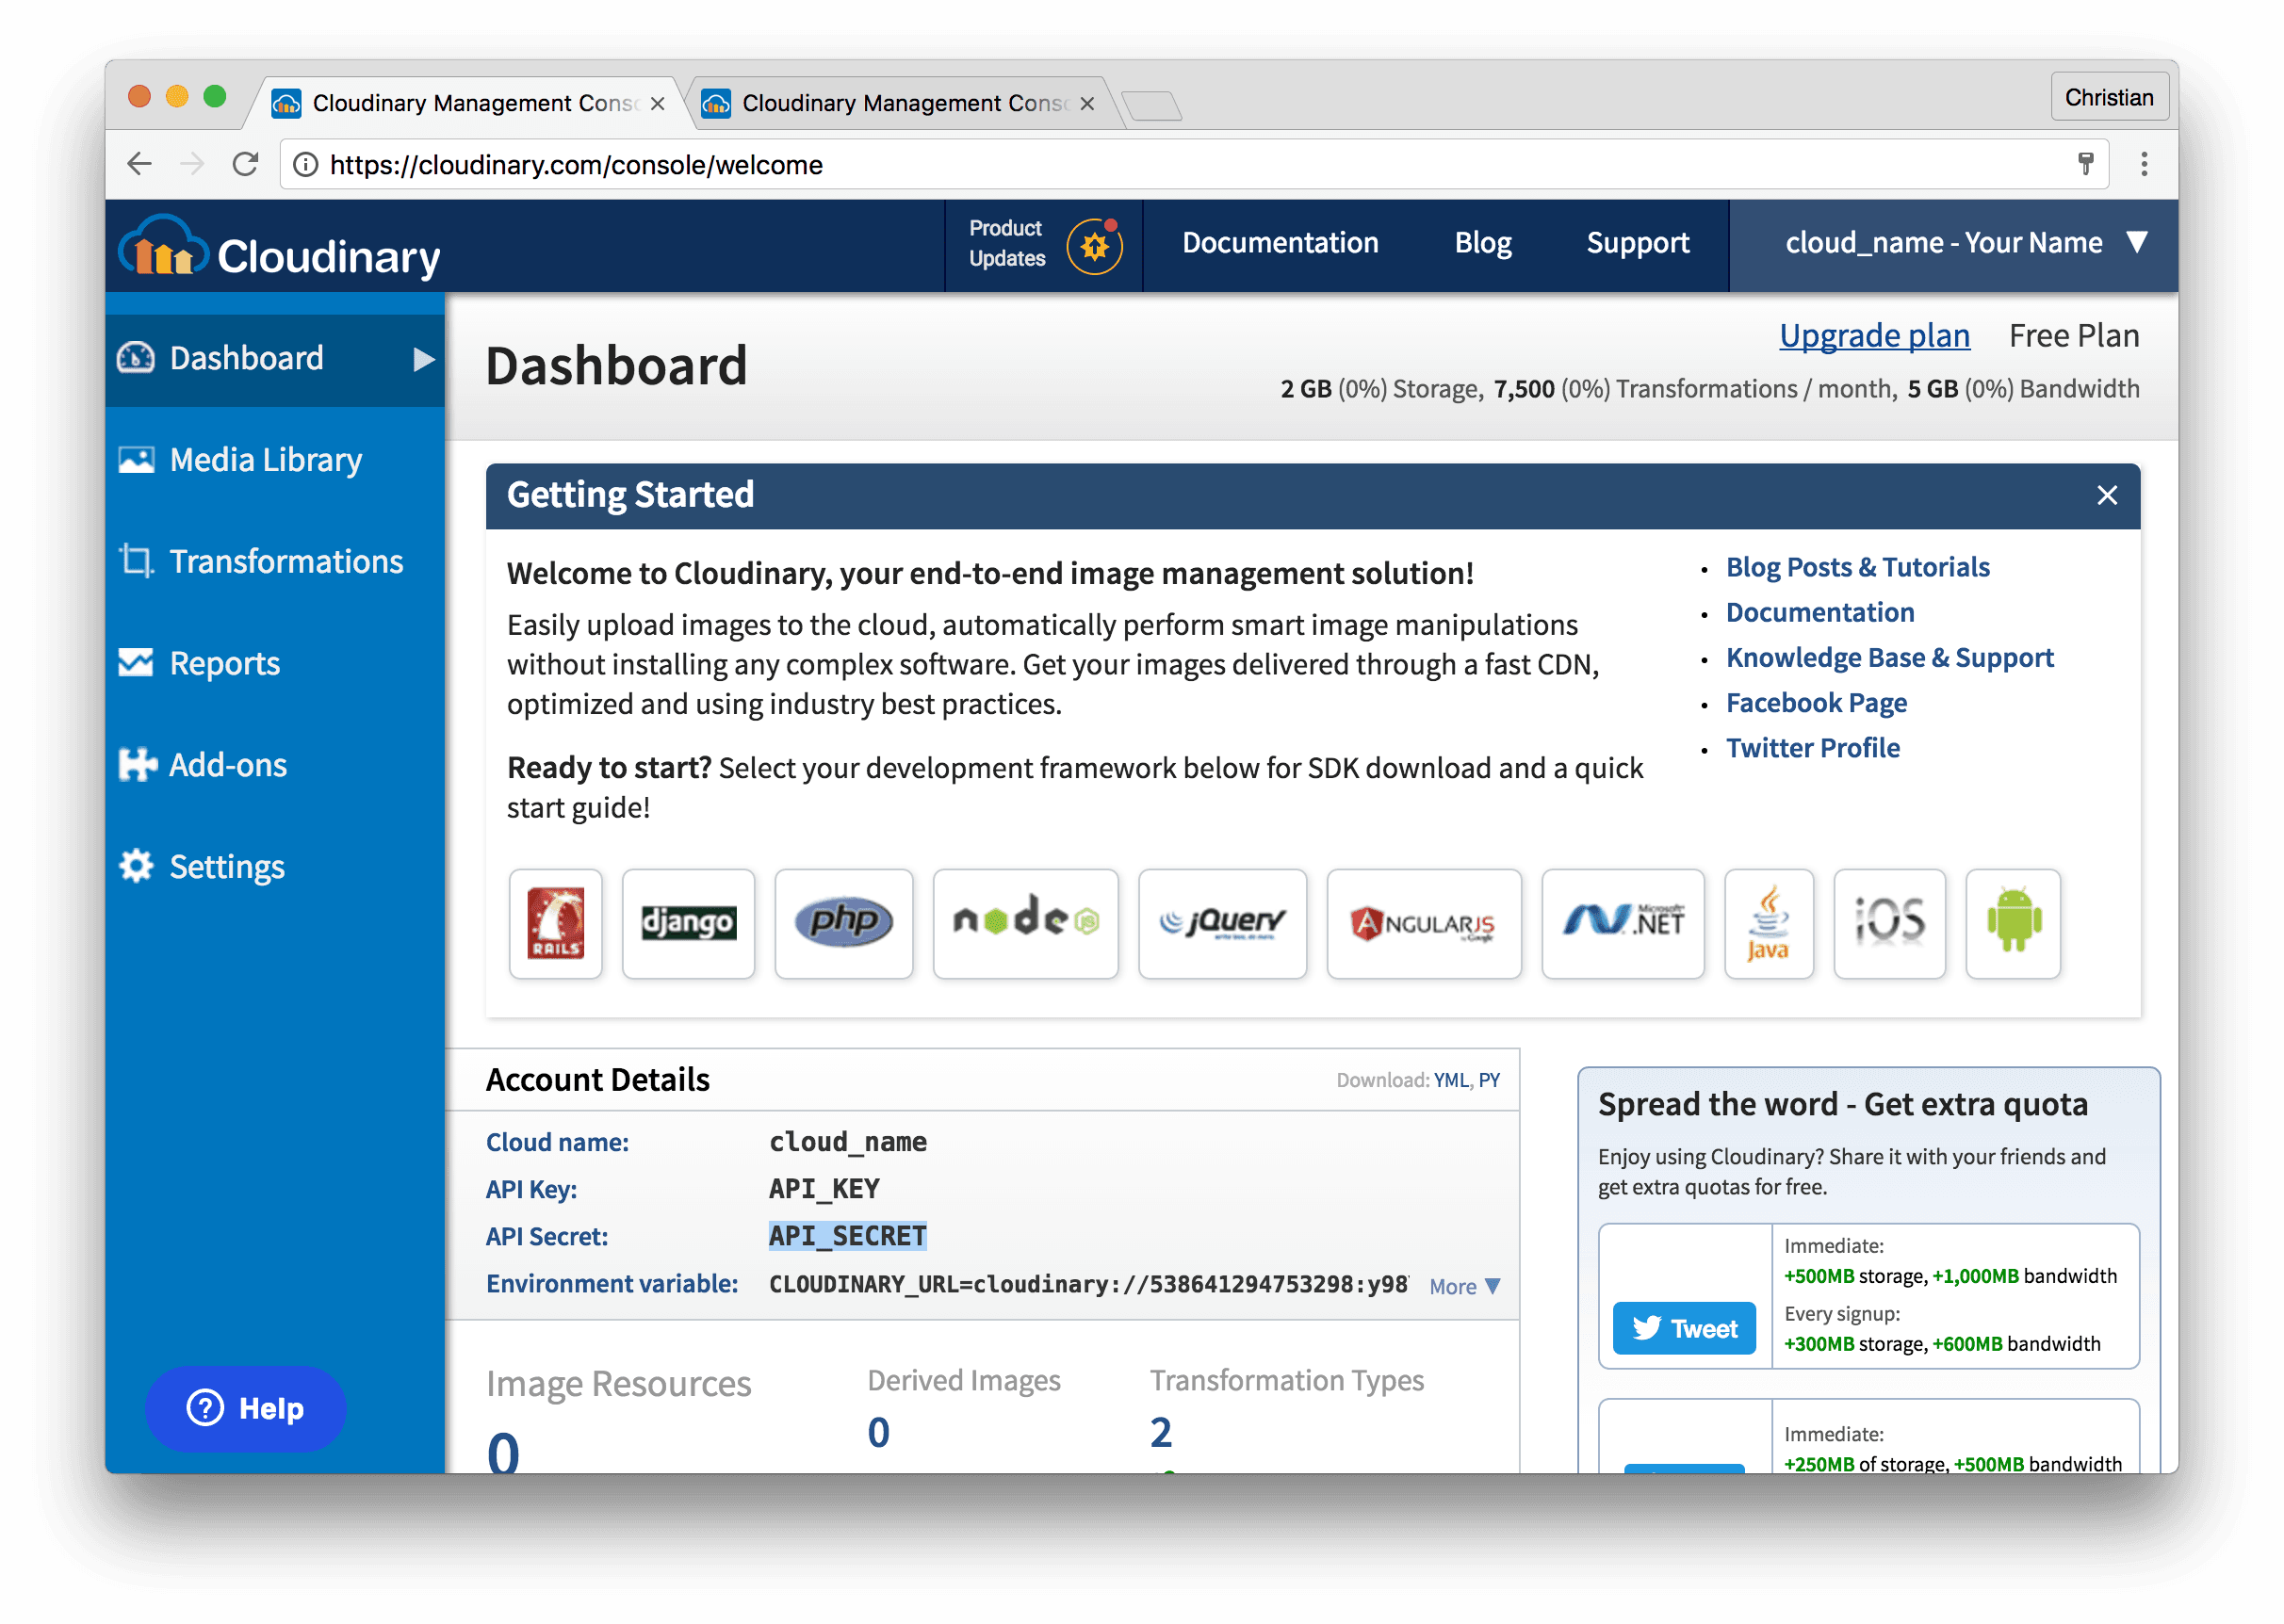
- When you sign up successfully, you're presented with a dashboard that holds your cloud credentials. You can safely store them for future use:


© 2026 Pusher Ltd. All rights reserved.
Pusher Limited is a company registered in England and Wales (No. 07489873) whose registered office is at MessageBird UK Limited, 3 More London Riverside, 4th Floor, London, United Kingdom, SE1 2AQ.