- Products

- Developers
- User stories
- Blog
- Pricing

Build a live markdown editor with VueJS
- Introduction
- Introduction
- Prerequisites
- Setting up the project
- Running the application
- Installing server dependencies
- Pusher account setup
- A little more about how Pusher Channels works
- Environment variables
- Setting up the server
- Creating the home component
- Enabling realtime editing
- Generating markdown
- Trigger event with changes
- Wrapping up
- Test the application
- Conclusion
Introduction
Introduction
As developers, we sometimes love to conveniently create easy-to-read documentation so as to ease the stress that accompanies styling at the beginning. For this, you need an easy tool such as the Markdown editor. This enables you to create a H1 ( for example) by simply adding a # before the header.
Together in this tutorial we'll build a simple, yet very effective realtime markdown editor application with Vue and powered by Pusher Channels. This app will be used to convert raw markdown into proper HTML. It will have two separate sections:
- To the left, where you write and view raw markdown
- And the right, where you can easily view the converted markdown
A quick look at what we’ll build:

Prerequisites
Ensure that you have Node.js and npm installed on your machine. A quick overview of other core technologies we will be using in this tutorial include:
Vue: a progressive JavaScript framework for building applications
Pusher: a Node.js client to interact with the Pusher REST API
Marked: a low-level markdown compiler for parsing markdown without caching or blocking for long periods of time.
💡 I am using @vue/cli 2.0 ****for this project
Setting up the project
We’ll use Vue-cli to setup our project, so run the command below to have it installed globally on your machine:
1npm install -g @vue/cli 2 or 3 yarn global add @vue/cli
You can verify that Vue is properly installed by running:
vue --version
This will output the current version installed on your machine, just like this:

Now to generate our project, type the following command:
1vue init webpack vue-markdown // version 2 2 or 3 vue create vue-markdown // version 3
Executing the command above will bring up a couple of questions, you can accept the default and proceed. Once the installation process is completed, you will now have a new project named vue-markdown installed in your project directory.
Running the application
Next, we’ll run the application:
1npm start // version 2 2 or 3 npm run serve // version 3
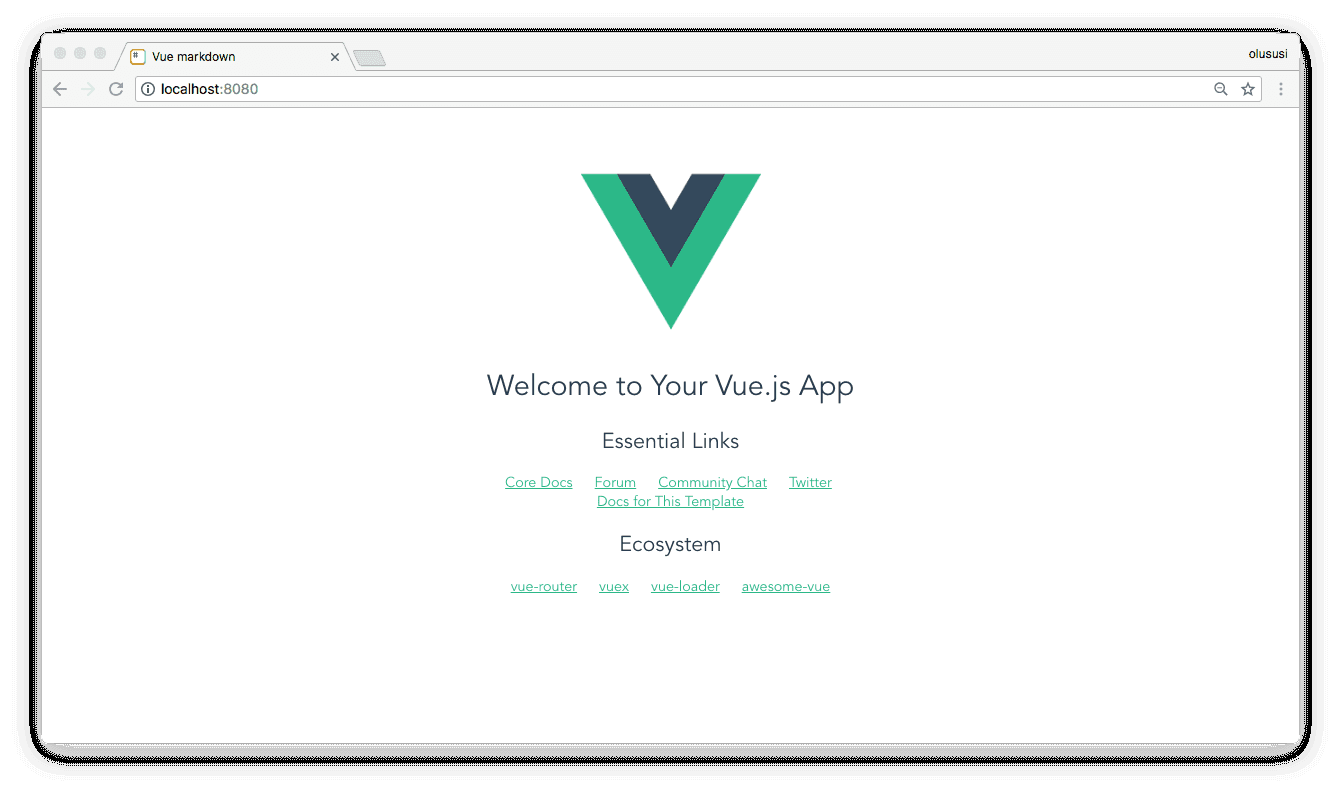
This will start the application on the http://localhost:8080. Visit that link:
Installing server dependencies
Run the following commands to install the dependencies required for this project:
1npm install --save pusher pusher-js marked 2 npm install --save body-parser cors dotenv express
Pusher account setup
Head over to Pusher and sign up for a free account, if you don’t already have one. Log in to create a new application by clicking on the Channels apps on the sidebar. Obtain your application credentials as we will need to use them later in this post.
A little more about how Pusher Channels works
Pusher allows you communicate between different parts of your application in realtime. It can be a notification you wish to show your users or the price of a product which people are bidding on currently. Whatever it is that needs constant updating, you can (and maybe should) use pusher for it.
By default, Pusher allows you bind to events on the client-side (listen to events on your browser, app, etc) and then trigger events on the server-side (send broadcasts to all listeners from the server). However, pusher has this really cool super amazing feature called private channels that allows you trigger events from the client side. You have to turn it on and perform a few actions to use it.
- Your channel name on the client-side must be prefixed with
private- - All your event names on the client-side must be prefixed with
client- - You must authenticate the Pusher subscription before you can trigger events on the client-side.
So, from your Pusher app dashboard, go to App settings and enable client events before you continue with this guide.
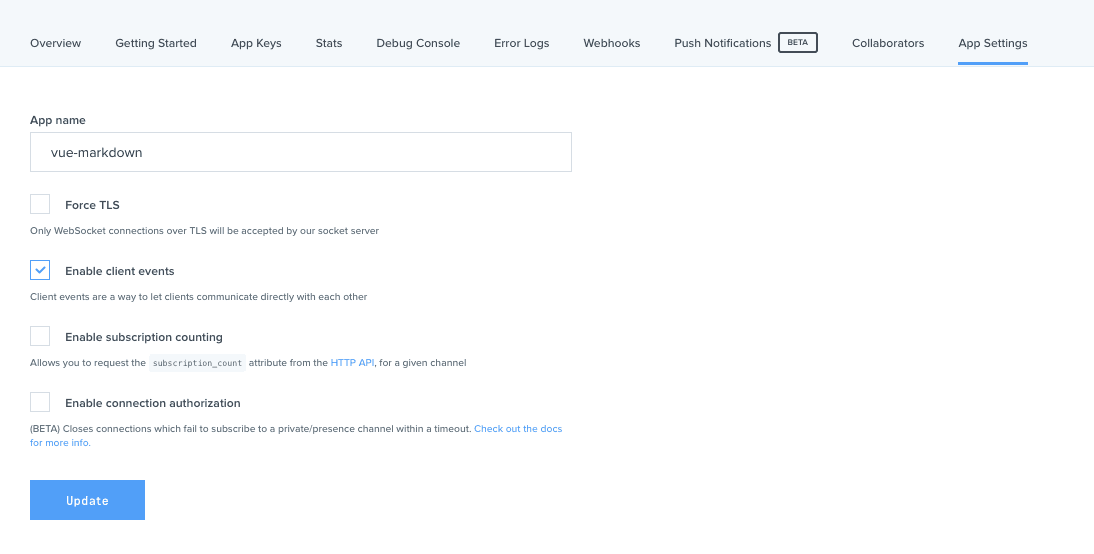
Now you are ready. You can read more about private channels.
Environment variables
Create a file name .env in the root directory of your application and add your application credentials as obtained from your Pusher dashboard as follows:
1PUSHER_APP_ID=YOUR_APP_ID 2 PUSHER_APP_KEY=YOUR_APP_KEY 3 PUSHER_APP_SECRET=YOUR_APP_SECRET 4 PUSHER_APP_CLUSTER=CLUSTER
Ensure that you replace YOUR_APP_ID, YOUR_APP_KEY, YOUR_APP_SECRET and CLUSTER placeholders with the appropriate credentials.
Setting up the server
The main objective of this application is to be able to process and convert a raw markdown to HTML in realtime from all browsers, to effectively achieve this, we’ll use Express to set up a simple server and use Pusher Channels to broadcast the converted markdown to all the client on a specific channel.
So create a server.js file in the root directory of your application and add the following code snippet to it:
1// server.js 2 3 const express = require('express'); 4 const bodyParser = require('body-parser'); 5 const cors = require('cors'); 6 const Pusher = require('pusher'); 7 require('dotenv').config(); 8 9 const app = express(); 10 11 app.use(cors()); 12 app.use(bodyParser.urlencoded({ extended: false })); 13 app.use(bodyParser.json()); 14 15 const pusher = new Pusher({ 16 appId: process.env.PUSHER_APP_ID, 17 key: process.env.PUSHER_APP_KEY, 18 secret: process.env.PUSHER_APP_SECRET, 19 cluster: process.env.PUSHER_APP_CLUSTER, 20 encrypted: true 21 }); 22 23 app.post('/pusher/auth', function(req, res) { 24 var socketId = req.body.socket_id; 25 var channel = req.body.channel_name; 26 var auth = pusher.authenticate(socketId, channel); 27 res.send(auth); 28 }); 29 30 var port = process.env.PORT || 3000; 31 app.listen(port); 32 console.log("Listening on 3000")
First, we basically loaded all the necessary middlewares for the Express server and configured Pusher using the credentials we added to our environment variables earlier.
Our client application will need to make an API call to a specified endpoint in order to authenticate our pusher connection and ensure we can run a private channel on the frontend. Pusher has an authenticate() function that does that for us.
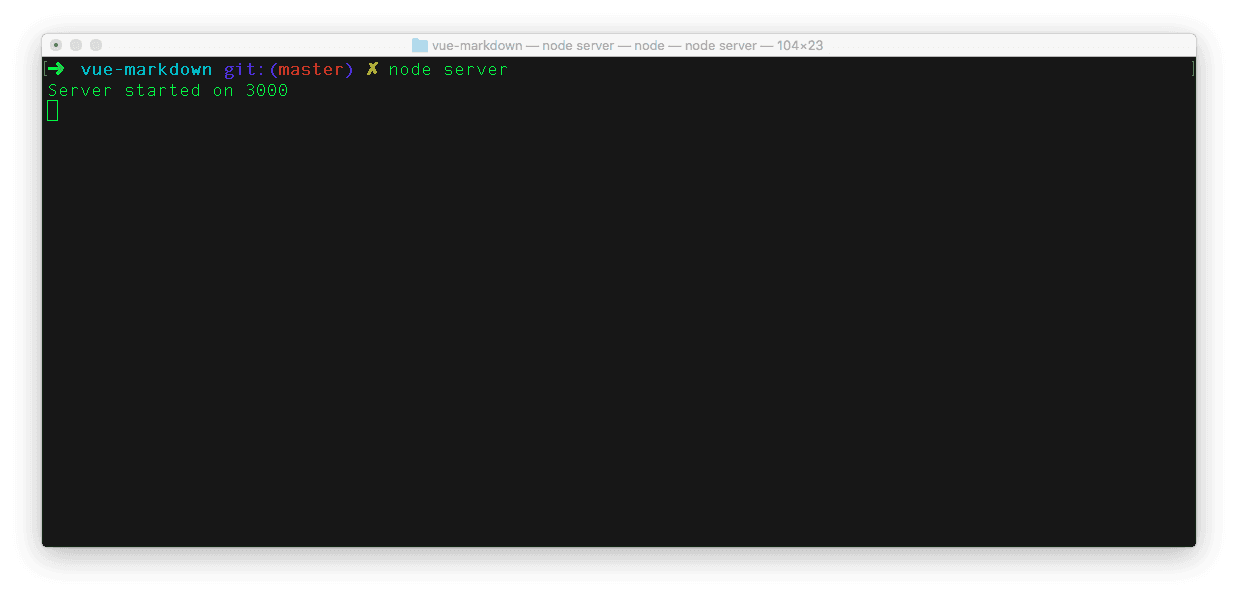
Open another terminal and start the server on http://localhost:3000 with:
node server
This will log a message to the console as shown below. This is to indicate that the server has been started successfully:
Creating the home component
For the purpose of this application we’ll create a new component, so navigate to ./src/components and create a new file named HomeComponent.vue within it. Once you are done, paste in the code below:
1// ./src/components/HomeComponent.vue 2 3 <template> 4 <div> 5 <div class="title"> 6 <h2>{{ title }}</h2> 7 </div> 8 9 <div> 10 <div class="row"> 11 <div class="col-md-6"> 12 <textarea v-model="markdown" name="" id="" cols="80" rows="15" @keyup="postMark"></textarea> 13 </div> 14 <div id="preview" class="col-md-6" v-html="compiledMarkdown"></div> 15 </div> 16 </div> 17 </div> 18 </template> 19 20 <script> 21 import axios from "axios"; 22 import pusher from "pusher"; 23 24 export default { 25 name: "Home", 26 data() { 27 return { 28 title: "Realtime Markdown Editor", 29 markdown: "", 30 channel : {} 31 }; 32 }, 33 }; 34 </script> 35 36 <style> 37 .title { 38 margin-bottom: 40px; 39 } 40 #preview { 41 border: 2px solid; 42 text-align: left; 43 } 44 </style>
Here, within the template section of the component above, we created two separate columns: a textarea where the raw markdown will be written and a second column to preview the compiled markdown in realtime.
Furthermore, we proceeded to added a little bit of styling to the application.
Enabling realtime editing
We want to send updates to our document immediately the user makes them. This is the whole essence of adding realtime functionality to begin with. With private channels, we can skip the entire step of sending the update to the server and then triggering an event from the server. We can do all of that from the client now.
Open ./src/components/HomeComponent.vue and define the Pusher application:
1// ./src/components/HomeComponent.vue 2 ... 3 <script> 4 import marked from "marked"; 5 import pusher from "pusher"; 6 7 export default { 8 ... 9 created() { 10 let pusher = new Pusher("YOUR_APP_KEY", { 11 cluster: "CLUSTER", 12 encrypted: true 13 authEndpoint: 'http://localhost:3000/pusher/auth', 14 }); 15 16 this.channel = pusher.subscribe("private-markdown"); 17 this.channel.bind("client-new-text", data => { 18 this.markdown = data; 19 }); 20 }, 21 // We will generate the markdown and trigger events here 22 ... 23 }; 24 </script> 25 ...
In the created method, we have defined the Pusher application, subscribed to a private channel and bound the channel to the an event. Now, we are ready to listen to any data exchange that will happen across that channel.
Do ensure that you replace the
YOUR_APP_KEYandCLUSTERwith the appropriate credential. Also replace theauthEndpointwith the endpoint you defined for your application.
Generating markdown
To generate markdown from the input we make, add the following code to the file:
1// ./src/components/HomeComponent.vue 2 ... 3 <script> 4 ... 5 export default { 6 ... 7 computed : { 8 compiledMarkdown: function () { 9 return marked(this.markdown, { sanitize: true }) 10 } 11 }, 12 // We will listen for changes to the document here 13 ... 14 }; 15 </script> 16 ...
The computed data attribute compiledMarkdown will always be updated as the content of markdown changes. This is good for us so we can see changes immediately.
Trigger event with changes
Now, let’s send the changes we make to the document to everyone following it
1// ./src/components/HomeComponent.vue 2 ... 3 <script> 4 ... 5 export default { 6 ... 7 methods: { 8 postMark: function(e) { 9 const text = e.target.value; 10 this.channel.trigger("client-new-text", text); 11 } 12 } 13 ... 14 }; 15 </script> 16 ...
Wrapping up
Navigate to ./src/App.vue file and include the created HomeComponent.vue file within it:
1// ./src/App.vue 2 3 <template> 4 <div id="app"> 5 <homeComponent/> 6 </div> 7 </template> 8 <script> 9 10 import HomeComponent from "./components/HomeComponent"; 11 export default { 12 name: "App", 13 components: { 14 HomeComponent 15 } 16 }; 17 </script> 18 19 <style> 20 #app { 21 font-family: "Avenir", Helvetica, Arial, sans-serif; 22 -webkit-font-smoothing: antialiased; 23 -moz-osx-font-smoothing: grayscale; 24 text-align: center; 25 color: #2c3e50; 26 margin-top: 60px; 27 } 28 </style>
And finally, open the index.html file and update as shown below:
1// ./index.html 2 3 <!DOCTYPE html> 4 <html> 5 <head> 6 <meta charset="utf-8"> 7 <meta name="viewport" content="width=device-width,initial-scale=1.0"> 8 <title>Vue Realtime Markdown</title> 9 <link rel="stylesheet" href="https://stackpath.bootstrapcdn.com/bootstrap/4.1.3/css/bootstrap.min.css"> 10 </head> 11 12 <body> 13 <nav class="navbar navbar-expand-lg navbar-dark bg-dark"> 14 <a class="navbar-brand" href="#">Navbar</a> 15 </nav> 16 <div id="app"></div> 17 <!-- built files will be auto injected --> 18 <script src="https://js.pusher.com/4.1/pusher.min.js"></script> 19 </body> 20 21 </html>
We included the CDN file for bootstrap, added a navigation bar and also included the script file for Pusher.
Test the application
Restart the application by running npm start from the terminal and don’t forget to also start the server by opening another terminal within your project folder with node server.
Conclusion
In this tutorial, you have learned how to conveniently build a simple markdown editor application using Vue and Pusher Channels to enhance the realtime functionality. I hope you found this helpful. You can find the source code for the demo here on GitHub.


© 2026 Pusher Ltd. All rights reserved.
Pusher Limited is a company registered in England and Wales (No. 07489873) whose registered office is at MessageBird UK Limited, 3 More London Riverside, 4th Floor, London, United Kingdom, SE1 2AQ.