- Products

- Developers
- User stories
- Blog
- Pricing

Build a live map application with React
Introduction
Today, almost all of us rely on map applications for directions, distances and local information.. Now, we even have the ability to share our live location with friends, but imagine a scenario where a group of three friends are trying to meet at a particular location, each one of the friends needs to send a link to the others for them to know where they are.
In this article, we are going to use Pusher Channels to create a React application that allows you to see the location of your friends in realtime when they are online on the app. By the end of this article, you should have an application that looks like this:

Prerequisites
To follow through this tutorial, you’ll need the following:
- Node >= 6 installed on your machine
- npm >= 5.2 installed on your machine
- npx installed on your machine
Getting started
To get started, create a new React application by running this command:
npx create-react-app pusher-react-location
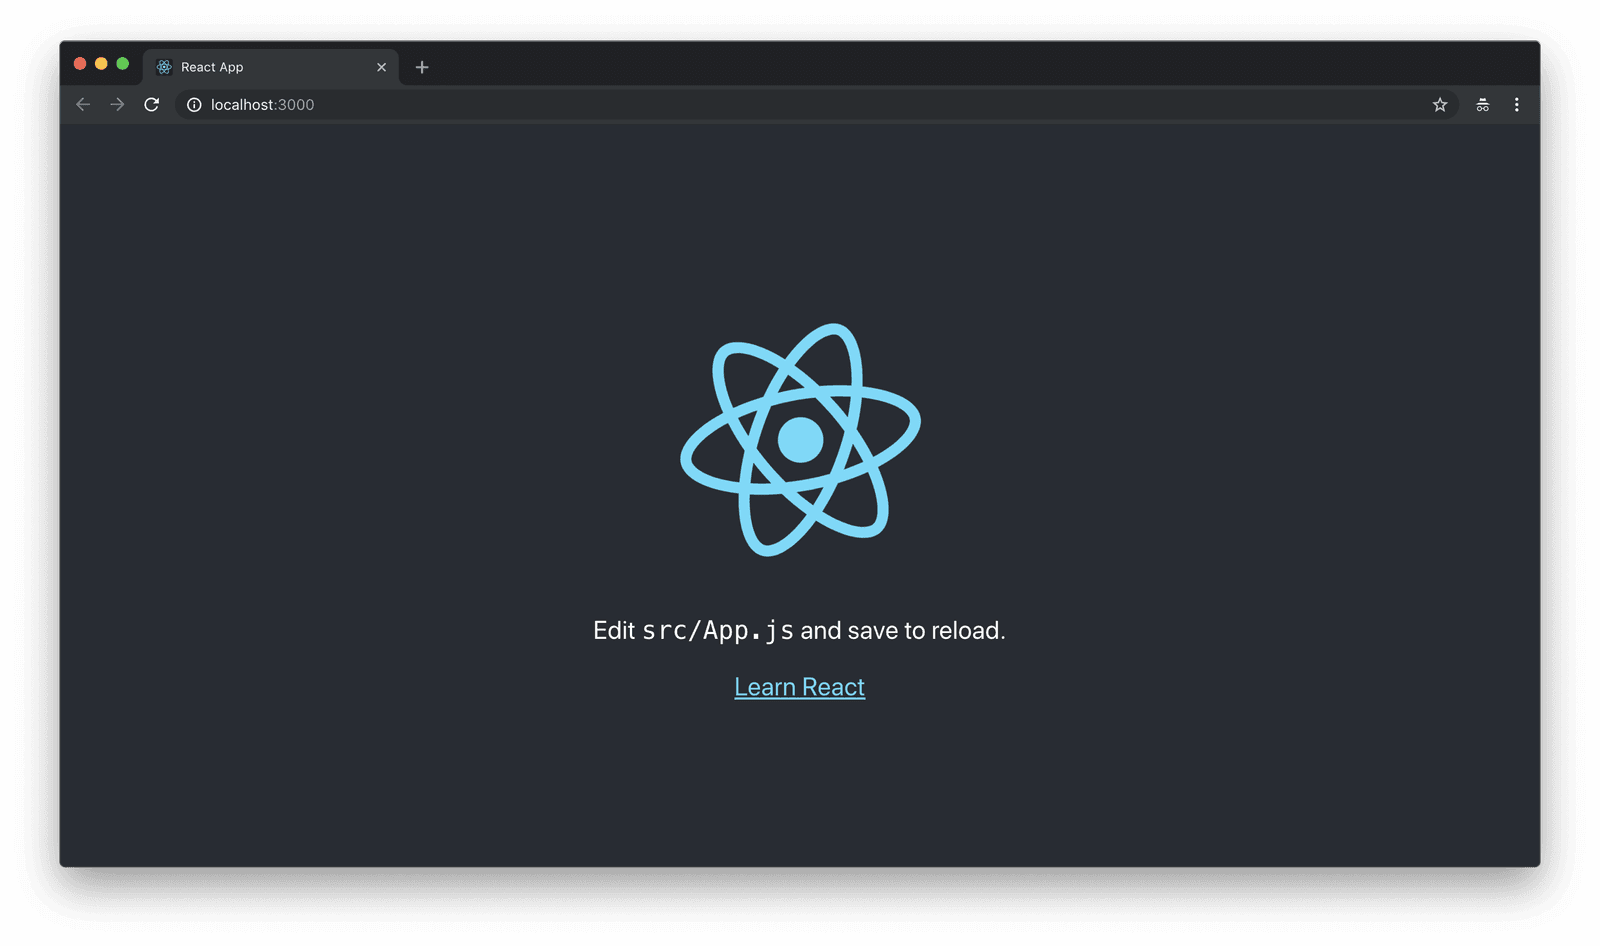
This creates a starter React project in a folder titled pusher-react-location. To see the demo application at work, go to your terminal and run the command:
1cd pusher-react-location 2 npm start
This serves the React application. Navigate your browser to http://locahost:3000 and you should get a view that looks like this:
Building the backend server
The backend server of our application will have the following functionality:
- Sharing users’ locations
- Authenticating new users on the presence channel
Create a /server folder in your project:
1mkdir server 2 cd server
Install the Node modules that we will need to power the backend server:
1npm init -y 2 npm install express body-parser pusher
expresswill power the web serverbody-parserto handle incoming requestspusherto add realtime functionality and online presence
Afterwards, create a server.js file in the server/ directory:
touch server.js
Edit the server.js file to look as follows:
1// server/server.js 2 3 const express = require('express') 4 const bodyParser = require('body-parser') 5 const Pusher = require('pusher'); 6 7 // create a express application 8 const app = express(); 9 10 // initialize pusher 11 let pusher = new Pusher({ 12 appId: 'PUSHER_APP_ID', 13 key: 'PUSHER_APP_KEY', 14 secret: 'PUSHER_APP_SECRET', 15 cluster: 'PUSHER_APP_CLUSTER', 16 encrypted: true 17 }); 18 19 app.use(bodyParser.json()); 20 app.use(bodyParser.urlencoded({ extended: false })); 21 // to Allow CORS 22 app.use((req, res, next) => { 23 res.header('Access-Control-Allow-Origin', '*'); 24 res.header( 25 'Access-Control-Allow-Headers', 26 'Origin, X-Requested-With, Content-Type, Accept' 27 ); 28 next(); 29 }); 30 31 [...]
We include the necessary JavaScript libraries and then create a new Pusher Channels object using your
Channels application credentials.
To get started with Pusher Channels, sign up for a free Pusher account. Then go to the dashboard and create a new Channels app. Go ahead and create a new project, obtain your PUSHER_APP_ID, PUSHER_APP_KEY, PUSHER_APP_SECRET, PUSHER_APP_CLUSTER and add them to your server.js file.
Afterwards, we specify some application middleware to handle incoming requests. The backend server will have two routes:
/pusher/auth- handles requests to authenticate users joining the presence channel/update-location- handles requests to trigger an event when a user updates their location.
With Pusher Channels, when a new client tries to join a presence channel, a POST request is first made to authenticate the new client. In this case, we create a random string to identify the client and this makes up the presenceDataobject. The presenceData , channel and socketId are then passed to Pusher to authenticate the client.
The /update-location route accepts the incoming data and then triggers a location-update event to the presence-channel.
In later parts of the article, we will see how the channel is created in our React application
Add the code below to your server/server.js file:
1// server/server.js 2 [...] 3 4 app.post('/pusher/auth', (req, res) => { 5 let socketId = req.body.socket_id; 6 let channel = req.body.channel_name; 7 random_string = Math.random().toString(36).replace(/[^a-z]+/g, '').substr(0, 5); 8 let presenceData = { 9 user_id: random_string, 10 user_info: { 11 username: '@' + random_string, 12 } 13 }; 14 let auth = pusher.authenticate(socketId, channel, presenceData); 15 res.send(auth); 16 }); 17 18 app.post('/update-location', (req, res) => { 19 // trigger a new post event via pusher 20 pusher.trigger('presence-channel', 'location-update', { 21 'username': req.body.username, 22 'location': req.body.location 23 }) 24 res.json({ 'status': 200 }); 25 }); 26 27 let port = 3128; 28 app.listen(port); 29 console.log('listening');
Now that the backend server is created, you can run it by entering the command:
node server.js
Now, let’s look at how to build the rest of the application.
Creating the interface
First of all, we need to get a simple map interface for the application and to do this, let’s use Google Maps JavaScript API. Follow this guide to obtain your Google Maps API key which we will use later in this application.
Installing necessary packages
To add all functionality to our application, we’ll need to install the following packages:
- google-map-react - to use the Google Maps JavaScript API with react
- pusher-js - to enable realtime functionality with Pusher Channels
- axios - to make POST requests to our backend server
- react-toastify - to notify users when new users are online or go offline
To install, go to the root folder of your react application and run the following in your terminal:
npm install google-map-react pusher-js axios react-toastify
Displaying the map
To see it at work in your application, edit your src/App.js file to look like this:
1// src/App.js 2 import React, { Component } from 'react'; 3 import GoogleMap from 'google-map-react'; 4 5 const mapStyles = { 6 width: '100%', 7 height: '100%' 8 } 9 10 const markerStyle = { 11 height: '50px', 12 width: '50px', 13 marginTop: '-50px' 14 } 15 16 const imgStyle = { 17 height: '100%' 18 } 19 20 21 const Marker = ({ title }) => ( 22 <div style={markerStyle}> 23 <img style={imgStyle} src="https://res.cloudinary.com/og-tech/image/upload/s--OpSJXuvZ--/v1545236805/map-marker_hfipes.png" alt={title} /> 24 <h3>{title}</h3> 25 </div> 26 ); 27 28 class App extends Component { 29 render() { 30 return ( 31 <div > 32 <GoogleMap 33 style={mapStyles} 34 bootstrapURLKeys={{ key: 'GOOGLE_MAPS_API_KEY' }} 35 center={{ lat: 5.6219868, lng: -0.1733074 }} 36 zoom={14} 37 > 38 <Marker 39 title={'Current Location'} 40 lat={5.6219868} 41 lng={-0.1733074} 42 > 43 </Marker> 44 </GoogleMap> 45 </div> 46 ) 47 } 48 } 49 50 export default App;
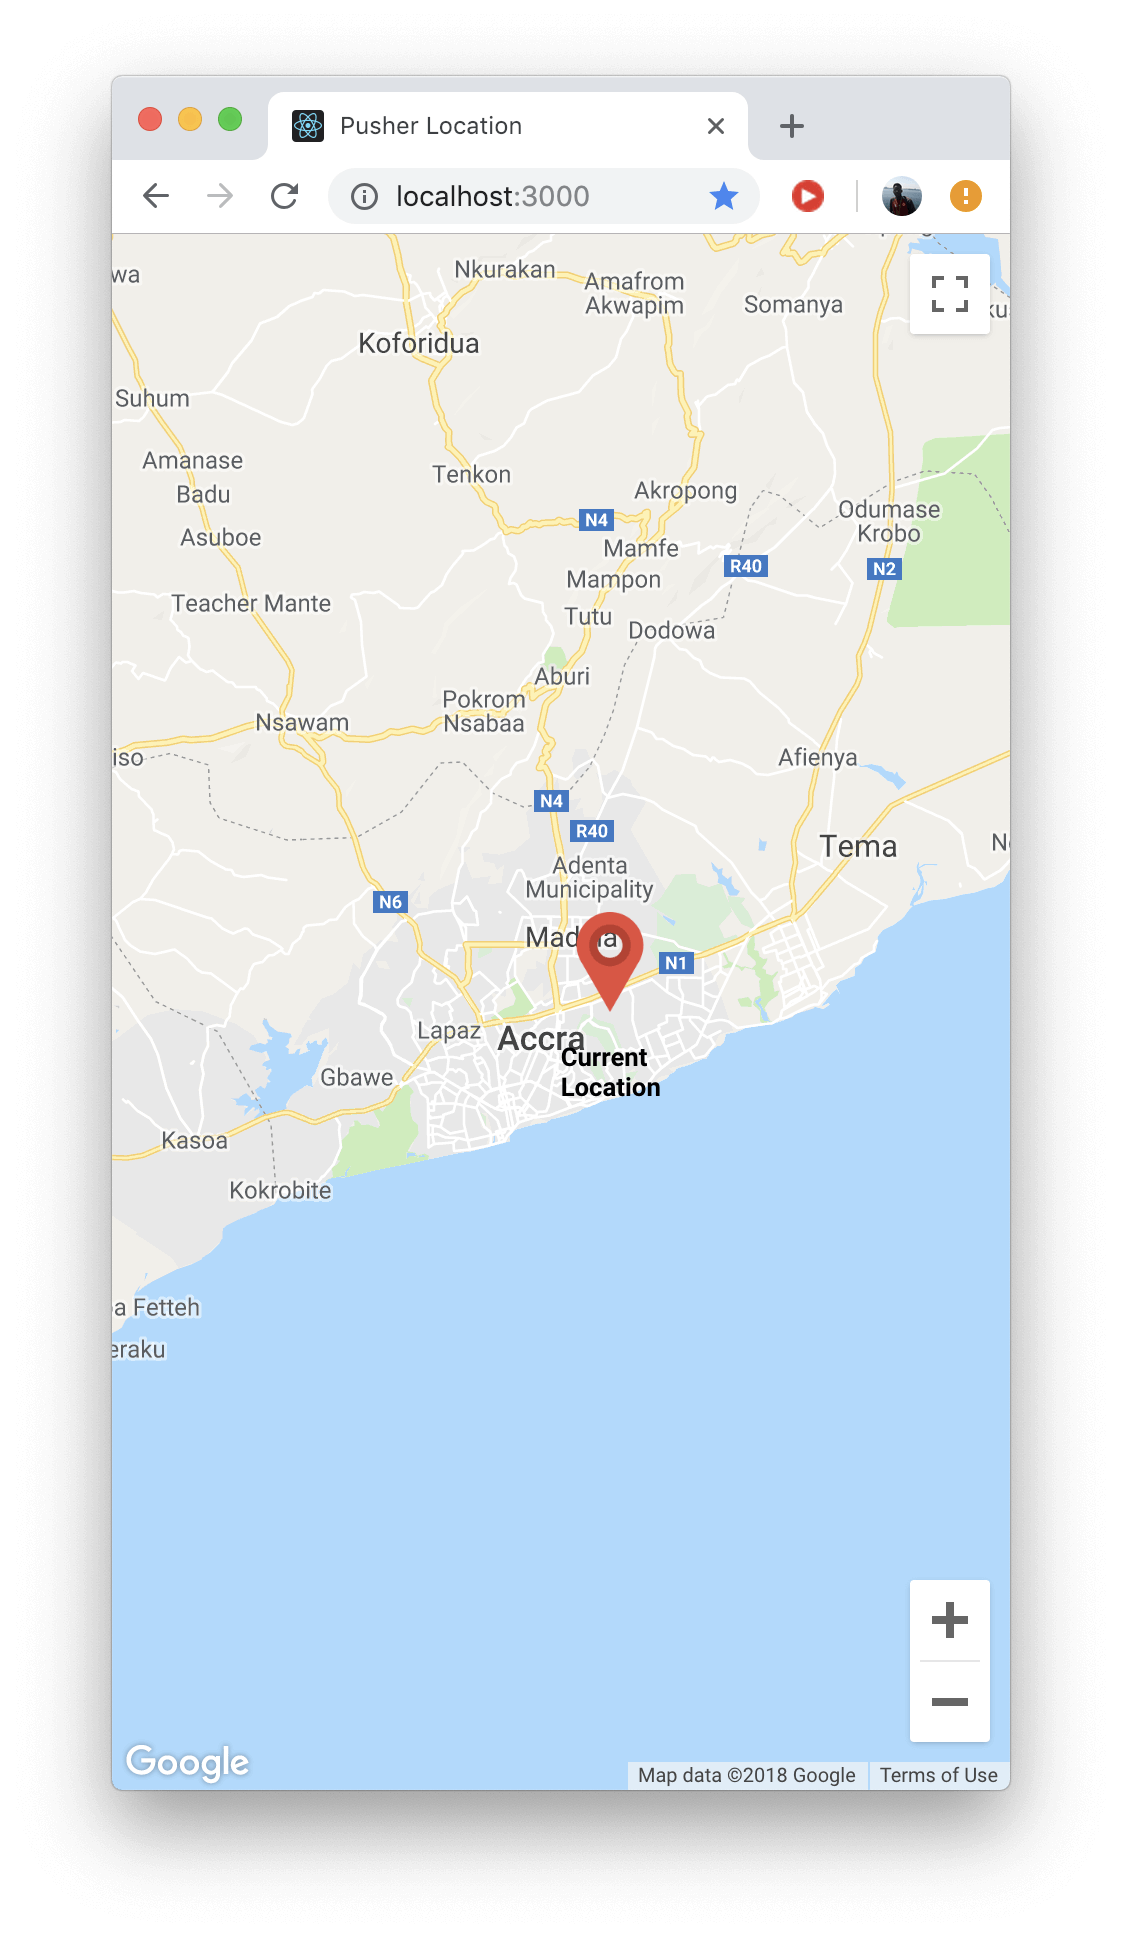
In the App.js file, we defined the center of the map and a single marker which will represent the location of the user when they open the application.
NOTE: Remember to add your
GOOGLE_MAPS_API_KEYwhich you can obtain here.
Now, when you run the application and navigate to localhost:3000 in your browser you get the view below:

Currently, the centre of the map and the user’s pin are hard-coded into the application. Let’s look at how to make these dynamic and display the user’s location and the location of other users signed in to the application.
Displaying online friends locations in realtime with Pusher Channels
Now let’s update the App.js to include the functionality. First, we need to add states to our component that will track:
- The map centre
- Users online
- Username of the current user
- Location for other online users
Update the App.js file so that your constructor will look like this:
1// src/App.js 2 [...] 3 import axios from 'axios'; 4 import Pusher from 'pusher-js'; 5 import { ToastContainer, toast } from 'react-toastify'; 6 import 'react-toastify/dist/ReactToastify.css'; 7 8 class App extends Component { 9 10 constructor(props) { 11 super(props) 12 this.state = { 13 center: { lat: 5.6219868, lng: -0.23223 }, 14 locations: {}, 15 users_online: [], 16 current_user: '' 17 } 18 } 19 20 [...] 21 }
We then create a new Pusher object in the componentDidMount() lifecycle method by specifying the PUSHER_APP_KEY, PUSHER_APP_CLUSTER and the authEndpoint created on our backend server earlier in the article. Afterwards, we subscribe to the presence-channel and then bind the channel to listen for four events:
pusher:subscription_succeededevent that is triggered from the backend server when a user successfully subscribes to a presence channel .location-updateevent which is triggered when another user’s location is updated.pusher:member_removedevent that is triggered when another user goes offline.pusher:member_addedevent that is triggered when a new user comes online.
1// src/App.js 2 [...] 3 4 class App extends Component { 5 [...] 6 7 componentDidMount() { 8 let pusher = new Pusher('PUSHER_APP_KEY', { 9 authEndpoint: "http://localhost:3128/pusher/auth", 10 cluster: "mt1" 11 }) 12 this.presenceChannel = pusher.subscribe('presence-channel'); 13 14 this.presenceChannel.bind('pusher:subscription_succeeded', members => { 15 this.setState({ 16 users_online: members.members, 17 current_user: members.myID 18 }); 19 this.getLocation(); 20 this.notify(); 21 }) 22 23 this.presenceChannel.bind('location-update', body => { 24 this.setState((prevState, props) => { 25 const newState = { ...prevState } 26 newState.locations[`${body.username}`] = body.location; 27 return newState; 28 }); 29 }); 30 31 this.presenceChannel.bind('pusher:member_removed', member => { 32 this.setState((prevState, props) => { 33 const newState = { ...prevState }; 34 // remove member location once they go offline 35 delete newState.locations[`${member.id}`]; 36 // delete member from the list of online users 37 delete newState.users_online[`${member.id}`]; 38 return newState; 39 }) 40 this.notify() 41 }) 42 43 this.presenceChannel.bind('pusher:member_added', member => { 44 this.notify(); 45 }) 46 } 47 48 [...] 49 }
Notice that we called a notify() method on our Pusher events. Add the function to your App.js file like below:
1// src/App.js 2 3 class App extends Component { 4 [...] 5 6 7 notify = () => toast(`Users online : ${Object.keys(this.state.users_online).length}`, { 8 position: "top-right", 9 autoClose: 3000, 10 hideProgressBar: false, 11 closeOnClick: true, 12 pauseOnHover: true, 13 draggable: true, 14 type: 'info' 15 }); 16 17 [...] 18 19 }
We also called a getLocation() method in the componentDidMount(). This function is responsible for fetching the location of the user from the browser. Let’s take a look at how this works. Add the getLocation() function to your App.js file:
1// src/App.js 2 3 class App extends Component { 4 5 [...] 6 7 getLocation = () => { 8 if ("geolocation" in navigator) { 9 navigator.geolocation.watchPosition(position => { 10 let location = { lat: position.coords.latitude, lng: position.coords.longitude }; 11 this.setState((prevState, props) => { 12 let newState = { ...prevState }; 13 newState.center = location; 14 newState.locations[`${prevState.current_user}`] = location; 15 return newState; 16 }); 17 axios.post("http://localhost:3128/update-location", { 18 username: this.state.current_user, 19 location: location 20 }).then(res => { 21 if (res.status === 200) { 22 console.log("new location updated successfully"); 23 } 24 }); 25 }) 26 } else { 27 alert("Sorry, geolocation is not available on your device. You need that to use this app"); 28 } 29 } 30 31 [...] 32 33 }
The getLocation() method first checks if the application can access the geolocation property of the browser and alerts the user if it can’t. The navigator.geolocation.watchPosition() method gets the users’ location as the user moves and then updates the component states with the most up to date location of the user. Afterwards, a request is made to the backend server to trigger a location-update event so that other signed in users can be notified with the latest location.
Finally, to show all locations of online users, let’s update the render() function of the component to look like this:
1// src/App.js 2 [...] 3 4 class App extends Component { 5 [...] 6 7 render() { 8 let locationMarkers = Object.keys(this.state.locations).map((username, id) => { 9 return ( 10 <Marker 11 key={id} 12 title={`${username === this.state.current_user ? 'My location' : username + "'s location"}`} 13 lat={this.state.locations[`${username}`].lat} 14 lng={this.state.locations[`${username}`].lng} 15 > 16 </Marker> 17 ); 18 }); 19 20 return ( 21 <div > 22 <GoogleMap 23 style={mapStyles} 24 bootstrapURLKeys={{ key: 'GOOGLE_MAPS_API_KEY' }} 25 center={this.state.center} 26 zoom={14} 27 > 28 {locationMarkers} 29 </GoogleMap> 30 </div> 31 ) 32 } 33 34 [...] 35 36 }
locationMarkers creates a list of Marker's for each of the online users. This will give the user a perspective of where his other online friends are.
Now, reload the application and navigate to localhost:3000 . Your application should work like this when multiple users are online:
Conclusion
In this tutorial, we saw how to use Pusher Channels, Google Maps and React to build a live map with online presence that lets you know where your friends online are. This tutorial is one of the many ways you can use Pusher Channels in the product you build. Feel free to use the concepts shared here in your own application. Here’s a link to the GitHub repository.


© 2026 Pusher Ltd. All rights reserved.
Pusher Limited is a company registered in England and Wales (No. 07489873) whose registered office is at MessageBird UK Limited, 3 More London Riverside, 4th Floor, London, United Kingdom, SE1 2AQ.