- Products

- Developers
- User stories
- Blog
- Pricing

Build a live comments app with Ruby on Rails and PostgreSQL
- Introduction
- Introduction
- Prerequisites
- Creating the live comment application
- Database setup
- Starting the web server
- Signing up with Pusher
- Setting up the model and controller
- Setting up the homepage
- Set up the view
- Post a comment
- Realtime service with Pusher
- Updating the frontend of the application
- Testing the application
- Conclusion
Introduction
Introduction
In this post, we will explore and build a basic realtime commenting application. We will create a fake post and assume that users read it and decided to leave a comment.
This is similar to what is obtainable in a real-world application, where you can have live commenting features implemented in your project and comments added by readers will update in realtime without the need to refresh the page.
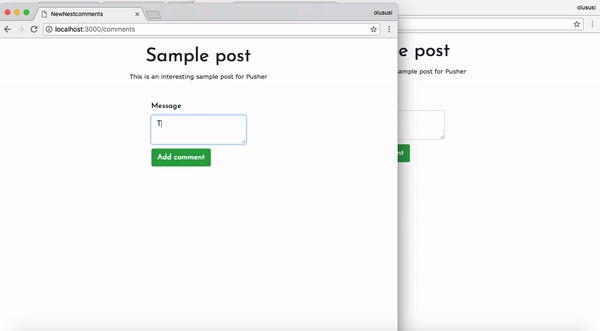
This basically increases the level of engagement and allows for a proper interaction and participation from users. By the time we are done, our application will look like this:
This application will be built with Ruby on Rails and the realtime functionality fully powered by Pusher.
Prerequisites
A basic understanding of Ruby, CoffeeScript and PostgresSQL will help you with this tutorial. Ensure that you have PostgreSQL installed on your machine. Kindly check the documentation of PostgreSQL, Ruby and Rails for further installations procedures.
Creating the live comment application
It is important that you have both Ruby and Rails installed. Run the following code in your terminal to confirm the successful installation of both Ruby and Rails:
1$ ruby -v // 2.1 or above 2 $ rails -v // 4.2 or above
Secondly, we will run a command that will create a new Rails application in a folder called live-comments-pusher. Run the command below in your terminal:
$ rails new live-comments-pusher -T --database=postgresql
The -T flag was added to prevent generation of the default testing suite as we won’t be writing any tests.
Go ahead and change directory into the newly created folder:
$ cd live-comments-pusher
In the root directory of this application, open the Gemfile and add the following gems:
1# Gemfile 2 3 gem 'bootstrap', '~> 4.1.0' 4 gem 'jquery-rails' 5 gem 'pusher' 6 gem 'figaro'
and install them:
$ bundle install
Database setup
To set up the database for our application, create a database called live-comments-pusher_development. Check out this article on how to create a Postgres database and an associated user and password.
In your database.yml file, under the development key, add the following code:
1# config/database.yml 2 3 ... 4 development: 5 <<: *default 6 database: live-comments-pusher_development // add this line if it isn't already there 7 username: database_user // add this line 8 password: user_password // add this line 9 ...
The username and password in the code above should have access to the live-comments-pusher_development database. Next, run the following code to setup the database:
1# setup database 2 $ rails db:setup
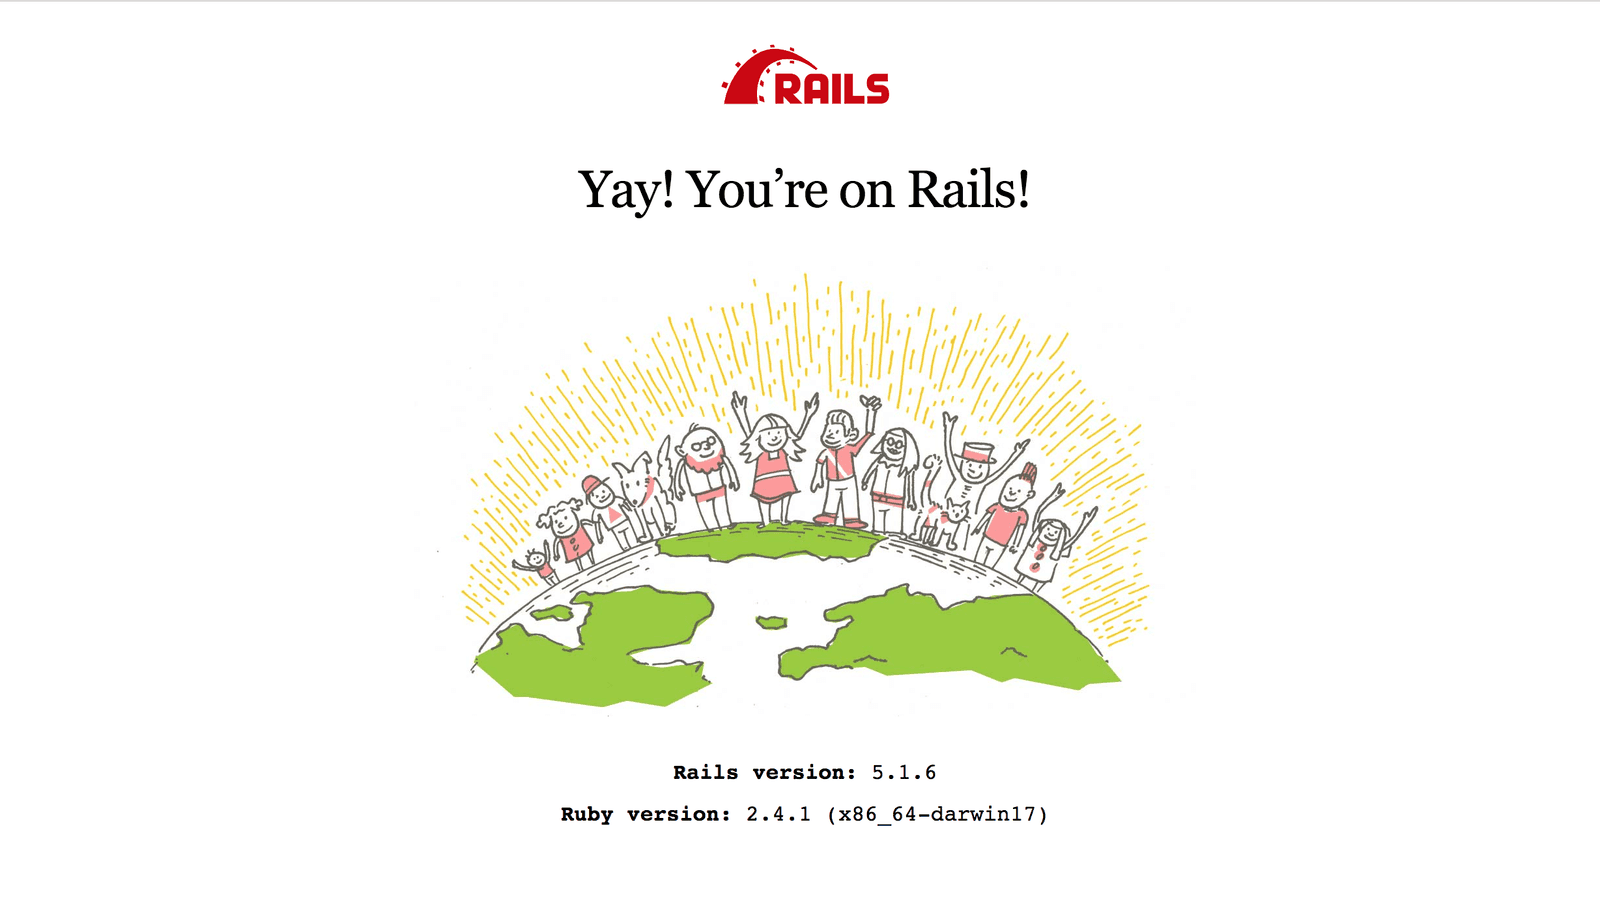
Starting the web server
Start the development server by running rails s from the terminal and visit http://localhost:3000 in your browser. Your page should look like this:
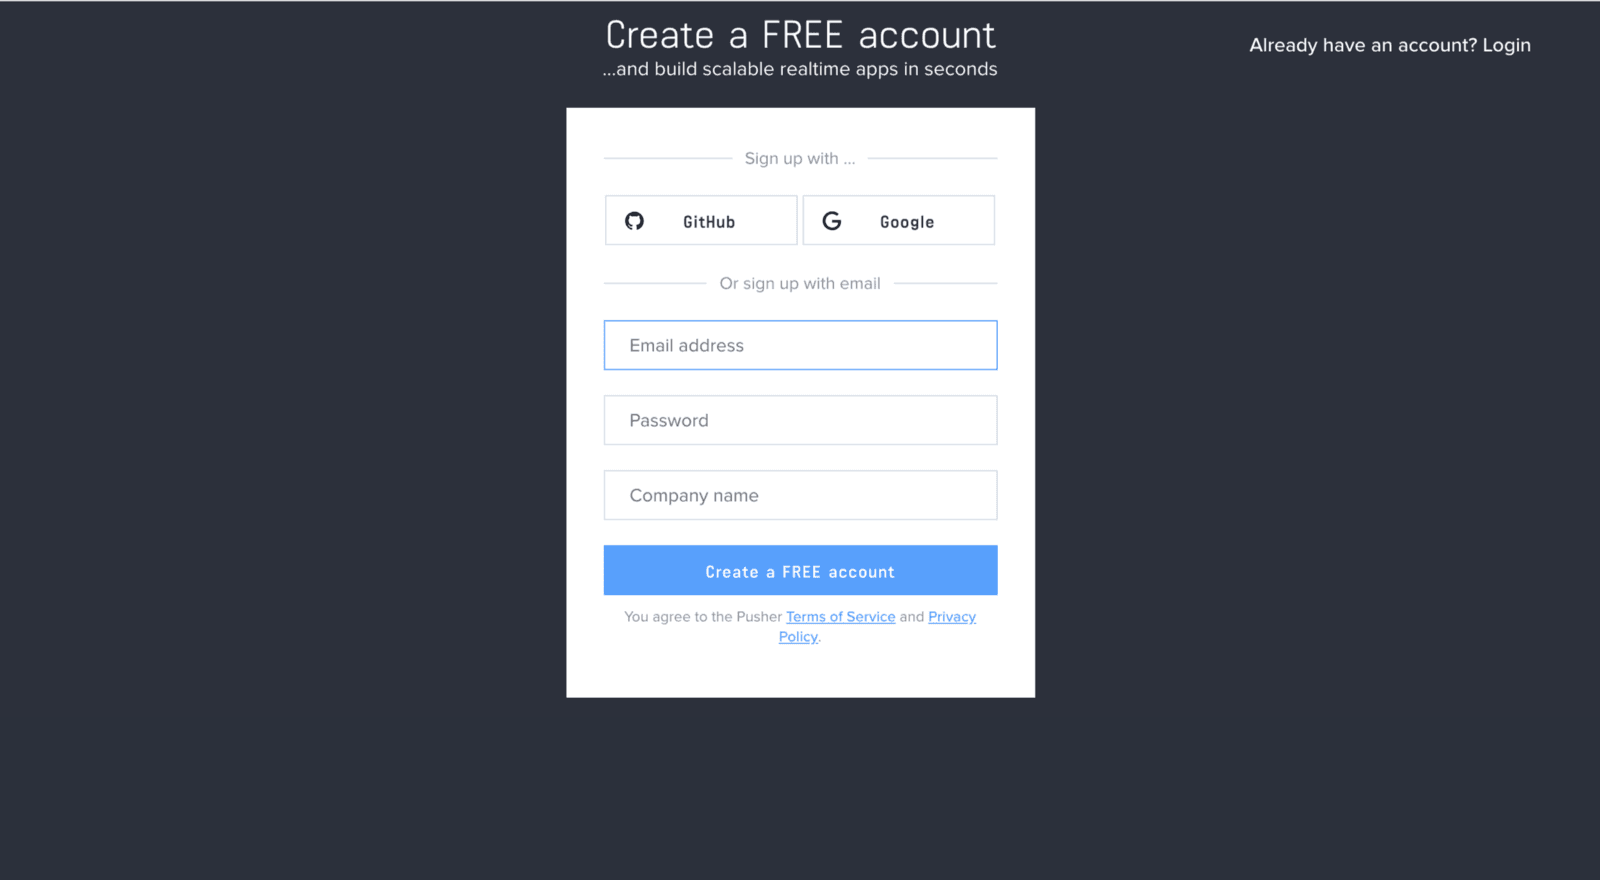
Signing up with Pusher
Head over to Pusher and sign up for a free account.
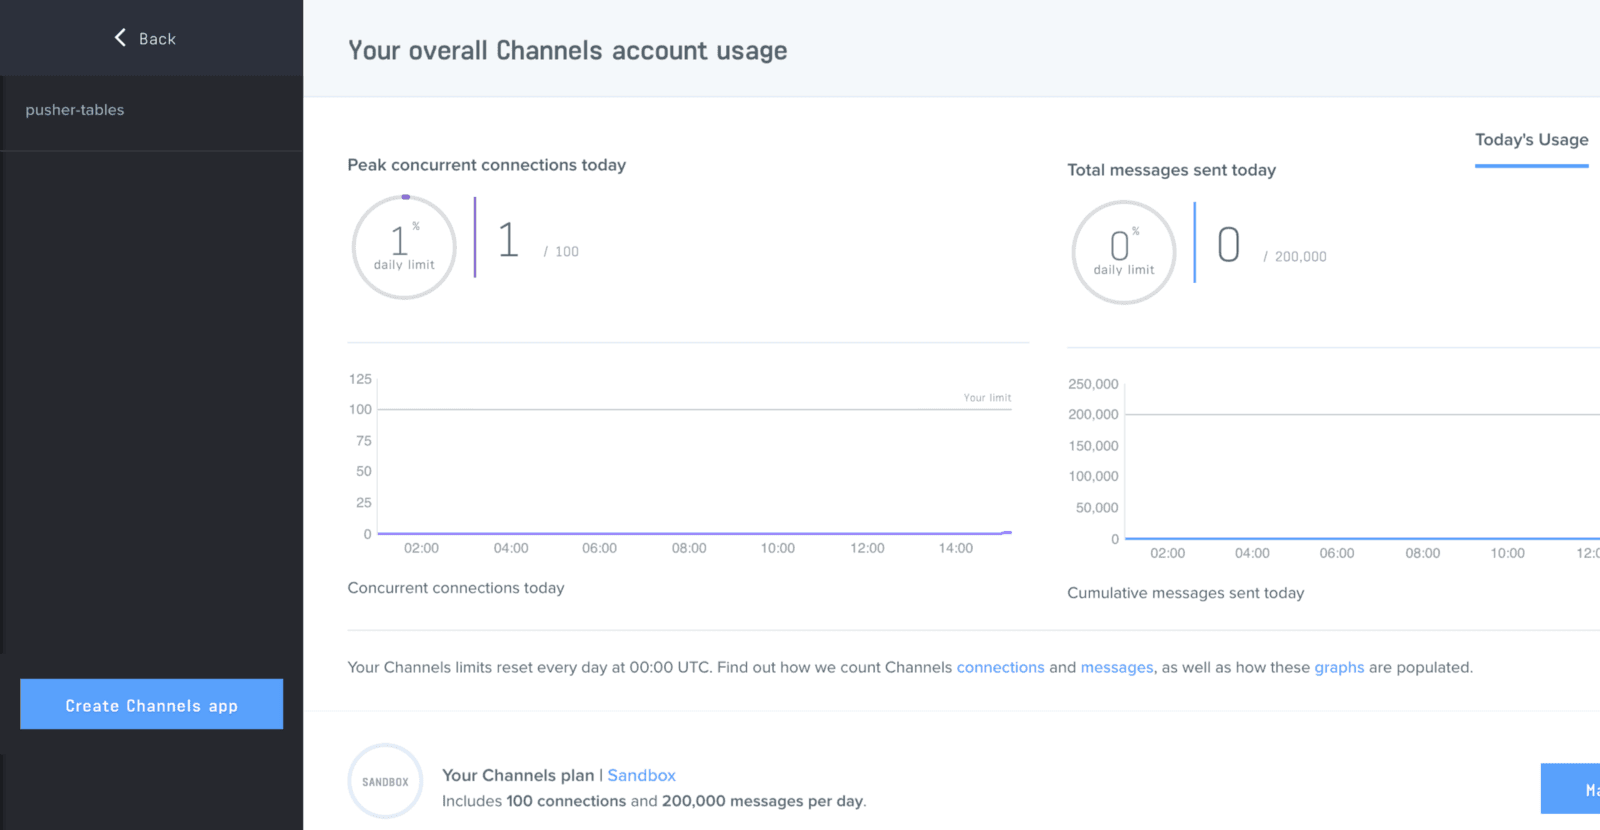
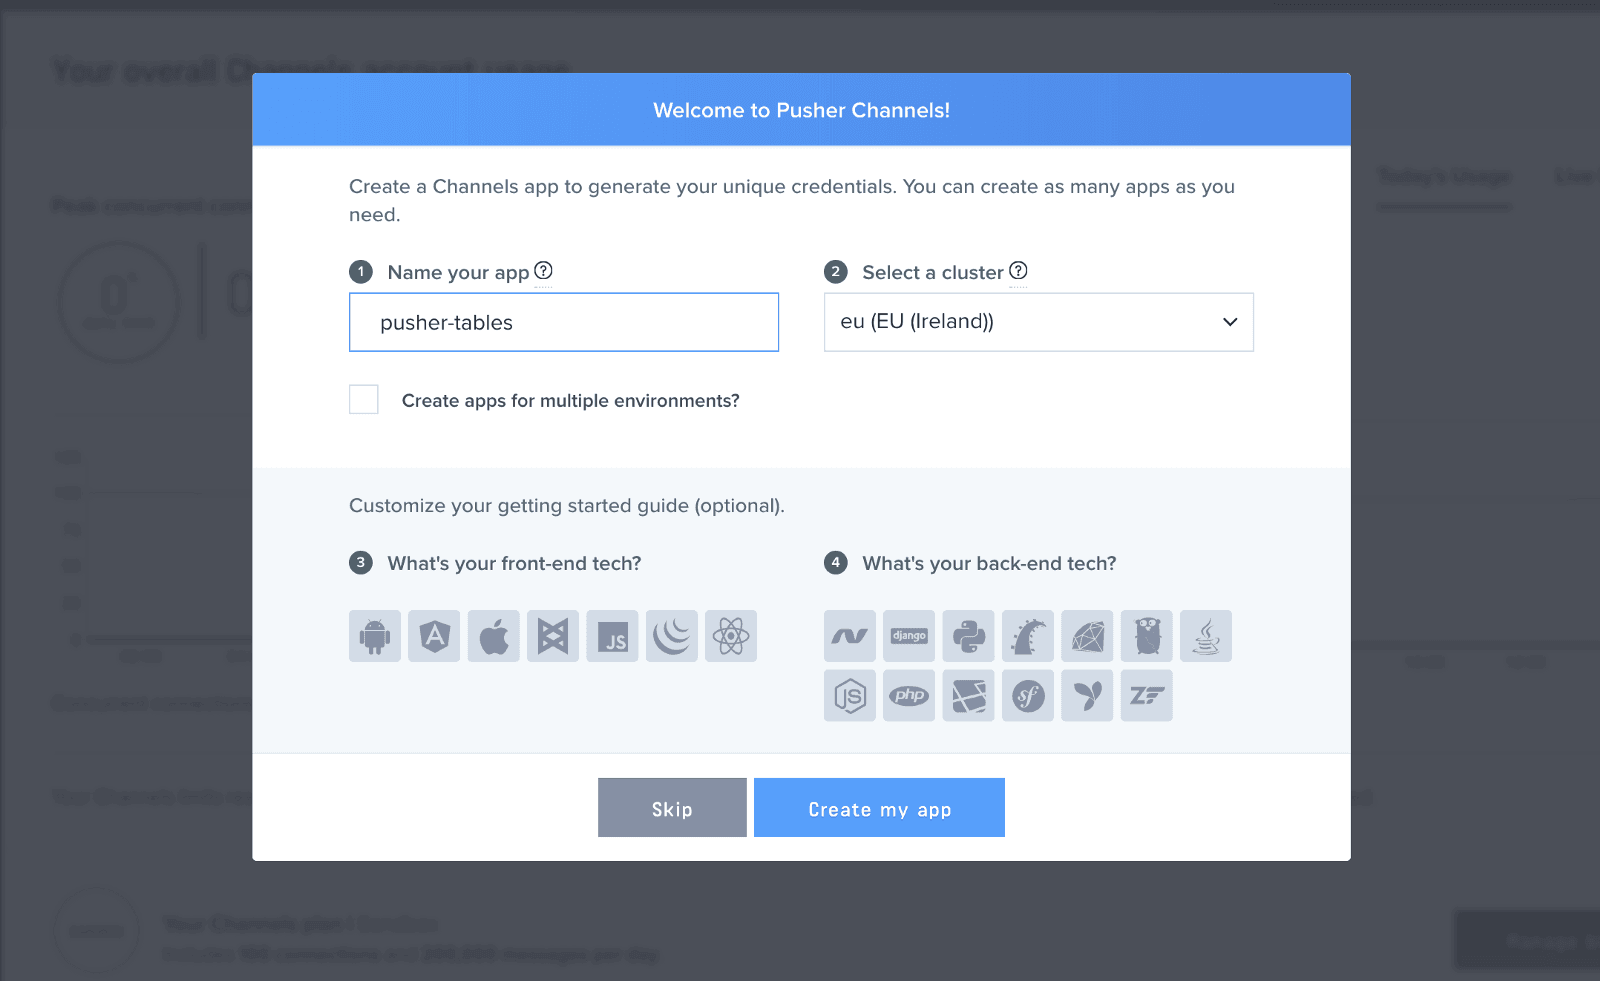
Create a new app by selecting Channels apps on the sidebar and clicking Create Channels app button on the bottom of the sidebar:
Configure an app by providing basic information requested in the form presented. You can also choose the environment you intend to integrate Pusher with, to be provided with boilerplate code:
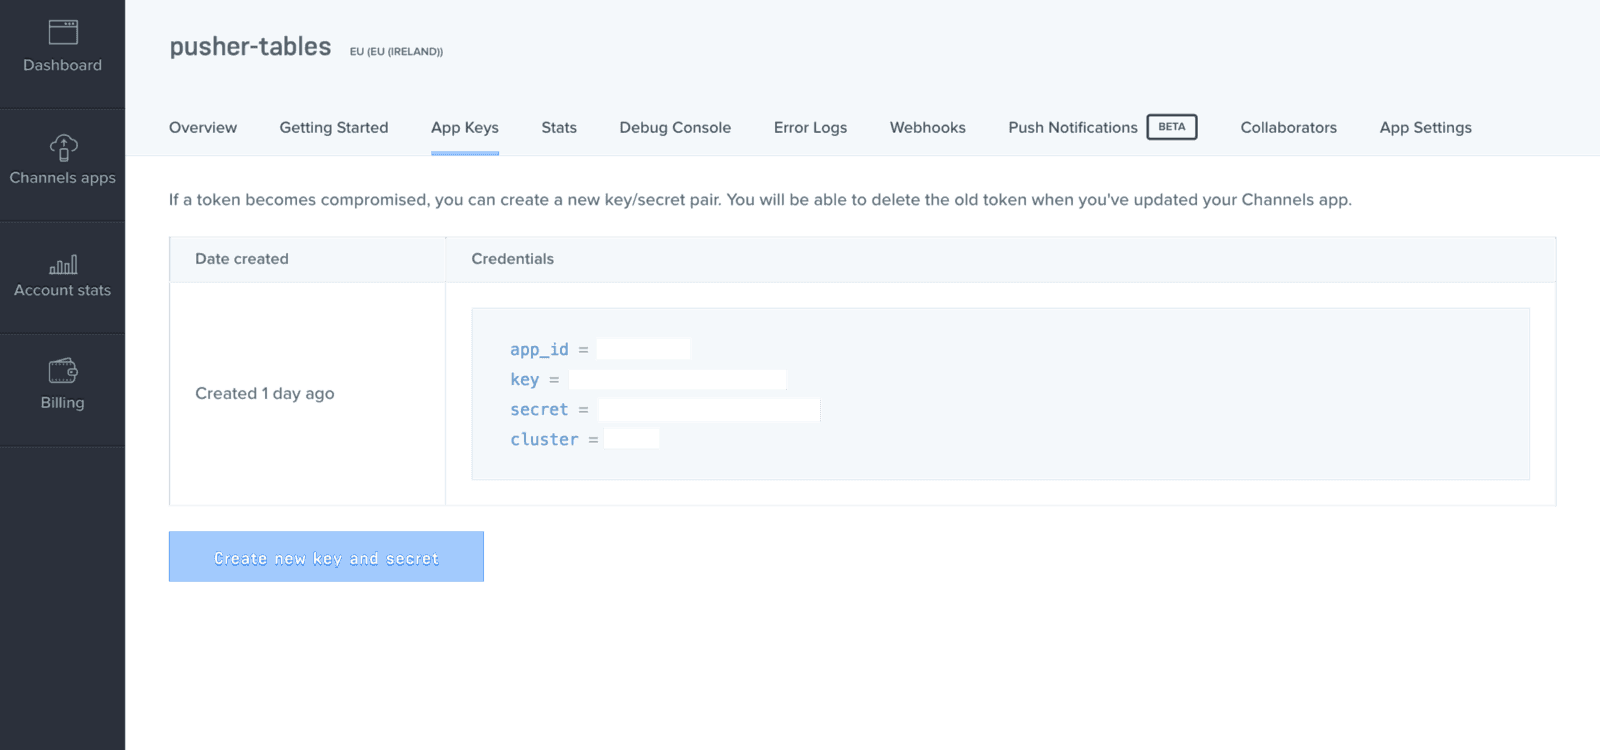
You can retrieve your keys from the App Keys tab:
Now that you have your Pusher API keys, head over to config/initializers directory. Create a pusher.rb file and add the following code:
1# config/initializers/pusher.rb 2 3 require 'pusher' 4 5 Pusher.app_id = ENV["PUSHER_APP_ID"] 6 Pusher.key = ENV["PUSHER_KEY"] 7 Pusher.secret = ENV["PUSHER_SECRET"] 8 Pusher.cluster = ENV["PUSHER_CLUSTER"] 9 Pusher.logger = Rails.logger 10 Pusher.encrypted = true
In your terminal, run:
$ figaro install
The command above will generate an application.yml file. Locate the newly generate file in config/application.yml and add the Pusher credentials obtained from your dashboard:
1# config/application.yml 2 3 PUSHER_APP_ID: 'YOUR_APP_ID' 4 PUSHER_KEY: 'YOUR_APP_KEY' 5 PUSHER_SECRET: 'YOUR_APP_SECRET' 6 PUSHER_CLUSTER: 'CLUSTER'
Setting up the model and controller
With our application up and running, we’ll use Rails’ scaffolding feature to quickly set up our comment model and controller:
1# generate comment model and controller 2 $ rails g scaffold comment message:text 3 4 # run database migration 5 $ rails db:migrate
Setting up the homepage
Restart the development server and reload your browser page. You should still see the welcome page. We’re about to change all that.
Add the following code to your route file:
1# config/routes.rb 2 3 ... 4 root 'comments#index' 5 ...
In your application.js file, add the following code just before the last line:
1// app/assets/javascripts/application.js 2 3 ..... 4 //= require jquery3 # add this line 5 //= require popper # add this line 6 //= require bootstrap # add this line 7 //= require_tree . 8 ....
Rename your application.css file to application.scss, import Bootstrap and add some custom styles:
1// app/assets/stylesheets/application.scss 2 3 4 @import "bootstrap"; 5 @import url('https://fonts.googleapis.com/css?family=Josefin+Sans'); 6 body { 7 font-family: 'Josefin Sans', sans-serif; 8 } 9 .navbar-brand { 10 color: #FFF !important; 11 &:hover { 12 background-color: unset; 13 } 14 } 15 .form-control { 16 outline: none !important; 17 18 &:focus { 19 border-color: transparent !important; 20 border: 1px !important; 21 } 22 } 23 #wrapper { 24 padding-top: 15px; 25 } 26 p { 27 line-height: 1.3125rem; 28 } 29 30 .comments { 31 margin: 2.5rem auto 0; 32 max-width: 60.75rem; 33 padding: 0 1.25rem; 34 } 35 36 .comment-wrap { 37 margin-bottom: 1.25rem; 38 display: table; 39 width: 100%; 40 min-height: 5.3125rem; 41 } 42 43 .photo { 44 padding-top: 0.625rem; 45 display: table-cell; 46 width: 3.5rem; 47 } 48 .photo .avatar { 49 height: 2.25rem; 50 width: 2.25rem; 51 border-radius: 50%; 52 background-size: contain; 53 } 54 55 .comment-block { 56 padding: 1rem; 57 background-color: #f5f5f5; 58 display: table-cell; 59 vertical-align: top; 60 border-radius: 0.1875rem; 61 box-shadow: 0 1px 3px 0 rgba(0, 0, 0, 0.08); 62 } 63 .comment-block textarea { 64 width: 100%; 65 resize: none; 66 } 67 68 .comment-text { 69 margin-bottom: 1.25rem; 70 } 71 72 .bottom-comment { 73 color: #acb4c2; 74 font-size: 0.875rem; 75 } 76 .comment-actions { 77 float: right; 78 } 79 .comment-actions li { 80 display: inline; 81 margin: -2px; 82 cursor: pointer; 83 } 84 .comment-actions li.show { 85 padding-right: 0.75rem; 86 border-right: 1px solid #e1e5eb; 87 } 88 .comment-actions li.destroy { 89 padding-left: 0.75rem; 90 padding-right: 0.125rem; 91 }
At the moment, if we restart the development server and reload the application, we should notice changes in the fonts of our page, this is because we have successfully included Bootstrap.
If you encounter any errors relating to application.html.erb while trying to set up Bootstrap, in config/boot.rb, change the ExecJS runtime from Duktape to Node.
1# config/boot.rb 2 ENV['EXECJS_RUNTIME'] ='Node'
Set up the view
To set up the view, replace the code in your index.html.erb file with the following:
1<%# app/views/comments/index.html.erb %> 2 3 <div id="wrapper" class="container"> 4 <div class="text-center"> 5 <h1>Sample post</h1> 6 <p>This is an interesting sample post for Pusher </p> 7 </div> 8 <div id="comments" class="comments"> 9 <% @comments.each do |comment| %> 10 <div class="col-6 offset-3"> 11 <div class="comment-wrap"> 12 <div class="photo"> 13 <div class="avatar" style="background-image: url('http://res.cloudinary.com/yemiwebby-com-ng/image/upload/v1525202285/avatar_xcah9z.svg')"></div> 14 </div> 15 <div class="comment-block"> 16 <p class="comment-text"><%= comment.message %></p> 17 <div class="bottom-comment"> 18 <ul class="comment-actions"> 19 <li class="show"><%= link_to 'Show', comment %></li> 20 </ul> 21 </div> 22 </div> 23 </div> 24 </div> 25 <% end %> 26 </div> 27 <div class='col-6 offset-4 col-sm-4'> 28 <%= render 'form', comment: @comment %> 29 </div> 30 </div>
Update the index method of the comments controller, to include the following:
1# app/controllers/comments_controller.rb 2 3 class CommentsController < ApplicationController 4 ... 5 def index 6 @comments = Comment.all 7 @comment = Comment.new # add this line 8 end 9 ... 10 end
The code above adds Bootstrap styling to the table on our landing page. It also instantiates a new comment record in the index method of the comments controller. If you reload the landing page, you should see the form.
Post a comment
Currently adding a new comment record redirects us to a different page. We would like to handle that with AJAX instead. To achieve this, add remote: true and format: :json to your form. Replace the code in _form.html.erb with the following:
1// app/views/comments/_form.html.erb 2 3 <%= form_with(model: comment, remote: true, format: :json, id: 'add_comment') do |form| %> 4 <% if comment.errors.any? %> 5 <div id="error_explanation"> 6 <h2><%= pluralize(comment.errors.count, "error") %> prohibited this comment from being saved:</h2> 7 <ul> 8 <% comment.errors.full_messages.each do |message| %> 9 <li><%= message %></li> 10 <% end %> 11 </ul> 12 </div> 13 <% end %> 14 <div class="field"> 15 <%= form.label :message %> 16 <%= form.text_area :message, id: :comment_message, class: "form-control" %> 17 </div> 18 <div class="actions"> 19 <%= form.submit 'Add comment', class: "btn btn-success"%> 20 </div> 21 <% end %>
Now that our form uses AJAX, we’ll handle updating the page with CoffeeScript. Open app/assets/javascripts/comments.coffee and paste in the code below:
1# app/assets/javascripts/comments.coffee 2 3 addComment = (data) -> 4 $('#comments').append """ 5 <div class="col-6 offset-3"> 6 <div class="comment-wrap"> 7 <div class="photo"> 8 <div class="avatar" style="background-image: url('http://res.cloudinary.com/yemiwebby-com-ng/image/upload/v1525202285/avatar_xcah9z.svg')"></div> 9 </div> 10 <div class="comment-block"> 11 <p class="comment-text">#{data.message}</p> 12 <div class="bottom-comment"> 13 <ul class="comment-actions"> 14 <li class="show"><a href="/comments/#{data.id}">Show</a></li> 15 </ul> 16 </div> 17 </div> 18 </div> 19 </div> 20 """ 21 return 22 23 $ -> 24 $('#add_comment').on 'ajax:success', (data) -> 25 $('#add_comment')[0].reset() 26 addComment data.detail[0] 27 return 28 return
In the above code, we added an ajax:success event listener to our form courtesy of jQuery-ujs. Whenever we add a new comment, we get our newly added comment as a response and update our page with it.
Let’s reload our page and add a few comments, they should pop up on the page as soon as we hit submit.
Realtime service with Pusher
To update our page in realtime, we will publish the new comment record to a channel and subscribe to it on the frontend of our app. In the comment model, we’ll add an after_commit callback, which will call a method that will publish the new comment. We'll use after_commit so data is published whenever we add or update a comment.
Add the following code to the comment model:
1# app/models/comment.rb 2 3 class Comment < ApplicationRecord 4 after_commit :notify_pusher, on: [:create, :update] 5 def notify_pusher 6 Pusher.trigger('comment', 'new', self.as_json) 7 end 8 end
Here, our initialized Pusher client triggers an event called new through a channel named comment.
Updating the frontend of the application
So the server is pushing data out on each change, now it’s up to the client to listen for those changes and do something with that data. To do this, we’ll rename our comments.coffee file to comments.coffee.erb so we can sprinkle some Ruby code in it.
Update the file with the following code:
1# app/assets/javascripts/comments.coffee.erb 2 3 addComment = (data) -> 4 $('#comments').append """ 5 <div class="col-6 offset-3"> 6 <div class="comment-wrap"> 7 <div class="photo"> 8 <div class="avatar" style="background-image: url('http://res.cloudinary.com/yemiwebby-com-ng/image/upload/v1525202285/avatar_xcah9z.svg')"></div> 9 </div> 10 <div class="comment-block"> 11 <p class="comment-text">#{data.message}</p> 12 <div class="bottom-comment"> 13 <ul class="comment-actions"> 14 <li class="show"><a href="/comments/#{data.id}">Show</a></li> 15 </ul> 16 </div> 17 </div> 18 </div> 19 </div> 20 """ 21 return 22 23 $ -> 24 $('#add_comment').on 'ajax:success', (data) -> 25 $('#add_comment')[0].reset() 26 return 27 pusher = new Pusher('<%= ENV["PUSHER_KEY"] %>', 28 cluster: '<%= ENV["PUSHER_CLUSTER"] %>' 29 encrypted: true) 30 channel = pusher.subscribe('comment') 31 channel.bind 'new', (data) -> 32 addComment data 33 return 34 return
Lastly, add the Pusher library inside the head tag in the application.html.erb file just before the javascript_include_tag:
1<%# app/views/layouts/application.html.erb %> 2 3 <head> 4 <title>NewNestcomments</title> 5 <%= csrf_meta_tags %> 6 <%= csp_meta_tag %> 7 <%= stylesheet_link_tag 'application', media: 'all', 'data-turbolinks-track': 'reload' %> 8 <script src="https://js.pusher.com/4.1/pusher.min.js"></script> # add this line 9 <%= javascript_include_tag 'application', 'data-turbolinks-track': 'reload' %> 10 </head>
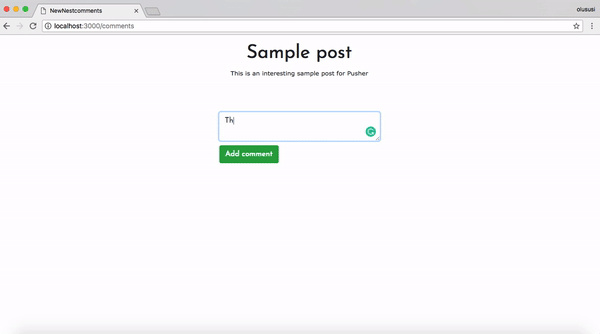
Testing the application
Restart the development server if it is currently running. Check your page on http://localhost:3000:
Conclusion
In this tutorial, we have been able to tap into one of the realtime services offered by Pusher to build a live comments application. This can be improved on by adding extra features as you deem fit. The complete source code for this application can be found here on GitHub.


© 2025 Pusher Ltd. All rights reserved.
Pusher Limited is a company registered in England and Wales (No. 07489873) whose registered office is at MessageBird UK Limited, 3 More London Riverside, 4th Floor, London, United Kingdom, SE1 2AQ.