- Products

- Developers
- User stories
- Blog
- Pricing

Build a live chat widget with Ruby and PostgreSQL
Introduction
Introduction
In this age of full online shopping experience, customer retention is key. Customers want answers to their questions in realtime with precision. Whenever this is unavailable, they tend to click away to other sites.
One of the most effective ways for businesses to attend to their customers is through the use of a live chat system. With it, businesses have been able to provide convenient answers to their customers while at the same time, also increase sales.
In this tutorial, we’ll explore how to create a live chat system in Ruby while leveraging on the awesome features of Pusher. When we’re done, we should have built something like this:
Prerequisites
A basic understanding of Ruby, CoffeeScript and PostgreSQL will help you with this tutorial. You should also have PostgreSQL installed. Kindly check the PostgreSQL, Ruby and Rails documentation for further installation steps. You also need to have a Pusher account.
Setting up the application
Open your terminal and run the following commands to create our demo application:
1# create a new Rails application 2 $ rails new pusher-widget -T --database=postgresql
Go ahead and change directory into the newly created folder:
1# change directory 2 $ cd pusher-widget
In the root of your pusher-widget directory, open your Gemfile and add the following gems:
1# Gemfile 2 3 gem 'bootstrap', '~> 4.1.0' 4 gem 'jquery-rails' 5 gem 'pusher' 6 gem 'figaro'
In your terminal, ensure you are in the project directory and install the gems by running:
$ bundle install
Next, we set up a database for our demo application. Check out this article on how to create a Postgres database and an associated user and password.
Once you have your database details, in your database.yml file, under the development key, add the following code:
1# config/database.yml 2 3 ... 4 development: 5 <<: *default 6 database: pusher-widget_development // add this line if it isn't already there 7 username: database_user // add this line 8 password: user_password // add this line 9 ...
The username and password in the code above should have access to the pusher-widget_development database. After that, run the following code to setup the database:
1# setup database 2 $ rails db:setup
Bootstrap the application
With our database set up, we’ll go ahead and create our models and controllers. In your terminal, while in the project’s directory, run the following code:
1# generate a chatroom model 2 $ rails g model chatroom email:string name:string 3 4 # generate a chat model 5 $ rails g model chat message:string name:string chatroom:references 6 7 # run database migrations 8 $ rails db:migrate 9 10 # generate chatrooms controller with views 11 $ rails g controller chatrooms index new create show 12 13 # generate chats controller with views 14 $ rails g controller chats index new create show
Start the application
After setting up the models and controllers, in your terminal, start the development server by running rails s. Visit http://localhost:3000 in your browser to see your brand new application:
Pusher account setup
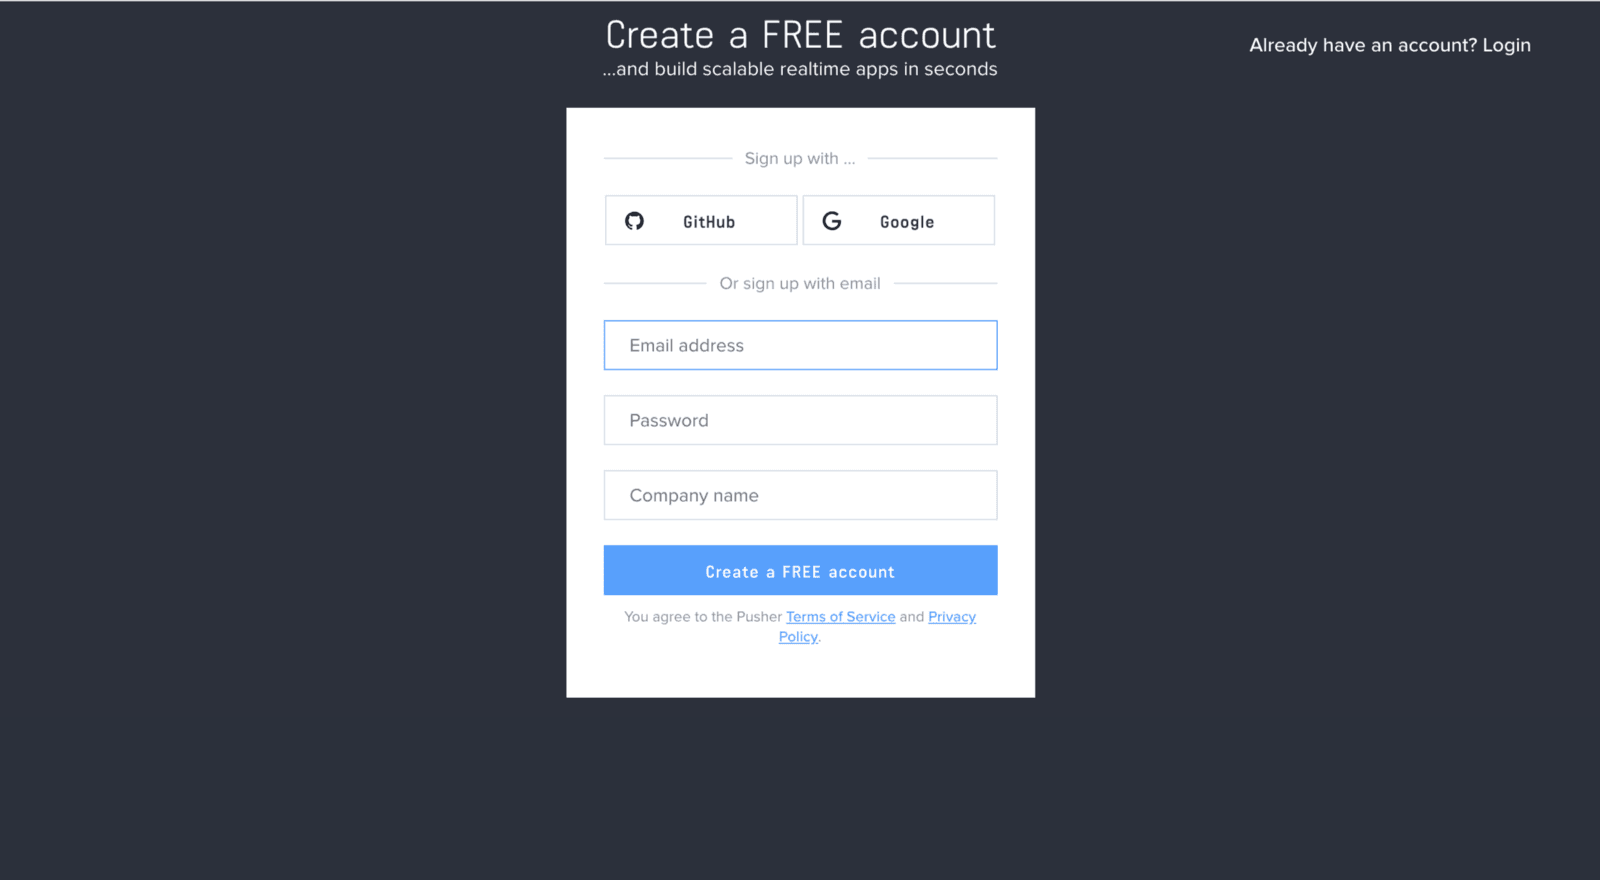
Head over to Pusher and sign up for a free account.
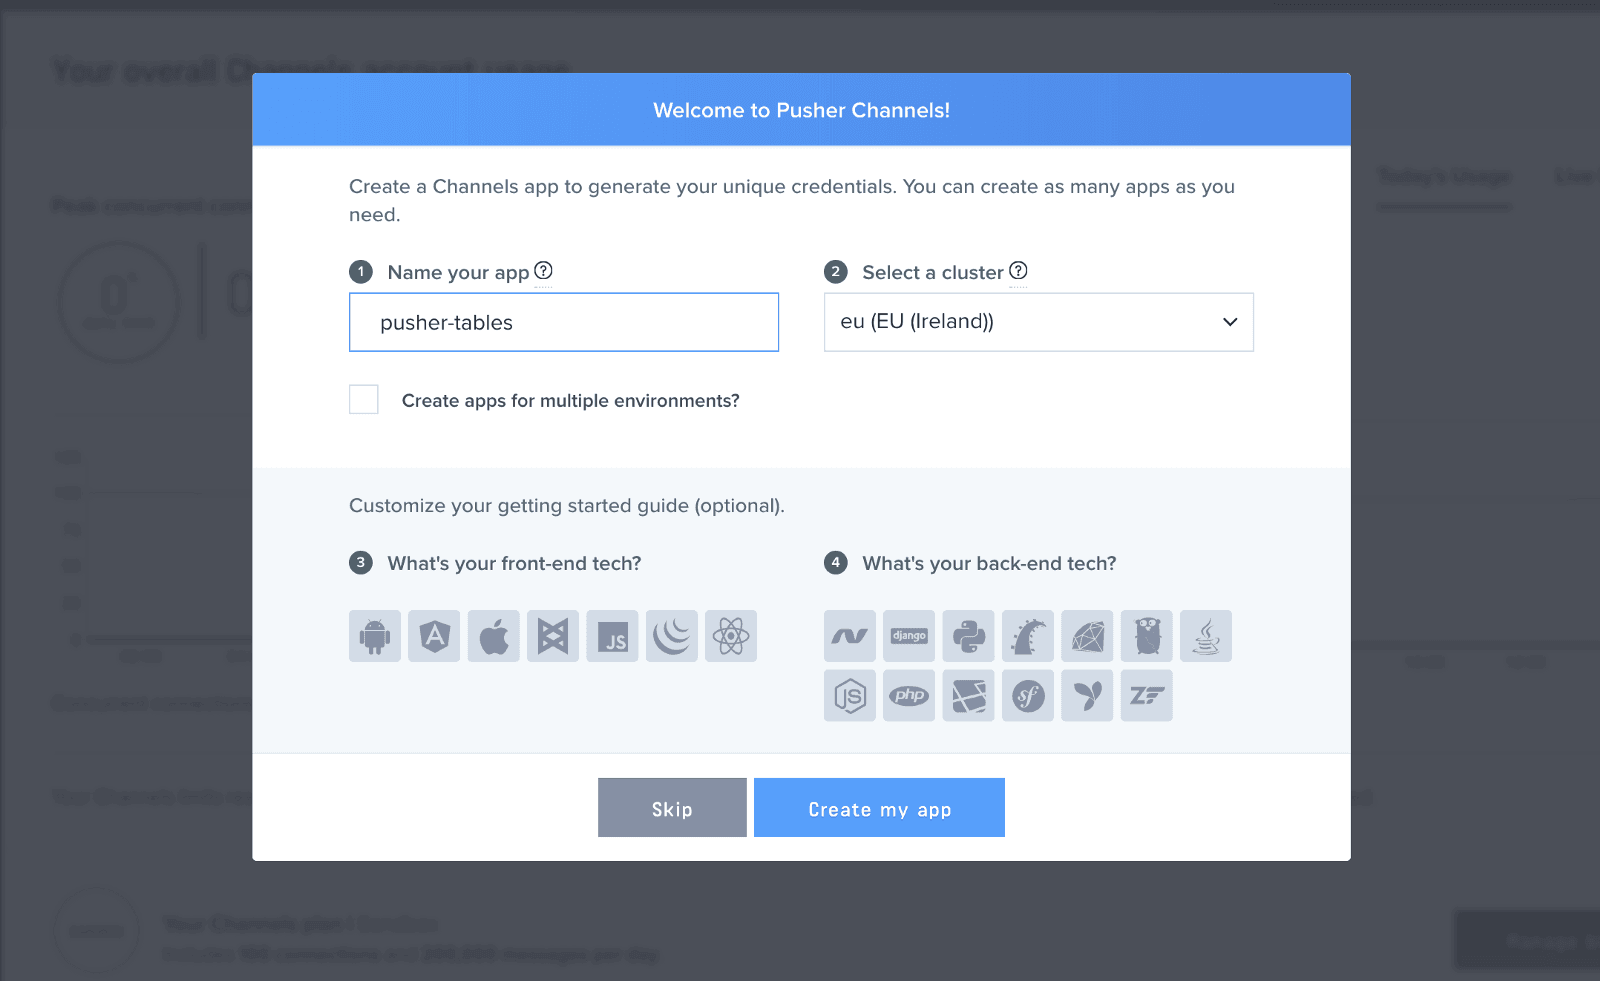
Create a new app by selecting Channels apps on the sidebar and clicking Create Channels app button on the bottom of the sidebar:
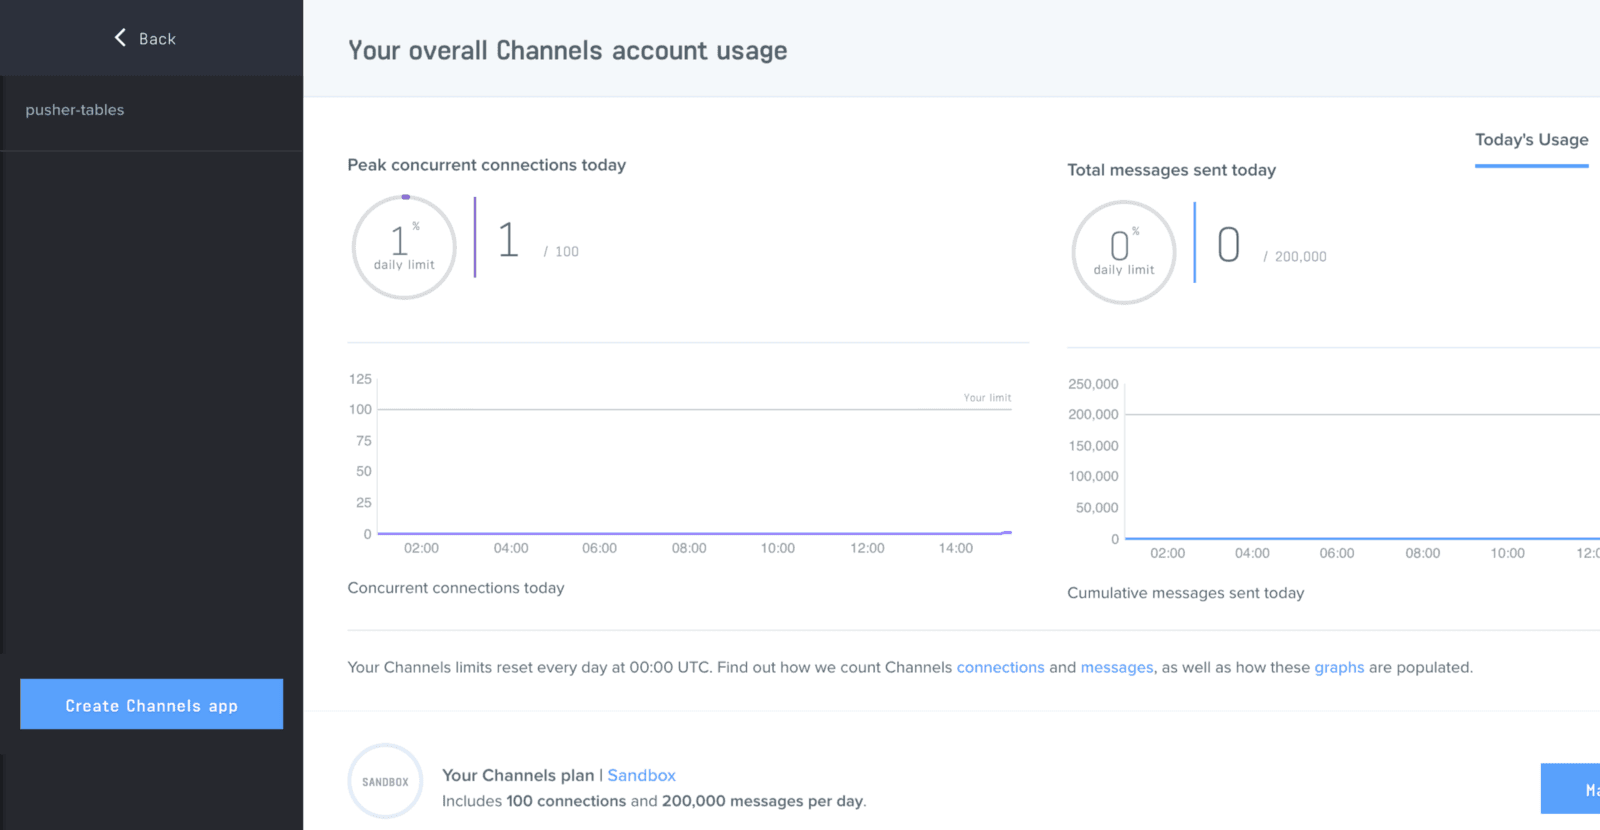
Configure an app by providing basic information requested in the form presented. You can also choose the environment you intend to integrate Pusher with for a better setup experience:
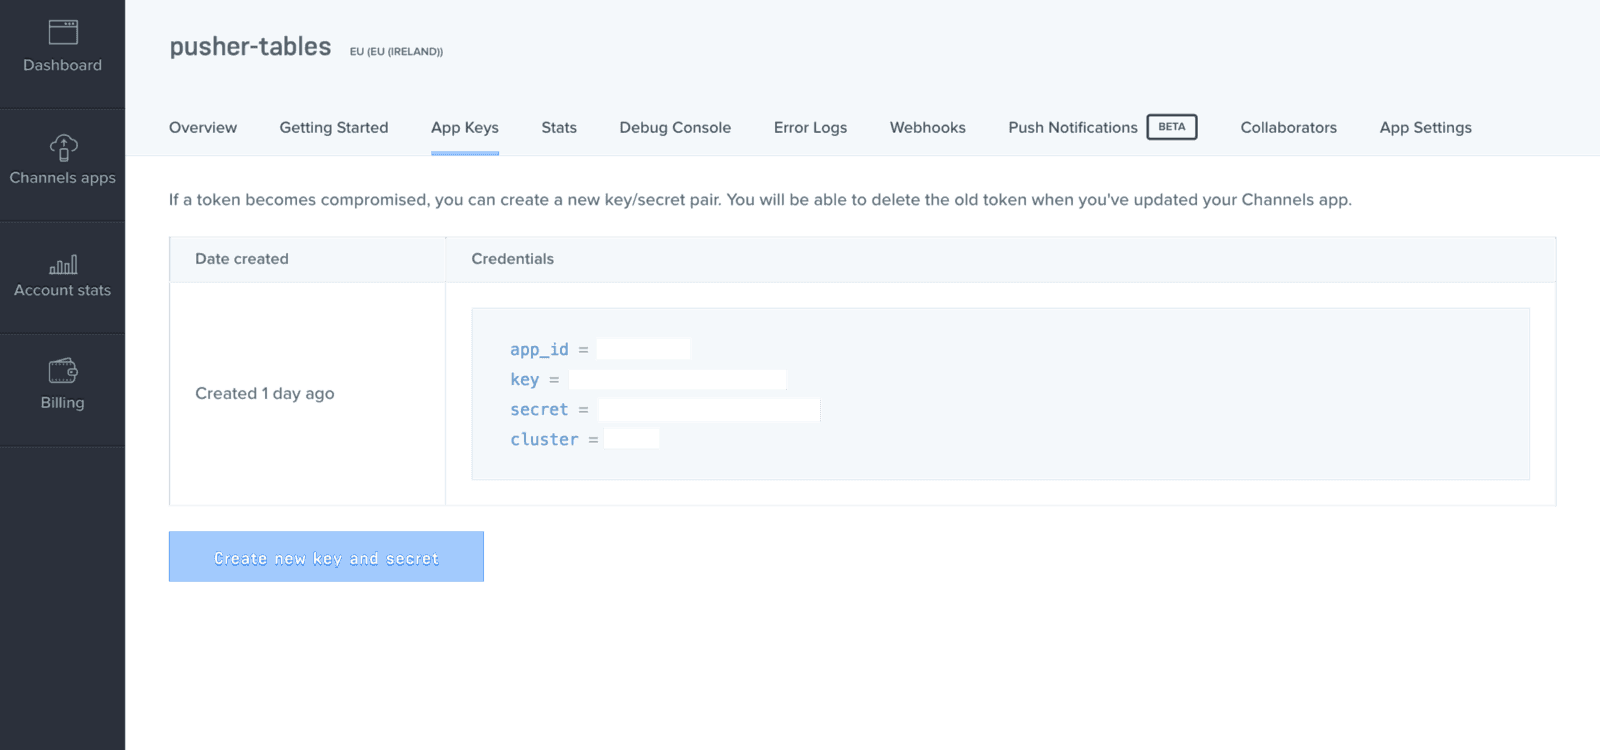
Click the App Keys tab to retrieve your keys
Building the homepage
Now that we have our Pusher credential and our models and controllers have been set up, we will go ahead and build our homepage.
Replace the code in your routes file with the following:
1# config/routes.rb 2 3 Rails.application.routes.draw do 4 resources :chatrooms 5 resources :chats 6 get '/dashboard', to: 'chats#index' 7 root 'chatrooms#index' 8 end
Next, we hook up Bootstrap and add some styles. In your application.js file, add the following code just before the last line:
1// app/assets/javascripts/application.js 2 3 ..... 4 //= require jquery3 # add this line 5 //= require popper # add this line 6 //= require bootstrap # add this line 7 //= require_tree .
Rename your application.css file to application.scss and add the following code:
1# app/assets/stylesheets/application.scss 2 3 @import "bootstrap"; 4 @import url('https://fonts.googleapis.com/css?family=Tajawal'); 5 body { 6 font-family: 'Tajawal', sans-serif; 7 } 8 .full-page { 9 height: 100vh; 10 width: 100vw; 11 overflow: hidden; 12 } 13 .jumbotron { 14 margin-top: 8rem; 15 } 16 .popup-wrapper { 17 height: 20rem; 18 position: fixed; 19 right: 1rem; 20 bottom: 0; 21 border-top-left-radius: 15px; 22 border-top-right-radius: 15px; 23 } 24 .popup-head { 25 border-top-left-radius: 15px; 26 border-top-right-radius: 15px; 27 text-align: center; 28 cursor: pointer; 29 p { 30 margin: 0; 31 } 32 } 33 .popup-trigger { 34 height: 2rem; 35 border-top-left-radius: 15px; 36 border-top-right-radius: 15px; 37 position: fixed; 38 bottom: 0; 39 right: 1rem; 40 cursor: pointer; 41 text-align: center; 42 display: flex; 43 align-items: center; 44 justify-content: center; 45 p { 46 margin: 0; 47 font-weight: 900; 48 } 49 } 50 .chat-bubble { 51 border-radius: 3px; 52 } 53 .chats { 54 height: 23vh; 55 overflow: scroll; 56 } 57 .dashboard-sidebar-chat { 58 border-radius: 3px; 59 margin: 1rem 0; 60 padding: 0.2rem .5rem; 61 cursor: pointer; 62 a { 63 text-decoration: none; 64 color: unset; 65 } 66 } 67 .admin-chats { 68 height: 70vh; 69 overflow: scroll; 70 }
Add the markup for our homepage in the chatrooms index.html.erb file
1# app/views/chatrooms/index.html.erb 2 3 <div class="container-fluid full-page bg-dark position-relative"> 4 <div class="jumbotron jumbotron-fluid bg-transparent text-white"> 5 <div class="container"> 6 <h1 class="display-4">Pusher Chat Widget</h1> 7 <p class="lead">Realtime chat.</p> 8 </div> 9 </div> 10 <div class="popup-trigger bg-info text-white col-3"> 11 <p>Chat with support</p> 12 </div> 13 <div class="popup-wrapper bg-white col-3 p-0 collapse"> 14 <div class="popup-head bg-info p-1"> 15 <p>Close chat window</p> 16 </div> 17 <div class="start-chat-wrapper bg-light px-1 mt-5"> 18 <%= form_with(model: @chatroom, format: :json, id: 'start-chat-form') do |form| %> 19 <div class="field"> 20 <%= form.text_field :name, id: :name, class: "form-control", required: true, placeholder: "Enter your name" %> 21 </div> 22 <div class="field"> 23 <%= form.email_field :email, id: :email, class: "form-control mt-3", required: true, placeholder: "Enter your email" %> 24 </div> 25 <div class="actions"> 26 <%= form.submit 'Start chat', class: "btn btn-primary btn-block mt-2" %> 27 </div> 28 <% end %> 29 </div> 30 <div class="chat-wrapper bg-light px-1 collapse"> 31 <div class="chats"> 32 </div> 33 <div class="chat-form"> 34 <%= form_with( scope: :chat, url: chats_path, format: :json, id: 'chat-form') do |form| %> 35 <div class="field"> 36 <%= form.text_field :message, id: :message, class: "form-control", required: true, placeholder: "Enter your message" %> 37 <%= form.hidden_field :name, id: :name %> 38 <%= form.hidden_field :chatroom_id, id: :chatroom_id %> 39 </div> 40 <% end %> 41 </div> 42 </div> 43 </div> 44 </div>
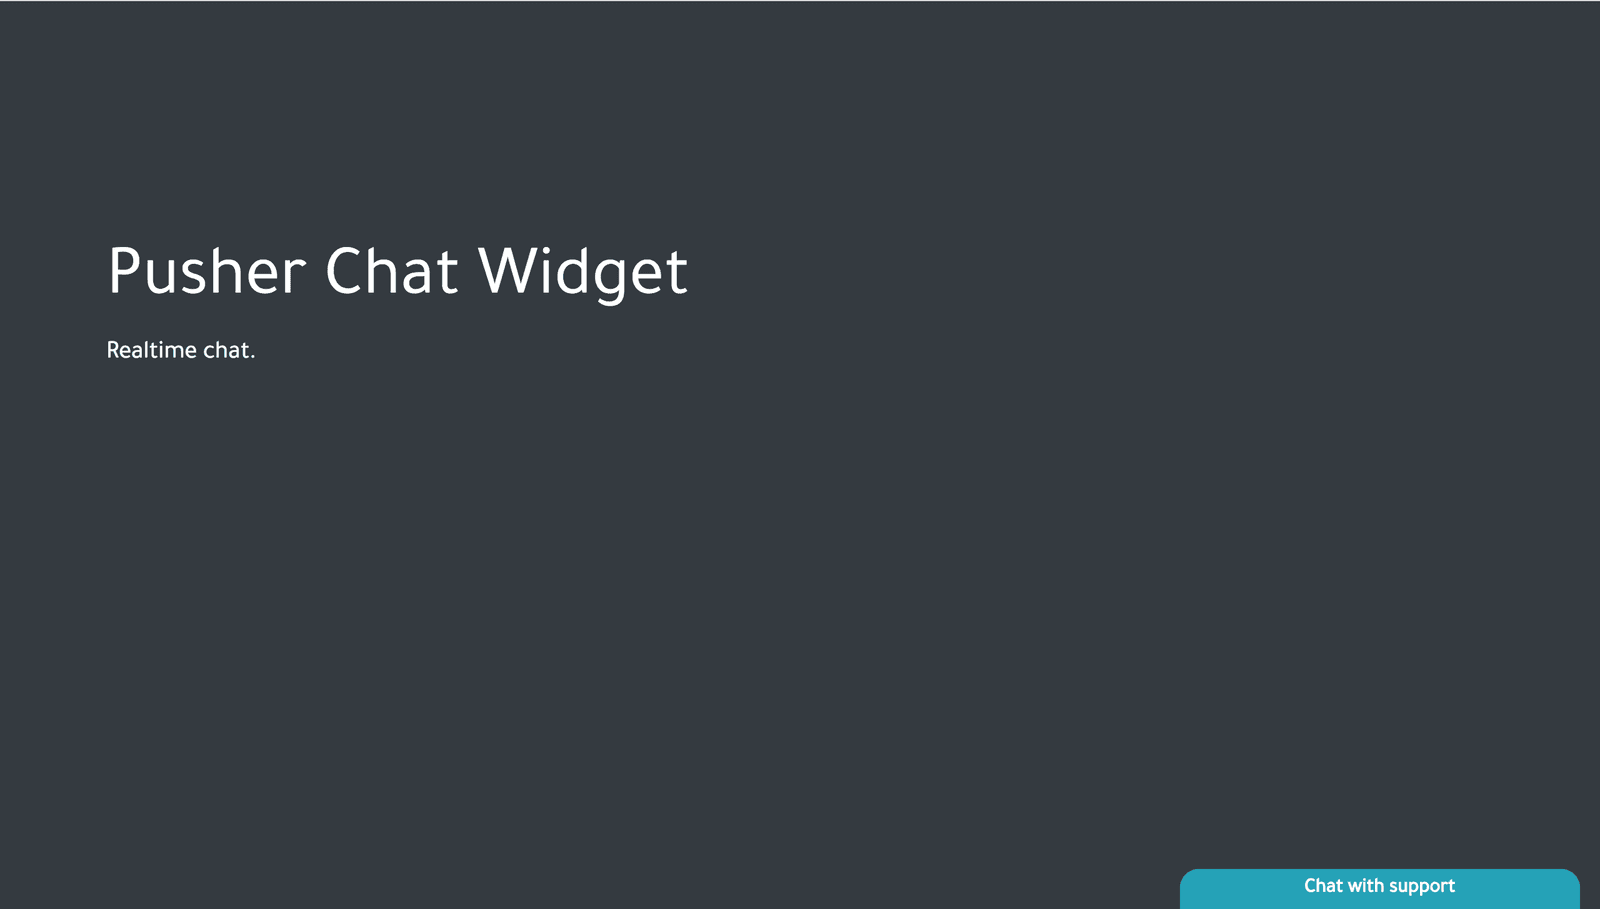
If you followed the tutorial so far you should have been able to create the homepage with the chat widget at the bottom right of the screen. Reloading your homepage should display this:
If you encounter a RegExp error while trying to set up Bootstrap, In config/boot.rb, change the ExecJS runtime from Duktape to Node.
1# config/boot.rb 2 ENV['EXECJS_RUNTIME'] ='Node'
Building the admin dashboard
Now that our homepage is set, next we’ll build the admin dashboard. Let’s add the markup for our dashboard in the chats index.html.erb file
1# app/views/chats/index.html.erb 2 3 <div class="container-fluid full-page position-relative"> 4 <div class="row"> 5 <div class="col-3 col-md-2 bg-dark full-page px-1 py-2 sidebar"> 6 <% @chatrooms.each do |chatroom| %> 7 <% if chatroom.chats.any? %> 8 <div class="dashboard-sidebar-chat bg-info"> 9 <%= link_to chatroom.email, chat_path(id: chatroom.id), remote: true, class: 'sidebar-chat' %> 10 </div> 11 <% end %> 12 <% end %> 13 </div> 14 <div class="col-9 col-md-10 bg-light full-page container"> 15 <h5 class="mt-4">👈 Select a chat from the sidebar to load the message</h5> 16 <div class="admin-chat-wrapper"> 17 <h3 class="user-email mt-5"></h3> 18 <div class="chat-form"> 19 <div class="admin-chats"></div> 20 <%= form_with( scope: :chat, url: chats_path, format: :json, id: 'admin-chat-form') do |form| %> 21 <div class="field"> 22 <%= form.text_field :message, id: :message, class: "form-control", required: true, placeholder: "Enter your message" %> 23 <%= form.hidden_field :name, id: :name, value: 'Pusher support' %> 24 <%= form.hidden_field :chatroom_id, id: :chatroom_id %> 25 </div> 26 <% end %> 27 </div> 28 </div> 29 </div> 30 </div> 31 </div>
Add the following code to the chatrooms controller:
1# app/controllers/chatrooms_controller.rb 2 3 class ChatroomsController < ApplicationController 4 def index 5 @chatroom = Chatroom.new 6 end 7 def new 8 @chatroom = Chatroom.new 9 end 10 def create 11 @chatroom = Chatroom.new(chatroom_params) 12 respond_to do |format| 13 if @chatroom.save 14 format.html { redirect_to @chatroom } 15 format.json { render :show, status: :created, location: @chatroom } 16 else 17 format.html { render :new } 18 format.json { render json: @chatroom.errors, status: :unprocessable_entity } 19 end 20 end 21 end 22 def show 23 @chatroom = Chatroom.find(params[:id]) 24 render json: @chatroom.chats 25 end 26 private 27 def chatroom_params 28 params.require(:chatroom).permit(:email, :name) 29 end 30 end
Also, add the following to the chats_controller.rb file
1# app/controllers/chats_controller.erb 2 3 class ChatsController < ApplicationController 4 def index 5 @chatrooms = Chatroom.all 6 end 7 def create 8 @chat = Chat.new(chat_params) 9 respond_to do |format| 10 if @chat.save 11 format.json { render :show, status: :created, location: @chat } 12 else 13 format.json { render json: @chat.errors, status: :unprocessable_entity } 14 end 15 end 16 end 17 def new 18 @chat = Chat.new 19 end 20 def show 21 @chats = Chat.where(chatroom_id: params[:id]) 22 respond_to do |format| 23 if @chats 24 format.json { render :chats, status: :ok } 25 else 26 format.json { render json: @chats.errors, status: :unprocessable_entity } 27 end 28 end 29 end 30 private 31 def chat_params 32 params.require(:chat).permit(:message, :name, :chatroom_id) 33 end 34 end
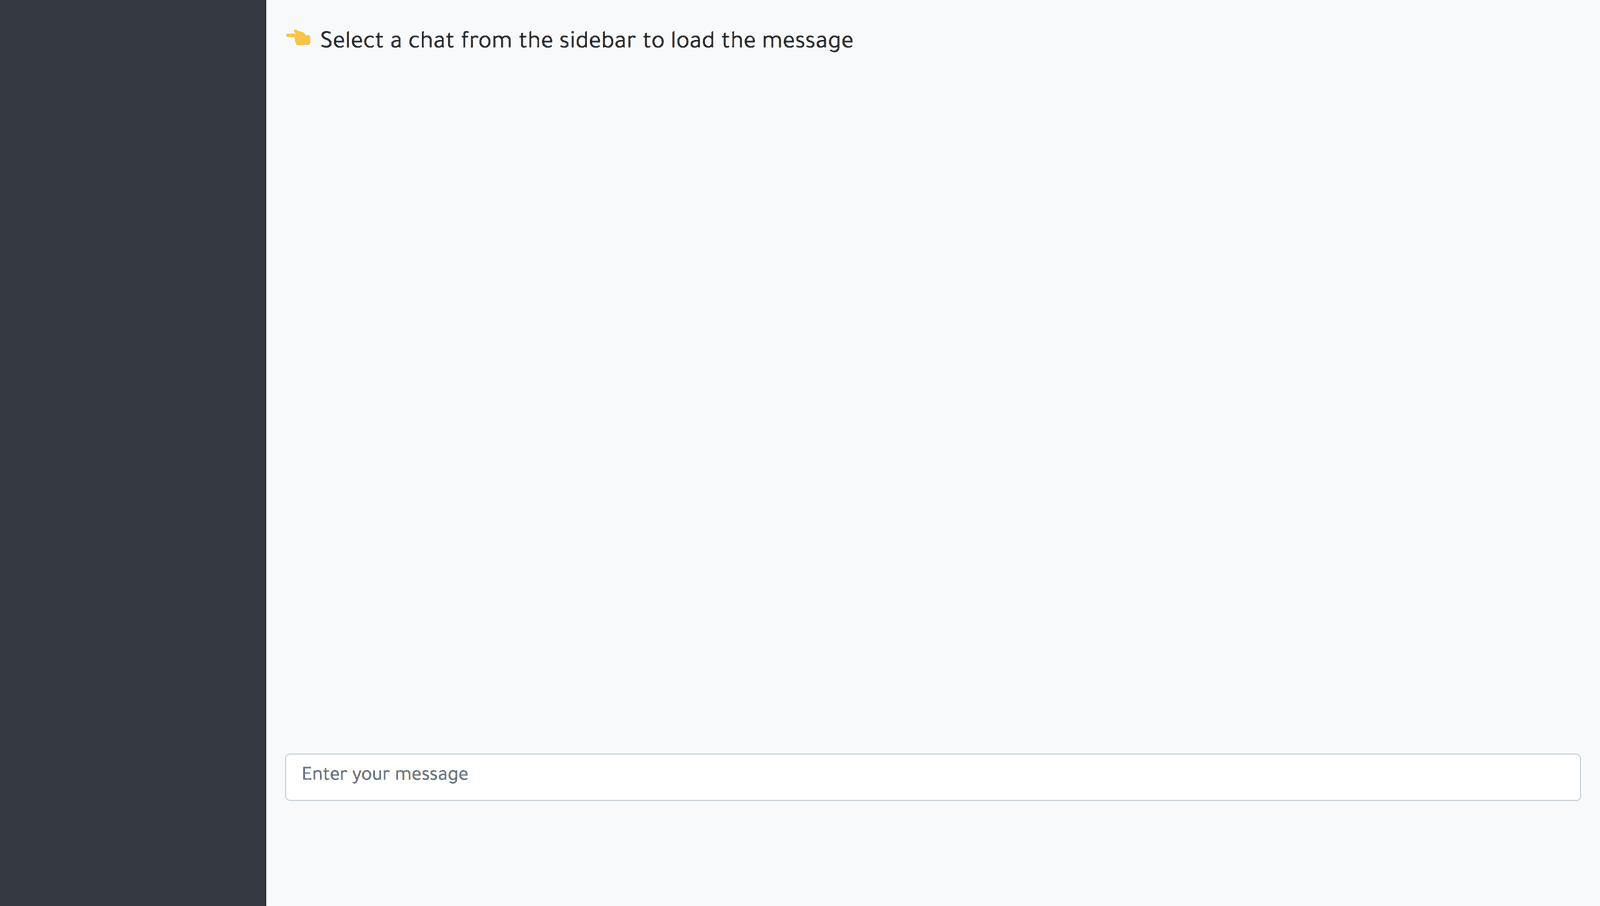
If you visit http://localhost:3000/dashboard in your browser, you should be greeted with this awesome view:
Sending live chat messages
Our live chat system is ready to start receiving messages. All that is left is to handle the messages being sent by both the users and admins. Whenever messages are sent, we update the chat interface via AJAX. In your chatrooms.coffee file, add the following code:
1# app/assets/javascripts/chatrooms.coffee 2 3 $(document).ready => 4 popupWrapper = $('.popup-wrapper') 5 popupTrigger = $('.popup-trigger') 6 # open the live chat widget if clicked 7 $('.popup-head').click -> 8 popupWrapper.addClass('collapse') 9 popupTrigger.removeClass('collapse') 10 return 11 12 # close the live chat widget if clicked 13 $('.popup-trigger').click -> 14 popupWrapper.removeClass('collapse') 15 popupTrigger.addClass('collapse') 16 return 17 18 # if the user's name and email is successfully submitted, hide the form and show the chat interface in the widget 19 $('#start-chat-form').on 'ajax:success', (data) -> 20 chatroom = data.detail[0] 21 $('.chat-form').removeClass('collapse') 22 $('.start-chat-wrapper').addClass('collapse') 23 $('.chat-wrapper').removeClass('collapse') 24 $('#chat-form #name').val(chatroom.name) 25 $('#chat-form #chatroom_id').val(chatroom.id) 26 getChats chatroom.id 27 $('#start-chat-form')[0].reset() 28 return 29 getChats = (id) -> 30 token = $('meta[name="csrf-token"]').attr('content') 31 $.ajax 32 url: 'chatrooms/' + id 33 type: 'get' 34 beforeSend: (xhr) -> 35 xhr.setRequestHeader 'X-CSRF-Token', token 36 return 37 success: (data) -> 38 return 39 return 40 41 # update the user's chat with new chat messages 42 updateChat = (data) -> 43 if data.chatroom_id == parseInt($('input#chatroom_id').val()) 44 $('.chats').append """ 45 <div class="chat-bubble-wrapper d-block"> 46 <div class="chat-bubble bg-dark p-1 text-white my-1 d-inline-block"> 47 <small class="chat-username">#{data.name}</small> 48 <p class="m-0 chat-message">#{data.message}</p> 49 </div> 50 </div> 51 """ 52 return 53 54 # if the user's chat message is successfully sent, reset the chat input field 55 $('#chat-form').on 'ajax:success', (data) -> 56 chat = data.detail[0] 57 $('#chat-form')[0].reset() 58 return 59 60 # function for displaying chat messages that belong to chat selcted in the admin sidebar 61 loadAdminChat = (chatArray) -> 62 $('.admin-chats').html "" 63 $('input#chatroom_id').val(chatArray.chats[0].chatroom_id) 64 $.map(chatArray.chats, (chat) -> 65 $('.admin-chats').append """ 66 <div class="chat-bubble-wrapper d-block"> 67 <div class="chat-bubble bg-dark p-1 text-white my-1 d-inline-block" style="min-width: 10rem;"> 68 <small class="chat-username">#{chat.name}</small> 69 <p class="m-0 chat-message">#{chat.message}</p> 70 </div> 71 </div> 72 """ 73 return 74 ) 75 return 76 77 # if the available chat in the sidebar is clicked, call the function that displays it's messages 78 $('body').on 'ajax:success', '.sidebar-chat', (data) -> 79 chat = data.detail[0] 80 loadAdminChat chat 81 return 82 83 # function to update admin's chat with new chat messages 84 updateAdminChat = (chat) -> 85 if chat.chatroom_id == parseInt($('input#chatroom_id').val()) 86 $('.admin-chats').append """ 87 <div class="chat-bubble-wrapper d-block"> 88 <div class="chat-bubble bg-dark p-1 text-white my-1 d-inline-block" style="min-width: 10rem;"> 89 <small class="chat-username">#{chat.name}</small> 90 <p class="m-0 chat-message">#{chat.message}</p> 91 </div> 92 </div> 93 """ 94 return 95 96 # function to update the available chats in the sidebar 97 updateAdminChatrooms = (chatroom) -> 98 $('.sidebar').append """ 99 <div class="dashboard-sidebar-chat bg-info"> 100 <a class="sidebar-chat" data-remote="true" href="/chats/#{chatroom.id}">#{chatroom.email}</a> 101 </div> 102 """ 103 return 104 # if admin's chat is successfully sent, clear the chat input field 105 $('#admin-chat-form').on 'ajax:success', (data) -> 106 chat = data.detail[0] 107 $('#admin-chat-form')[0].reset() 108 return
We’ll make use of Jbuilder to build our server response into JSON. In your chatroom views folder, create a show.json.jbuilder file and add the following code:
1# app/views/chatrooms/show.json.jbuilder 2 3 json.extract! @chatroom, :id, :name, :email 4 json.url chatroom_url(@chatroom, format: :json)
In the views/chats folder, create two files: show.json.jbuilder and chats.json.jbuilder and add the following code respectively:
1# app/views/chats/show.json.jbuilder 2 3 json.extract! @chat, :id, :message, :name, :chatroom_id 4 json.url chat_url(@chat, format: :json)
1# app/views/chats/show.json.builder 2 3 json.chats @chats do |chat| 4 json.(chat, :id, :name, :message, :chatroom_id) 5 end
Lastly, we add update the chatroom model with the following
1# app/models/chatroom.rb 2 class Chatroom < ApplicationRecord 3 has_many :chats # add this line 4 end
If you followed the tutorial so far you should have been able to send messages from the chat widget on the homepage and if you reload your admin dashboard, you should see your message there. Sweet! Next, we’ll remove the hassles of reloading with Pusher.
Realtime service with Pusher
For a live chat widget to be successful, the company should be immediately aware when there is a new message from a customer. We’ll go ahead and get that done with Pusher.
Firstly, we will initialize a Pusher client in our application. In the config/initializers directory, create a pusher.rb file and add the following code:
1# config/initializers/pusher.rb 2 3 require 'pusher' 4 Pusher.app_id = ENV["PUSHER_APP_ID"] 5 Pusher.key = ENV["PUSHER_KEY"] 6 Pusher.secret = ENV["PUSHER_SECRET"] 7 Pusher.cluster = ENV["PUSHER_CLUSTER"] 8 Pusher.logger = Rails.logger 9 Pusher.encrypted = true
In your terminal, run figaro install to generate an application.yml file. In the application.yml file add your Pusher keys:
1# config/application.yml 2 3 PUSHER_APP_ID: 'xxxxxx' 4 PUSHER_KEY: 'xxxxxxxxxxxxxxxxx' 5 PUSHER_SECRET: 'xxxxxxxxxxxxxx' 6 PUSHER_CLUSTER: 'xx'
Add the Pusher library inside the head tag in the application.html.erb file just before the javascript_include_tag:
1<%# app/views/layouts/application.html.erb %> 2 3 <head> 4 .... 5 <script src="https://js.pusher.com/4.1/pusher.min.js"></script> // add this line 6 <%= javascript_include_tag 'application', 'data-turbolinks-track': 'reload' %> 7 </head>
For the admin to be notified of a new customer chat, we notify Pusher whenever a customer starts a new chat. On the admin end, we’ll subscribe to events on our Pusher channel and update the UI accordingly.
Same thing applies for when both the user and admin exchange messages, we publish the messages via Pusher and subscribe to the updates on the frontend.
Update your chat and chatroom model respectively:
1# app/models/chat.rb 2 class Chat < ApplicationRecord 3 after_create :notify_pusher 4 belongs_to :chatroom 5 6 def notify_pusher 7 Pusher.trigger('chat', 'new-chat', self.as_json) 8 end 9 end 10 11 12 # app/models/chatroom.rb 13 class Chatroom < ApplicationRecord 14 after_create :notify_pusher 15 has_many :chats 16 17 def notify_pusher 18 Pusher.trigger('chat', 'new-chatroom', self.as_json) 19 end 20 end
In the code above, we add an after_create callback to both the chat and the chatroom models, which calls the function to publish new chats and chatrooms.
Rename your chatroom.coffee file to chatroom.coffee.erb and add the following code to the end of the file:
1# app/assets/javascripts/chatroom.coffee.erb 2 3 ..... 4 pusher = new Pusher('<%= ENV["PUSHER_KEY"] %>', 5 cluster: '<%= ENV["PUSHER_CLUSTER"] %>' 6 encrypted: true) 7 channel = pusher.subscribe('chat') 8 channel.bind 'new-chat', (data) -> 9 updateChat data 10 updateAdminChat data 11 channel.bind 'new-chatroom', (data) -> 12 updateAdminChatrooms data 13 return
In the code above, we subscribe our Pusher client to the chat channel. Whenever there is a new chat or chatroom, we update the admin and user’s chat interface. Ensure the code added above is indented as other code in the file.
Bringing it all together
Restart your development server and send some messages through the chat widget, they should pop up on the admin side.
Conclusion
In this tutorial, you learned how to build a customer support widget and administrator interface using Ruby and Pusher. Feel free to explore more by visiting Pusher’s documentation. The source code to the article is available on GitHub.


© 2026 Pusher Ltd. All rights reserved.
Pusher Limited is a company registered in England and Wales (No. 07489873) whose registered office is at MessageBird UK Limited, 3 More London Riverside, 4th Floor, London, United Kingdom, SE1 2AQ.