- Products

- Developers
- User stories
- Blog
- Pricing

Build a chat app with Vue.js and Laravel
- Introduction
- What you will build
- Getting started
- Pusher account
- How to create a Channels app
- Set up a Laravel environment
- Creating the project
- Set up Pusher
- Switch the broadcast driver to Pusher
- Install the Channels SDK
- Install front-end dependencies
- Add the login system
- Add the login pages
- Create the database
- The message model
- Create the model
- User To Message Relationship
- Defining routes
- ChatsController
- Creating the Chat App view
- Broadcasting Message Sent Event
- Laravel Echo
- Conclusion
Introduction
What you will build
In this tutorial you will do the following:
- Create a Pusher account.
- Set Laravel broadcasting to use Pusher Channels.
- Connect a Vue.js client to Channels with Laravel Echo.
- A simple form to send messages.
- Display received messages in a list.
The code of the completed demo is available on GitHub.
Getting started
Before we dive into the tutorial there are a few steps you need to take to get set up.
Pusher account
If you don’t already have one you should go ahead and register for a Pusher account. The Channels sandbox plan is completely free and will be more than ample to complete this sample project.
How to create a Channels app
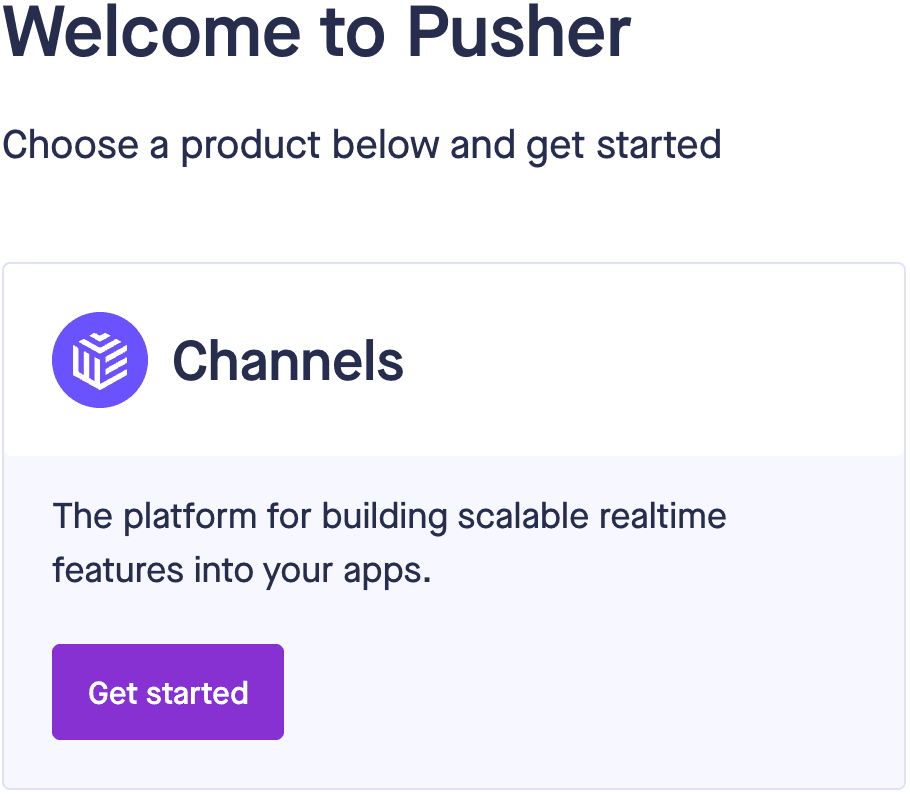
Once you have signed up for a Pusher account you need to create a Channels app by clicking “Get Started” under Channels:
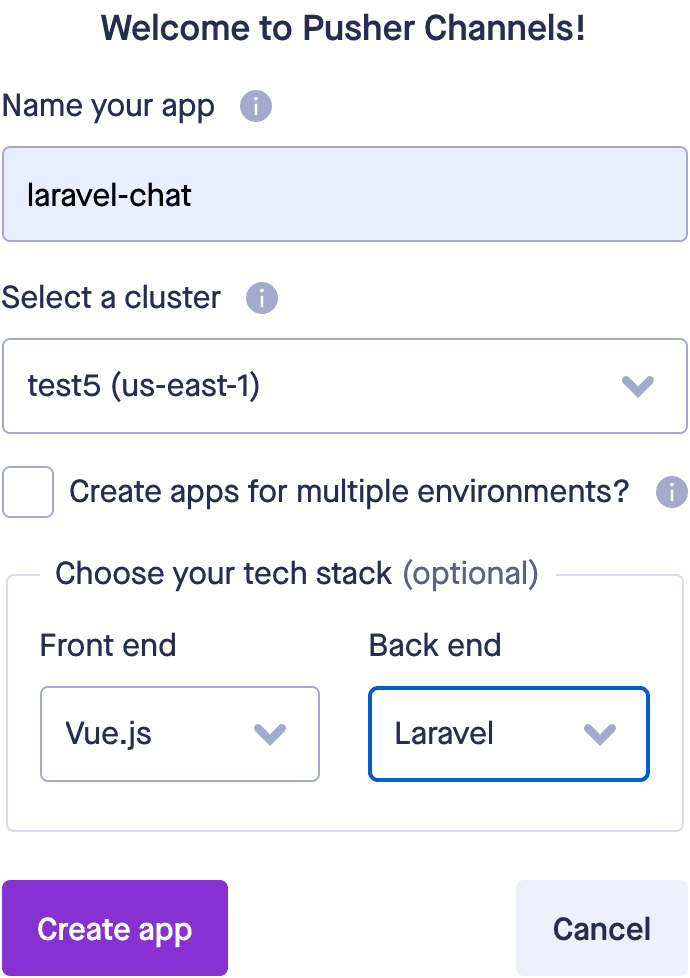
Follow the steps in the dialog box to name your app and choose a preferred cluster location from the list. The tech stack settings are optional, they are just for the getting started page.
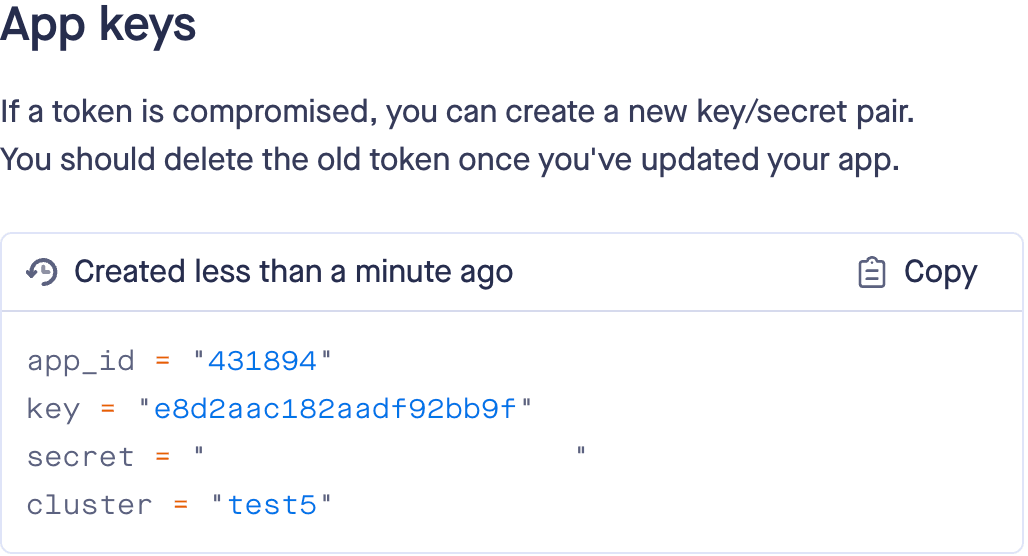
From the App Keys page note down the app_id, key, secret and cluster as you will need these to connect to your Channels app.
Set up a Laravel environment
For this tutorial, you will need PHP 8, Composer 2 and Node.js 16. For MacOS I recommend installing them with Homebrew. For Windows see instructions for PHP, Composer and Node.
Creating the project
We’re going to use Composer’s create-project command to download and install the latest starter Laravel project into a “laravel-chat” folder. Our pusher-http-php library supports a minimum Laravel version of 8.29.
composer create-project laravel/laravel laravel-chat
You can take a look at this now:
1cd laravel-chat 2php artisan serve
Go to http://127.0.0.1:8000/ in your web browser and you should see a Laravel starter welcome page.
Set up Pusher
Switch the broadcast driver to Pusher
We need to tell Laravel to use Pusher Channels for realtime updates. Register the Broadcast application service by opening config/app.php and uncommenting this line:
// App\Providers\BroadcastServiceProvider::class,
In your project root’s .env file, change the broadcast driver from its default “log” value to “pusher.
1// .env 2 3BROADCAST_DRIVER=pusher
If you scroll further down this file, you can see some of the Pusher environment variables are already there. Laravel already integrates some of the Pusher configuration, so you just need to fill in keys you got when you created your Channels app.
1PUSHER_APP_ID=123456 2PUSHER_APP_KEY=192b754680b23ce923d6 3PUSHER_APP_SECRET=a64521345r457641sb65pw 4PUSHER_APP_CLUSTER=mt1
Install the Channels SDK
Though Laravel already has some Pusher integration, we still need to install the Pusher PHP SDK:
composer require pusher/pusher-php-server
Install front-end dependencies
We will need Laravel Echo, which is the javascript library for listening to broadcast events, and pusher-js for connecting your client to Pusher. Install them by navigating into the project directory and running this npm command (which is javascript package manager installed as part of Node):
npm install --save laravel-echo pusher-js
Now you can enable your Pusher credentials in your Echo client. Uncomment these statements at the bottom of resources/js/bootstrap.js.
1\\ import Echo from 'laravel-echo'; 2\\ window.Pusher = require('pusher-js'); 3\\ window.Echo = new Echo({ 4\\ broadcaster: 'pusher', 5\\ key: process.env.MIX_PUSHER_APP_KEY, 6\\ cluster: process.env.MIX_PUSHER_APP_CLUSTER, 7\\ forceTLS: true 8\\ });
And thats it. The public key and cluster is already taken from your .env file that we previously updated.
Add the login system
Add the login pages
Let’s add the login pages. In the terminal, install the laravel/ui package:
composer require laravel/ui
Then the following command will enable the Vue javascript framework and add a login page to your project:
php artisan ui vue --auth
Finally install the dependencies and compile it with the below command:
npm install && npm run dev
Take a look at your new login page by starting your webserver:
php artisan serve
Then go to http://127.0.0.1:8000/ in your web browser. On the Laravel welcome screen, you will see a new login and register button on the top right.
Create the database
Before we can register a user, we will need to connect to a database for Laravel to use. Create an empty sqlite file with
touch database/db.sqlite
and in your .env, replace this:
1DB_CONNECTION=mysql 2DB_HOST=127.0.0.1 3DB_PORT=3306 4DB_DATABASE=laravel 5DB_USERNAME=root 6DB_PASSWORD=
with this:
1DB_CONNECTION=sqlite 2DB_DATABASE=<Full path to db.sqlite file>
Make sure you replace <Full path to db.sqlite file> with the actual path to the file, for example /Users/user/laravel-chat/database/db.sqlite.
Right now db.sqlite is just an empty file. We will first need to insert Laravel’s default users table (and a few other user account related tables) with the following command:
php artisan migrate
In your terminal, run php artisan serve, navigate to http://127.0.0.1:8000/, then click on the register link and fill in the form to create a login. You should now be logged in with your newly created user. We’re going to use this user to authenticate for some of the message receiving later on.
The message model
Create the model
Create a Message model along with the migration file by running the command:
php artisan make:model Message --migration
Add the $fillable attribute into the Message class in your newly created Message.php in app/Models:
1class Message extends Model 2{ 3 use HasFactory; 4 //insert the line below 5 protected $fillable = ['message']; 6}
Add user_id and message columns to your messages schema by editing your newly created <creation_date_>create_messages_table.php in database/migrations so it looks like this:
1//database/migrations/<creation_date_>create_messages_table.php 2Schema::create('messages', function (Blueprint $table) { 3 $table->id(); 4 $table->timestamps(); 5 //insert the lines below 6 $table->integer('user_id')->unsigned(); 7 $table->text('message'); 8 });
Now run the migrations script to add the messages table to our database:
php artisan migrate
User To Message Relationship
We will need to setup a one-to-many relationship between users and their many messages. In app/Models/User.php add the messages() function to the User class:
1class User extends Authenticatable 2{ 3 use HasApiTokens, HasFactory, Notifiable; 4 5 protected $fillable = ['name','email','password',]; 6 protected $hidden = ['password','remember_token',]; 7 protected $casts = ['email_verified_at' => 'datetime',]; 8 9 //Add the below function 10 public function messages() 11 { 12 return $this->hasMany(Message::class); 13 } 14}
Then we define the inverse direction in the Message class in app/Models/Message.php:
1class Message extends Model 2{ 3 use HasFactory; 4 protected $fillable = ['message']; 5 6 //Add the below function 7 public function user() 8 { 9 return $this->belongsTo(User::class); 10 } 11}
We’re going to to use these functions to retrieve the messages for a user and vice versa.
Defining routes
Thats the database setup part done, we can move onto the server api. We will define some routes for our server. Routes are an important part of a Laravel application, so I recommend looking at their documentation here to get a feel for what is going on. Once you’ve done that, add these routes to routes/web.php:
1Route::get('/chat', [App\Http\Controllers\ChatsController::class, 'index']); 2Route::get('/messages', [App\Http\Controllers\ChatsController::class, 'fetchMessages']); 3Route::post('/messages', [App\Http\Controllers\ChatsController::class, 'sendMessage']);
Laravel has already put in a dashboard /home route for you. I’m going to leave this intact to keep this tutorial as simple as possible.
ChatsController
We’re going to create a ChatsController to handle the requests for the routes we just added. Take a brief look at the documentation here to understand this concept. Then run this command:
php artisan make:controller ChatsController
This will add a ChatsController.php file into app/Http/Controllers/. We’re going to add some functions to it, so first import our Message model at the top along with the existing use Illuminate\Http\Request;:
use App\Models\Message;
We’re also going to add some authorisation in this controller, so import that as well:
use Illuminate\Support\Facades\Auth;
In the ChatsController class, add these functions:
1class ChatsController extends Controller 2{ 3 //Add the below functions 4 public function __construct() 5 { 6 $this->middleware('auth'); 7 } 8 9 public function index() 10 { 11 return view('chat'); 12 } 13 14 public function fetchMessages() 15 { 16 return Message::with('user')->get(); 17 } 18 19 public function sendMessage(Request $request) 20 { 21 $user = Auth::user(); 22 $message = $user->messages()->create([ 23 'message' => $request->input('message') 24 ]); 25 return ['status' => 'Message Sent!']; 26 } 27}
$this->middleware('auth') in __contruct() will only allow authorised users to access ChatsController’s methods. The index() function will return a chat view which we will create later. fetchMessages() returns a json of all messages with the user that sent that message. Lastly, the sendMessage() function will use the create() method to save the message into the database.
If you’re not familiar with database Object Relational Mappers and how our message gets saved into the messages table, read Laravel’s documentation to enhance your understanding.
We haven’t added the code to actually send the message yet. We will do that shortly.
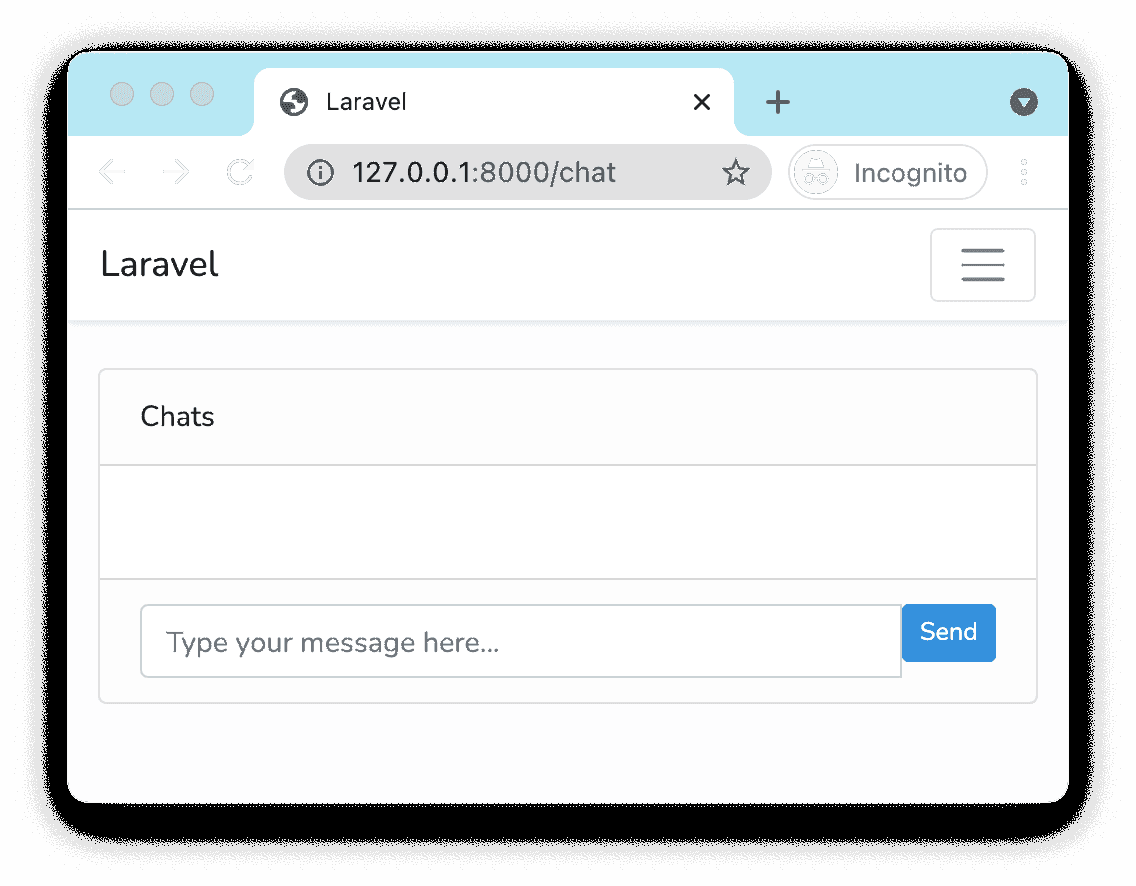
Creating the Chat App view
We’re going to put the chat messages inside a Bootstrap 4 card to make it look nice. Create a new resources/views/chat.blade.php file and paste this into it:
1<!-- resources/views/chat.blade.php --> 2@extends('layouts.app') 3@section('content') 4<div class="container"> 5 <div class="card"> 6 <div class="card-header">Chats</div> 7 <div class="card-body"> 8 <chat-messages :messages="messages"></chat-messages> 9 </div> 10 <div class="card-footer"> 11 <chat-form v-on:messagesent="addMessage" :user="{{ Auth::user() }}"></chat-form> 12 </div> 13 </div> 14</div> 15@endsection
Notice we have two custom tags: chat-messages and chat-form, these are Vue components which we’ll create soon. The chat-messages component will display our chat messages and the chat-form will provide an input field and a button to send the messages. Notice v-on:messagesent="addMessage" :user="{{ Auth::user() }}": later on this will receive a messagesent event from the chat-form component and pass the user property to the chat-form.
Create a new ChatMessages.vue file within resources/js/components and paste the code below into it:
1// resources/js/components/ChatMessages.vue 2<template> 3 <ul class="chat"> 4 <li class="left clearfix" v-for="message in messages" :key="message.id"> 5 <div class="clearfix"> 6 <div class="header"> 7 <strong> 8 {{ message.user.name }} 9 </strong> 10 </div> 11 <p> 12 {{ message.message }} 13 </p> 14 </div> 15 </li> 16 </ul> 17</template> 18<script> 19export default { 20 props: ["messages"], 21}; 22</script>
This component accepts an array of messages as props, loops through them and displays the name of the user who sent the message and the message body.
Next, create a new ChatForm.vue file within resources/js/components and paste the code below into it. I’ve added comments to explain what each part does.
1//resources/js/components/ChatForm.vue 2<template> 3 //Display an input field and a send button. 4 <div class="input-group"> 5 //Input field. 6 <input 7 id="btn-input" 8 type="text" 9 name="message" 10 class="form-control input-sm" 11 placeholder="Type your message here..." 12 v-model="newMessage" 13 //Call sendMessage() when the enter key is pressed. 14 @keyup.enter="sendMessage" 15 /> 16 //Button 17 <span class="input-group-btn"> 18 //Call sendMessage() this button is clicked. 19 <button class="btn btn-primary btn-sm" id="btn-chat" @click="sendMessage"> 20 Send 21 </button> 22 </span> 23 </div> 24</template> 25<script> 26export default { 27 //Takes the "user" props from <chat-form> … :user="{{ Auth::user() }}"></chat-form> in the parent chat.blade.php. 28 props: ["user"], 29 data() { 30 return { 31 newMessage: "", 32 }; 33 }, 34 methods: { 35 sendMessage() { 36 //Emit a "messagesent" event including the user who sent the message along with the message content 37 this.$emit("messagesent", { 38 user: this.user, 39 //newMessage is bound to the earlier "btn-input" input field 40 message: this.newMessage, 41 }); 42 //Clear the input 43 this.newMessage = ""; 44 }, 45 }, 46}; 47</script>
If you take a look at resources/views/chat.blade.php, you will notice in the <chat-form> tag there is a v-on:messagesent="addMessage". This means that when a messagsent event gets emitted from the above code, it will be handled by the addMessage() method in the resources/js/app.js root Vue instance. We have another tutorial on emitting in Vue here. That tutorial uses @ instead of v-on: but they are equivalent.
Next, we need to register our component in the root Vue instance. Open resources/js/app.js and add the following two components after the example-component Vue component that is already there:
1//resources/js/app.js 2Vue.component('example-component', require('./components/ExampleComponent.vue').default); 3//Add these two components. 4Vue.component('chat-messages', require('./components/ChatMessages.vue').default); 5Vue.component('chat-form', require('./components/ChatForm.vue').default);
At the bottom of this file, there exists already a default root Vue instance app. Add to it the following:
1//app and el already exists. 2const app = new Vue({ 3 el: '#app', 4 //Store chat messages for display in this array. 5 data: { 6 messages: [] 7 }, 8 //Upon initialisation, run fetchMessages(). 9 created() { 10 this.fetchMessages(); 11 }, 12 methods: { 13 fetchMessages() { 14 //GET request to the messages route in our Laravel server to fetch all the messages 15 axios.get('/messages').then(response => { 16 //Save the response in the messages array to display on the chat view 17 this.messages = response.data; 18 }); 19 }, 20 //Receives the message that was emitted from the ChatForm Vue component 21 addMessage(message) { 22 //Pushes it to the messages array 23 this.messages.push(message); 24 //POST request to the messages route with the message data in order for our Laravel server to broadcast it. 25 axios.post('/messages', message).then(response => { 26 console.log(response.data); 27 }); 28 } 29 } 30});
As you can see in the above Vue code, we are using the Axios javascript library to retrieve and send data to our Laravel backend server.
Finally, we should also create a link so the user can click to navigate to the chat view. In resources/views/home.blade.php, add this just under the {{ __('You are logged in!') }} line:
<a href="{{ url('/chat') }}">Chat</a>
Before we go onto the next section, let’s take a look at what your application is capable of so far. Run the terminal commands npm run dev and php artisan serve, navigate to http://127.0.0.1:8000/ and login with the user you created back in section 4. Click on the “Chat” link you added just now on the home page to load the Vue chat app.
Now let’s try sending a message to another user.
Register a second user. Open another private window and log in is your second user. Send a message from your first user. Notice how the chat window doesn’t update on the second user’s chat app. However if you refresh the page, the message is now present. This is because the recipient chat window retrieved the message from the database instead of receiving live updates from Pusher Channels. We will do this next.
Broadcasting Message Sent Event
To add the realtime interactions to our chat app, we need to broadcast some kind of events based on some activities. In our case, we’ll fire a MessageSent when a user sends a message. First, we need to create an event called MessageSent:
php artisan make:event MessageSent
This will create a new MessageSent event class within the app/Events directory. Open it and import our user and message models:
1//app/Events/MessageSent.php 2namespace App\Events; 3 4//Add the following two models 5use App\Models\User; 6use App\Models\Message; 7 8... 9...
Add the implements ShouldBroadcast interface to the MessageSent class:
1class MessageSent implements ShouldBroadcast 2{ 3 ... 4}
Inside the class, add these two public properties:
1public $user; 2public $message;
There is already an empty __construct() function, modify it to the following:
1public function __construct(User $user, Message $message) 2{ 3 $this->user = $user; 4 $this->message = $message; 5}
Set the channel to broadcast onto the chat private channel:
1public function broadcastOn() 2{ 3 return new PrivateChannel('chat'); 4}
Since we created a private channel by returning a PrivateChannel('chat') instance, only authenticated users will be able to listen to it. So, we need a way to authorise that the currently authenticated user can actually listen on the channel. This can be done by adding the following channel in the routes/channels.php file:
1Broadcast::channel('chat', function ($user) { 2 return Auth::check(); 3});
Finally, we need to go back to ChatsController and add in the statements to actually send a message onto Channels (we didn’t before). In app/Http/Controllers/ChatsController.php import the MessageSent event we just made:
use App\Events\MessageSent;
Just before the return statement at the bottom of the sendMessage() function, add the important broadcast() call to broadcast to Pusher.
broadcast(new MessageSent($user, $message))->toOthers();
We’ve now finished the Laravel server side part! Run php artisan serve and load the chat app. Open your debug console in your Pusher dashboard and send a message from the chat app. You will see this log:

If Pusher isn’t getting the request from you, you may able to find an error message in storage/logs/laravel.log. Failing that, compare your code with my repository.
For our next and final part, we’re going to get Laravel Echo to listen for new messages.
Laravel Echo
We will use Laravel Echo to subscribe to the private chat channel and listen() for the MessageSent event. Add this in resources/js/app.js inside created(){…} after this.fetchMessages():
1window.Echo.private('chat') 2 .listen('MessageSent', (e) => { 3 this.messages.push({ 4 message: e.message.message, 5 user: e.user 6 }); 7 });
Upon receiving a MessageSent event, the above code will push the data onto the messages array, which will update the message chat history on the web page.
Compile it for the last time and then run it:
1npm run dev 2php artisan serve
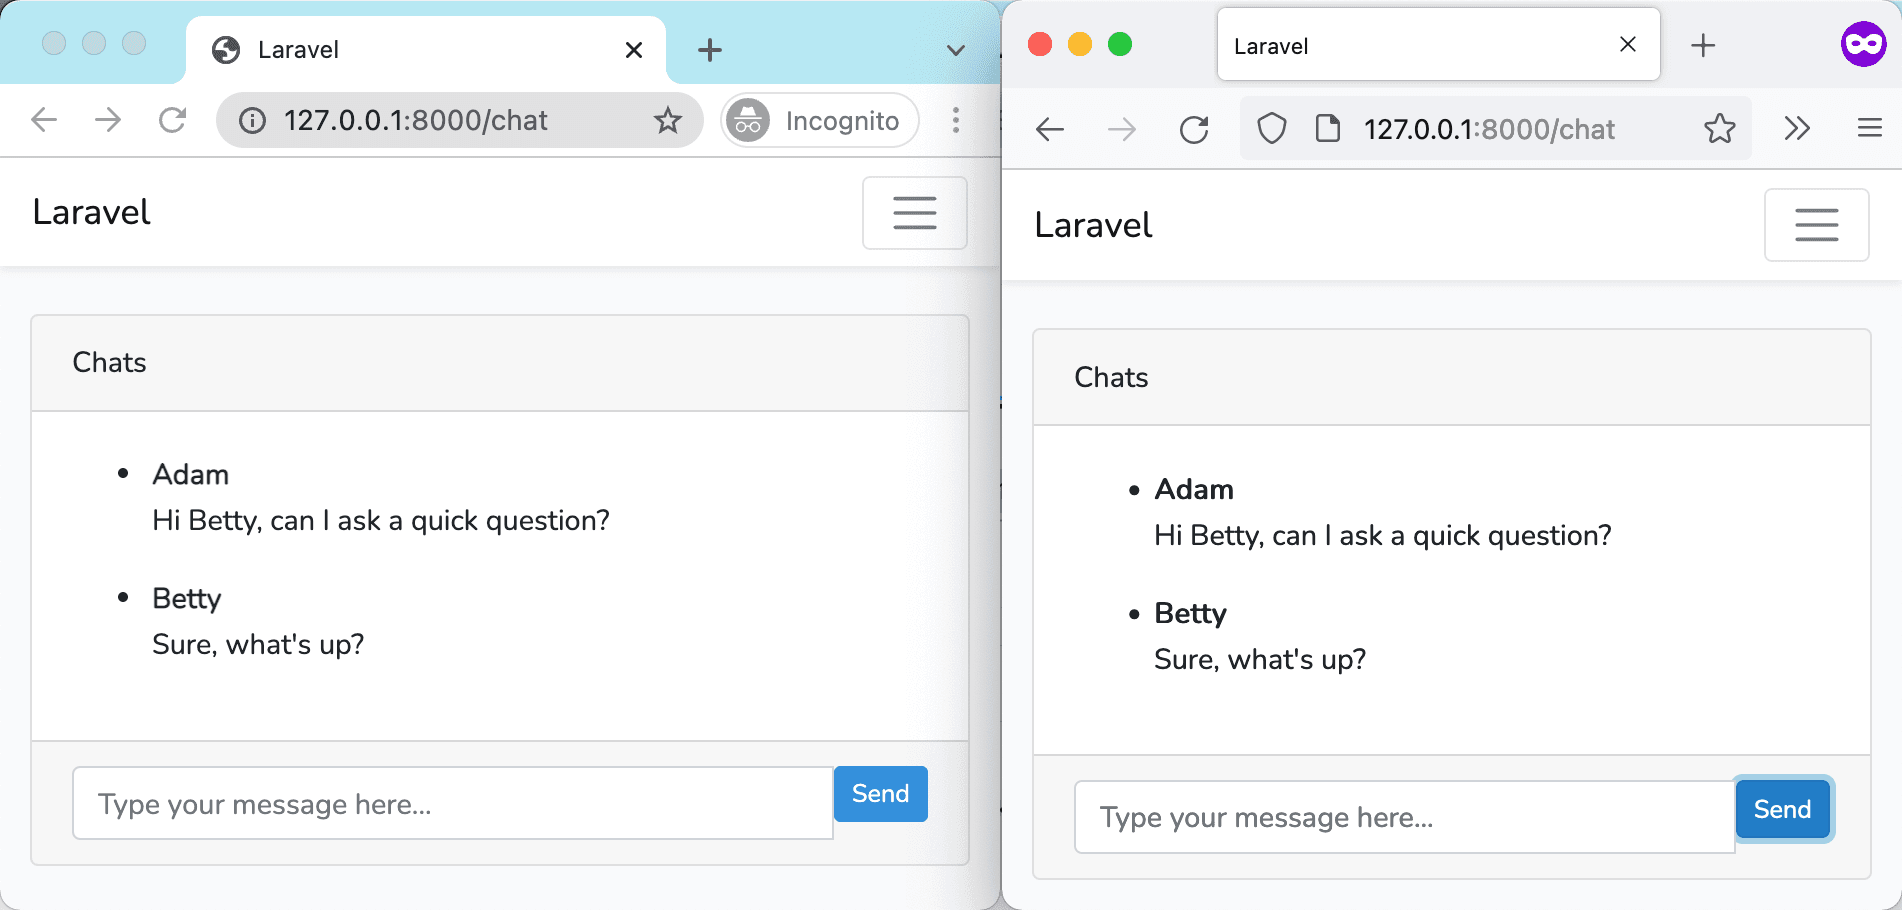
Open two private web browser windows, log in as two users, and send a message from one of them. You will see the other window immediately update. What happened was the chat app which had sent the message had requested Pusher Channels to broadcast the message to other clients, which in this case was the chat app in the other window.
If the other chat app isn’t immediately updating, use the web browser Javascript console to see if there are any errors. If you’re getting 404 errors (ignore the sourcemap warnings), use the php artisan route:list command to display all routes which should help you spot any missing ones.
If you want to add a typing indicator, take a look at another one of our tutorials here.
Conclusion
You saw how Laravel already has some built in integration for Pusher Channels. With a little bit of extra configuration, you’re good to start sending out messages from Laravel, and receiving them in realtime with Echo, using Pusher in between.


© 2026 Pusher Ltd. All rights reserved.
Pusher Limited is a company registered in England and Wales (No. 07489873) whose registered office is at MessageBird UK Limited, 3 More London Riverside, 4th Floor, London, United Kingdom, SE1 2AQ.