- Products

- Developers
- User stories
- Blog
- Pricing

Getting started with Pusher Beams
Introduction
Introduction
Push notifications are a pivotal part of mobile applications. They can be used for a wide range of applications. From marketing to keeping a user updated on a delivery to informing them they have a message from a friend.
As mobile devices become more integral to the way we live so do push notifications to our apps. However for developers this means it’s often not just as simple as registering a device token and sending a generic notification to all our users.
Enrich the user experience and make it unique. Pusher Beams gives you the opportunity to easily make and send custom notifications. This tutorial explains how to create a Pusher Beams instance for iOS using the Pusher dashboard.
Set up Pusher Beams
NOTE: You will need an Apple developer account to fully complete the setup, however, you can skip that part of this tutorial if you don’t have one. You just won’t be able to send notifications to a device until you complete either this or the Android “Get Started”. Depending upon the type of device you would like to send messages to.
To set up a Pusher Beams instance and get started, create a free sandbox Pusher account or sign in. Once you are signed in, you are redirected to the dashboard
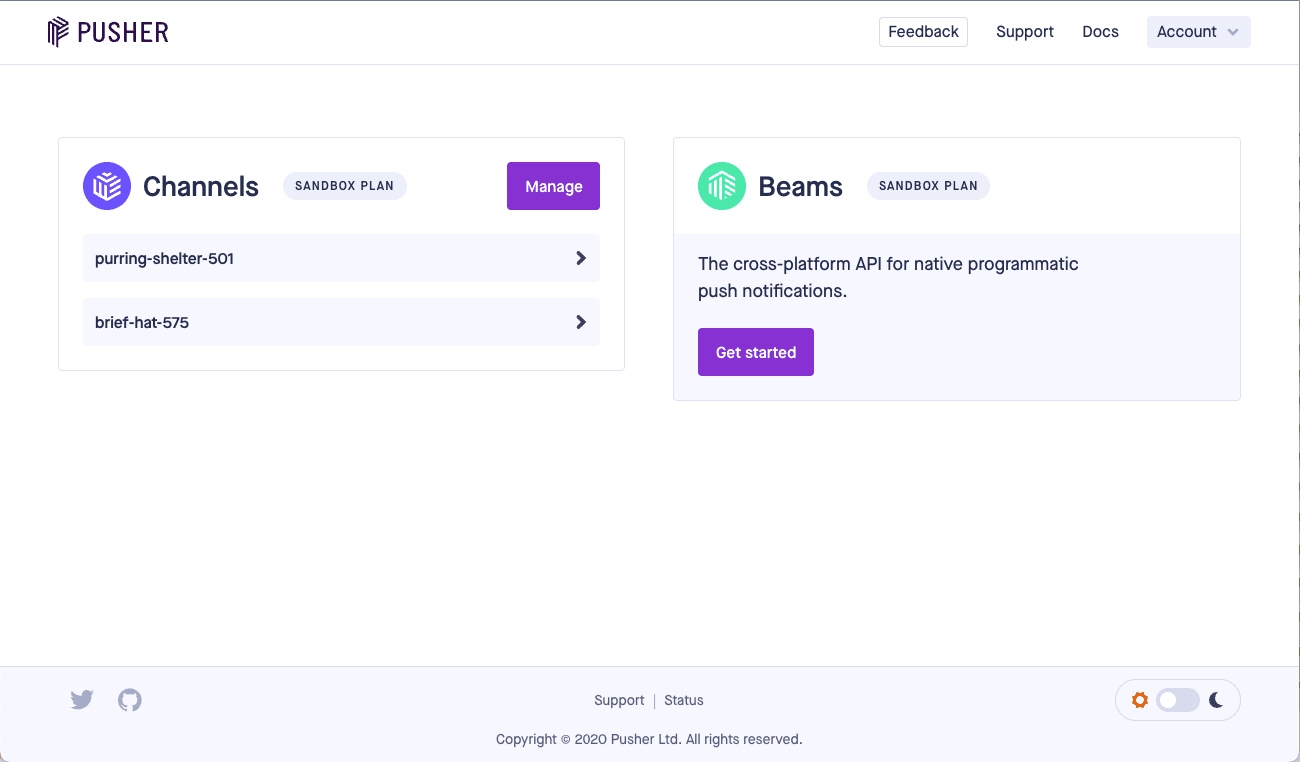
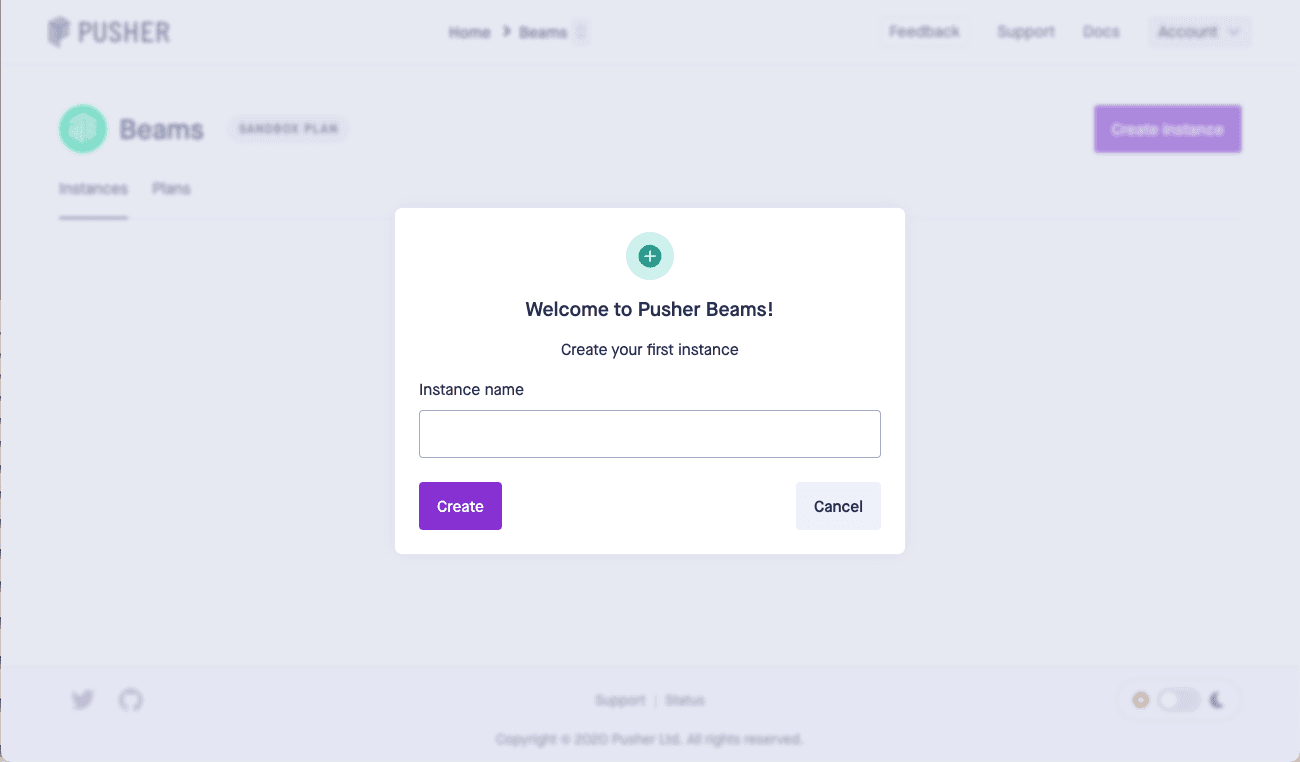
Using the Dashboard, you can create new instances for Pusher products such as Channels and Beams. Here's how to create a new Beams instance. Under Beams, click GET STARTED. Name your instance and click Create.
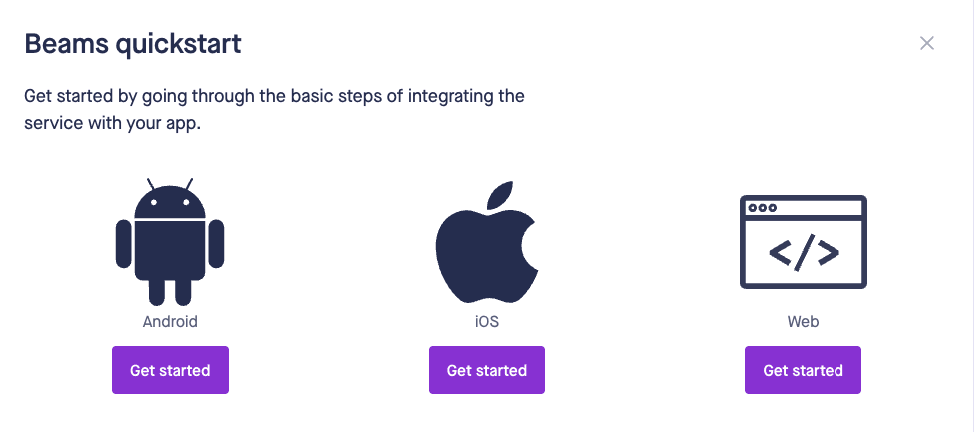
Quickstart
- In this tutorial, we’re going to follow the IOS Quickstart guide. Click Get Started.
- Get an APNs key and enter your team ID. For this, you need your Apple developer account.
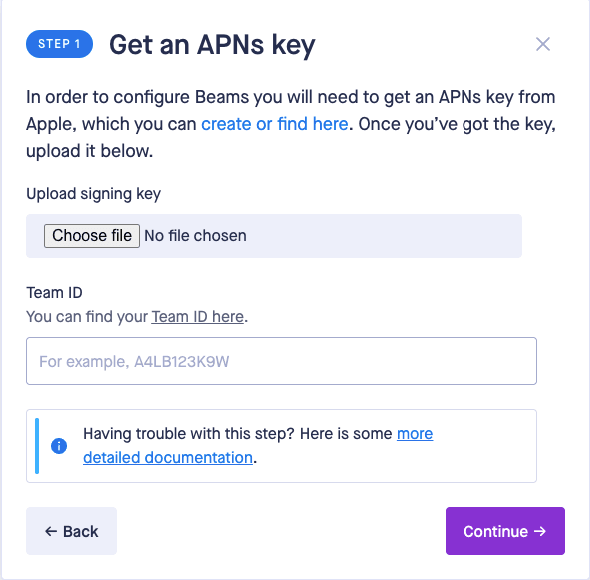
On the Apple Certificates, Identifiers & Profiles, find or get your key.
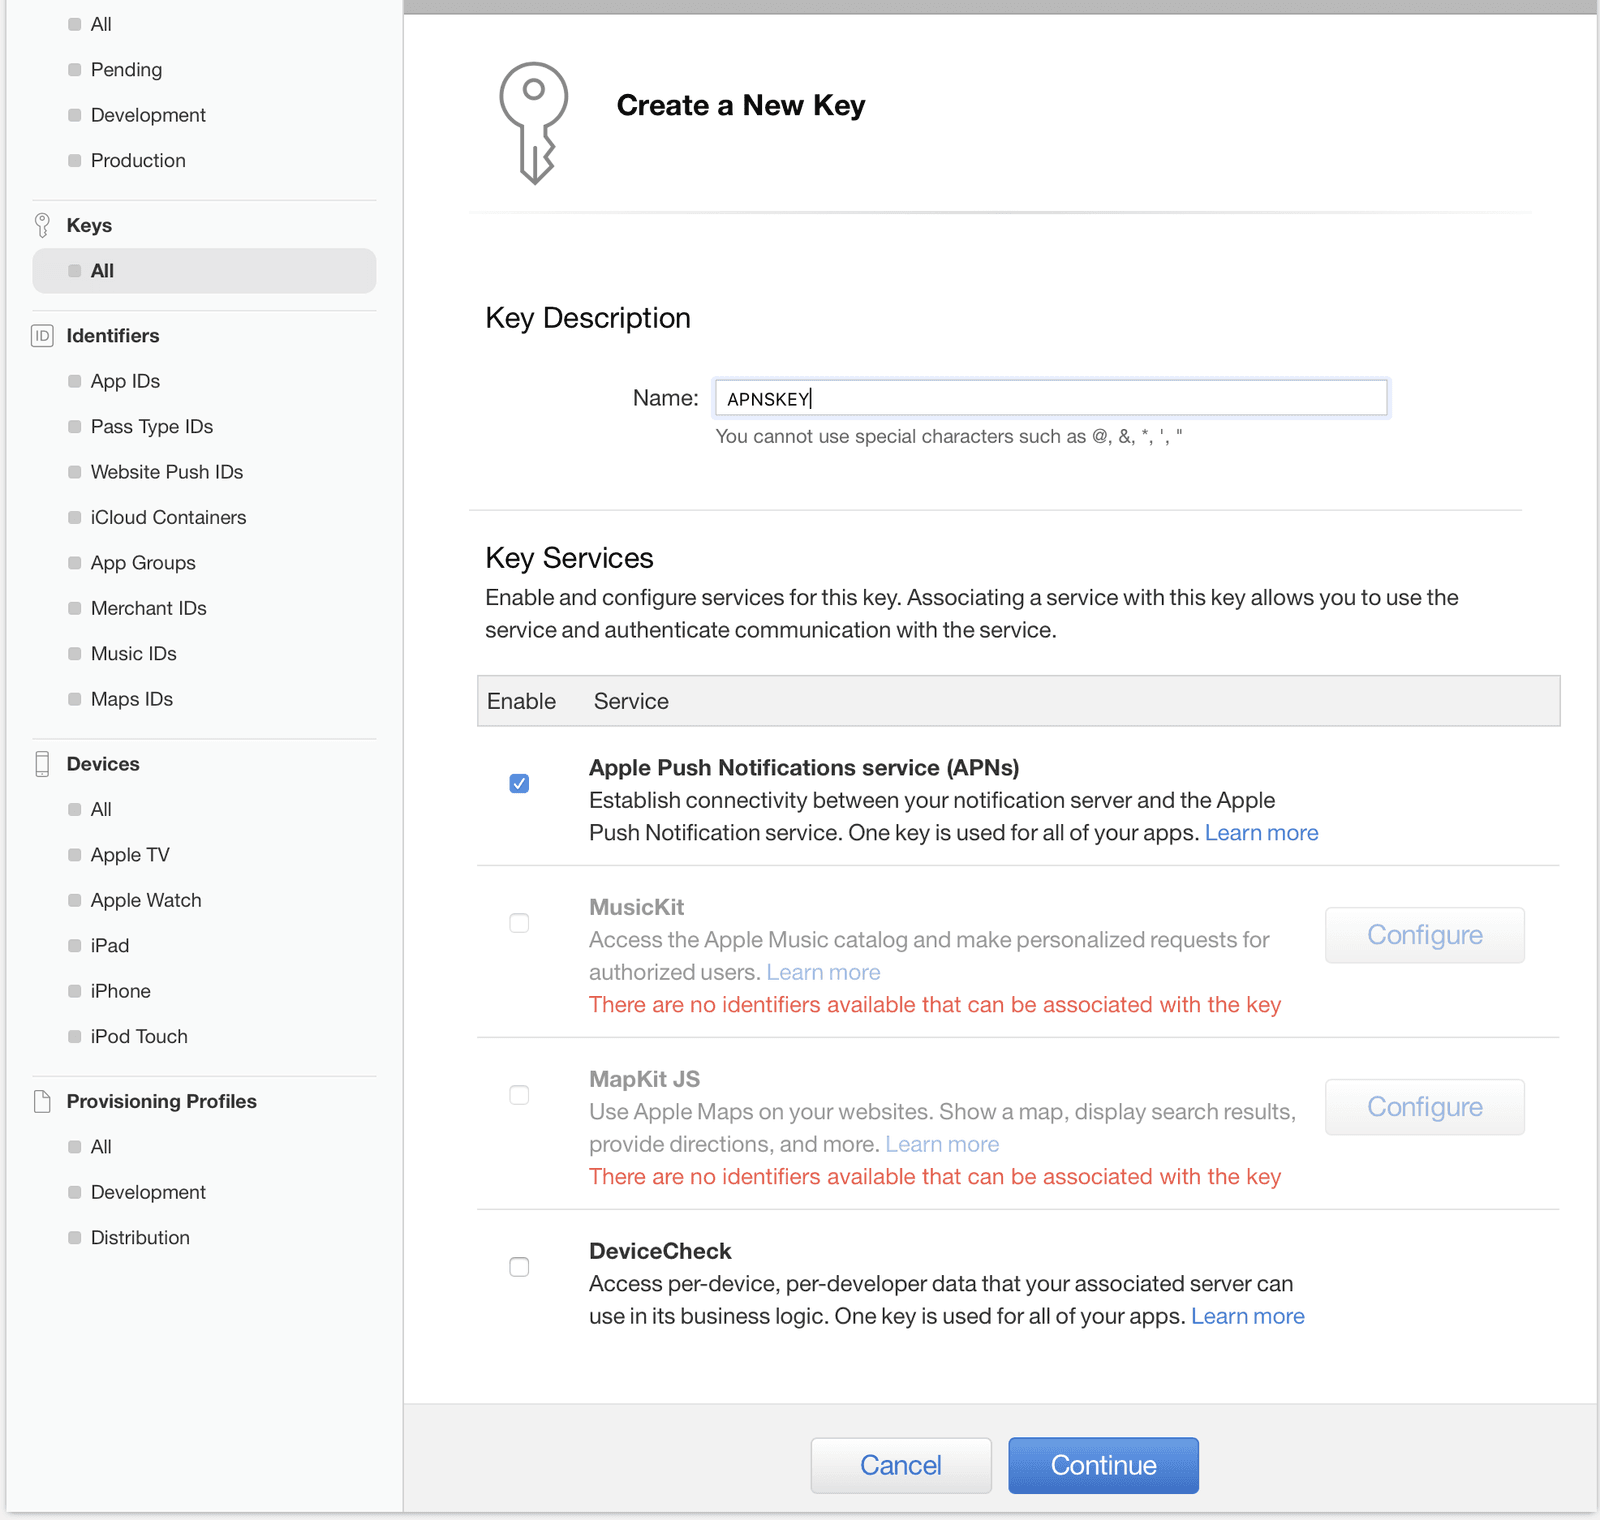
Note: You can only have a total of two APNs keys for each account. Each key can be used for multiple instances and they can only be downloaded once so keep it somewhere safe and share it with team members.
Click Continue and Confirm your configuration on the next page. Then click Download, return to your Pusher Beams quickstart guide, and upload it.
To get your team ID, click the Team ID herelink.
- CONTINUE and then the X and confirm you wish to exit. If you wish, continue the setup to add the pod to an iOS application.
Pusher Beams instance dashboard
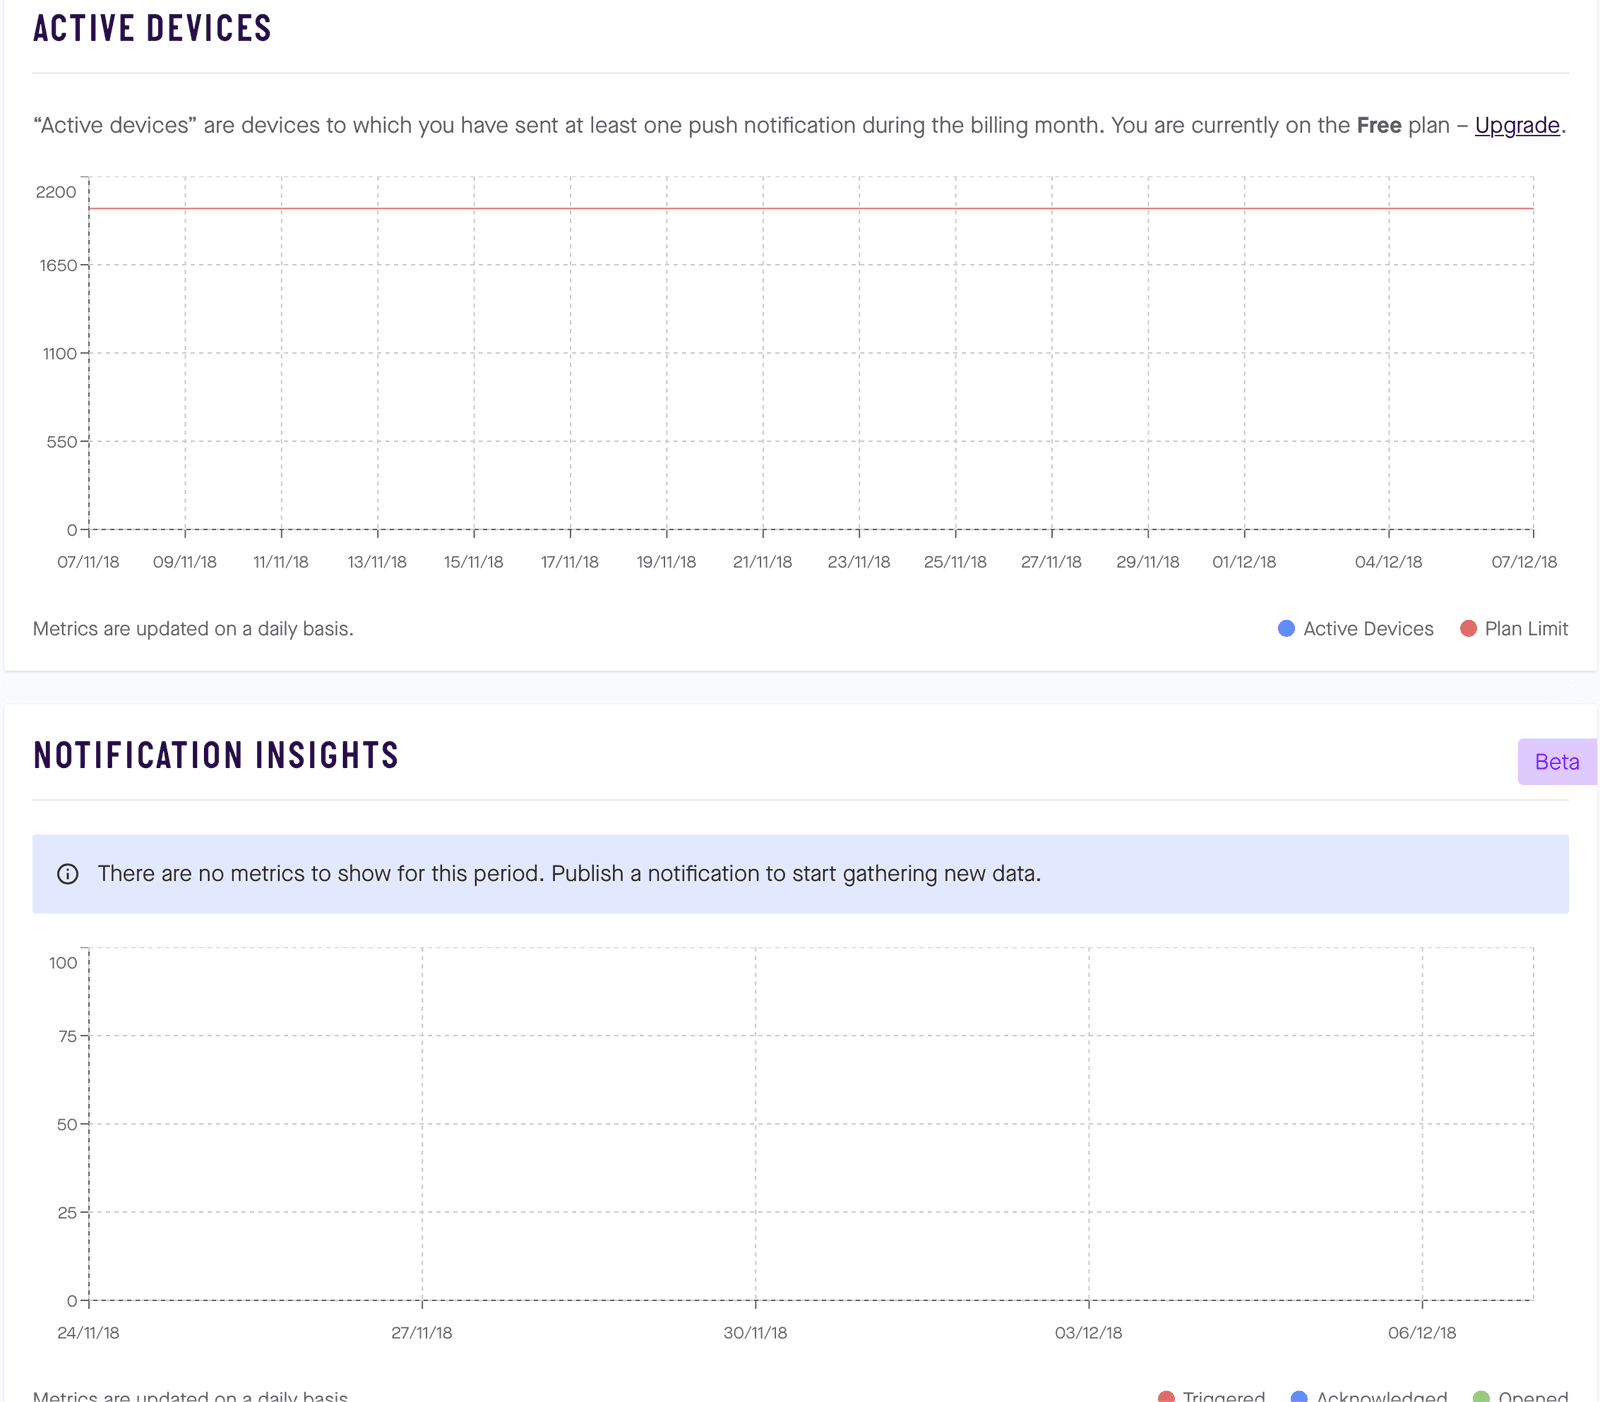
Now you can use the Pusher Beams instance dashboard for example to view active devices and information about published notifications.
When starting out, before you've sent your first notification, there will be no information displayed. Only your plan limit.
The credentials tab includes important information about your instance. You need the instance ID and secret keys when setting up and using the Pusher Beams client or server SDKs. You can also integrate directly with the Pusher API’s. Learn more in our Pusher Beams docs.
Use the debug console to send debug notifications to interests that you have registered within the app. Users subscribe to interests, or more accurately we subscribe users to interests.
For example, anybody subscribed to the debug-general interest receives a push notification. Subscribing users to certain interests is a powerful way to making sure users only receive notifications that they want. Learn more about Interests.
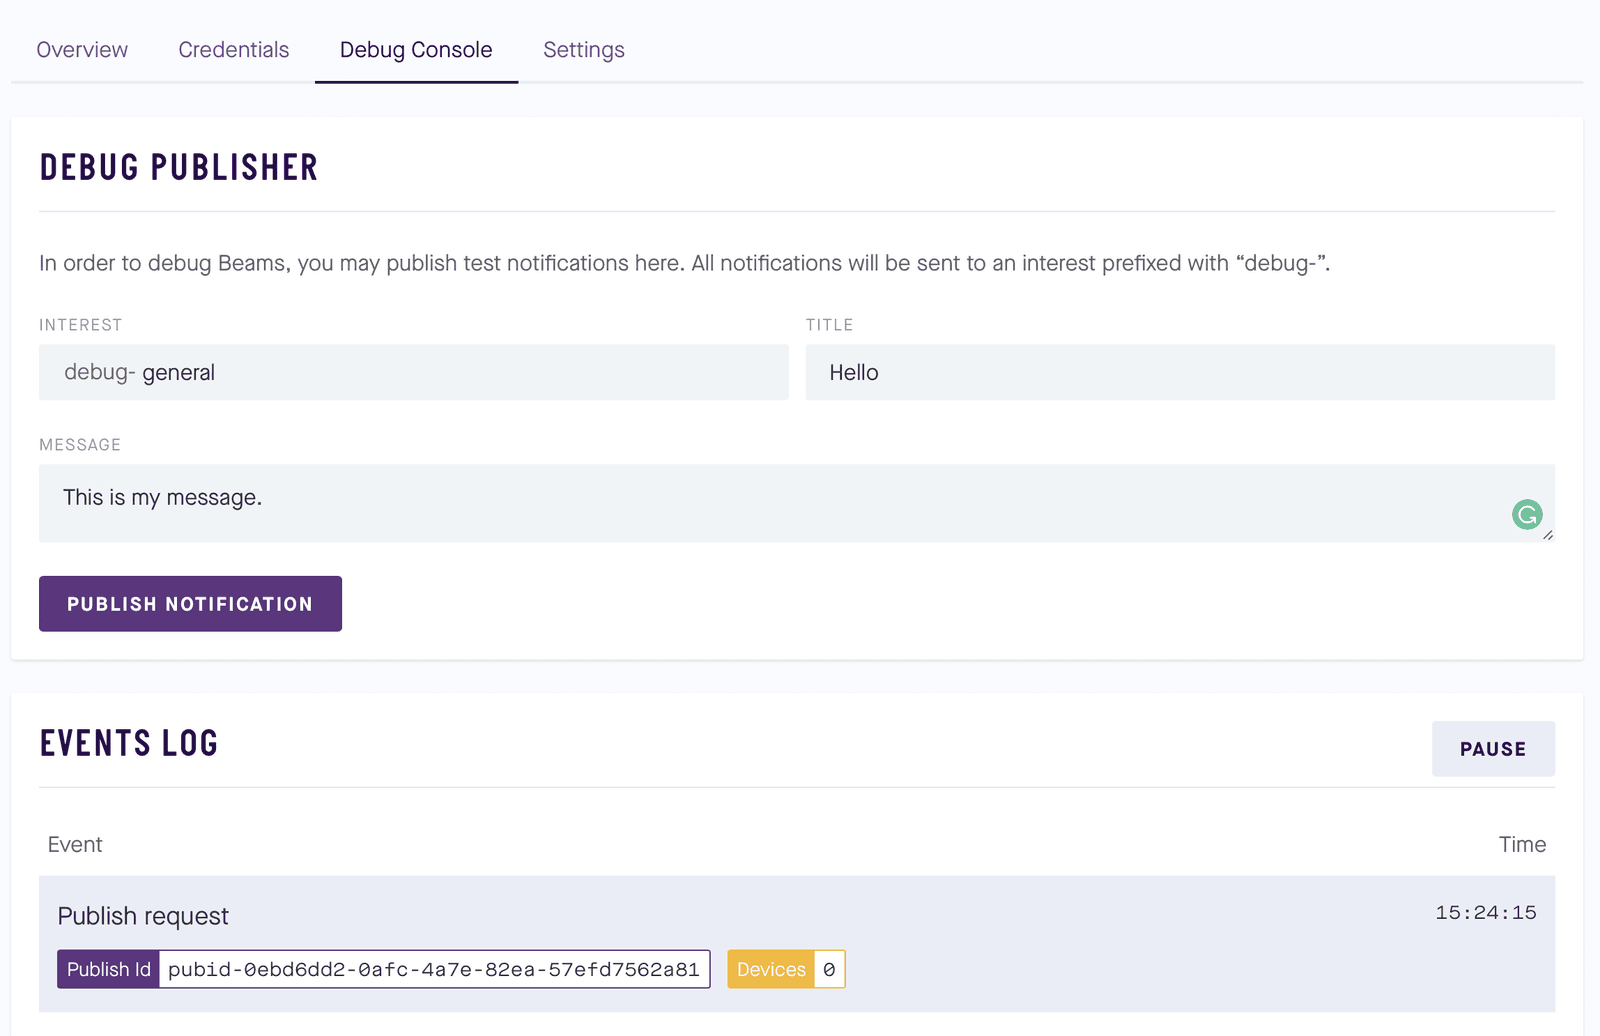
The settings tab is where you can update your APNs or FCM server keys. Additionally, you can add your team members, change the instance name or delete the instance.
Custom notifications
Custom notifications are vital to the way modern applications need to interact with their users. Custom in this sense doesn’t necessarily mean that you need to customize the message, however that is one example. Custom messages might be that you only want to target selected groups of users or maybe even a single user. With Pusher Beams you can use the server SDKs to help make this simple.
Pusher has a selection of server SDKs. Refer to Pusher Beams docs. If you need inspiration or you are looking for how-to guides, refer to tutorials that will help you setup your chosen server.
We can use a database on the server to store information about users. It could be that each user has their own unique interest so they are the only ones to receive those notifications. It could be that the user has multiple interests or that the payload (the content of the notification) needs customising for certain interests. Using a server to handle this logic means that our app doesn’t need to be running and we can customise user notifications from our server at any time.
You could use the server SDK’s to create your a custom publishing tool for your marketing teams or you could have a separate system that automatically generates push notifications for a chat app, that may or may not be using Chatkit.
Conclusion
This was a short tutorial on to quickly create a Pusher Beams instance and we’ve had a whirlwind tour of the Pusher Beams dashboard. The next step (if you haven’t already done it) is to add the client SDKs and send some notifications from the dashboard. Then we can look at sending custom notifications using the server SDKs or creating our own custom publishing tool.
Every application is unique and so is every user. Pusher Beams gives us the opportunity to implement a unique push notification service for those users the way we as developers need to for our applications.


© 2026 Pusher Ltd. All rights reserved.
Pusher Limited is a company registered in England and Wales (No. 07489873) whose registered office is at MessageBird UK Limited, 3 More London Riverside, 4th Floor, London, United Kingdom, SE1 2AQ.