- Products

- Developers
- User stories
- Blog
- Pricing

Introduction to error handling in Angular 7: Part 3 - Sentry
Introduction
Remote error tracking in Angular 7 with Sentry
In this tutorial, you will be introduced to errors tracking in Angular7 using the errorHandler class and Sentry.
This is the third part of the Angular 7 error handling series, you can refer to the first part here, and the second here.
Prerequisites
To be able to follow through in this tutorial's demonstration you should have:
- Node version 11.0 installed on your machine.
- Node Package Manager version 6.7 (usually ships with Node installation).
- Angular CLI version 7.0
- The latest version of Angular (version 7)
1// run the command in a terminal 2 ng version
Confirm that you are using version 7, and update to 7 if you are not. Other things that will be nice-to-haves are:
- A working knowledge of the Angular framework at a beginner level.
- Familiarity with Angular services will be a plus but not a requirement.
In this series, you have been introduced earlier to handling client side errors and then HTTP errors gracefully in Angular 7 with tools like errorHandlers, Interceptors and even RxJS operators. In this post you will be shown how to track these errors in a remote tracking environment.
Tracking errors
When your Angular application is running in the development server with ng serve you can easily track errors in the application. The fastest way you can do this for JavaScript errors is with the errorHandler as it was illustrated in this introductory post here. The errorHandler logs this error for you, the developer, in the browser console you test your application with. This is the standard procedure for the development environment.
The problem
When you build out the application in production and ship it to your users however, there is a big problem that should be obvious by now. Testing the shipped applications become an issue. If your application is in say beta stage, you might maybe send it to family and friends to use, you have to also be on those different devices to be able to spot the errors in their various browser consoles. This is of course not a scalable solution if you have many users who might not even be in the same location as you.
Error reporting by users
Initially, the solution to this problem will be to build a system in such a way that your users can report errors on the application. However, this is rarely the case as users have been reported to be really impatient and this is confirmed by the statistics on the high churn rate of users with applications. The situation that is more commonly seen in the place of error reporting is one-star ratings and high churn rate.
A user is more likely not to use your application and even give a bad review of it than they are to report the error experienced while using the app. This is very practical and it shows an underlying question of responsibility. The responsibility of reporting errors should not be on the user but the developer of the application. Although as you will see, you can make it easier for users to report errors on your application but only as a secondary option.
Remote error tracking
What if there was a way you can still track errors in your application from all the users using the application in real time, remotely and in a centralized location. Thanks to advancement in code testing and monitoring services that has improved in web development over the years, you can now. There are a lot of services in the market right now that lets you do exactly that, some of which are Sentry, Rollbar, Airbrake, Raygun and a host of others.
In this tutorial, you will be introduced to Sentry.io and how it uses the Angular errorHandler class to remotely track and report errors in your Angular applications.
Introducing Sentry
Sentry is an open source software as a service that was built to track errors by providing visibility across your Angular application, providing you with details that you need to fix bugs and handle errors gracefully before the users encounter them. It has an extensive API that handles events from every popular language or application supporting JavaScript and all the frameworks including Angular, Vue and React. It also supports Python, Ruby on Rails, PHP, Go, Swift, Perl and a lot more others. It also perfectly integrates with a lot of developer services like Slack, Trello, GitHub, Twilio and a host of many others.
Getting started
Visit the Sentry page here and click on Get started. You will see a page with a lot of sign up options including through your mail address, through GitHub or even through an Azure Devops account. The process will go through authentication with whichever option you choose.
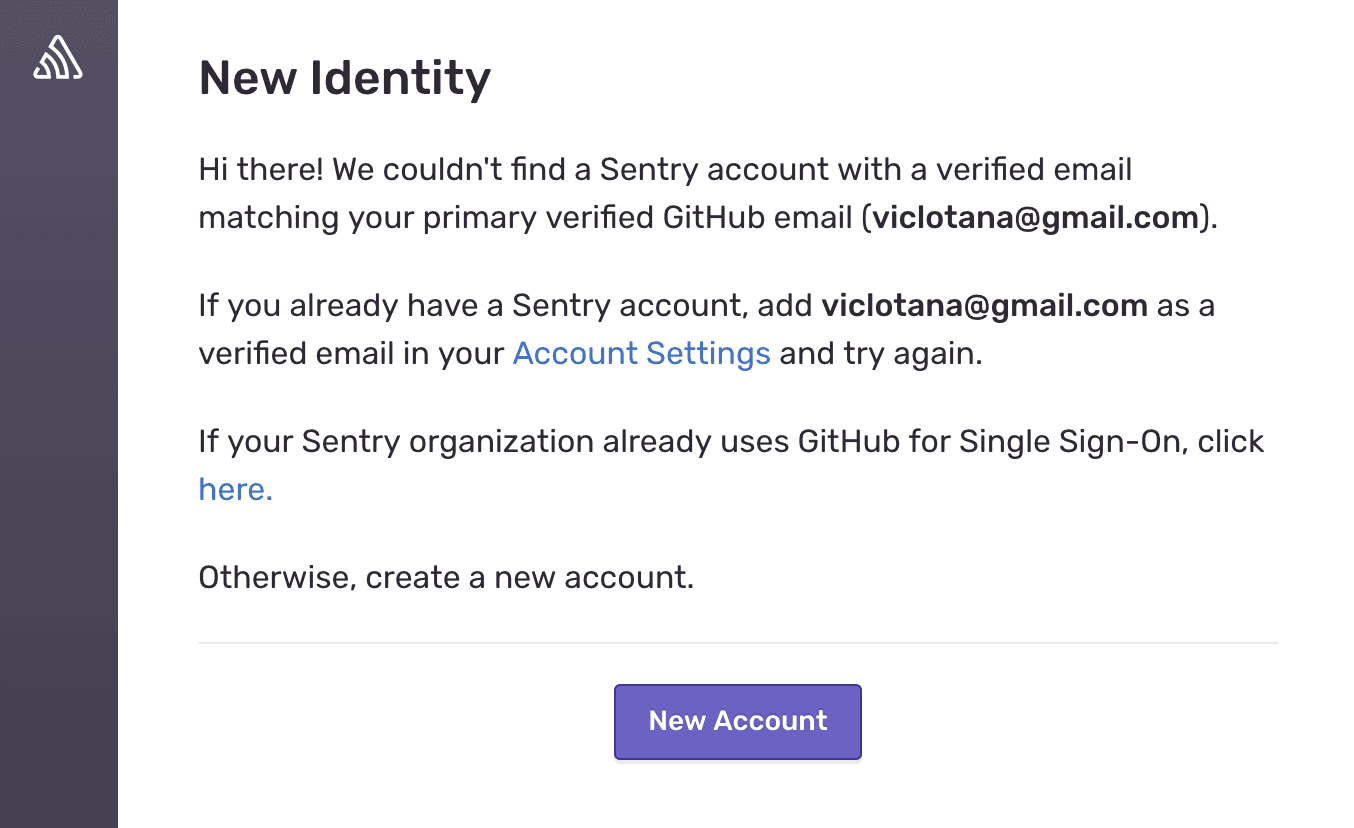
When you see a similar screen (I used GitHub to sign up), click on New Account and then confirm that your name and email address are accurate. You are also to create an organisation at this point, you can call it your own name if it is a personal account.
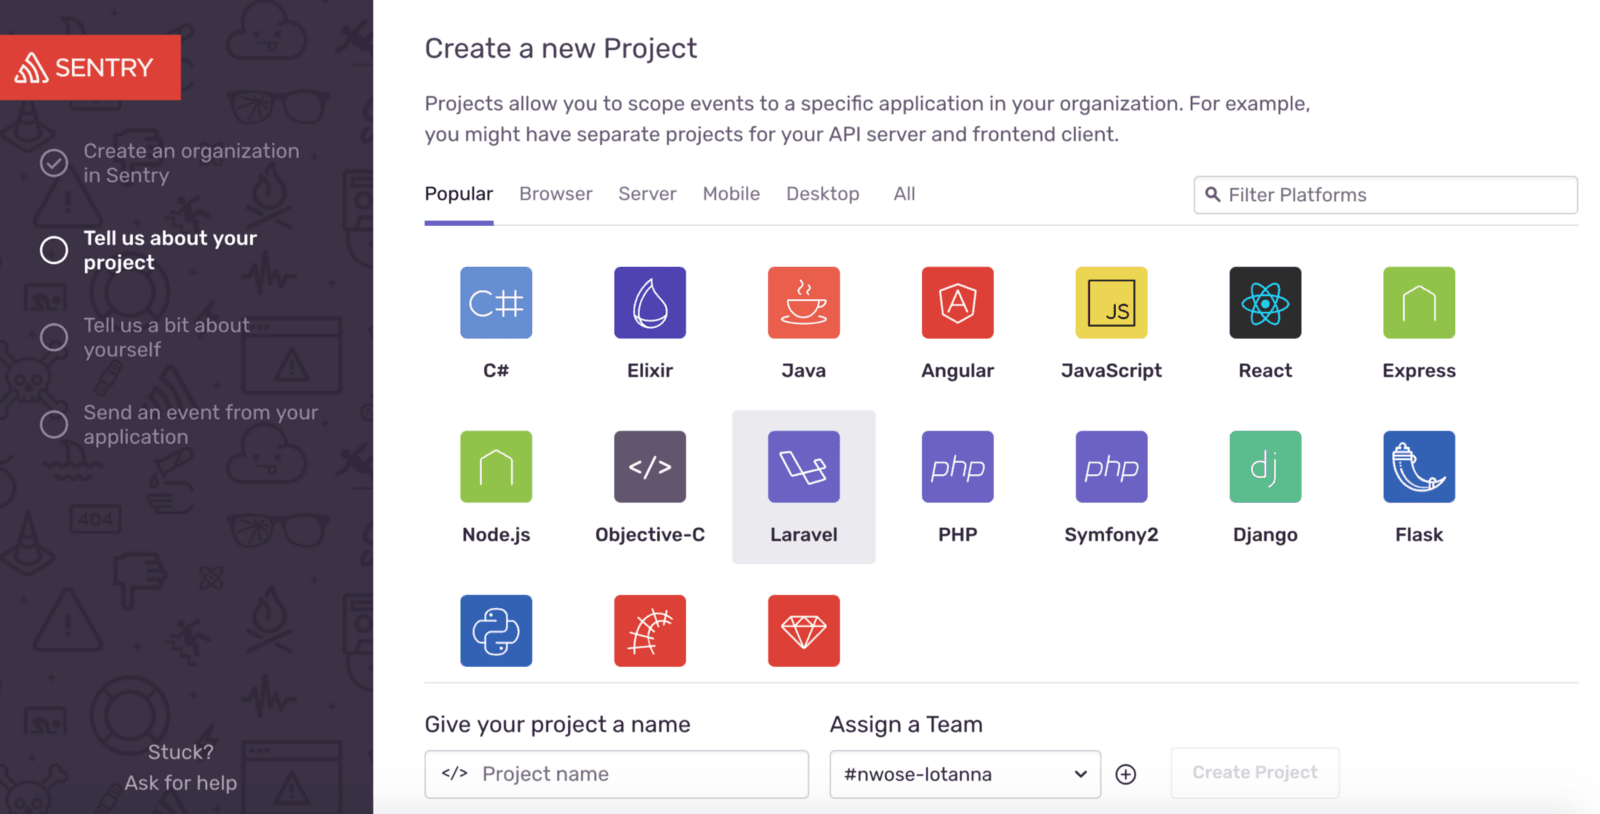
Next thing is to create a new project, a dashboard displaying a wide range of languages you can run Sentry on. Projects allow you to scope events to a specific application in your already created organization. Select Angular and give the project a name of your choosing then click on create project.
The next stage is a small questionnaire you are to fill telling Sentry your developer role and how you heard about Sentry, this is purely a marketing and data collection phase to help developers of Sentry improve the service and get it in front of more developers like yourself.
When you click submit, the final stage where the API specific to Angular projects is saved for you to configure your Angular application with. It is basically a quick getting started guide. Take note of the dsn code inside the component provided for you, it should look like this:
1Sentry.init({ 2 dsn: "https://bla-bla-bla" 3 });
For in-depth instructions on integrating Sentry with Angular, you can view the complete documentation.
Using Sentry
If you have followed this post from the start, you should have Angular 7 all setup in your machine, you have also now setup a Sentry account and created a new project. Now download this demo project from our introductory article here. After unzipping it, open the project folder in VS Code and install Sentry for browser use in a terminal inside the project with this command:
npm install @sentry/browser
This installs the Sentry JavaScript SDK into the project, making the Angular API available for use. Now you have to make changes in two files, go into the error.service.ts file and copy in the code block below:
1// src/app/error.service.ts 2 import { Injectable, ErrorHandler, Injector } from '@angular/core'; 3 import { Router } from '@angular/router'; 4 import { HttpErrorResponse } from '@angular/common/http' 5 import * as Sentry from "@sentry/browser"; 6 Sentry.init({ 7 dsn: "COPY FROM YOUR DASHBOARD" 8 }); 9 @Injectable({ 10 providedIn: 'root' 11 }) 12 export class SentryErrorHandler implements ErrorHandler{ 13 constructor(private injector: Injector) { } 14 handleError(error: any) { 15 const router = this.injector.get(Router); 16 const eventId = Sentry.captureException(error.originalError || error); 17 if (Error instanceof HttpErrorResponse) { 18 console.log(error.status); 19 } 20 else { 21 console.error("an error occured here broo"); 22 Sentry.showReportDialog({ eventId }); 23 } 24 router.navigate(['error']); 25 } 26 }
Here, you have imported the Sentry you earlier installed through npm, now copy the dns code, the one you took note of earlier and paste it inside the code block above. The part "copy from your dashboard" should be changed to the dns code from your dashboard. Now you are done with the error service file, open your app.module.ts file and copy in the code block below:
1// src/app/app.module.ts 2 import { BrowserModule } from '@angular/platform-browser'; 3 import { NgModule, ErrorHandler } from '@angular/core'; 4 import { AppRoutingModule } from './app-routing.module'; 5 import { AppComponent } from './app.component'; 6 import { SentryErrorHandler } from './error.service'; 7 import { ErrorComponent } from './error/error.component'; 8 @NgModule({ 9 declarations: [ 10 AppComponent, 11 ErrorComponent 12 ], 13 imports: [ 14 BrowserModule, 15 AppRoutingModule 16 ], 17 providers: [ 18 { 19 provide: ErrorHandler, 20 useClass: SentryErrorHandler, 21 }, 22 ], 23 bootstrap: [AppComponent] 24 }) 25 export class AppModule { }
This registers the new Sentry error service class so that when your application is ran, exceptions can now be captured by Sentry. To test it, run your application in development environment:
ng serve
This displays our application below
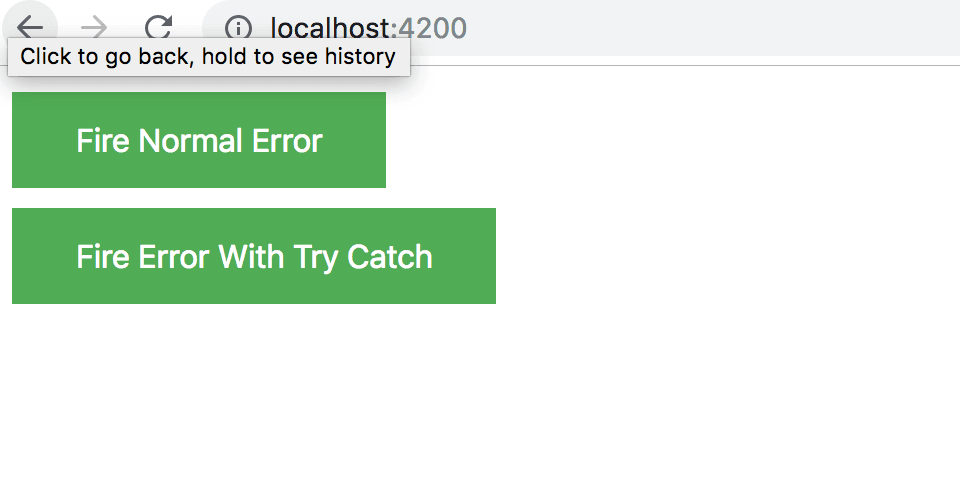
To trigger an exception click the button with try catch, once you do that it navigates to the error page. Now go to your sentry dashboard in your browser and you will see the error tracked in real time.
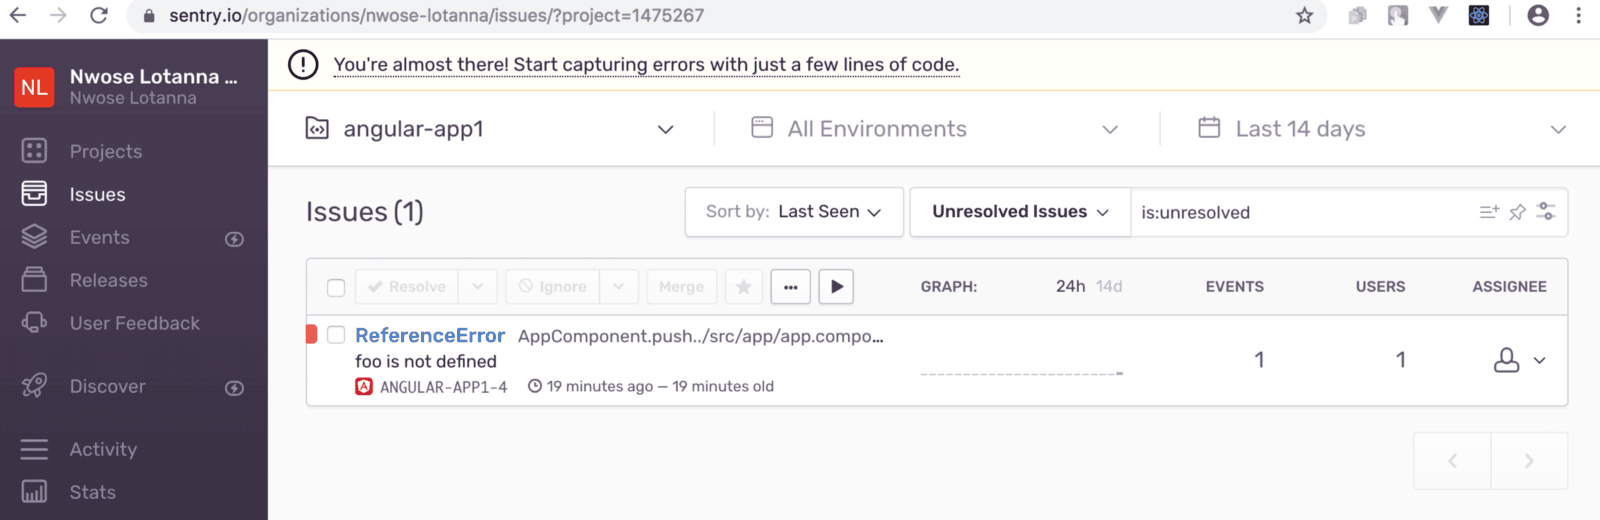
If you go ahead to click on the issue, Sentry provides you with a very extensive dashboard and great looking visualization of the error tracked. Most of the information reported about the user's browser include: the operating system, the type of error flagged, the console logged message, the IDE error message, the data on the browser where the error came from, the SDK version. You can spot the exact error code block and then resolve it, you can merge the resolution and many other fancy things you can do.
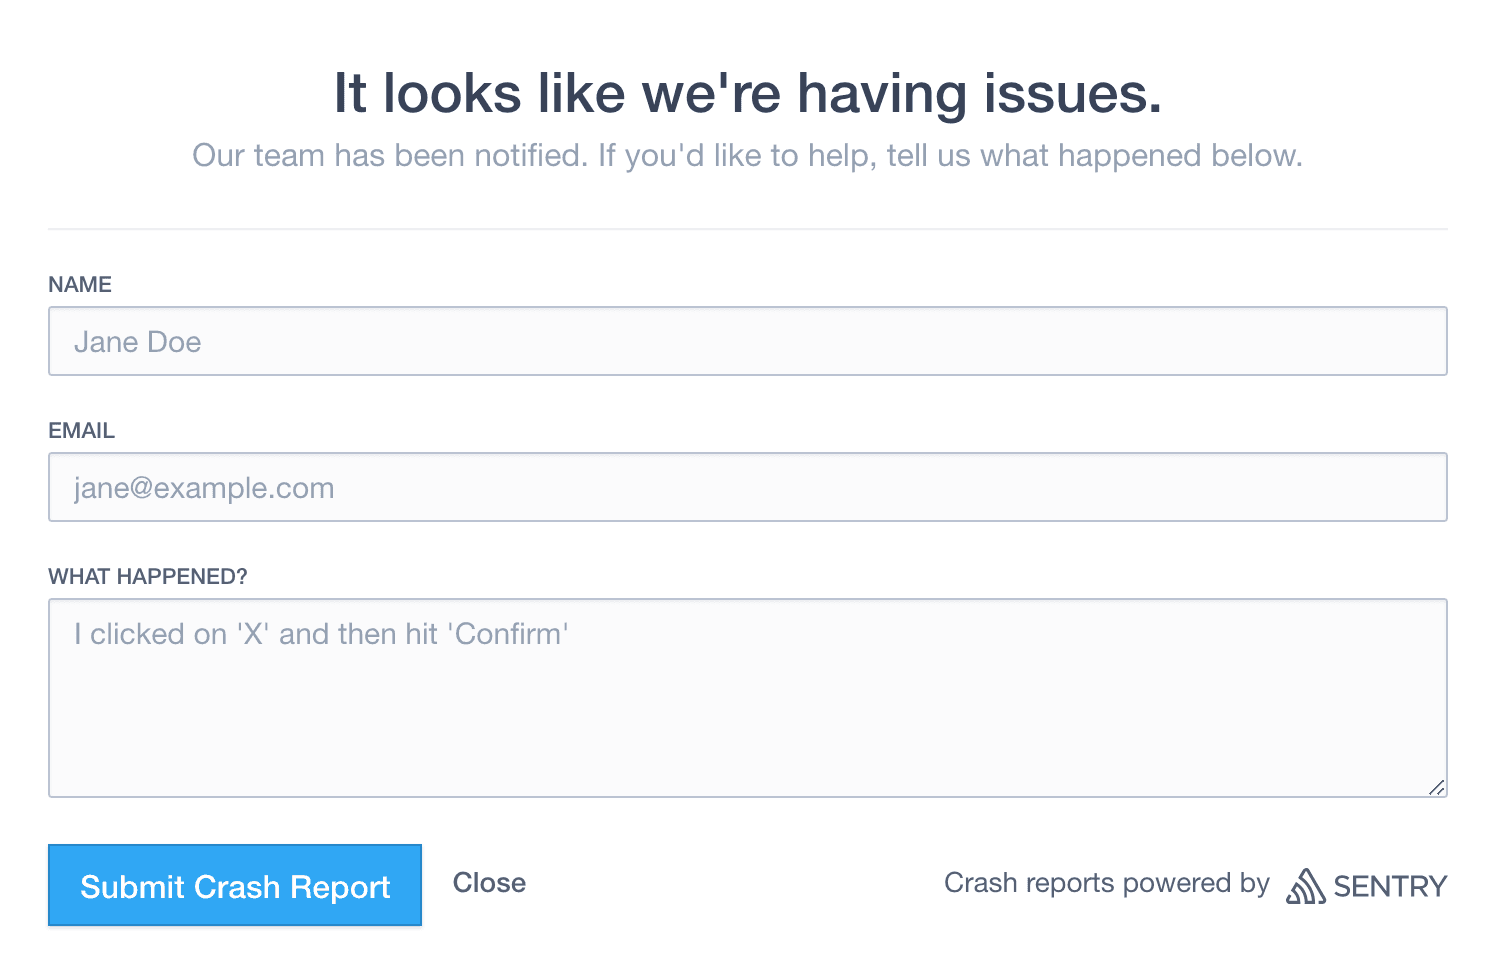
The Sentry documentation is very legible and straightforward and if you want more features you can easily lookup the docs. By default Sentry has a user crash report feedback modal form pop up for willing users to report the error for the developer to get access to more information to help fix it.
You also get email alerts of these exceptions as they are caught, in real time too, this is a pretty amazing feature.
Is my data safe?
This is next question any developer will ask. Sentry is safe and it shows how safe your data is by ensuring that it gives every single account (even free accounts) on its platform the following services:
- Two-factor authentication
- Single Sign On support
- Organization audit log
- Privacy Shield certified
- PII data scrubbing
- SSL encryption
You can get the complete code for this tutorial on here on GitHub, you can also learn more about Sentry Security here.
Conclusion
Sentry is a great option for developers who build out their applications to production phase and deploy to users. The docs are very extensive and the error reporting is top notch with everything you will need and in realtime. Have you considered using an error tracking service for your Angular application?


© 2026 Pusher Ltd. All rights reserved.
Pusher Limited is a company registered in England and Wales (No. 07489873) whose registered office is at MessageBird UK Limited, 3 More London Riverside, 4th Floor, London, United Kingdom, SE1 2AQ.