- Products

- Developers
- User stories
- Blog
- Pricing

Build a CMS with Laravel and Vue - Part 5: Completing our dashboards
Introduction
In the previous part of this series, we built the first parts of the admin dashboard using Vue. We also made it into an SPA with the VueRouter, this means that visiting the pages does not cause a reload to the web browser.
We only built the wrapper component and the Read component that retrieves the posts to be loaded so an admin can manage them.
Here’s a recording of what we ended up with, in the last article:
In this article, we will build the view that will allow users to create and update posts. We will start writing code in the Update.vue and Create.vue files that we created in the previous article.
When we are done with this part, we will have additional functionalities like create and updating:
Prerequisites
To follow along with this series, a few things are required:
- Basic knowledge of PHP.
- Basic knowledge of the Laravel framework.
- Basic knowledge of JavaScript (ES6 syntax).
- Basic knowledge of Vue.
Including the new routes in VueRouter
In the previous article, we only defined the route for the Read component, we need to include the route configuration for the new components that we are about to build; Update and Create.
Open the resources/assets/js/app.js file and replace the contents with the code below:
1require('./bootstrap'); 2 3 import Vue from 'vue' 4 import VueRouter from 'vue-router' 5 import Homepage from './components/Homepage' 6 import Create from './components/Create' 7 import Read from './components/Read' 8 import Update from './components/Update' 9 10 Vue.use(VueRouter) 11 12 const router = new VueRouter({ 13 mode: 'history', 14 routes: [ 15 { 16 path: '/admin/dashboard', 17 name: 'read', 18 component: Read, 19 props: true 20 }, 21 { 22 path: '/admin/create', 23 name: 'create', 24 component: Create, 25 props: true 26 }, 27 { 28 path: '/admin/update', 29 name: 'update', 30 component: Update, 31 props: true 32 }, 33 ], 34 }); 35 36 const app = new Vue({ 37 el: '#app', 38 router, 39 components: { Homepage }, 40 });
Above, we have added two new components to the JavaScript file. We have the Create and Read components. We also added them to the router so that they can be loaded using the specified URLs.
Building the create view
Open the Create.vue file and update it with this markup template:
1<!-- File: ./resources/app/js/components/Create.vue --> 2 <template> 3 <div class="container"> 4 <form> 5 <div :class="['form-group m-1 p-3', (successful ? 'alert-success' : '')]"> 6 <span v-if="successful" class="label label-sucess">Published!</span> 7 </div> 8 <div :class="['form-group m-1 p-3', error ? 'alert-danger' : '']"> 9 <span v-if="errors.title" class="label label-danger"> 10 {{ errors.title[0] }} 11 </span> 12 <span v-if="errors.body" class="label label-danger"> 13 {{ errors.body[0] }} 14 </span> 15 <span v-if="errors.image" class="label label-danger"> 16 {{ errors.image[0] }} 17 </span> 18 </div> 19 20 <div class="form-group"> 21 <input type="title" ref="title" class="form-control" id="title" placeholder="Enter title" required> 22 </div> 23 24 <div class="form-group"> 25 <textarea class="form-control" ref="body" id="body" placeholder="Enter a body" rows="8" required></textarea> 26 </div> 27 28 <div class="custom-file mb-3"> 29 <input type="file" ref="image" name="image" class="custom-file-input" id="image" required> 30 <label class="custom-file-label" >Choose file...</label> 31 </div> 32 33 <button type="submit" @click.prevent="create" class="btn btn-primary block"> 34 Submit 35 </button> 36 </form> 37 </div> 38 </template>
Above we have the template for the Create component. If there is an error during post creation, there will be a field indicating the specific error. When a post is successfully published, there will also a message saying it was successful.
Let’s include the script logic that will perform the sending of posts to our backend server and read back the response.
After the closing template tag add this:
1<script> 2 export default { 3 props: { 4 userId: { 5 type: Number, 6 required: true 7 } 8 }, 9 data() { 10 return { 11 error: false, 12 successful: false, 13 errors: [] 14 }; 15 }, 16 methods: { 17 create() { 18 const formData = new FormData(); 19 formData.append("title", this.$refs.title.value); 20 formData.append("body", this.$refs.body.value); 21 formData.append("user_id", this.userId); 22 formData.append("image", this.$refs.image.files[0]); 23 24 axios 25 .post("/api/posts", formData) 26 .then(response => { 27 this.successful = true; 28 this.error = false; 29 this.errors = []; 30 }) 31 .catch(error => { 32 if (!_.isEmpty(error.response)) { 33 if ((error.response.status = 422)) { 34 this.errors = error.response.data.errors; 35 this.successful = false; 36 this.error = true; 37 } 38 } 39 }); 40 41 this.$refs.title.value = ""; 42 this.$refs.body.value = ""; 43 } 44 } 45 }; 46 </script>
In the script above, we defined a create() method that takes the values of the input fields and uses the Axios library to send them to the API interface on the backend server. Within this method, we also update the status of the operation, so that an admin user can know when a post is created successfully or not.
Building the update view
Let’s start building the Update component. Open the Update.vue file and update it with this markup template:
1<!-- File: ./resources/app/js/components/Update.vue --> 2 <template> 3 <div class="container"> 4 <form> 5 <div :class="['form-group m-1 p-3', successful ? 'alert-success' : '']"> 6 <span v-if="successful" class="label label-sucess">Updated!</span> 7 </div> 8 9 <div :class="['form-group m-1 p-3', error ? 'alert-danger' : '']"> 10 <span v-if="errors.title" class="label label-danger"> 11 {{ errors.title[0] }} 12 </span> 13 <span v-if="errors.body" class="label label-danger"> 14 {{ errors.body[0] }} 15 </span> 16 </div> 17 18 <div class="form-group"> 19 <input type="title" ref="title" class="form-control" id="title" placeholder="Enter title" required> 20 </div> 21 22 <div class="form-group"> 23 <textarea class="form-control" ref="body" id="body" placeholder="Enter a body" rows="8" required></textarea> 24 </div> 25 26 <button type="submit" @click.prevent="update" class="btn btn-primary block"> 27 Submit 28 </button> 29 </form> 30 </div> 31 </template>
This template is similar to the one in the Create component. Let’s add the script for the component.
Below the closing template tag, paste the following:
1<script> 2 export default { 3 mounted() { 4 this.getPost(); 5 }, 6 props: { 7 postId: { 8 type: Number, 9 required: true 10 } 11 }, 12 data() { 13 return { 14 error: false, 15 successful: false, 16 errors: [] 17 }; 18 }, 19 methods: { 20 update() { 21 let title = this.$refs.title.value; 22 let body = this.$refs.body.value; 23 24 axios 25 .put("/api/posts/" + this.postId, { title, body }) 26 .then(response => { 27 this.successful = true; 28 this.error = false; 29 this.errors = []; 30 }) 31 .catch(error => { 32 if (!_.isEmpty(error.response)) { 33 if ((error.response.status = 422)) { 34 this.errors = error.response.data.errors; 35 this.successful = false; 36 this.error = true; 37 } 38 } 39 }); 40 }, 41 getPost() { 42 axios.get("/api/posts/" + this.postId).then(response => { 43 this.$refs.title.value = response.data.data.title; 44 this.$refs.body.value = response.data.data.body; 45 }); 46 } 47 } 48 }; 49 </script>
In the script above, we make a call to the getPosts() method as soon as the component is mounted. The getPosts() method fetches the data of a single post from the backend server, using the postId.
When Axios sends back the data for the post, we update the input fields in this component so they can be updated.
Finally, the update() method takes the values of the fields in the components and attempts to send them to the backend server for an update. In a situation where the fails, we get instant feedback.
Testing the application
To test that our changes work, we want to refresh the database and restore it back to a fresh state. To do this, run the following command in your terminal:
$ php artisan migrate:fresh --seed
Next, let’s compile our JavaScript files and assets. This will make sure all the changes we made in the Vue component and the app.js file gets built. To recompile, run the command below in your terminal:
$ npm run dev
Lastly, we need to serve the application. To do this, run the following command in your terminal window:
$ php artisan serve
If you had the serve command running before, then you might need to restart it.
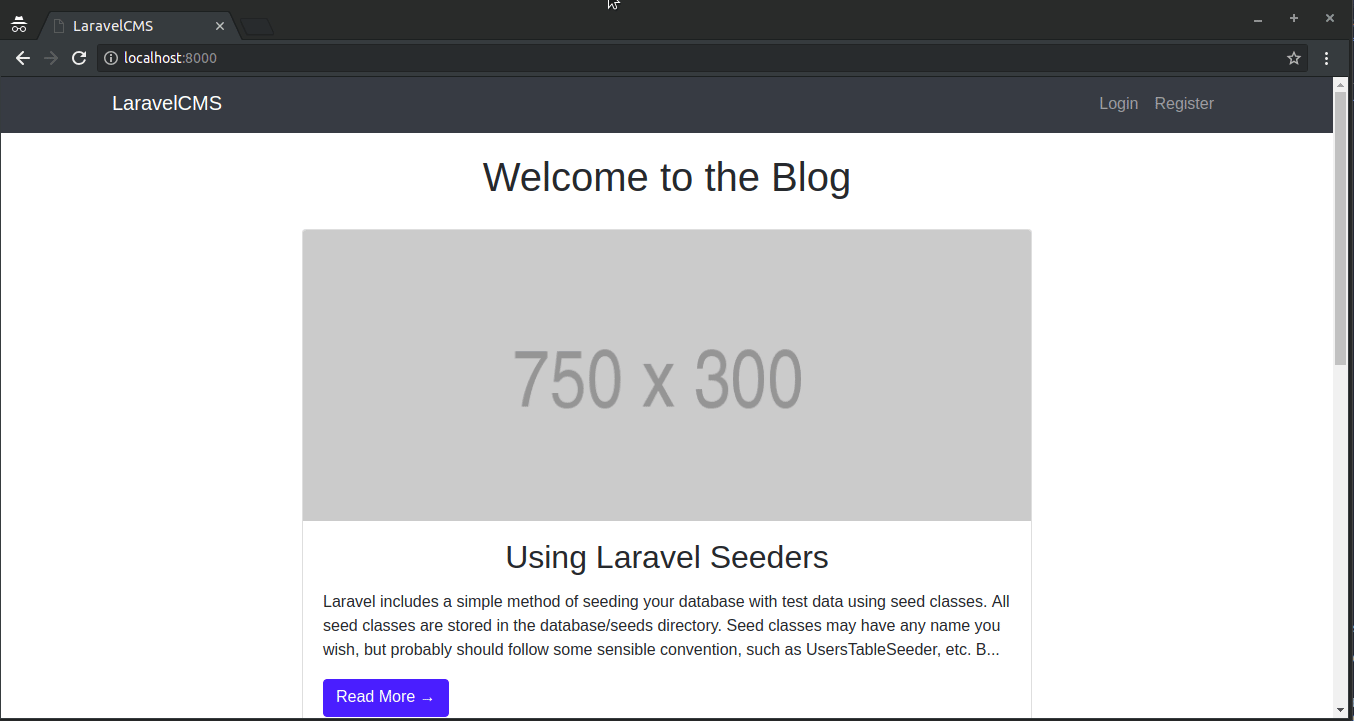
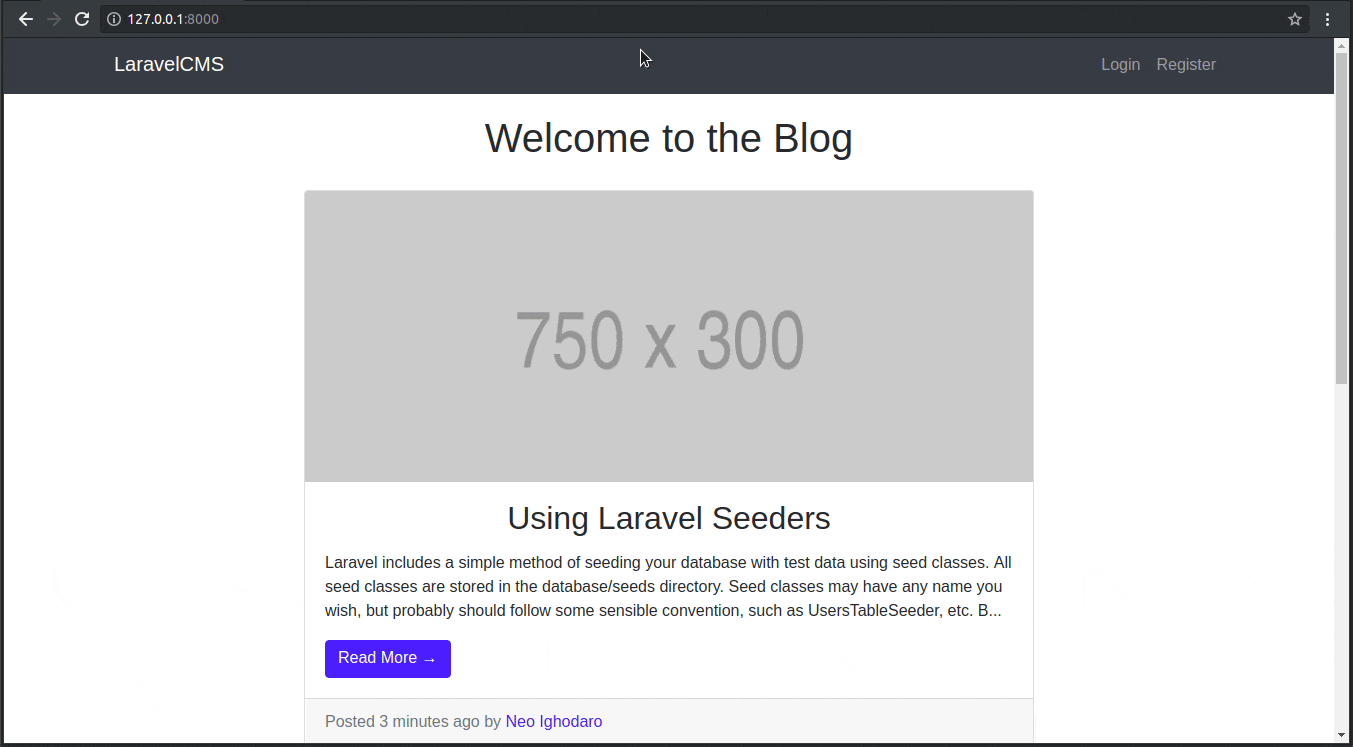
We will visit the application’s http://localhost:8000 and log in as an admin user. From the dashboard, you can test the create and update feature:
Conclusion
In this part of the series, we updated the dashboard to include the Create and Update component so the administrator can add and update posts.
In the next article, we will build the views that allow for the creation and updating of a post.
The source code for this project is available here on Github.


© 2026 Pusher Ltd. All rights reserved.
Pusher Limited is a company registered in England and Wales (No. 07489873) whose registered office is at MessageBird UK Limited, 3 More London Riverside, 4th Floor, London, United Kingdom, SE1 2AQ.