- Products

- Developers
- User stories
- Blog
- Pricing

Build a chat app with sentiment analysis using Nest.js
- Introduction
- Introduction
- Prerequisites
- Setting up the application
- Start the application
- Server dependencies
- Pusher account setup
- Bootstrap the application
- Building the homepage
- Stylesheet
- Handling routes
- Initialize the chat room
- Post a message
- Create a controller
- Realtime service with Pusher
- Connecting the dots
- Displaying chat messages
- Conclusion
Introduction
Introduction
In recent years, sentiment analysis has shifted from analyzing online product reviews to social media texts from Twitter and Facebook. Now with the advent and popularity of chat applications on virtually all web applications around the world, we can use a sentiment analysis tool to add a fun feature that enriches users’ chat experience.
In this post, we will take a dive into a realtime chat demo. This application will be built using Nest.js and Pusher. Nest.js is a Node.js progressive framework for building efficient and scalable server-side applications. In addition, we will also be able to perform sentiment analysis on messages sent by users.
Prerequisites
A basic understanding of TypeScript and Node.js will help you get the best out of this tutorial. It is assumed that you already have Node and npm installed. Kindly check Node.js and npm for further instructions and installation steps.
Here is a quick overview of the technologies that we will be using in this post.
- Nest.js: a progressive framework for building efficient and scalable server-side applications. Built to take the advantage of modern JavaScript, but still preserves compatibility with pure JavaScript.
- Pusher: a Node.js client to interact with the Pusher REST API
- Axios: a promise-based HTTP client that works both in the browser and in a Node.js environment.
- Sentiment: Sentiment is a module that uses the AFINN-165 wordlist and Emoji Sentiment Ranking to perform sentiment analysis on arbitrary blocks of input text.
- Vue.js: Vue is a progressive JavaScript frontend framework for building web applications.
Setting up the application
The simplest and most efficient way to set up a Nest.js application is to clone the starter repository made available on their website.
Now let’s run a command that will create a new project folder named realtime-chat-nest on your machine. Open your terminal or command prompt and run this command :
$ git clone https://github.com/nestjs/typescript-starter.git realtime-chat-nest
Go ahead and change directory into the newly created folder and install all the dependencies for the project.
1// change directory 2 cd realtime-chat-nest 3 4 // install dependencies 5 npm install
Start the application
Run the application with:
npm start
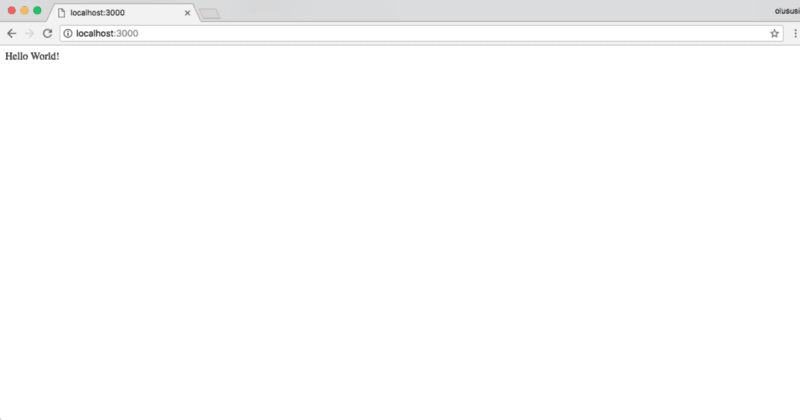
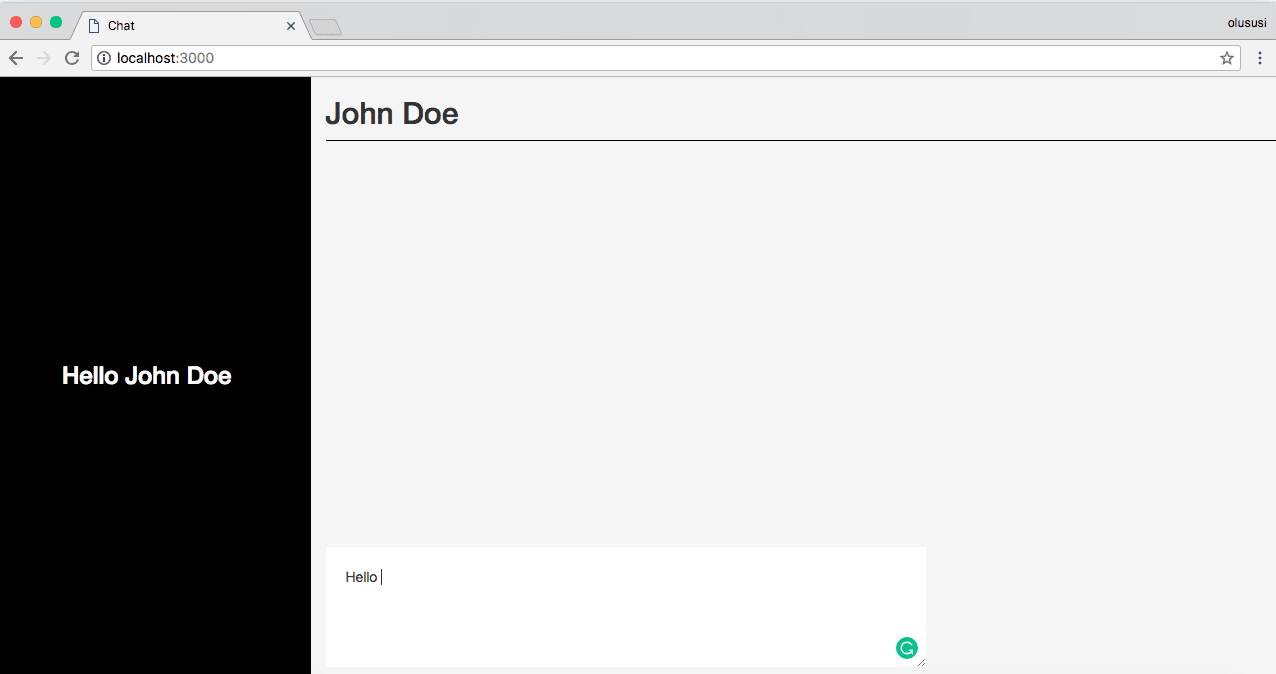
The command above will start the application on the default port used by Nest.js. Open your browser and navigate to localhost:3000. You should see the page with a welcome message like what we have below.
Server dependencies
Run the command below to install the server dependencies required for this project.
npm install ejs body-parser pusher
ejs: this is a simple templating language for generating HTML markup with plain JavaScript.
Body-parser: a middleware used for extracting the entire body portion of an incoming request stream and expose it on req.body .
Pusher: a Node.js client to interact with the Pusher REST API
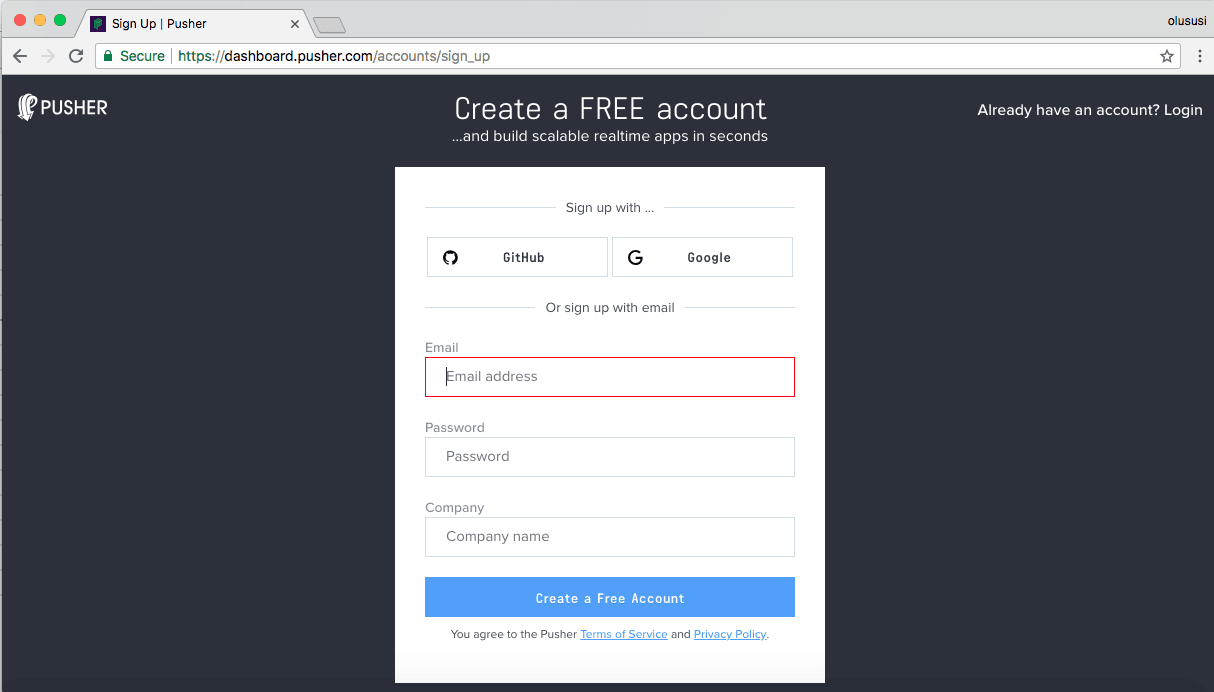
Pusher account setup
Head over to Pusher and sign up for a free account.
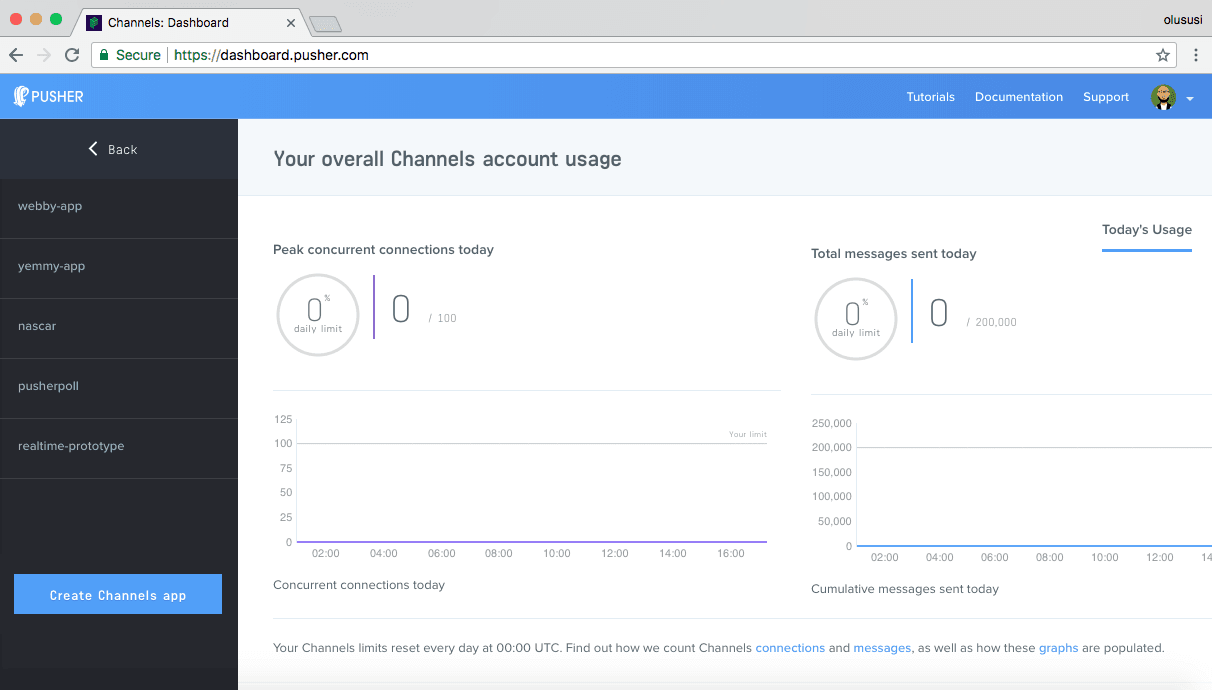
Create a new app by selecting Channels apps on the sidebar and clicking Create Channels app button on the bottom of the sidebar:
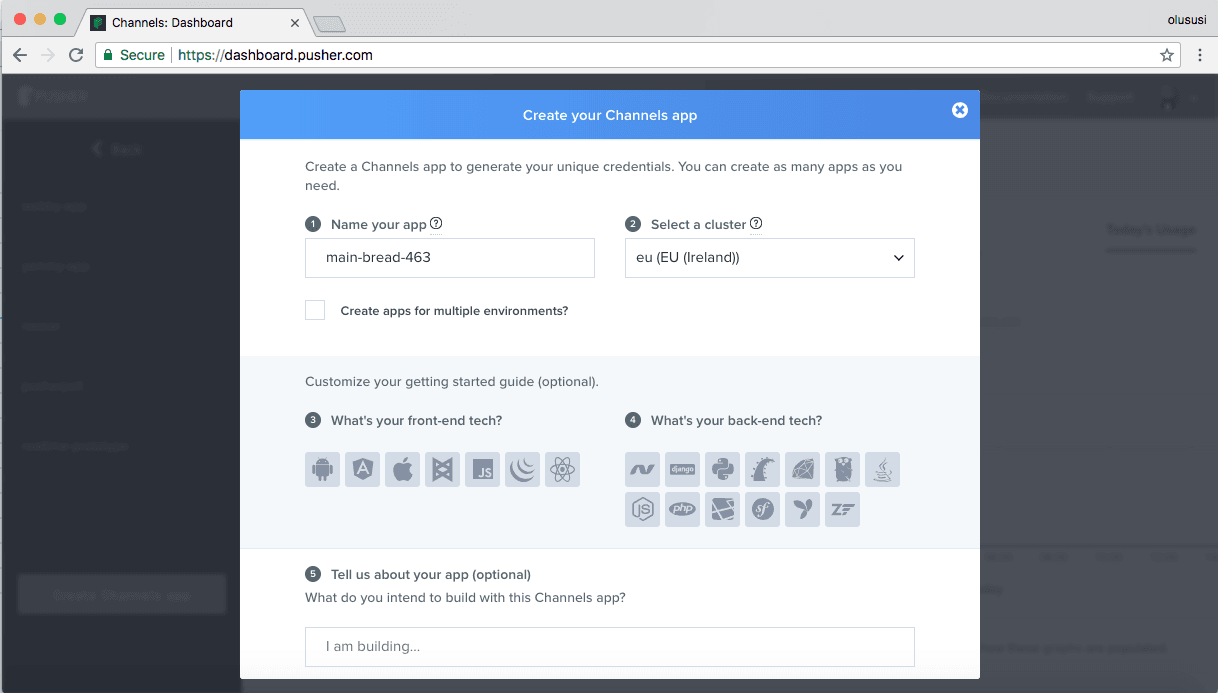
Configure an app by providing basic information requested in the form presented. You can also choose the environment you intend to integrate Pusher with for a better setup experience:
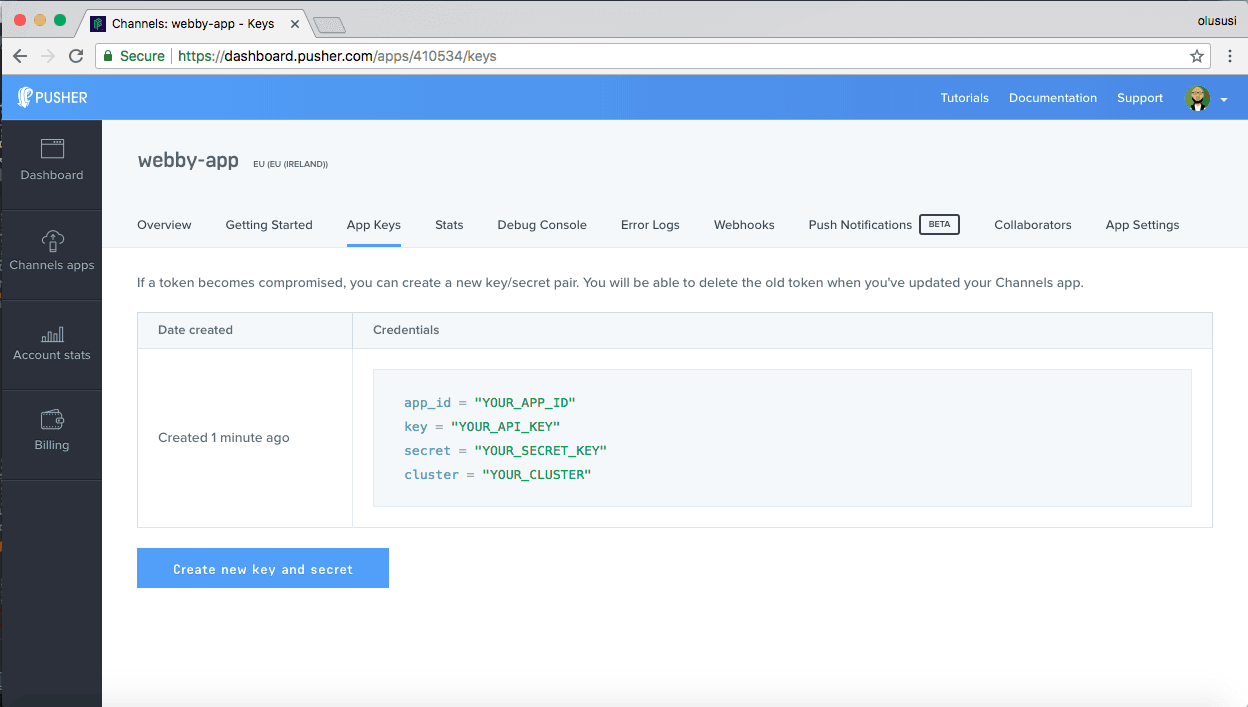
You can retrieve your keys from the App Keys tab:
Bootstrap the application
Under the hood, Nest uses the Express library and therefore, favors the popular MVC pattern.
To set this up, open up main.ts file and update it with the content below:
1// ./src/main.ts 2 3 import { NestFactory } from '@nestjs/core'; 4 import { AppModule } from './app.module'; 5 6 import * as bodyParser from 'body-parser'; 7 import * as express from 'express'; 8 import * as path from 'path'; 9 10 async function bootstrap() { 11 const app = await NestFactory.create(AppModule); 12 app.use(express.static(path.join(__dirname, 'public'))); 13 app.set('views', __dirname + '/views'); 14 // set ejs as the view engine 15 app.set('view engine', 'ejs'); 16 await app.listen(3000); 17 } 18 bootstrap();
This is the entry point of the application and necessary for bootstrapping Nest.js apps. I have included the Express module, path, and set up ejs as the view engine for the application.
Building the homepage
The views folder will contain all templates for this application. Go ahead and create it within the src folder. Once you are done, create a new file named index.ejs right inside the newly created views folder and update the content with:
1// ./src/views/index.ejs 2 3 <!DOCTYPE html> 4 <html lang="en"> 5 <head> 6 <meta charset="UTF-8"> 7 <meta name="viewport" content="width=device-width, initial-scale=1.0"> 8 <meta http-equiv="X-UA-Compatible" content="ie=edge"> 9 <link rel="stylesheet" href="https://maxcdn.bootstrapcdn.com/bootstrap/3.3.7/css/bootstrap.min.css"> 10 <link rel="stylesheet" href="/style.css"> 11 <script src="https://cdnjs.cloudflare.com/ajax/libs/vue/2.5.13/vue.js"></script> 12 13 <title> Chat </title> 14 </head> 15 <body> 16 <div id="app"> 17 18 <div class="row"> 19 <div class="col-md-3" id="active-user"> 20 <div class="form-group"> 21 <h3 v-if="username">Hello {{ username }}</h3> 22 <div v-else> 23 <h3>Enter a username</h3> 24 <input type="text" @Keyup.enter="getUser" placeholder="Username" class="form-control"> 25 </div> 26 </div> 27 </div> 28 29 <div class="col-md-9" id="chat-room"> 30 <div v-if="username"> 31 <div> 32 <div style="border-bottom: 1px solid black"> 33 <h2>{{ username }}</h2> 34 </div> 35 <div v-for="chat in chats" id="chat-box"> 36 <p> {{chat.mood}} </p> 37 <p> <b>{{ chat.user }}</b></p> 38 <p id="chat-message"> {{ chat.message }} </p> 39 </div> 40 </div> 41 <div class="form-group"> 42 <textarea placeholder="Type a message here then hit ENTER" @Keyup.enter="postMessages"></textarea> 43 </div> 44 </div> 45 </div> 46 </div> 47 </div> 48 49 <script src="https://cdnjs.cloudflare.com/ajax/libs/axios/0.16.2/axios.js"></script> 50 <script src="https://js.pusher.com/4.1/pusher.min.js"></script> 51 <script src="/main.js"></script> 52 </body> 53 </html>
On this page, we are simply building a basic chat room that will showcase the realtime functionality and sentiment analysis that was mentioned earlier. This will serve as the homepage for the application, hence the need for it to be well structured.
Firstly, we included a link to the Bootstrap CDN file to add some default styling and layout to our application. We also added a custom stylesheet for further styling. We will create this stylesheet in the next section. Also included in a <script> tag just before the page title is a CDN file for Vue.js. This is to ensure that Vue.js is loaded immediately the index.ejs file is rendered.
Furthermore, on this page, we used an event handler to listen to keyboard events using key modifiers aliases made available by Vue.js. This process will be discussed later in the tutorial.
Finally, we included CDN file each for Axios, Pusher and then proceeded to add a custom script file named main.js. To set up this file, go ahead and create a public folder within the src folder in the application and create the main.js file within it.
Stylesheet
To set up this stylesheet, locate the public folder and create a new file named style.css within it. Next, open the file and paste the code below:
1// ./src/public/style.css 2 3 html{ 4 height: 100%; 5 } 6 #active-user { 7 height: 600px; 8 background: #000000; 9 color: #ffffff; 10 min-height: 600px; 11 12 display: flex; 13 align-items: center; 14 justify-content: center; 15 } 16 #chat-room { 17 min-height: 600px; 18 background: #f5f5f5; 19 } 20 textarea { 21 position: absolute; 22 bottom: 10px; 23 width: 600px; 24 min-height: 120px; 25 padding: 20px; 26 border: none; 27 overflow: auto; 28 outline: none; 29 } 30 #chat-box { 31 padding: 20px; 32 } 33 #chat-message { 34 background: #f8f9fa!important; 35 max-width: 40%; 36 min-height: 50px; 37 padding: 3px; 38 }
Handling routes
The controller layer in Nest.js is responsible for receiving an incoming request and returning the appropriate response to the client. Nest uses a controller metadata @Controller to map routes to a specific controller. The starter project already contains a controller by default. We will make use of this in order to render the home for this app. Open ./src/app.controller.ts and edit as shown below:
1// ./src/app.controller.ts 2 3 import { Get, Controller, Res } from '@nestjs/common'; 4 5 @Controller() 6 export class AppController { 7 @Get() 8 root(@Res() res) { 9 res.render('index'); 10 } 11 }
This controller will ensure that Nest maps every / route to index.ejs file.
Initialize the chat room
As carefully laid out on our index.ejs page earlier on, the chat room will contain two separate sections that will be differentiated by the width of the column. One of the sections will contain an input field that will accept a username and the other section will be where the chat messages are properly displayed.
To initialize the chat room, we will start by creating a new Vue instance with the Vue function. Open up the main.js file created earlier and paste the code below in it:
1// ./src/public/main.js 2 3 new Vue({ 4 el: '#app', 5 data: { 6 chats: [], 7 username: "", 8 mood: '' 9 }, 10 methods: { 11 getUser(event) { 12 this.username = event.target.value; 13 } 14 ... 15 } 16 })
Here, we created a Vue instance and as part of the options, we bound Vue to a div with an id of app and also passed data options. Further down, we used a method getUser() to retrieve the username of a user.
Post a message
1// ./src/public/main.js 2 3 new Vue({ 4 el: '#app', 5 data: { 6 chats: [], 7 username: "", 8 mood: '' 9 } 10 methods: { 11 getUser(event) { 12 ... 13 }, 14 15 postMessages(event) { 16 const chatMessage = event.target.value; 17 18 if(event.keyCode === 13 && !event.shiftKey) { 19 const chat = { 20 user: this.username, 21 message: chatMessage 22 }; 23 24 event.target.value = ""; 25 26 axios.post('/message', chat) 27 .then( data => { 28 console.log(data); 29 }); 30 } 31 } 32 } 33 })
In order to send the chat message to the server, we created a postMessages() function with the responsibility of retrieving the chat message provided by a user and sending it to the server.
Create a controller
Earlier, we already configured the app.controller.ts to render the homepage and display the form for consumers. The next thing we need to do is build the controller that will handle the data posted to the server. Create a new folder named chat in the src folder and create a new file called chat.controller.ts within it.
1// ./src/chat/chat.controller.ts 2 3 import { Controller, Post, Res, Body, HttpStatus } from '@nestjs/common'; 4 import { ChatService } from './chat.service'; 5 @Controller('message') 6 export class ChatController { 7 constructor(private chatService: ChatService){} 8 @Post() 9 postMessage(@Res() res, @Body() data ) { 10 this.chatService.addMessage(data) 11 res.status(HttpStatus.OK).send("Comment posted successfully") 12 } 13 }
As shown above, we imported ChatService and injected it into the controller through the constructor. As recommended by Nest a controller should handle only HTTP requests and abstract any complex logic to a service.
Realtime service with Pusher
As required within the ChatController above, let’s create a component as a service. This will basically receive the posted data object that contains, both the username and chat messages provided by the active user and publish it to a designated channel for the client side to listen and subscribe to.
Furthermore, we’ll use the Sentiment javascript library for analysis. To install this library, open a terminal in the root folder of your project and run the following command.
npm install sentiment --save
Once the installation process is completed, create a new file within chat folder named chat.service.ts
1// ./src/chat/chat.service.ts 2 3 import { Component } from '@nestjs/common'; 4 5 const Sentiment = require('sentiment'); 6 @Component() 7 export class ChatService { 8 9 addMessage(data) { 10 const Pusher = require('pusher'); 11 const sentiment = new Sentiment(); 12 const sentimentScore = sentiment.analyze(data.message).score; 13 const chat = { 14 user: data.user, 15 message: data.message, 16 sentiment: sentimentScore 17 } 18 var pusher = new Pusher({ // replace with valid credentials 19 appId: 'YOUR_APP_ID', 20 key: 'YOUR_API_KEY', 21 secret: 'YOUR_SECRET_KEY', 22 cluster: 'CLUSTER', 23 encrypted: true 24 }); 25 pusher.trigger('chats', 'new-chat', chat); 26 } 27 }
Here we have initialized Pusher with the required credentials in order to be able to trigger an event named new-chat through a channel named chats. We also required Sentiment module, this is important, as it will help us analyze the data messages posted by a user and returned respective scores by cross-checking the words.
Connecting the dots
To make this work, both the ChatController and ChatService needs to be registered within the app.module.ts file.
1// ./src/app.module.ts 2 3 import { ChatController } from './chat/chat.controller'; 4 import { ChatService } from './chat/chat.service'; 5 import { Module } from '@nestjs/common'; 6 import { AppController } from './app.controller'; 7 @Module({ 8 imports: [], 9 controllers: [AppController, ChatController], 10 components: [ChatService], 11 }) 12 export class AppModule {}
Restart the development server if it is currently running. Check your page on localhost:3000. You should see:
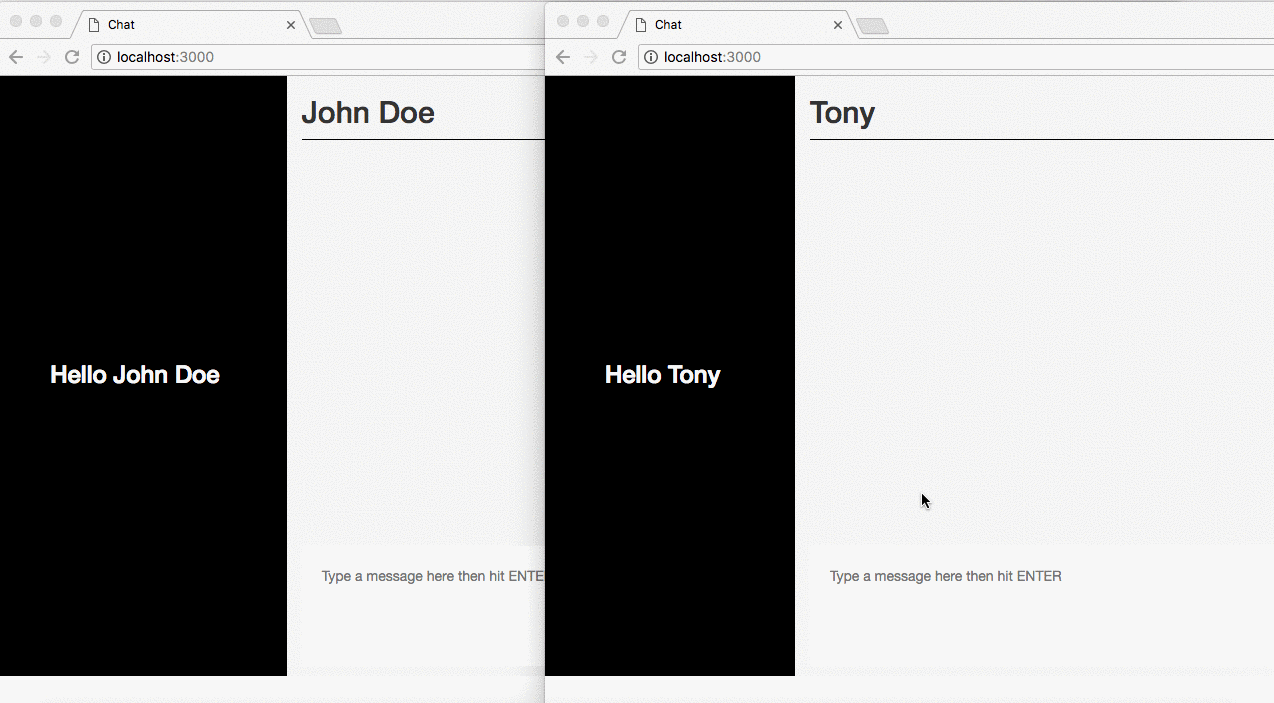
If we try to send a message, nothing will happen for now. This is because we have not updated the chat room with the values of the chat posted from the server.
Displaying chat messages
In order to receive the chat messages in realtime, we’ll use the subscribe() method from Pusher to subscribe to the created chats channel.
1// ./src/public/main.js 2 3 const SAD_EMOJI = [55357, 56864]; 4 const HAPPY_EMOJI = [55357, 56832]; 5 const NEUTRAL_EMOJI = [55357, 56848]; 6 new Vue({ 7 el: '#app', 8 data: { 9 ... 10 }, 11 created() { 12 let pusher = new Pusher('YOUR_API_KEY', { 13 cluster: 'CLUSTER', 14 encrypted: true 15 }); 16 17 const channel = pusher.subscribe('chats'); 18 channel.bind('new-chat', data => { 19 const expression = data.sentiment > 0 ? HAPPY_EMOJI : (data.sentiment === 0 ? NEUTRAL_EMOJI : SAD_EMOJI); 20 const response = { 21 message: data.message, 22 user: data.user, 23 mood: String.fromCodePoint(...expression) 24 } 25 26 this.chats.push(response); 27 }); 28 }, 29 methods: { 30 getUser(event) { 31 .. 32 }, 33 34 postMessages(event) { 35 ... 36 } 37 } 38 })
First, we added some constants of code points for a particular sentiment emoji. This will help us rendered an emoji corresponding to the mood of the user during the chat as analyzed by the Sentiment module.
Ensure that you replace the YOUR_API_KEY placeholder with the appropriate credentials as obtained from your user’s dashboard on Pusher.
You can go ahead now and give this a try by restarting the development server:
Conclusion
We have been able to build a basic chat application with realtime functionality as powered by Pusher. A lot of improvement can be introduced in order to make this application function much better. Please feel free to explore by checking the source code of this project here on Github.
I hope you found this tutorial helpful.


© 2026 Pusher Ltd. All rights reserved.
Pusher Limited is a company registered in England and Wales (No. 07489873) whose registered office is at MessageBird UK Limited, 3 More London Riverside, 4th Floor, London, United Kingdom, SE1 2AQ.