- Products

- Developers
- User stories
- Blog
- Pricing

Handling authorization in GraphQL
Introduction
Authorization occurs after a successful authentication, it checks the access levels or privileges of the user, which will determine what the user can see or do with the application. Some time ago, I did a tutorial series on handling authentication in GraphQL. So in this tutorial, I will be covering authorization.
Prerequisites
This tutorial assumes the following:
- Node.js and NPM installed on your computer
- Basic knowledge of JavaScript and Node.js
- Basic knowledge of GraphQL
- Understanding of handling authentication in GraphQL with JWT. You can check out this tutorial.
What we'll be building
We will be building on where we left off from handling authentication in GraphQL – Part 2: JWT. To demonstrate authorization, we will add two new features: fetching a list of all users and allowing users to edit their post. Only an admin user will be able to fetch a list of all users. Also, we will make it so users can only edit their own posts.
Getting started
To speed things up, we will start by cloning a boilerplate, which I have created for this tutorial:
$ git clone --branch starter https://github.com/ammezie/graphql-authorization.git
Next, let’s install the project dependencies:
1$ cd graphql-authorization 2 $ npm install
Next, rename .env.example to .env then enter your JWT secret:
1// .env 2 3 JWT_SECRET=somereallylongsecretkey
We will be using SQLite, so create a new database.sqlite3 file in the project’s root directory.
$ touch database.sqlite3
Lastly, run the migration:
$ node_modules/.bin/sequelize db:migrate
If you followed from the handling authentication in GraphQL series, you will already be familiar with the project. I made some few changes though. The project has been migrated to Apollo Server 2 and the User model now has an is_admin column as well as a corresponding isAdmin field on the User type schema definition. Also, a new Post model and Post type have been added, as well a query to fetch a single post and mutation for creating a new post.
Creating dump data
To test out what we will be building, we need to have some data to play with. So let’s create some. First, let’s start the server:
$ npm run dev
The project has nodemon as a dev dependency, which will watch our files for changes and restarts the server. So we will leave this running for the rest of the tutorial.
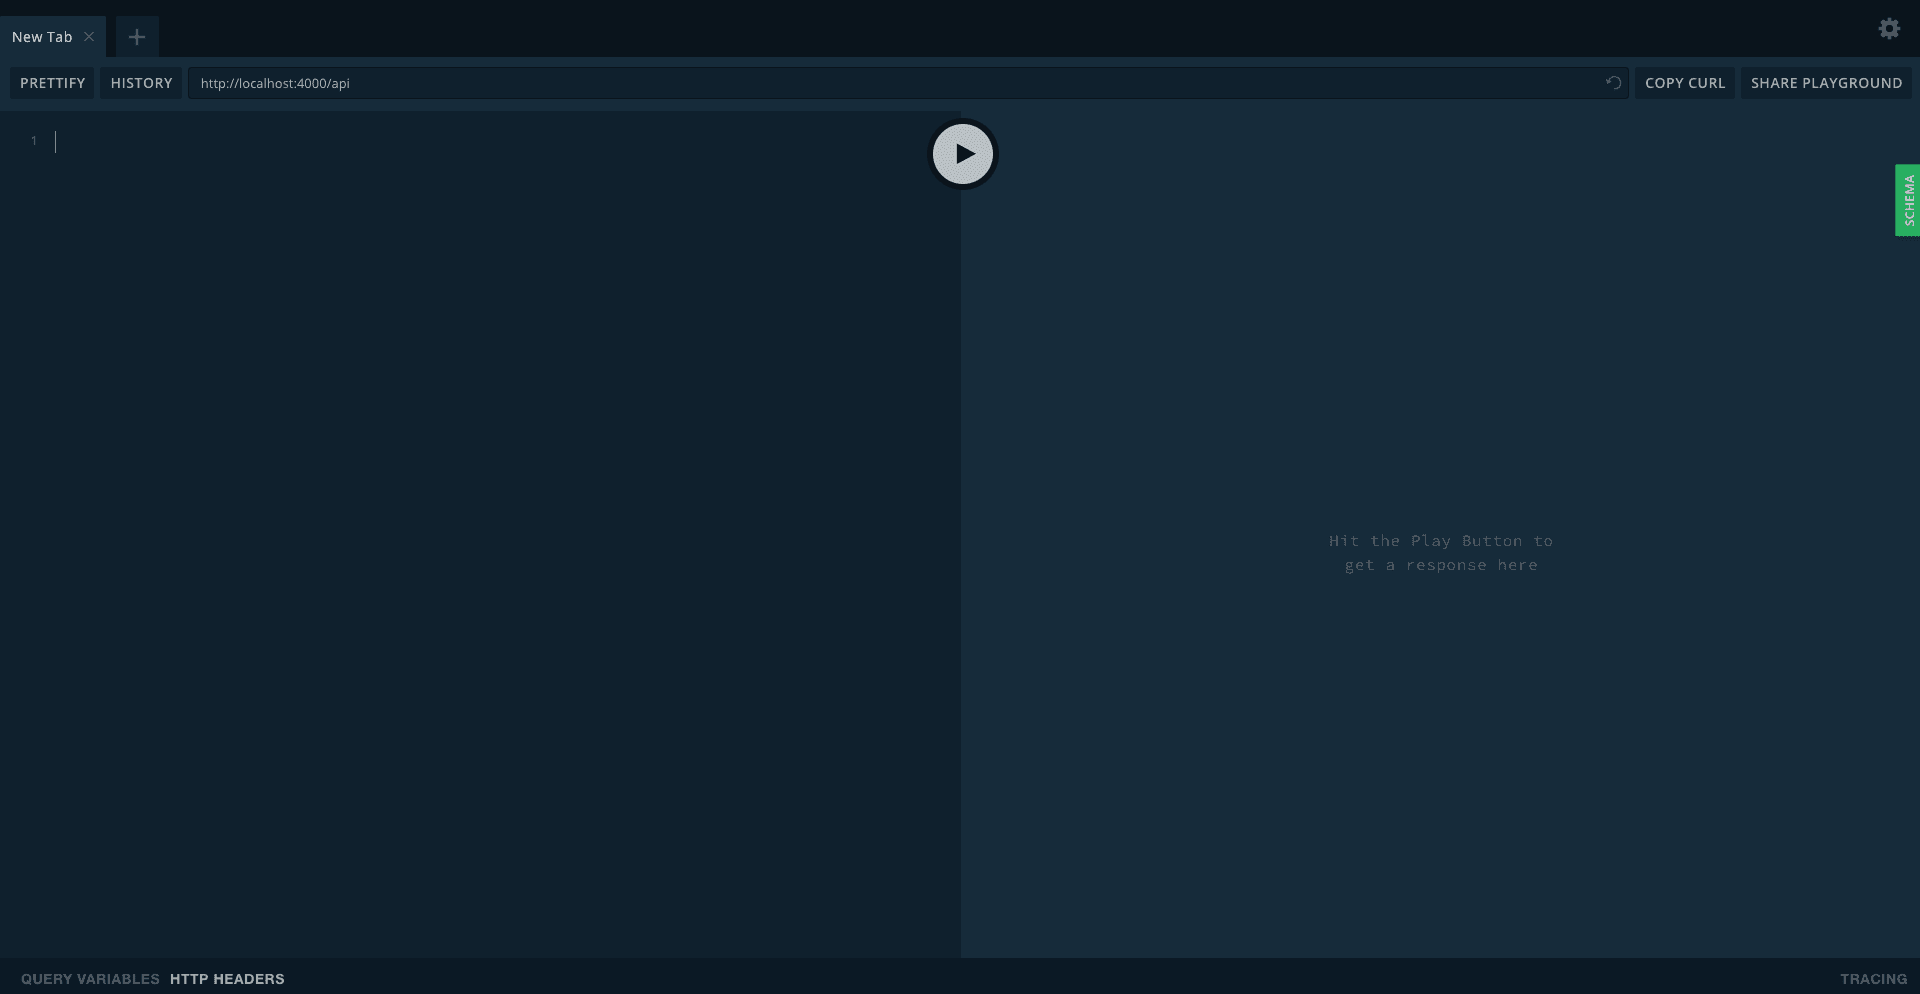
The server should be running on http://localhost:4000/api. Apollo Server 2 now comes with Playground. Visiting the URL should load it up as seen in the image below:
Let’s create two users and a new post created by one of the users. In Playground enter the mutations below one after the other.
1// Create first user 2 mutation { 3 signup (username: "mezie", email: "chimezie@tutstack.io", password: "password") 4 } 5 6 // Create second user 7 mutation { 8 signup (username: "johndoe", email: "johndoe@example.com", password: "password") 9 }
Next, log in as one of the user:
1// Log in as the first user 2 mutation { 3 login (email: "chimezie@tutstack.io", password: "password") 4 }
The mutation above will return a JWT, which we will attach as an Authorization header in our subsequent requests.
Click on HTTP HEADERS at the bottom of Playground, then enter the JWT copied from above:
1{ 2 "Authorization": "Bearer ENTER JWT HERE" 3 }

Now, we can create a new post as the logged in user:
1// Create a new post 2 mutation { 3 createPost (title: "Intro to GraphQL", content: "This is an intro to GraphQL."){ 4 title 5 content 6 } 7 }
The rest of this tutorial assumes you have at least two users and a post created by one of the users.
Using a resolver function
We will be looking at two different methods with which we can handle authorization in GraphQL. This first method is to add the authorization logic directly inside the resolver function, which is pretty straightforward. We will be using this method to implement editing a post.
First, let’s define the mutation for editing a post. Open schemas/index.js and add the code below inside the Mutation object:
1// schemas/index.js 2 3 type Mutation { 4 ... 5 editPost(id: Int!, title: String, content: String): Post 6 }
This mutation accepts three arguments: the ID of the post, the title of the post and the content of the post. Only the id argument is required.
Next, let’s write the resolver function for this mutation. Inside resolvers/index.js, add the code below immediately after the createPost resolver function in the Mutation object:
1// resolvers/index.js 2 3 async editPost (root, { id, title, content }, { user }) { 4 if (!user) { 5 throw new Error('You are not authenticated!') 6 } 7 8 const post = await Post.findById(id) 9 10 if (!post) { 11 throw new Error('No post found') 12 } 13 14 if (user.id !== post.user_id) { 15 throw new Error('You can only edit the posts you created!') 16 } 17 18 await post.update({ title, content }) 19 20 return post 21 }
Here, we first check to make sure the user is authenticated. Then we get the post matching the supplied ID. If no match was found, we throw an appropriate error. Then we check to make sure the authenticated user trying to edit the post is the author of the post by checking the user ID against the user_id on the post object. If the authenticated user is not the author of the post, we throw an appropriate error. Otherwise, we update the post with the supplied details and return the newly updated post.
Let’s test this out. First, let’s trying editing a post we didn’t create. We should get an error as in the image below:
1// Editing a post user didn’t create 2 mutation { 3 editPost (id:1, title: "GraphQL 101", content: "This is an intro to GraphQL.") { 4 title 5 content 6 author { 7 username 8 } 9 } 10 }
We should get an error like below:
1{ 2 ... 3 "errors": [ 4 { 5 "message": "You can only edit the posts you created!", 6 ... 7 } 8 ] 9 }
But if we trying to edit our own post, then we should see the updated post:
1{ 2 "data": { 3 "editPost": { 4 "title": "GraphQL 101", 5 "content": "This is an intro to GraphQL.", 6 "author": { 7 "username": "mezie" 8 } 9 } 10 } 11 }
Using custom directives
Now, let’s allow an admin to fetch a list of users that have signed up. For this, we will be using the second method, which is using custom directives. A GraphQL directive starts with the @ symbol. The core GraphQL specification includes two directives: @include() and @skip(). Visit the GraphQL directives page to learn more about directives.
Let’s create the schema for fetching all users. Add the code below inside schemas/index.js:
1// schemas/index.js 2 3 const typeDefs = gql` 4 directive @isAdmin on FIELD_DEFINITION 5 6 ... 7 type Query { 8 allUsers: [User]! @isAdmin 9 ... 10 } 11 ... 12 `
First, we define a new directive called @isAdmin, which will be added to a field (hence, FIELD_DEFINITION). Then we define the query for fetching all users and use the @isAdmin directive on it. This means only admin users will be able to perform this query.
Now, let’s create the @isAdmin implementation. Create a new directives directory in the project’s root. Then inside the directives directory, create a new isAdmin.js file and paste the code below in it:
1// directives/isAdmin.js 2 3 const { SchemaDirectiveVisitor } = require('apollo-server-express') 4 const { defaultFieldResolver } = require('graphql') 5 6 class IsAdminDirective extends SchemaDirectiveVisitor { 7 visitFieldDefinition (field) { 8 const { resolve = defaultFieldResolver } = field 9 10 field.resolve = async function (...args) { 11 // extract user from context 12 const { user } = args[2] 13 14 if (!user) { 15 throw new Error('You are not authenticated!') 16 } 17 18 if (!user.is_admin) { 19 throw new Error('This is above your pay grade!') 20 } 21 22 return resolve.apply(this, args) 23 } 24 } 25 } 26 27 module.exports = IsAdminDirective
Apollo Server 2 makes it easy to create custom directives by using SchemaDirectiveVisitor. We create a new IsAdminDirective class which extends SchemaDirectiveVisitor. Since we want the directive to be added to a field, we override the visitFieldDefinition(), which accepts the field the directive was added to. Inside the resolve function of the field, we get the authenticated user from the context. Then we perform the authentication and authorization checks and throw any appropriate errors.
Next, let’s write the resolver function for the query. Inside resolvers/index.js, add the code below immediately after the post resolver function in the Query object:
1// resolvers/index.js 2 3 async allUsers (root, args, { user }) { 4 return User.all() 5 }
Before we test this out, let’s make our server be aware of the custom directive. Update server.js to reflect the changes below:
1// server.js 2 3 ... 4 const IsAdminDirective = require('./directives/isAdmin') 5 ... 6 7 const server = new ApolloServer({ 8 typeDefs, 9 resolvers, 10 schemaDirectives: { 11 isAdmin: IsAdminDirective 12 }, 13 context: ({ req }) => ({ 14 user: req.user 15 }) 16 }) 17 ...
We import the custom directive, then we add a new schemaDirectives object (which contains our custom directive) to the object passed to ApolloServer.
To test this out, let’s set one of the users we created earlier as an admin. To keep things simple, we will do this manually directly in the database. Just change the is_admin value of the user from 0 to 1.
If we try to perform the fetch all users query as a non-admin user:
1// fetching all users as a non-admin user 2 3 { 4 allUsers { 5 username 6 email 7 } 8 }
We will get an error as below:
1{ 2 ... 3 "errors": [ 4 { 5 "message": "This is above your pay grade!", 6 ... 7 } 8 ] 9 }
Otherwise, we should get an array of all users:
1{ 2 "data": { 3 "allUsers": [ 4 { 5 "username": "mezie", 6 "email": "chimezie@tutstack.io" 7 }, 8 { 9 "username": "johndoe", 10 "email": "johndoe@example.com" 11 } 12 ] 13 } 14 }
Conclusion
In this tutorial, we saw how to handle authorization in GraphQL. We looked at two different methods of achieving it. Using custom directives has some advantages over using resolver function, which include reducing repetition in your resolver function, which in turn keeps your them lean. Another advantage is that it promotes reusability and it’s easier to maintain.
The complete code is available on GitHub.


© 2025 Pusher Ltd. All rights reserved.
Pusher Limited is a company registered in England and Wales (No. 07489873) whose registered office is at MessageBird UK Limited, 3 More London Riverside, 4th Floor, London, United Kingdom, SE1 2AQ.