- Products

- Developers
- User stories
- Blog
- Pricing

Making Angular 5 realtime with WebSockets
Introduction
The demand for realtime functionality in applications these days has grown tremendously. People want to see how users interact with their applications in realtime. Here comes Pusher, allowing you to add realtime functionality to your application by using concepts such as events and channels. In this article, we are going to look at how to add realtime functionality to your Angular 5 application.
Introduction
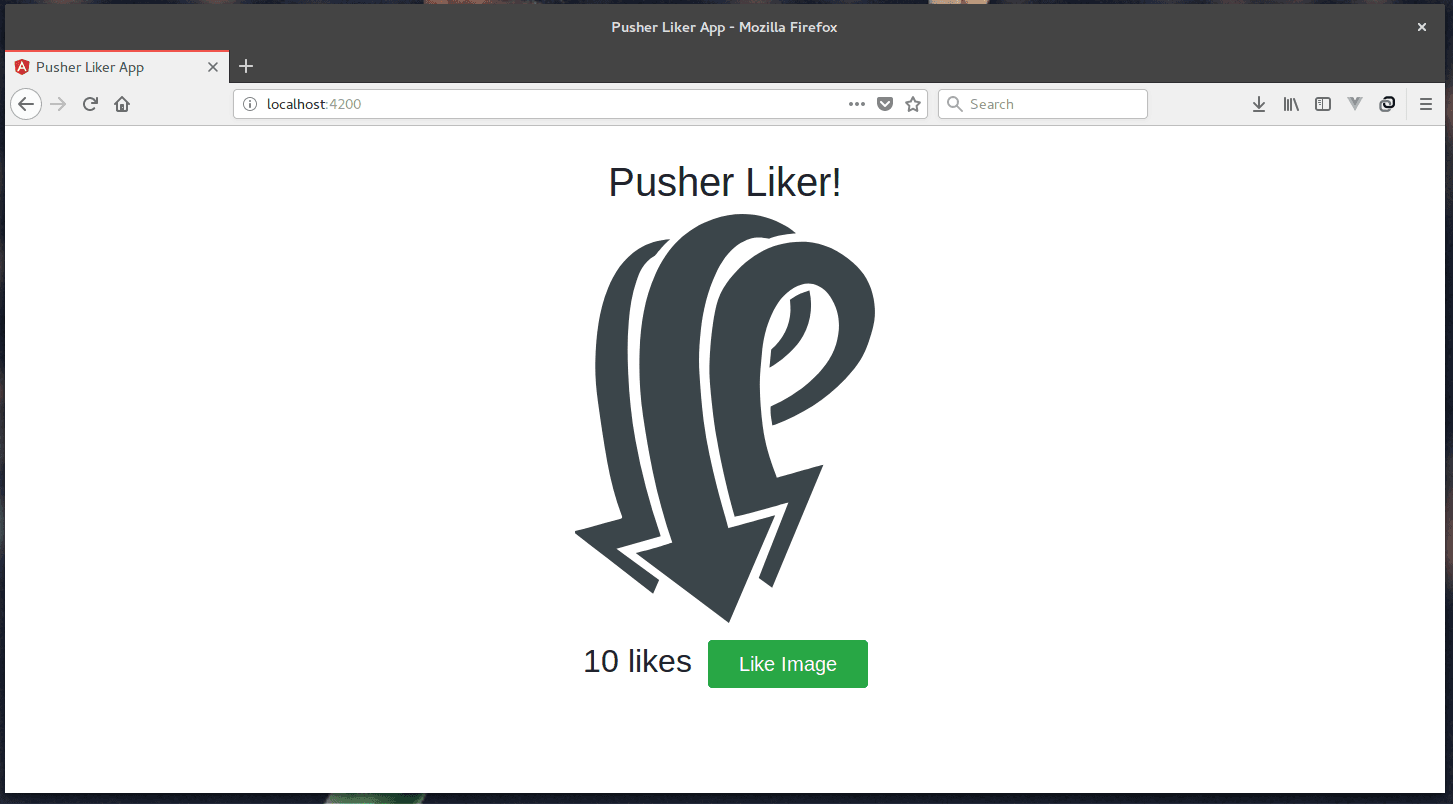
We are going to make an application that gives realtime feedback when a picture is liked. In other words, you get to see in realtime when users like a picture - interesting, right? To do this, we will be using Angular 5 and Pusher API.
Getting started
To get started, you need to make sure your have Node and NPM installed on your machine. You can confirm you installation by running:
1npm --version 2 node --version
If you get version numbers as results then you have them installed. Node 6+ and NPM 4+ should be your target.
Building the Angular 5 application
Now we are not going to dwell too much on the intricacies of building an Angular application, rather, we will be more concerned about adding realtime functionality to the application itself.
To create your Angular application, you need to ensure that you have Angular 5 installed on your machine. You can confirm your installation by running:
ng --version
If you don’t have Angular installed or your version is less than 1.2, run this command in your terminal:
npm install -g @angular/cli
For more information about Angular basics, head here.
We can now create our application by running:
ng new angular5-pusher
After running this, we get a basic Angular starter project which we are going to build upon.
App component
Now the view of the application is pretty simple. We have an image, a button to like the image and the count of images that have been liked. The app.component.html file looks like this:
1<div class="main-app"> 2 <h1> 3 {{ title }}! 4 </h1> 5 <img width="300" alt="Pusher Logo" src="../assets/pusher.svg" /> 6 <div class="like"> 7 <div style="margin-right: 1rem"> 8 <h2>{{ likes }} likes</h2> 9 </div> 10 <button class="btn btn-lg btn-success" (click)="liked()">Like Image</button> 11 </div> 12 </div>
We can see from the above that the buttonClick event has been tied to a function called liked() which we will take a look at now.
In our app.component.ts file, we have the following:
1import { Component, OnInit } from '@angular/core'; 2 //.. 3 4 @Component({ 5 selector: 'app-root', 6 templateUrl: './app.component.html', 7 styleUrls: ['./app.component.css'] 8 }) 9 10 export class AppComponent implements OnInit { 11 title = 'Pusher Liker'; 12 likes: any = 10; 13 14 constructor() { 15 // the pusher service will be injected as part of the constructor later 16 } 17 ngOnInit() { 18 // .. 19 } 20 // add to the number of likes to the server 21 liked() { 22 this.likes = parseInt(this.likes, 10) + 1; 23 // .. 24 } 25 }
Now we can see when we examine the component that we specify the title and the number of likes for starters.
NB: In a real world application, you will want to make a request to your backend server to get the actual number of likes instead of using static data.
We can also see that we plan on injecting a pusherService in the constructor of our app component. We are going to explain more about this in the next section.
Adding Pusher to your application
At this point, we have our application that allows us to like pictures, but other users don’t get realtime feedback as to the number of likes the picture actually has. In comes Pusher to save the day. Pusher Channels allows you to add realtime functionality to your application without you having to stress so much about the logic of making this work. Create a free sandbox Pusher account or sign in.
All you need to do is to subscribe to a channel and then listen for events - in simpler terms it’s like turning on a TV to a football match (channel ) and then waiting for a team to score a goal ( event ).
Now lets see how to add this to our existing Pusher Liker Application .To use Pusher with Angular, we first need to install and load Pusher’s client library:
npm install --save pusher-js
Now that we have successfully installed the library, the next thing we need to do is to add it as one of the third party scripts that will be loaded by Angular when our page is being loaded.
In the .angular-cli.json we include the following:
1//... 2 3"scripts": ["../node_modules/pusher-js/dist/web/pusher.min.js"] 4 5//...
Now lets get to using the pusher client.
Earlier on, we spoke about the PusherService and now we are going to see how it works. In angular, there is a concept called services - which, as the name suggests, helps you to do one thing really well.
We create our PusherService by running the command:
ng generate service Pusher
This creates the pusher.service.ts and pusher.service.spec.``ts files. We are only going to be concerned with the pusher.service.ts
At he top of the pusher.service.``ts file we declare our Pusher constant so that Angular knows that we know what we are doing, and we are going to use the Pusher class from an external script which we loaded earlier:
1// pusher.service.ts 2 declare const Pusher: any; 3 // ...
Then, we import the necessary classes we are going to need:
1// .... pusher.service.ts 2 import { Injectable } from '@angular/core'; 3 import { environment } from '../environments/environment'; 4 import { HttpClient } from '@angular/common/http'; 5 // .....
If you used older versions of Angular, the new HttpClient may seem strange to you because it was just introduced with this new version to make life easier for Angular developers. With this new HttpClient, responses are defaulted to JSON and interceptors are now being used for easier error handling. You can read more about it here.
We also included the environment class, which contains some enviroment variables for pusher to work. The enviroment.ts file looks like this:
1// ... environment.ts 2 export const environment = { 3 production: false, 4 pusher: { 5 key: 'PUSHER_API_KEY', 6 cluster: 'PUSHER_CLUSTER', 7 } 8 };
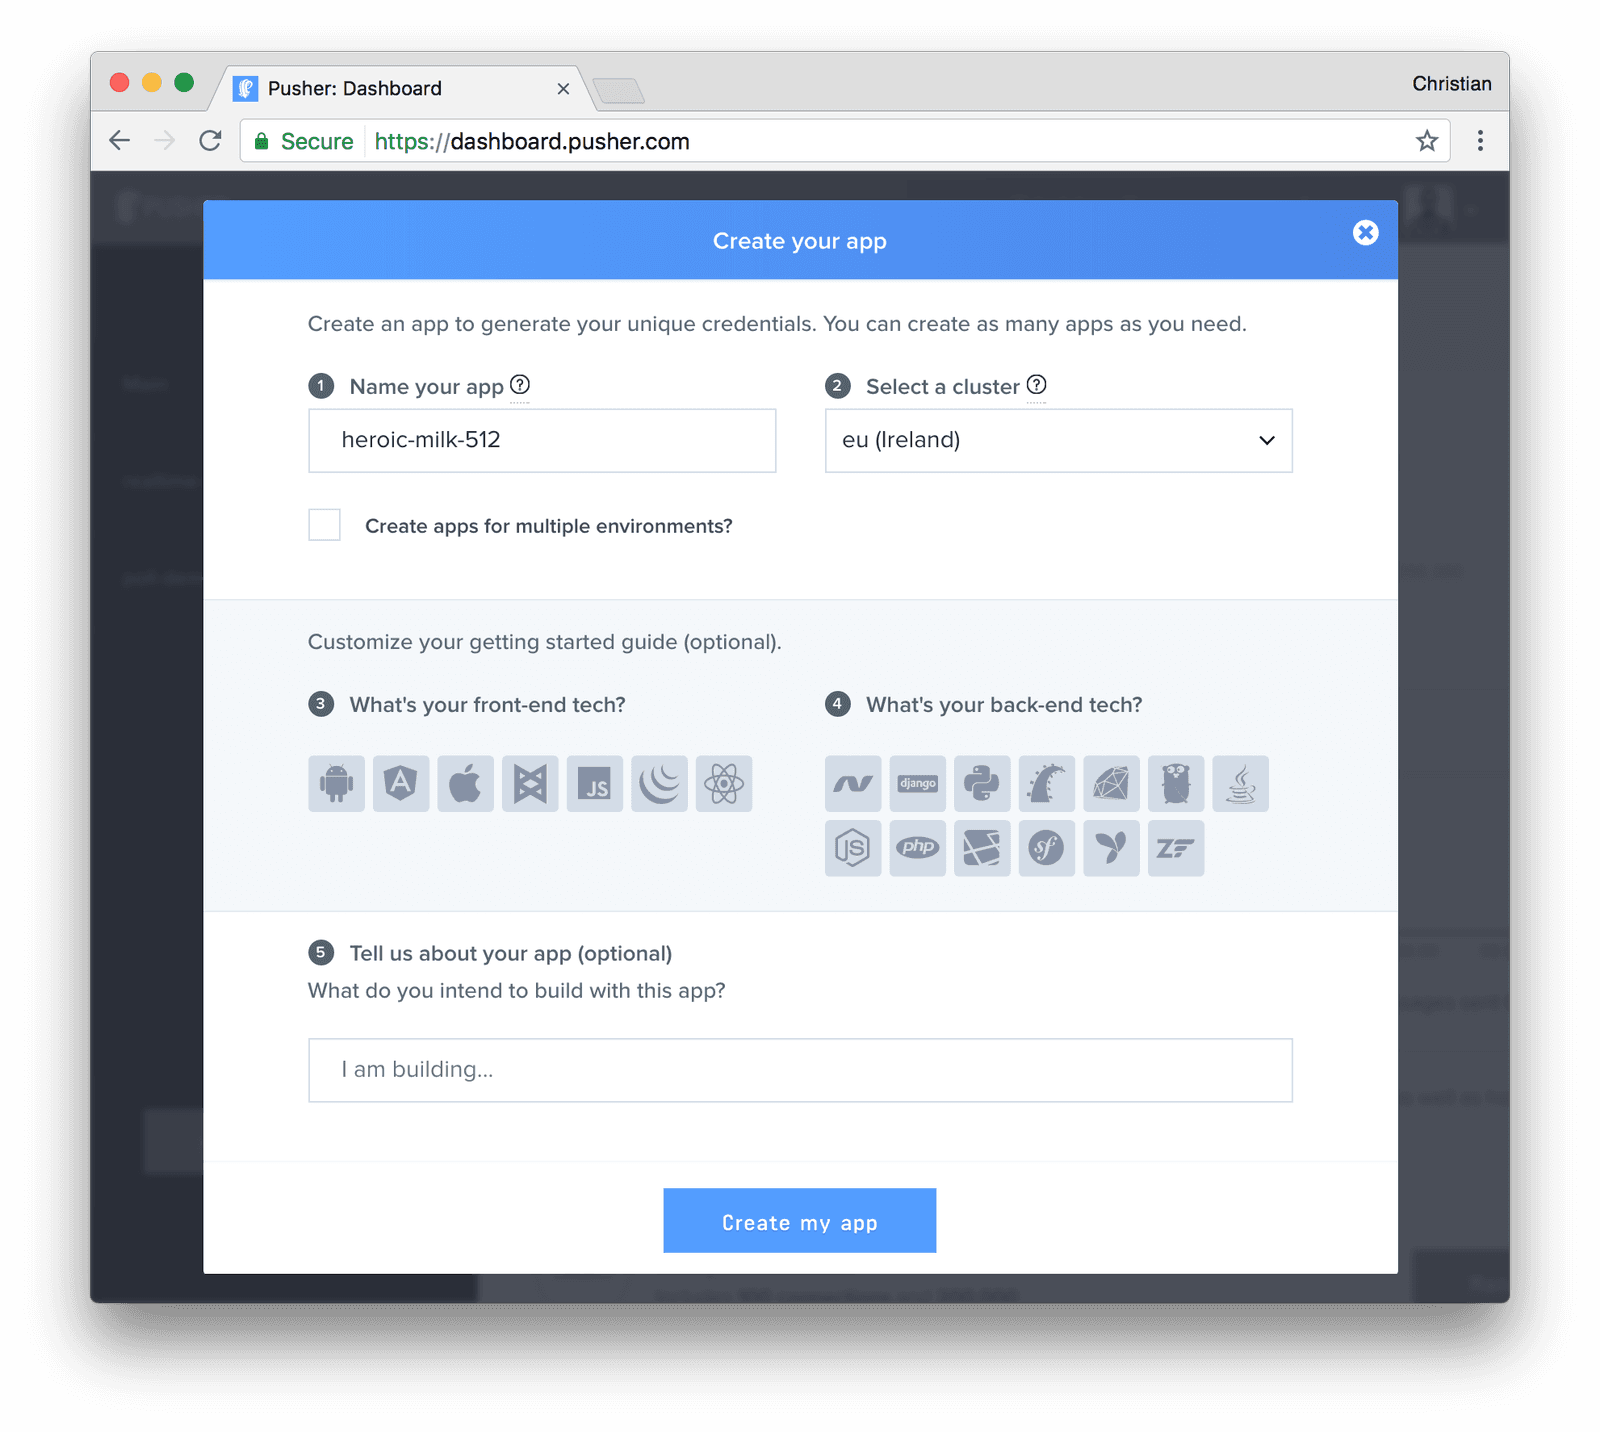
These details can be obtained from your Pusher app dashboard.
To create a new app:
- Click “Create New App” from the left sidebar.
- Configure an app by providing basic information requested in the form presented. You can also choose the environment you intend to integrate Pusher with for a better setup experience:
Now, back to our pusher.service.``ts file:
1//...pusher.service.ts 2 @Injectable() 3 export class PusherService { 4 pusher: any; 5 channel: any; 6 constructor(private http: HttpClient) { 7 this.pusher = new Pusher(environment.pusher.key, { 8 cluster: environment.pusher.cluster, 9 encrypted: true 10 }); 11 this.channel = this.pusher.subscribe('events-channel'); 12 } 13 14 like( num_likes ) { 15 his.http.post('http://localhost:3120/update', {'likes': num_likes}) 16 .subscribe(data => {}); 17 } 18 }
In the constructor for the PusherService , we included the HttpClient and then subscribed to the events-channel . We also have another function that makes a POST request to our backend server with the number of likes as part of the body of the request when the like button is clicked.
NB : The implementation details of our backend server will be built later in the article
Now we will go back to our app.component.``ts file to see how we factor in the new Pusher service:
1//-- app.component.ts 2 import { Component, OnInit } from '@angular/core'; 3 import { PusherService } from './pusher.service'; 4 5 @Component({ 6 selector: 'app-root', 7 templateUrl: './app.component.html', 8 styleUrls: ['./app.component.css'] 9 }) 10 export class AppComponent implements OnInit { 11 title = 'Pusher Liker'; 12 likes: any = 10; 13 constructor(private pusherService: PusherService) { 14 } 15 ngOnInit() { 16 this.pusherService.channel.bind('new-like', data => { 17 this.likes = data.likes ; 18 }); 19 } 20 // add to the number of likes to the server 21 liked() { 22 this.likes = parseInt(this.likes, 10) + 1; 23 this.pusherService.like( this.likes ); 24 } 25 }
In the above, we import the pusherService and then add it to our constructor. Now, when the component is created, we then bind the pusherService to the new-like event and we update the number of likes with the new number of likes that we get.
Now you may be wondering, “it’s cool that we can now tell when the number of likes have increased and the update them, but what when someone actually clicks the button, what triggers the event?”
As we can see in the liked() function above, the pusherService.like() is also called to help make the request to the backend server to actually trigger the like event.
Now that our front-end is ready, we can run the application by running:
npm start
Building the backend Server
Now, we’ll take a quick look at the backend server that triggers the event and how it works. In the project directory we create a folder called server and in there is where we do all the work:
mkdir server
In the server directory, we run:
npm init
And then we install the necessary modules we are going to need:
npm install --save cors pusher express body-parser dotenv
Once that’s done, we can now create our server.js in the same directory
In our server.js file, we do the following:
Import Node modules
1// ------------------------------- 2 // Import Node Modules 3 // ------------------------------- 4 require("dotenv").config(); 5 const cors = require("cors"); 6 const Pusher = require("pusher"); 7 const express = require("express"); 8 const bodyParser = require("body-parser");
Create app and load Middlewares
1// ------------------------------ 2 // Create express app 3 // ------------------------------ 4 const app = express(); 5 // ------------------------------ 6 // Load the middlewares 7 // ------------------------------ 8 app.use(cors()); 9 app.use(bodyParser.json()); 10 app.use(bodyParser.urlencoded({ extended: false }));
Create Pusher client
1// .... 2 const pusher = new Pusher({ 3 appId: `${process.env.PUSHER_APP_ID}`, 4 key: `${process.env.PUSHER_API_KEY}`, 5 secret: `${process.env.PUSHER_API_SECRET}`, 6 cluster: `${process.env.PUSHER_APP_CLUSTER}`, 7 encrypted: true 8 });
Now add a .env file at the root of the server folder with the following lines:
1PUSHER_APP_ID=[PUSHER_APP_ID] 2 PUSHER_API_KEY=[PUSHER_API_KEY] 3 PUSHER_API_SECRET=[PUSHER_API_SECRET] 4 PUSHER_APP_CLUSTER=[PUSHER_APP_CLUSTER]
These details for the Pusher client can be obtained from your Pusher dashboard.
Create application routes
1// ------------------------------- 2 // Create app routes 3 // ------------------------------- 4 app.post("/update", function(req, res) { 5 // ------------------------------- 6 // Trigger pusher event 7 // ------------------------------ 8 pusher.trigger("events-channel", "new-like", { 9 likes : `${req.body.likes}` 10 }); 11 });
This application only has one route that triggers the new-like event to the events-channel which our Angular frontend listens for and then updates accordingly.
Assign application
1app.listen("3120"); 2 console.log("Listening on localhost:3120");
Now, the backend server will be run at localhost:3120.
Conclusion
In this article we have seen how to add realtime functionality to an Angular 5 application. The use cases for this are endless. You can give users realtime feedback as they interact with your applications — Twitter has a feature similar to this where you can actually see the number of likes, replies and retweets in realtime.
The ball is in your court now to implement that realtime feature you know your users will love to have.


© 2026 Pusher Ltd. All rights reserved.
Pusher Limited is a company registered in England and Wales (No. 07489873) whose registered office is at MessageBird UK Limited, 3 More London Riverside, 4th Floor, London, United Kingdom, SE1 2AQ.