- Products

- Developers
- User stories
- Blog
- Pricing

Docker for development: Using Docker in Laravel and PHP development (Part 2)
Learn how to use Docker with Laravel and PHP. This is the second part of a two-part series on Docker for development. This tutorial provides a practical working example of Docker in action.
Introduction
This tutorial will be about Using Docker with Laravel specifically but you can use the same techniques for all PHP applications with little or no modification necessary.
We are going to be taking an in-depth look into how you can leverage the power of Docker in your development process, and perhaps your production environment if you wish.
You can find part 1
? In the previous part we talked about getting started with Docker. We considered how you can install Docker and use some of the popular commands. In this part, we will take it a step further by seeing how we can use Docker when developing Laravel applications. We won’t cover deployment and will cover how you can use it in development locally.
Requirements
To get the most out of this article, you need to have the following:
- Basic knowledge of Docker and its commands. The first part of this article is a good starting point.
- Docker installed on your machine. Click here to install.
- Knowledge of PHP.
- Knowledge of the Laravel framework. You can start here.
- Some knowledge of Bash is recommended but not required.
Once you have all the requirements let’s continue.
Building the Laravel Docker container
Starting the Docker daemon
The first thing we will do is create our Docker image. We will start from scratch so you can see how to build your own images.
Before we can do this though, you need to make sure the Docker daemon is running. You can make sure of this by running the following command on the terminal:
1$ docker ps
If you see the list of Docker containers running then you have the Docker daemon running. On a Mac or Windows, you can just launch the Docker application and it will start running the daemon. On Ubuntu, you may need to run the command below in your terminal to start the daemon:
1$ services start docker
? If you are not running as a root user, you will need to prefix the above command with
sudo.
When the daemon is running, we can start building our Laravel Docker image.
Our Docker image requirements
Before we start, it’s helpful to have an overview of what we want the image to contain. For our image we will need:
- An Alpine Linux based container.
- Nginx web server.
- PHP 7.0 or newer.
- OpenSSL PHP Extension.
- PDO PHP Extension.
- Mbstring PHP Extension.
- Tokenizer PHP Extension.
- XML PHP Extension.
These are all required to build our image.
? Alpine Linux is a Linux distribution built around musl libc and BusyBox. The image is only 5 MB in size and has access to a package repository that is much more complete than other BusyBox based images. This makes Alpine Linux a great image base for utilities and even production applications. Read more about Alpine Linux here.
Configuring our Docker image
To start out, it is essential to know the base image to build off. This is usually some operating system or server. We will be using the Nginx alpine Docker image. Alpine is ‘only about 5 MB in size!’
? Docker images can easily grow in size depending on how much data each image has. Building off an already small image, Alpine, gives us small images which are easy to replicate as opposed to Ubuntu which is heavy.
Create a new directory for our project and name it as you please. Next, create a Dockerfile inside the directory. This is where we will instruct Docker how to build the image. In the file, paste the following code:
1FROM nginx:mainline-alpine 2LABEL maintainer="John Doe <john@doe>"
As explained in the previous part, the FROM specifies what base image to build from. In this case, we have decided to go with the Alpine image.
Next append the following to the Dockerfile:
1COPY start.sh /start.sh 2COPY nginx.conf /etc/nginx/nginx.conf 3COPY supervisord.conf /etc/supervisord.conf 4COPY site.conf /etc/nginx/sites-available/default.conf
The COPY command simply copies a file from the host filesystem into the image when the image is building. In this case, we want to copy start.sh, nginx.conf, supervisord.conf, and site.conf, which we will create later, to the image’s filesystem.
Next let’s add commands that will instruct Alpine Linux to install the packages we will need inside the image. In the Dockerfile add the following:
1RUN apk add --update \ 2php7 \ 3php7-fpm \ 4php7-pdo \ 5php7-pdo_mysql \ 6php7-mcrypt \ 7php7-mbstring \ 8php7-xml \ 9php7-openssl \ 10php7-json \ 11php7-phar \ 12php7-zip \ 13php7-dom \ 14php7-session \ 15php7-zlib && \ 16php7 -r "copy('http://getcomposer.org/installer', 'composer-setup.php');" && \ 17php7 composer-setup.php --install-dir=/usr/bin --filename=composer && \ 18php7 -r "unlink('composer-setup.php');" && \ 19ln -s /usr/bin/php7 /usr/bin/php && \ 20ln -s /etc/php7/php.ini /etc/php7/conf.d/php.ini
In the RUN command, we can see that we are calling the apk command. It is the Alpine package manager and we need it to install the PHP packages into our image. We also install Composer into the image. We symlink /usr/bin/php7 to /usr/bin/php so we can run php when using PHP in the container. Lastly, we created a symlink for the php.ini file. We are using the && to chain commands so they run as part of one image layer in the build process.
? The
--updateflag basically tells Alpine to update the data before attempting to fetch packages. You can add a--no-cacheflag to make sure the packages are not being cached. By default it is cached and this leads to faster builds.
These packages will mostly be needed by Laravel to be able to run successfully.
Next, we want to install some other packages into our Docker image. These packages are not necessarily related to Laravel but we need them for other reasons. In the Dockerfile add the following:
1RUN apk add --update \ 2bash \ 3openssh-client \ 4supervisor
In this layer, we are installing bash, which is optional so we can SSH into our container when it is running. We also install openssh-client and supervisor. Supervisor will help us keep our Nginx running in the background and stop the container from exiting.
⚠ It is not a good idea to enable SSHing into containers in production environments so you might want to leave that out of the build process.
⚠ Docker containers will usually exit (die) if there is no running process keeping it alive. Using Supervisor, we can keep the container running.
Next, let’s move around some files in the filesystem of our image to suit our needs. In the Dockerfile add the following:
1RUN mkdir -p /etc/nginx && \ 2mkdir -p /etc/nginx/sites-available && \ 3mkdir -p /etc/nginx/sites-enabled && \ 4mkdir -p /run/nginx && \ 5ln -s /etc/nginx/sites-available/default.conf /etc/nginx/sites-enabled/default.conf && \ 6mkdir -p /var/log/supervisor && \ 7rm -Rf /var/www/* && \ 8chmod 755 /start.sh
Above we made sure all the directories Nginx expects to exist do, and create them if they don’t, we created a symlink for the default.conf file so Nginx loads it, we added a directory to store Supervisors logs and removed any contents in the /var/www directory so we can mount our source code as a volume to that directory, and we chmod the /start.sh file so we can execute it from the image.
? Docker images are immutable by default. However, in some circumstances, we might want to have directories that are writable e.g when dealing with logs. Mounting a volume means we can tell the Docker image to mirror a directory on the host filesystem and write to that. This directory is not a part of the image and only gets mounted when the container is running.
Next, we want to configure the PHP configuration files for our Docker image. In the Dockerfile paste the following code to replace some options in the config files:
1RUN sed -i -e "s/;cgi.fix_pathinfo=1/cgi.fix_pathinfo=0/g" \ 2-e "s/variables_order = \"GPCS\"/variables_order = \"EGPCS\"/g" \ 3/etc/php7/php.ini && \ 4sed -i -e "s/;daemonize\s*=\s*yes/daemonize = no/g" \ 5-e "s/;catch_workers_output\s*=\s*yes/catch_workers_output = yes/g" \ 6-e "s/user = nobody/user = nginx/g" \ 7-e "s/group = nobody/group = nginx/g" \ 8-e "s/;listen.mode = 0660/listen.mode = 0666/g" \ 9-e "s/;listen.owner = nobody/listen.owner = nginx/g" \ 10-e "s/;listen.group = nobody/listen.group = nginx/g" \ 11-e "s/listen = 127.0.0.1:9000/listen = \/var\/run\/php-fpm.sock/g" \ 12-e "s/^;clear_env = no$/clear_env = no/" \ 13/etc/php7/php-fpm.d/www.conf
?
sedis a stream editor command. You can read about how to usesed.
Next, in our Dockerfile add the following:
1EXPOSE 443 80 2WORKDIR /var/www
The EXPOSE command informs Docker that the container listens on the specified network ports at runtime. The WORKDIR command sets the working directory for our commands going forth. It’ll also create the /var/www directory.
Next, let’s instruct Docker to run our command once the container is built successfully. In the Dockerfile add the following to the bottom:
1CMD ["/start.sh"]
Whenever we build our image, the file start.sh will be executed. In this file, we will specify some additional commands that we don’t want as a part of the Docker build process.
? Because Dockers build process involves creating and caching image layers, we make sure we keep the
RUNstatements in theDockerfileas minimal, yet segmented, as possible. This is why we have thestart.shfile that can handle any other thing we deem unnecessary to add to the Docker build process.
Create a start.sh file in the root of the project directory and paste the following code into it:
1#!/bin/bash 2 3# ---------------------------------------------------------------------- 4# Create the .env file if it does not exist. 5# ---------------------------------------------------------------------- 6 7if [[ ! -f "/var/www/.env" ]] && [[ -f "/var/www/.env.example" ]]; 8then 9cp /var/www/.env.example /var/www/.env 10fi 11 12# ---------------------------------------------------------------------- 13# Run Composer 14# ---------------------------------------------------------------------- 15 16if [[ ! -d "/var/www/vendor" ]]; 17then 18cd /var/www 19composer update 20composer dump-autoload -o 21fi 22 23# ---------------------------------------------------------------------- 24# Start supervisord 25# ---------------------------------------------------------------------- 26 27exec /usr/bin/supervisord -n -c /etc/supervisord.conf
The file above is commented so you know what is happening at each stage. The final command is where we run supervisord. We specify the configuration file to use with the -c flag.
Create a supervisord.conf file in the root of your project directory and paste the following into it:
1[unix_http_server] 2file=/dev/shm/supervisor.sock 3 4[supervisord] 5logfile=/tmp/supervisord.log 6logfile_maxbytes=50MB 7logfile_backups=10 8loglevel=warn 9pidfile=/tmp/supervisord.pid 10nodaemon=false 11minfds=1024 12minprocs=200 13user=root 14 15[rpcinterface:supervisor] 16supervisor.rpcinterface_factory = supervisor.rpcinterface:make_main_rpcinterface 17 18[supervisorctl] 19serverurl=unix:///dev/shm/supervisor.sock 20 21[program:php-fpm7] 22command = /usr/sbin/php-fpm7 --nodaemonize --fpm-config /etc/php7/php-fpm.d/www.conf 23autostart=true 24autorestart=true 25priority=5 26stdout_logfile=/dev/stdout 27stdout_logfile_maxbytes=0 28stderr_logfile=/dev/stderr 29stderr_logfile_maxbytes=0 30 31[program:nginx] 32command=/usr/sbin/nginx -g "daemon off;" 33autostart=true 34autorestart=true 35priority=10 36stdout_logfile=/dev/stdout 37stdout_logfile_maxbytes=0 38stderr_logfile=/dev/stderr 39stderr_logfile_maxbytes=0
Next, create a nginx.conf file and paste the following into the file:
1user nginx; 2worker_processes 1; 3 4error_log /var/log/nginx/error.log warn; 5pid /var/run/nginx.pid; 6 7events { 8worker_connections 1024; 9} 10 11http { 12include /etc/nginx/mime.types; 13default_type application/octet-stream; 14access_log off; 15sendfile on; 16#tcp_nopush on; 17keepalive_timeout 65; 18#gzip on; 19include /etc/nginx/sites-enabled/*.conf; 20}
Lastly, create a site.conf file in the root of your project directory and paste the following into it:
1server { 2listen 80; 3 4root /var/www/public; 5index index.php index.html; 6 7location / { 8try_files $uri $uri/ /index.php?$query_string; 9} 10 11location ~ /\. { 12deny all; 13} 14 15location ~ \.php$ { 16try_files $uri = 404; 17fastcgi_split_path_info ^(.+\.php)(/.+)$; 18fastcgi_pass unix:/var/run/php-fpm.sock; 19fastcgi_index index.php; 20fastcgi_param SCRIPT_FILENAME $document_root$fastcgi_script_name; 21include fastcgi_params; 22} 23}
The above is a basic configuration file that instructs Nginx on how to handle incoming traffic. In the file, we instruct Nginx to serve our Laravel index.php file using PHP-fpm.
Running our Laravel Docker container
Building the Docker image
Now that we have the pieces required to build our Docker image, we need to add one final missing piece: our Laravel application. For this, we will be using the Laravel installer but you can also just create a src directory in the root of your Docker project and put your Laravel applications source files there.
Open a terminal window and in the project root run the following code:
1$ laravel new src
This will create a new Laravel application in a src directory in the root of the project. We will just use that to test if our Laravel installation runs as expected.
After the installation is complete and we have Laravel in the src directory, let us build and start running our Laravel container.
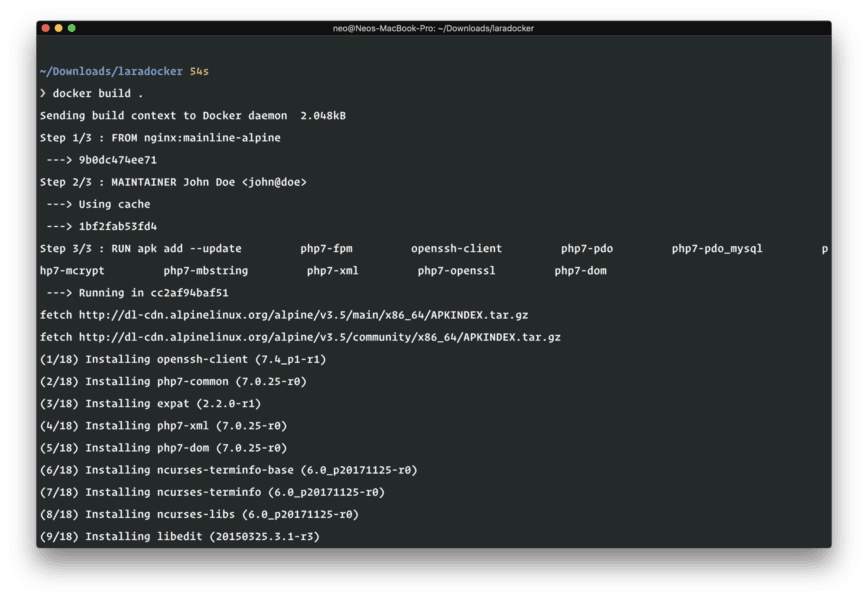
To build the image run the command below in the root of the Docker project directory:
1$ docker build . -t image-name
?
image-nameshould be the name of the image. You can call it whatever you want to call it. You can also add a version to the image name by appending:version-numberto theimage-nameas mentioned in the first part of this article.
After the build is complete, you should run the following command to see if the image was built successfully:
1$ docker images | grep image-name
This should show your Docker image and some details about it:

Running our image as a container
Next, let’s run our image as a container. To do this run the following command on your terminal:
1$ docker run -d -p 8000:80 -v $PWD/src:/var/www --name="container-name" image-name
? Replace
container-nameandimage-namewith the container name you wish to use and the name you used when building the image earlier.? The
-dflag tells Docker to run the container as a daemon (in the background). If you do not specify it, the container will run in the foreground. This essentially means you if you exit from the terminal window or prompt, the container will stop running.? The
-pflag tells the Docker engine to map port 8000 on the host machine to port 80 on the Docker container.? The
-vflag is for mounting volumes like we explained before. In this command we mount the$PWD/srcdirectory to/var/wwwin the container.$PWDwill return the path to the present working directory.
NOTE: If you are building for a production environment, you should commit the code as part of the image so it can be deployed easily.
When the docker run command is complete, run the following command to know that the container is still running:
1$ docker ps | grep container-name
You should see an output similar to this:

⚠ If you see
Exitedit possibly means something might have gone wrong with the build process and the container had to exit. In this case, you need to check that you followed the article’s steps fully.
Go to your browser and visit the URL http://0.0.0.0:8000 and you should see the Laravel welcome page.
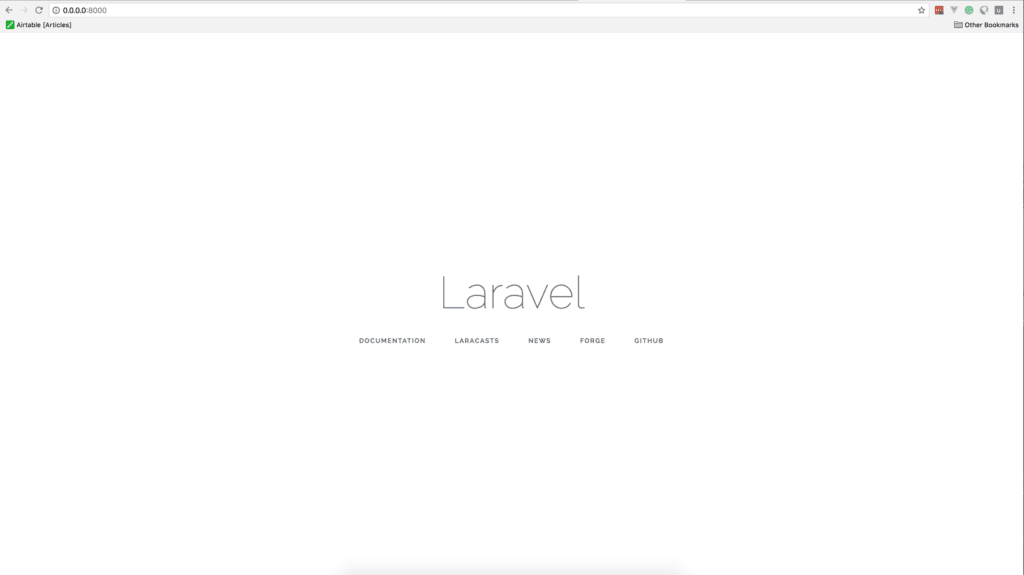
Great! You have successfully created a Docker container for your Laravel application.
Conclusion
In this mini-series, we have gone some way with Docker and you should understand how Docker works. Of course there is still more you can do with Docker, so I encourage you to play around with Docker.
If you have any questions, please feel free to ask in the comments section.
You can find part 1


© 2026 Pusher Ltd. All rights reserved.
Pusher Limited is a company registered in England and Wales (No. 07489873) whose registered office is at MessageBird UK Limited, 3 More London Riverside, 4th Floor, London, United Kingdom, SE1 2AQ.